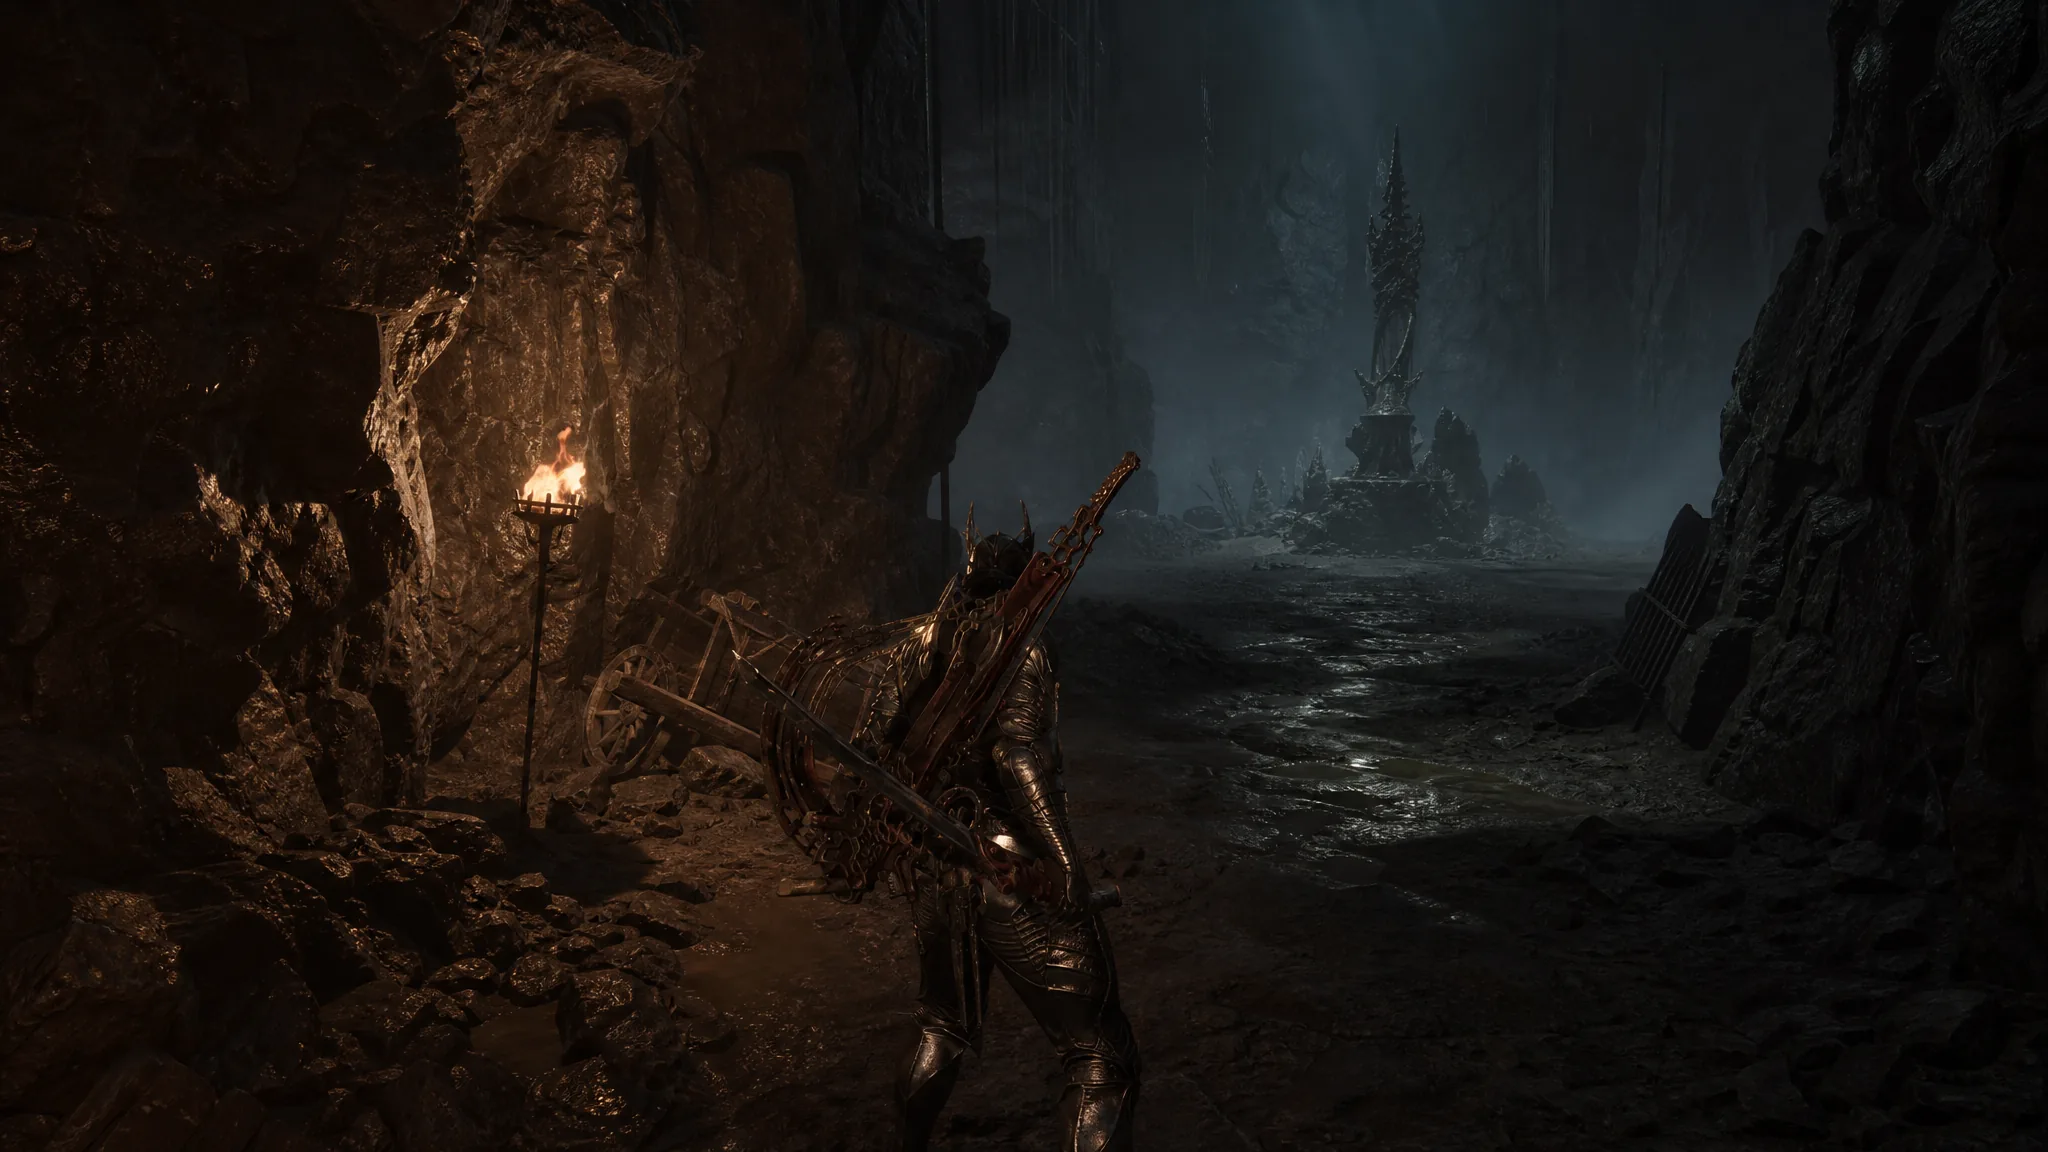
Coward’s Retreat is a compact brigand hideout in Mortal Shell 2, cut into a rocky wall just east of the Blackridge Pass Beacon. The run is short. The floor after the lift is the whole trick.
Quick answer: After the elevator, walk the sides of the wooden floor so you never fall. Clear the campfire room and open the chest for Laterite.
Coward’s Retreat location in Blackridge Pass
Look along the rock face east of the Blackridge Pass Beacon in Blackridge Cliffs. The mouth of the hideout sits on that wall, a short hop from the southern approach into the cliffs and northeast of Widow’s Overlook.
A fight between a Tarred Vistage and brigands often plays out on the ramp above. The dungeon entrance is on the right once that space is clear. Ride the wooden lift down. The area name comes up as you move through the rocky corridor.
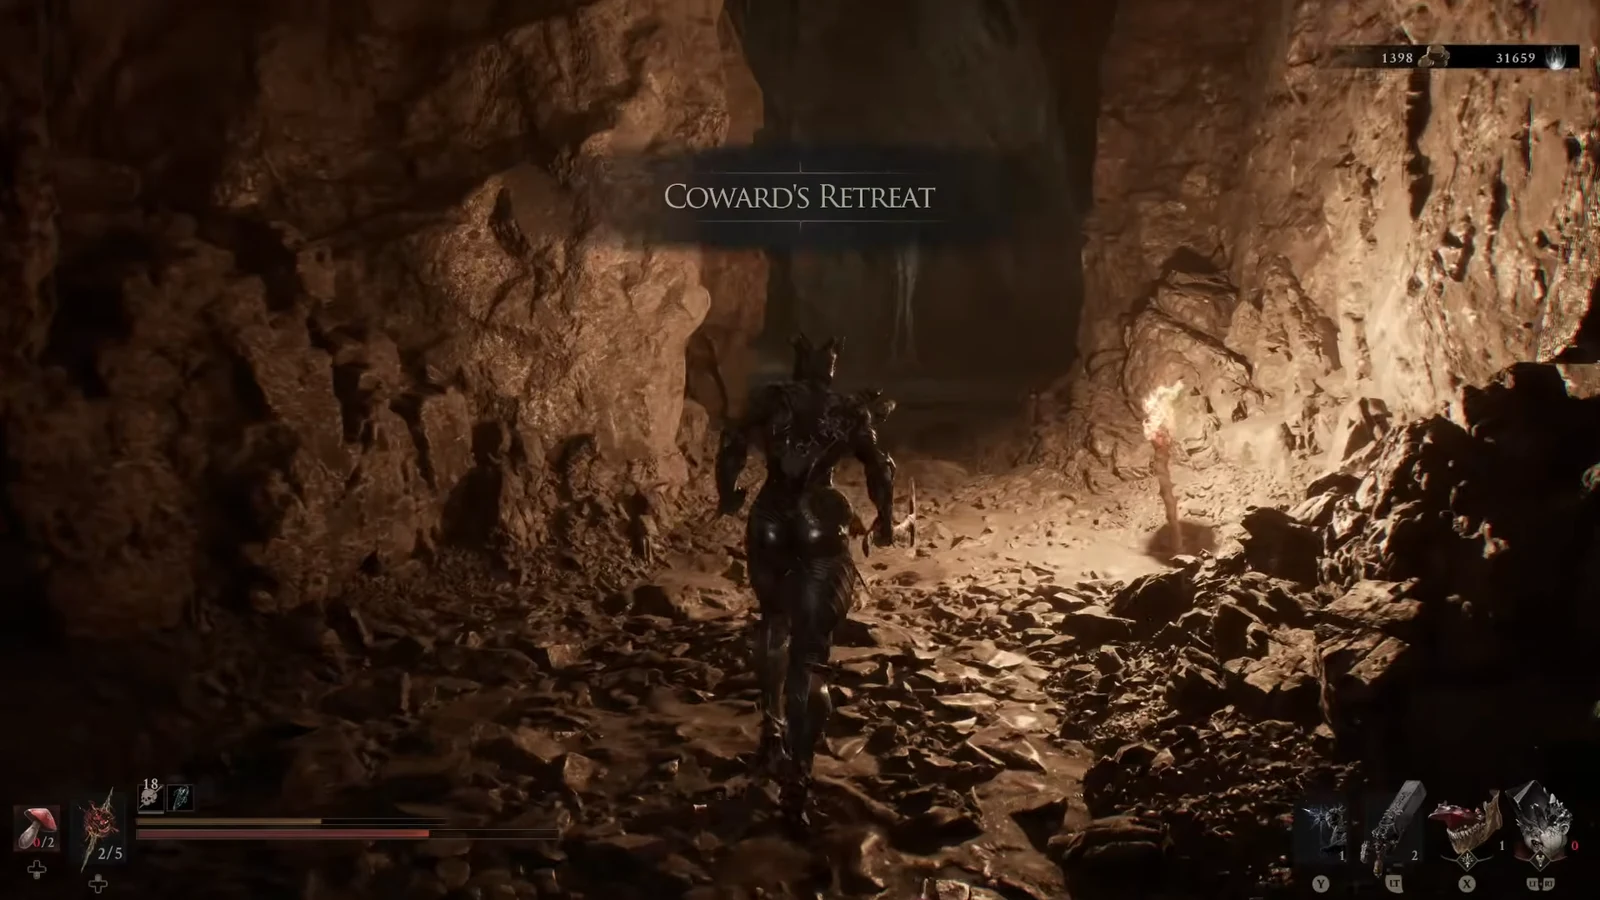
Pitfall on the wooden floor
The boards right after the elevator are a pitfall set in front of the main room. Step on the middle and they break. You drop, the screen goes dark, and the brigands lock you in a cell after stripping your weapons.
You can skip that entire lower loop. Stay on the edges of the wooden floor once you leave the lift and you walk straight into the main loot room still armed. The hideout stays a single short circuit if you never touch the center boards.
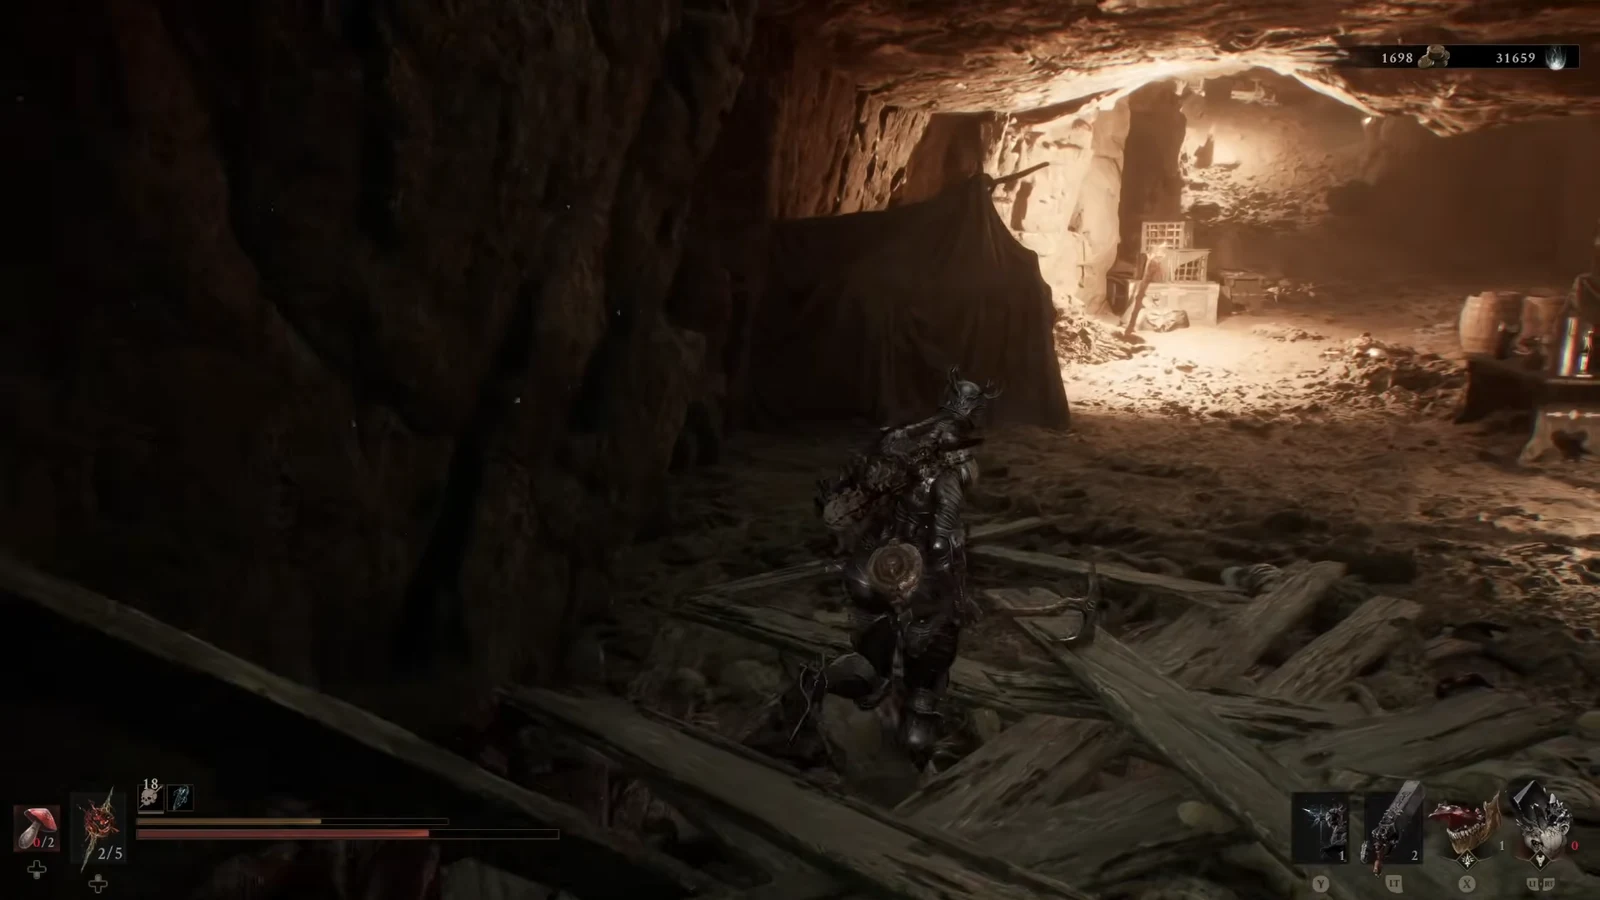
If you never spring the trap, the Hideout Cage Key, the Chest Key, and the lower weapons chest do not appear. The dungeon still finishes the same way upstairs.
Hideout Cage Key and Chest Key
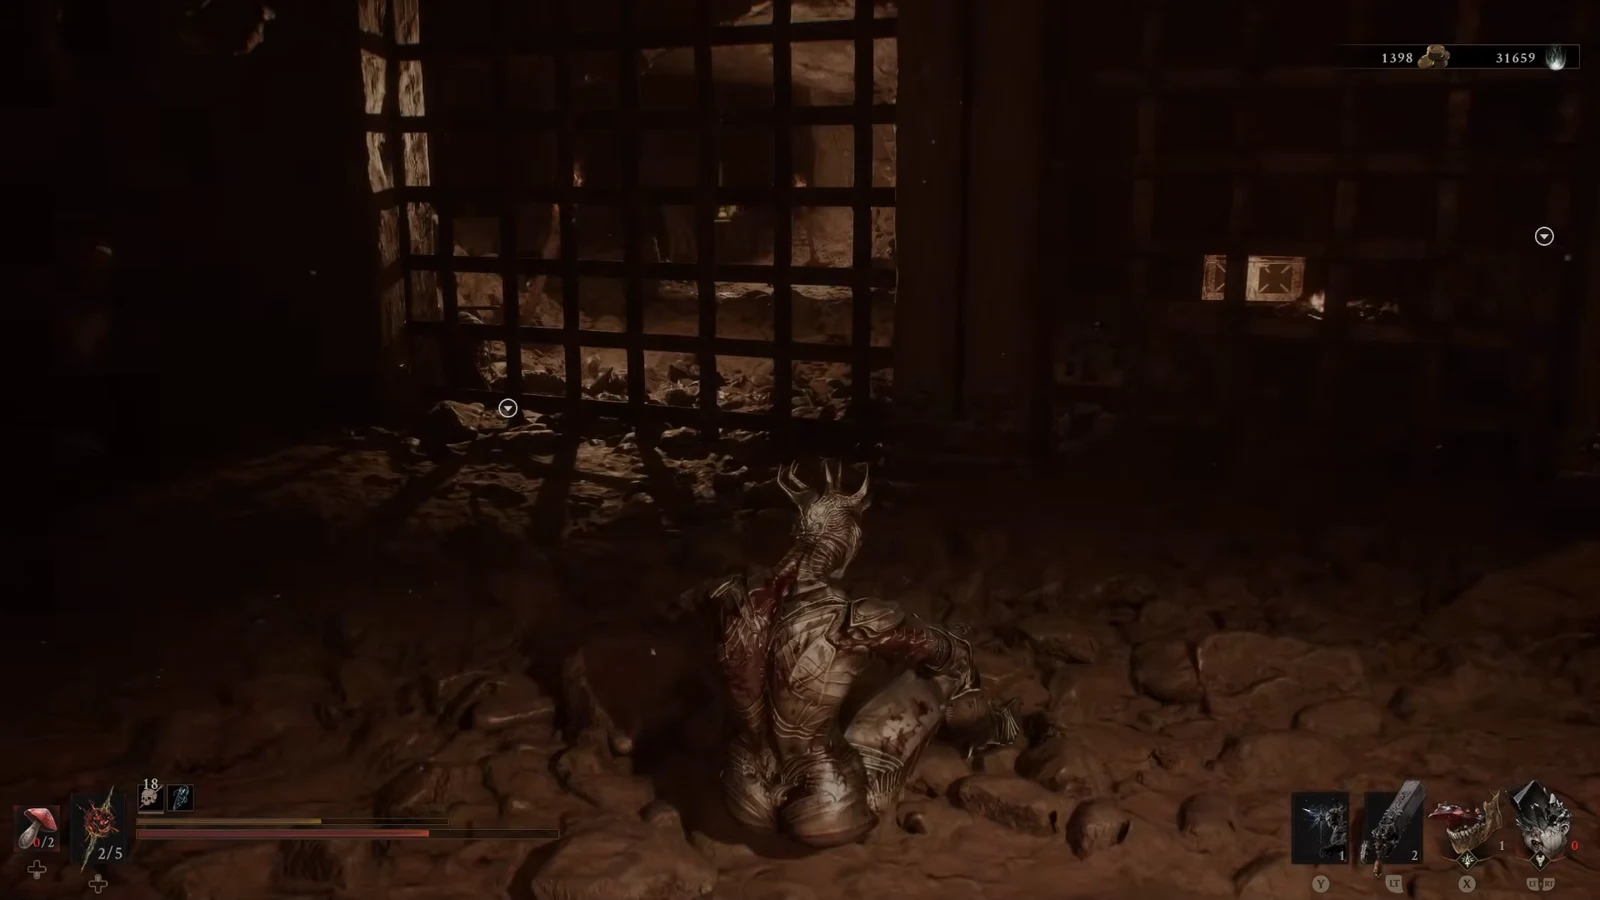
Use this path only if the boards already dropped you. You wake in a barred cell with no weapons. The way out is a pair of keys sitting in the same room.
Wooden bridge after you rearm
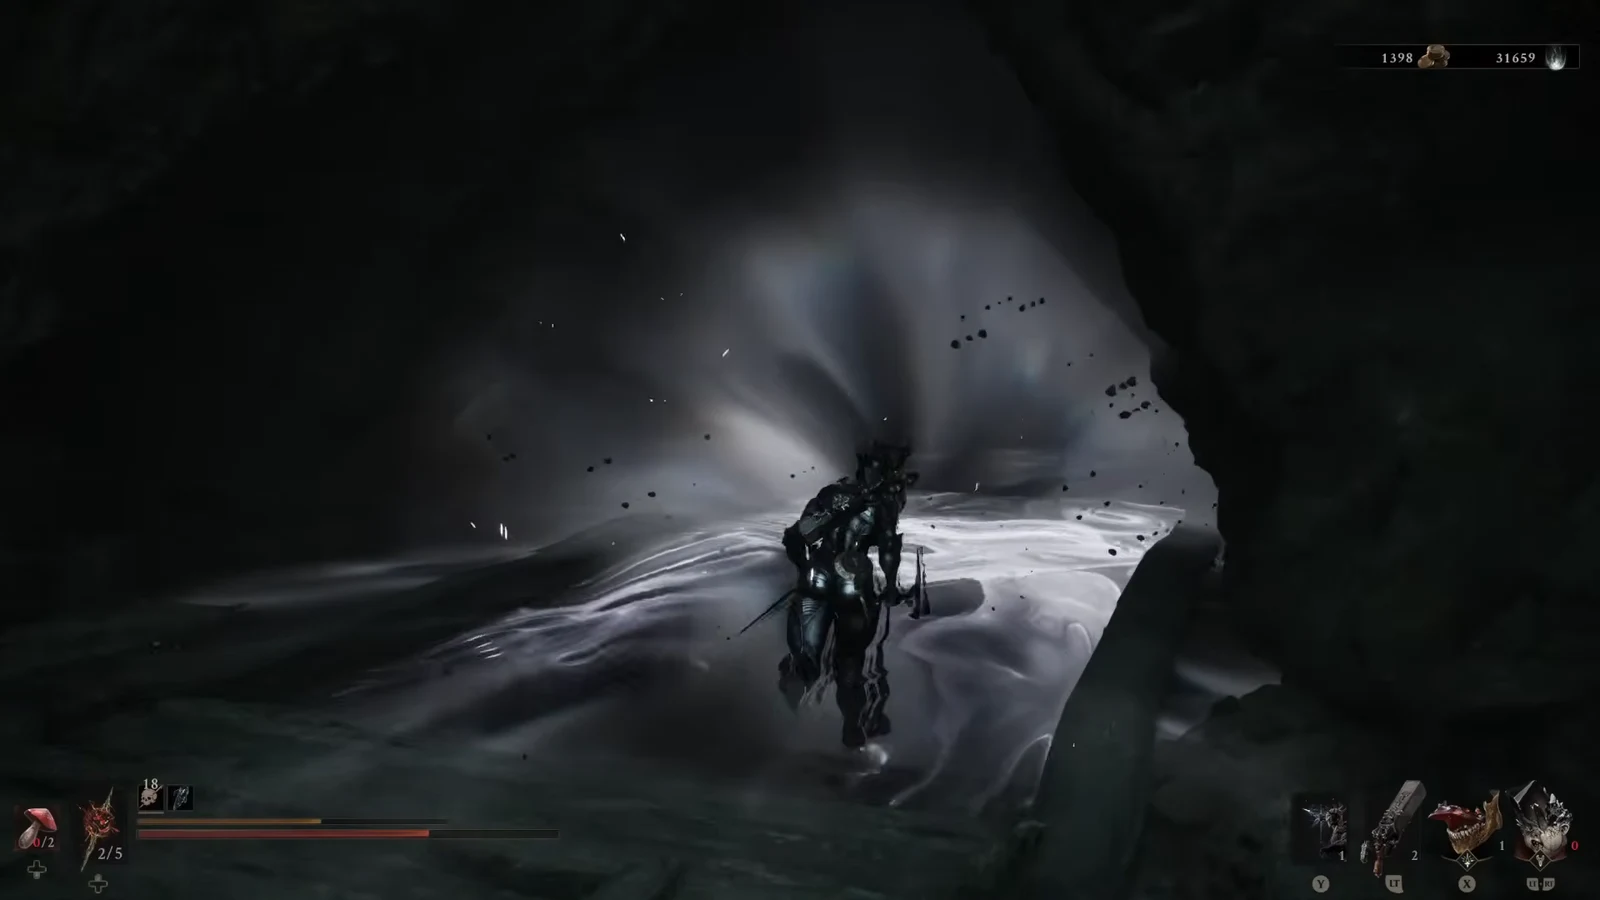
Both routes meet again in the tunnel that leads back toward the entrance. A gap blocks the path. A wooden plank hangs above it, held by ropes, cloth, or a chain you can shoot.
Once you are armed again, the same tunnel is just a combat path. Keep the HUD up and push toward the brighter chamber ahead.
Laterite chest in the campfire room
The brigands rest around a fire in the upper room. Clear them before you open the chest. Weaker ones cluster near pots and explosive jars. Shoot those pots from range to drop the cluster. Do not swing a melee weapon into the pots. The blast can knock you out of your Shell.
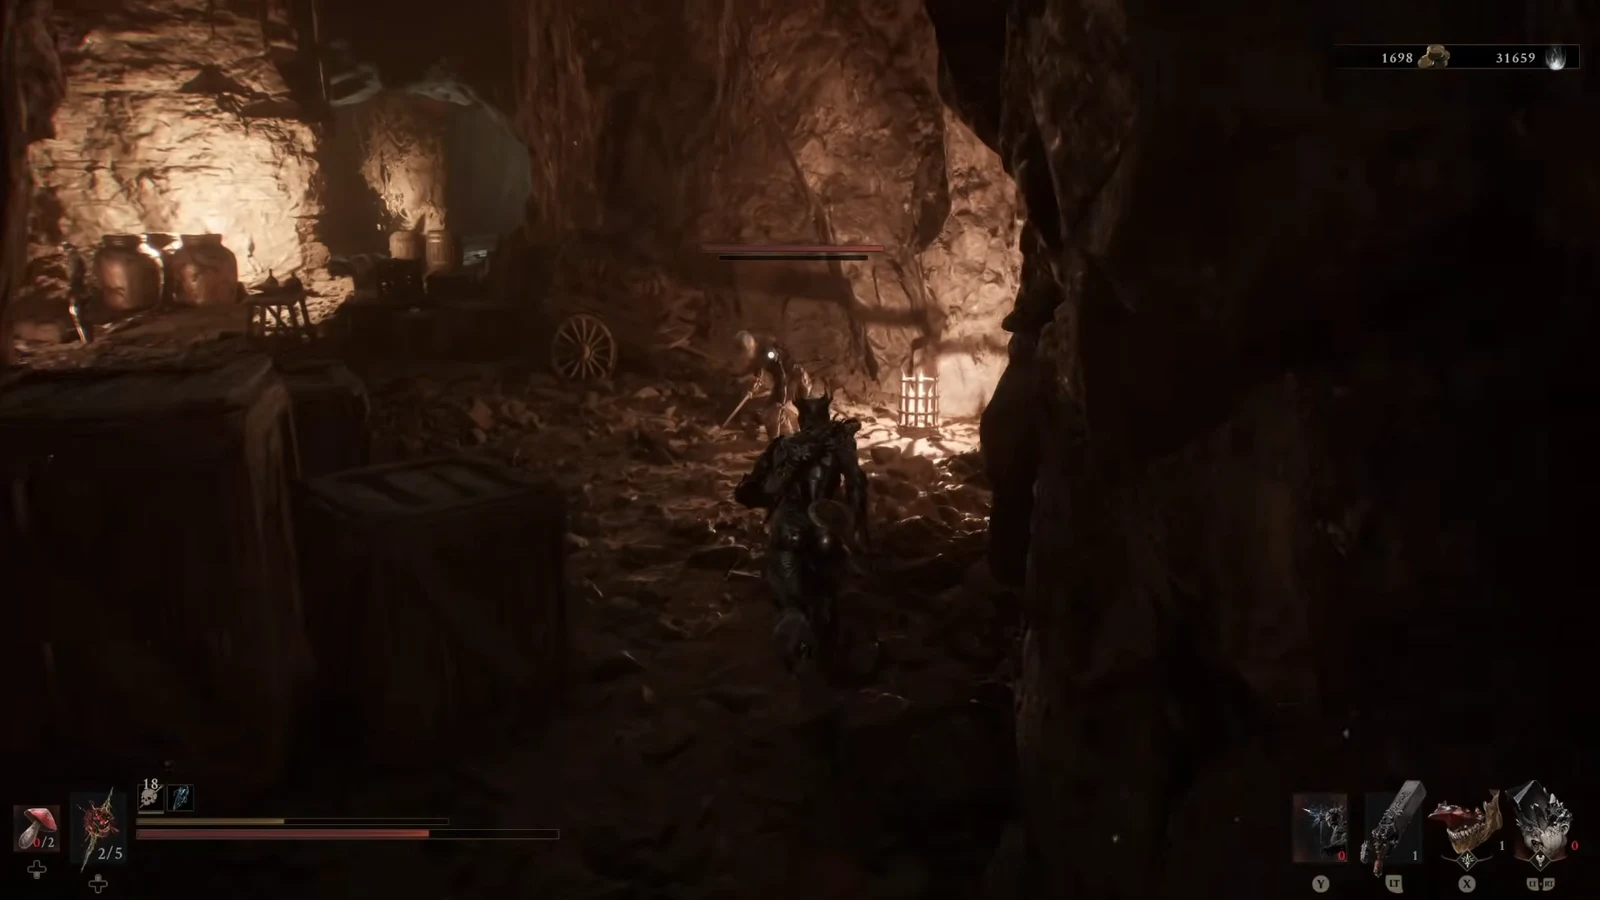
When the room is empty, open the bone chest on the left side of the camp. Laterite is the prize, and it is the only chest loot that matters here. You use Laterite to upgrade weapons. Bandits also drop Coin and Gloom like other enemies. There is no second hidden room and no extra key once that chest is open.
You know the dungeon is done when Laterite is in your inventory and you can retrace to the room where the floor broke, then ride the elevator back to Blackridge Pass. If you skipped the pitfall, that same chest is already next to the entrance path, so the run ends even sooner.
| Item | Where it appears |
|---|---|
| Ventrium | Inside the cell after the fall |
| Hideout Cage Key | Ground to the left of the cell door |
| Chest Key | Top of the small cages near the tent |
| Weapons chest | By the lower campfire, needs the Chest Key |
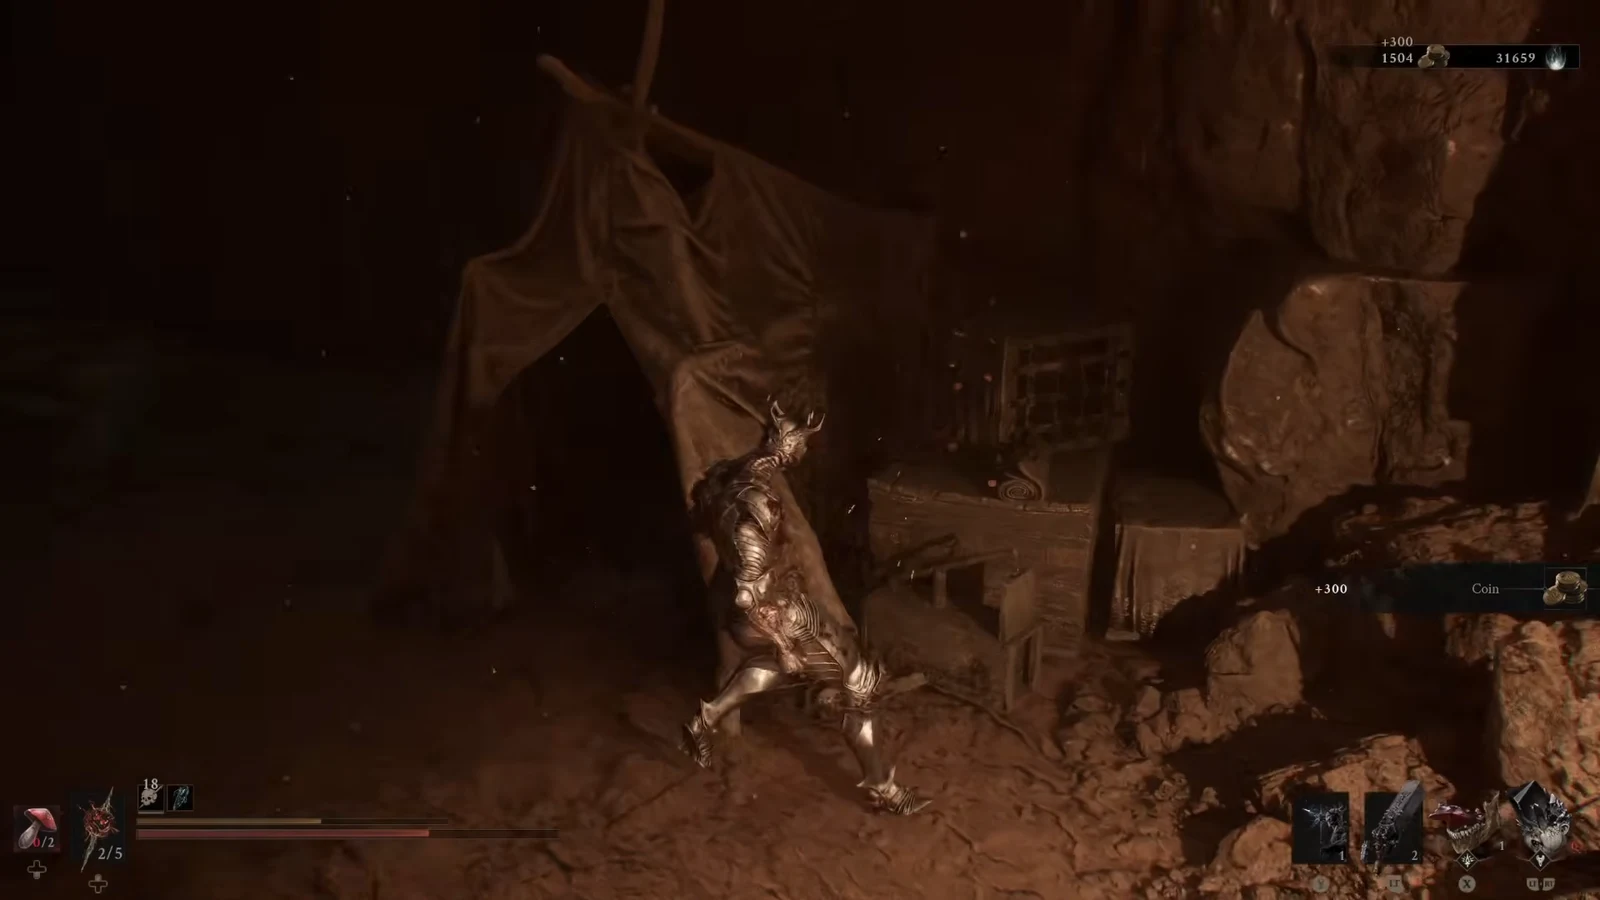
| 300 Coin | Table in front of the tent |
| Laterite | Chest in the upper campfire room |
Skip the boards and the first five rows of that table never spawn. The Laterite chest still does. That is the whole hideout. Take the upgrade material and leave.