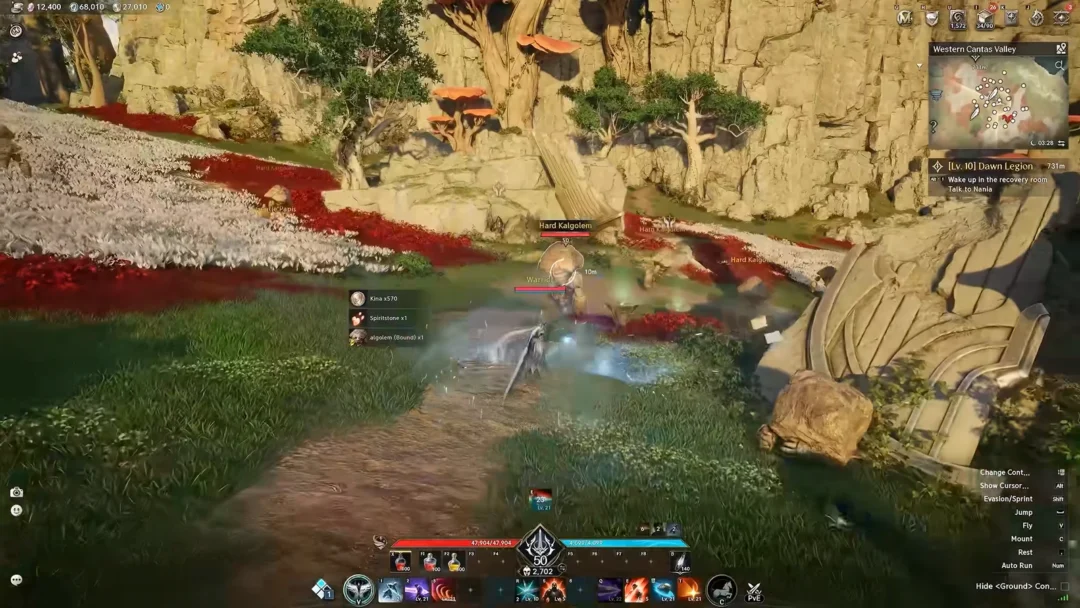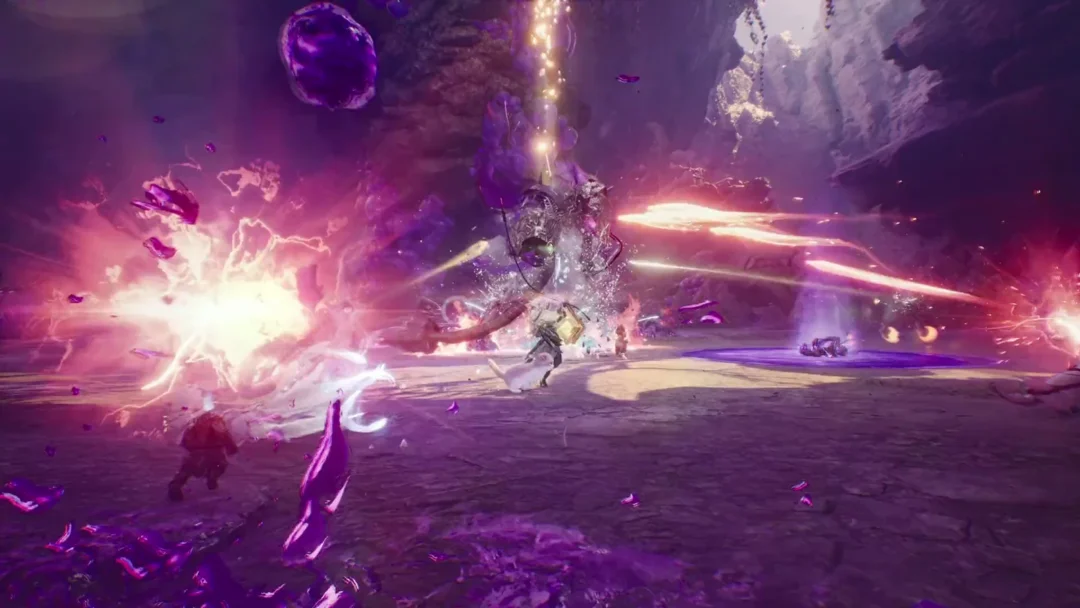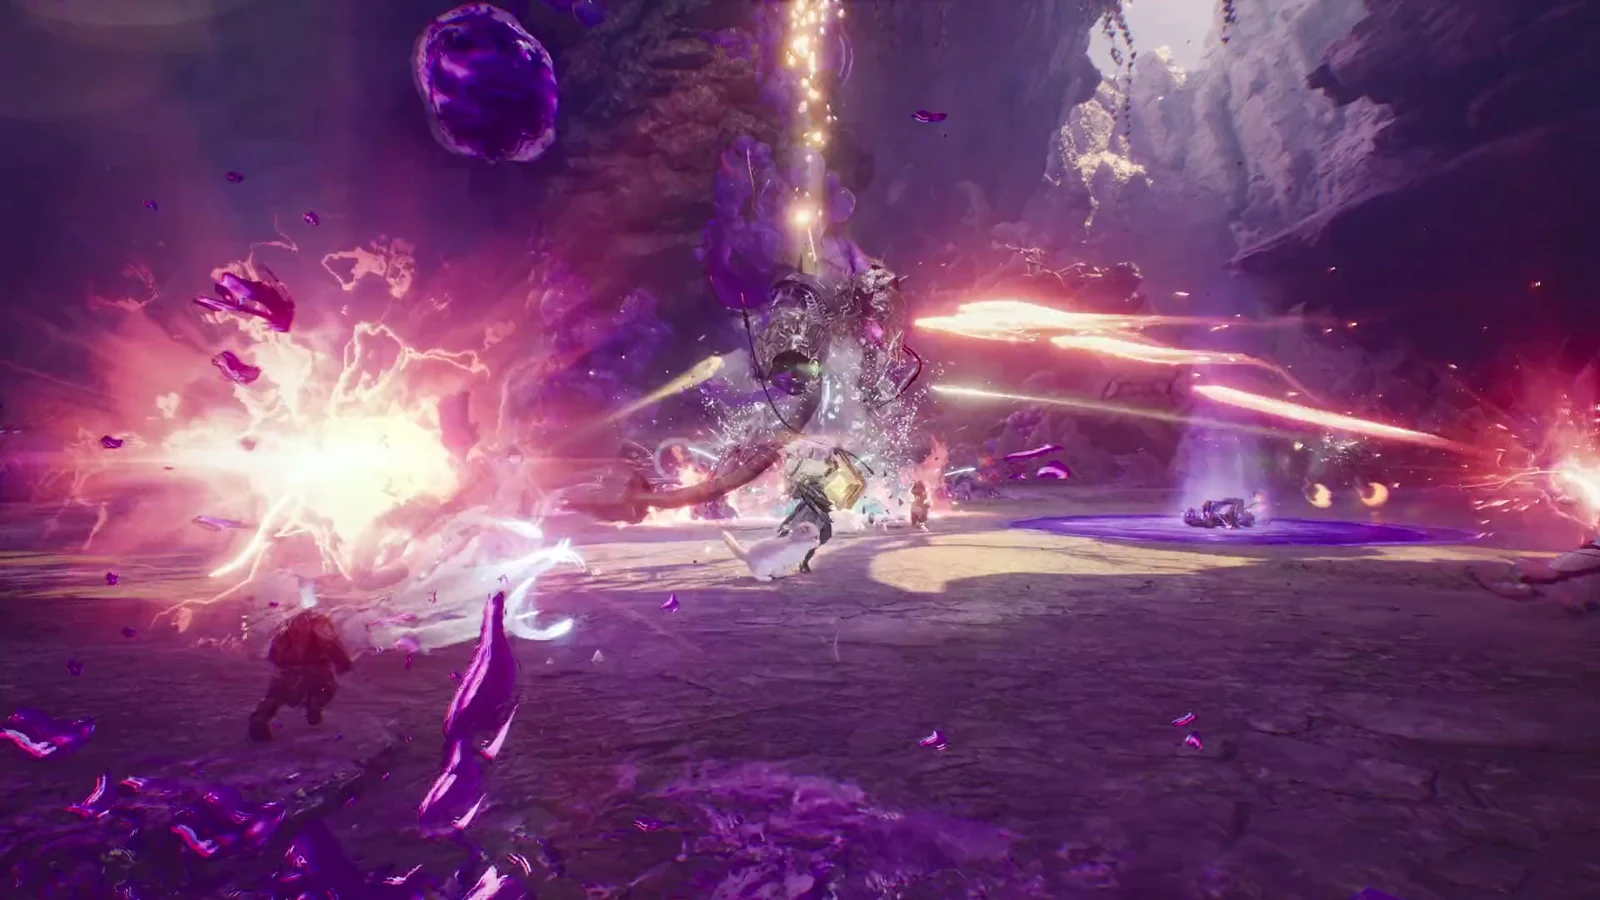
Shattered Arkanis is a party dungeon in AION 2 built around three Void-tainted bosses and the Arcana and Amplify Stone Fragments they drop. It runs as a Transcendence instance for small groups, and the reward pool is the reason most players return to it week after week.
Quick answer: Clear a 2–5 player run of Siliator of Deceit, Ruthilis of Pain and Talisra of the Void — all level 56 — and each one drops an Amplify Stone Fragment at 20%, alongside Arcana cards and stones.
Entry requirements and weekly limits
Shattered Arkanis opens at level 45 and takes a group of two to five players. It has an Exploration mode and a four-stage Transcendence track, and the gear score the game asks for climbs with each Transcendence stage.
| Transcendence stage | Required gear score |
|---|---|
| Stage 1 | 1,600 |
| Stage 2 | 1,900 |
| Stage 3 | 2,200 |
| Stage 4 | 2,500 |
Reward claims are gated by the Remaining Unobtained Cube Count counter. You get 10 of these per week, hold up to 10 at a time, and the count resets every Wednesday. Higher stages layer extra hazards on top of the base fight: Stage 2 spawns poison blood zones where elite enemies die, Stage 3 empowers nearby surviving monsters, and Stage 4 strengthens the bosses’ stagger bars.
You cannot reach the final boss by rushing. Trash packs and the mini-bosses feed a progression counter, and the final encounter stays locked until that requirement is met, so unfinished rooms must be cleared before Talisra becomes available.
The three bosses and their drops
All three bosses are level 56 Hero-rank Cogni. Each one occupies a different room, and the drop tables below list every item with its exact per-kill chance. Items shown without a percentage drop on every kill.
Siliator of Deceit
Siliator of Deceit holds the Shattered Floating Temple and is the first of the three to fall in most routes. Its fight turns on chakra collisions that begin at 75% HP, where two marked players must cross their line indicators so the chakras meet and shatter, followed by a returning-chakram phase at 60% HP.

| Drop | Grade | Chance |
|---|---|---|
 Soul Codex (Bound) Soul Codex (Bound) | Special | 40% |
 Amplify Stone Fragment (Unique) (Bound) Amplify Stone Fragment (Unique) (Bound) | Unique | 20% |
 Arcana: Chalice of Vigor (Bound) Arcana: Chalice of Vigor (Bound) | Common | 20% |
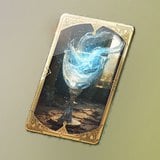 Arcana: Chalice of Magic (Bound) Arcana: Chalice of Magic (Bound) | Common | 20% |
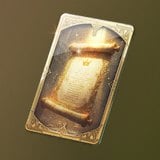 Arcana: Parchment of Vigor (Bound) Arcana: Parchment of Vigor (Bound) | Common | 11.3% |
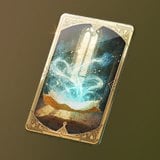 Arcana: Parchment of Magic (Bound) Arcana: Parchment of Magic (Bound) | Common | 11.3% |
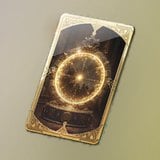 Arcana: Mirror of Vigor (Bound) Arcana: Mirror of Vigor (Bound) | Common | 11.3% |
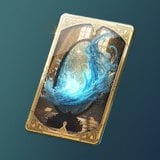 Arcana: Mirror of Magic (Bound) Arcana: Mirror of Magic (Bound) | Common | 11.3% |
| Lesser Manastone (Bound) | Common | 10% |
| Lesser Soulstone (Bound) | Common | 10% |
 Intermediate Manastone (Bound) Intermediate Manastone (Bound) | Common | 2.0% |
 Intermediate Soulstone (Bound) Intermediate Soulstone (Bound) | Common | 2.0% |
| Kina | Common | — |
Ruthilis of Pain
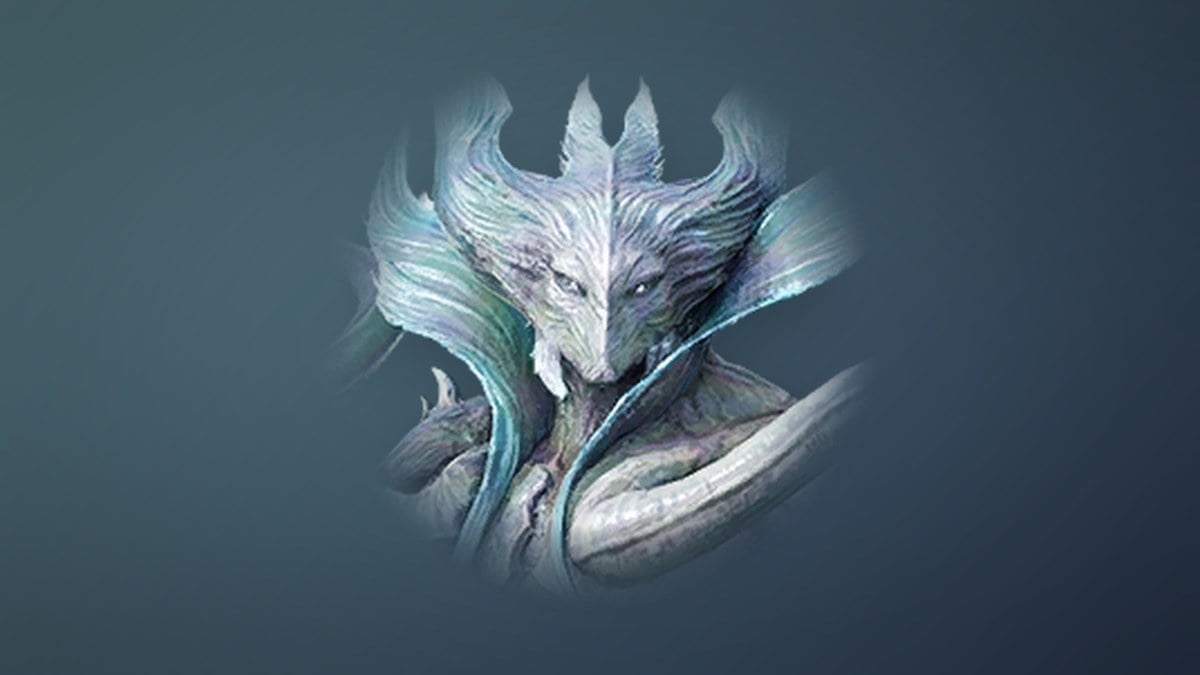
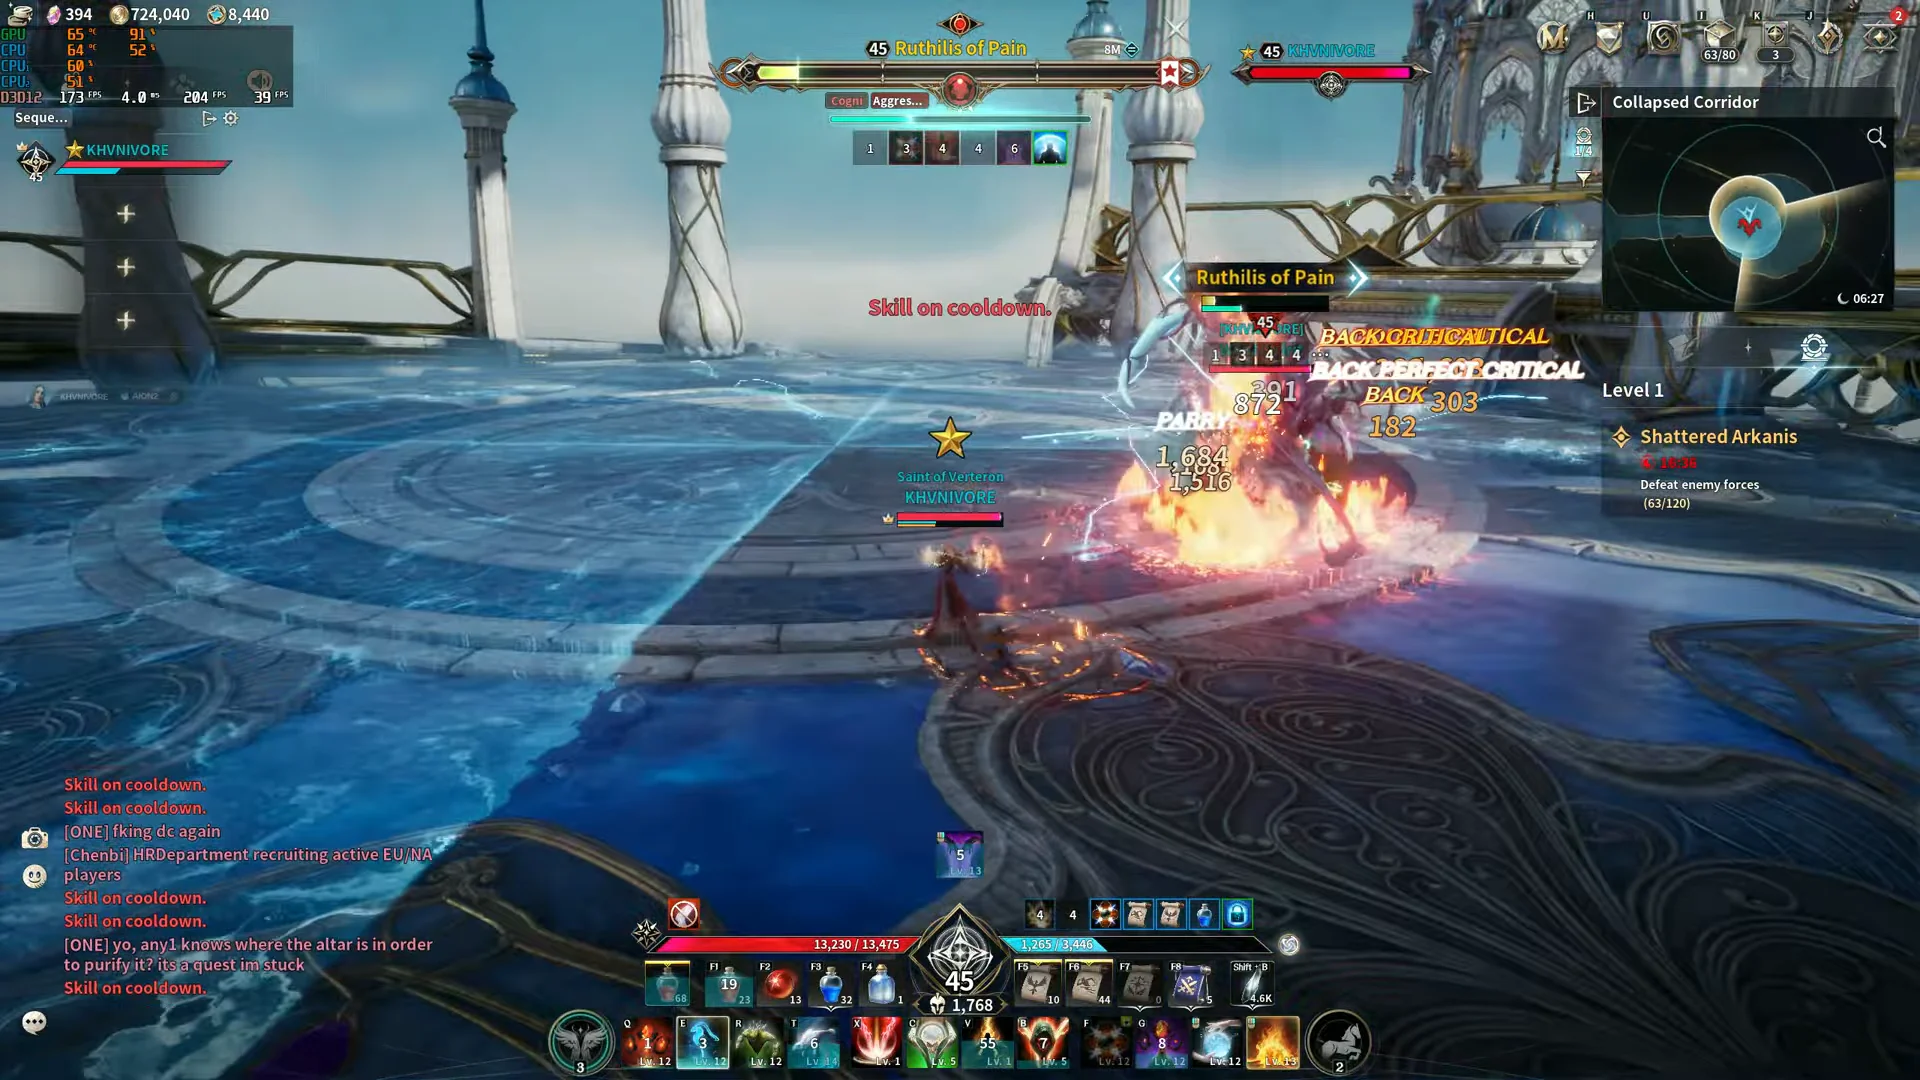
Ruthilis of Pain waits in the Collapsed Corridor and shares the same drop table as Siliator. The fight is mostly about floor control: a quadrant cleave leaves lingering lightning puddles that kill on contact, and the boss layers on party circle drops that turn into jumpable time-bomb rings.
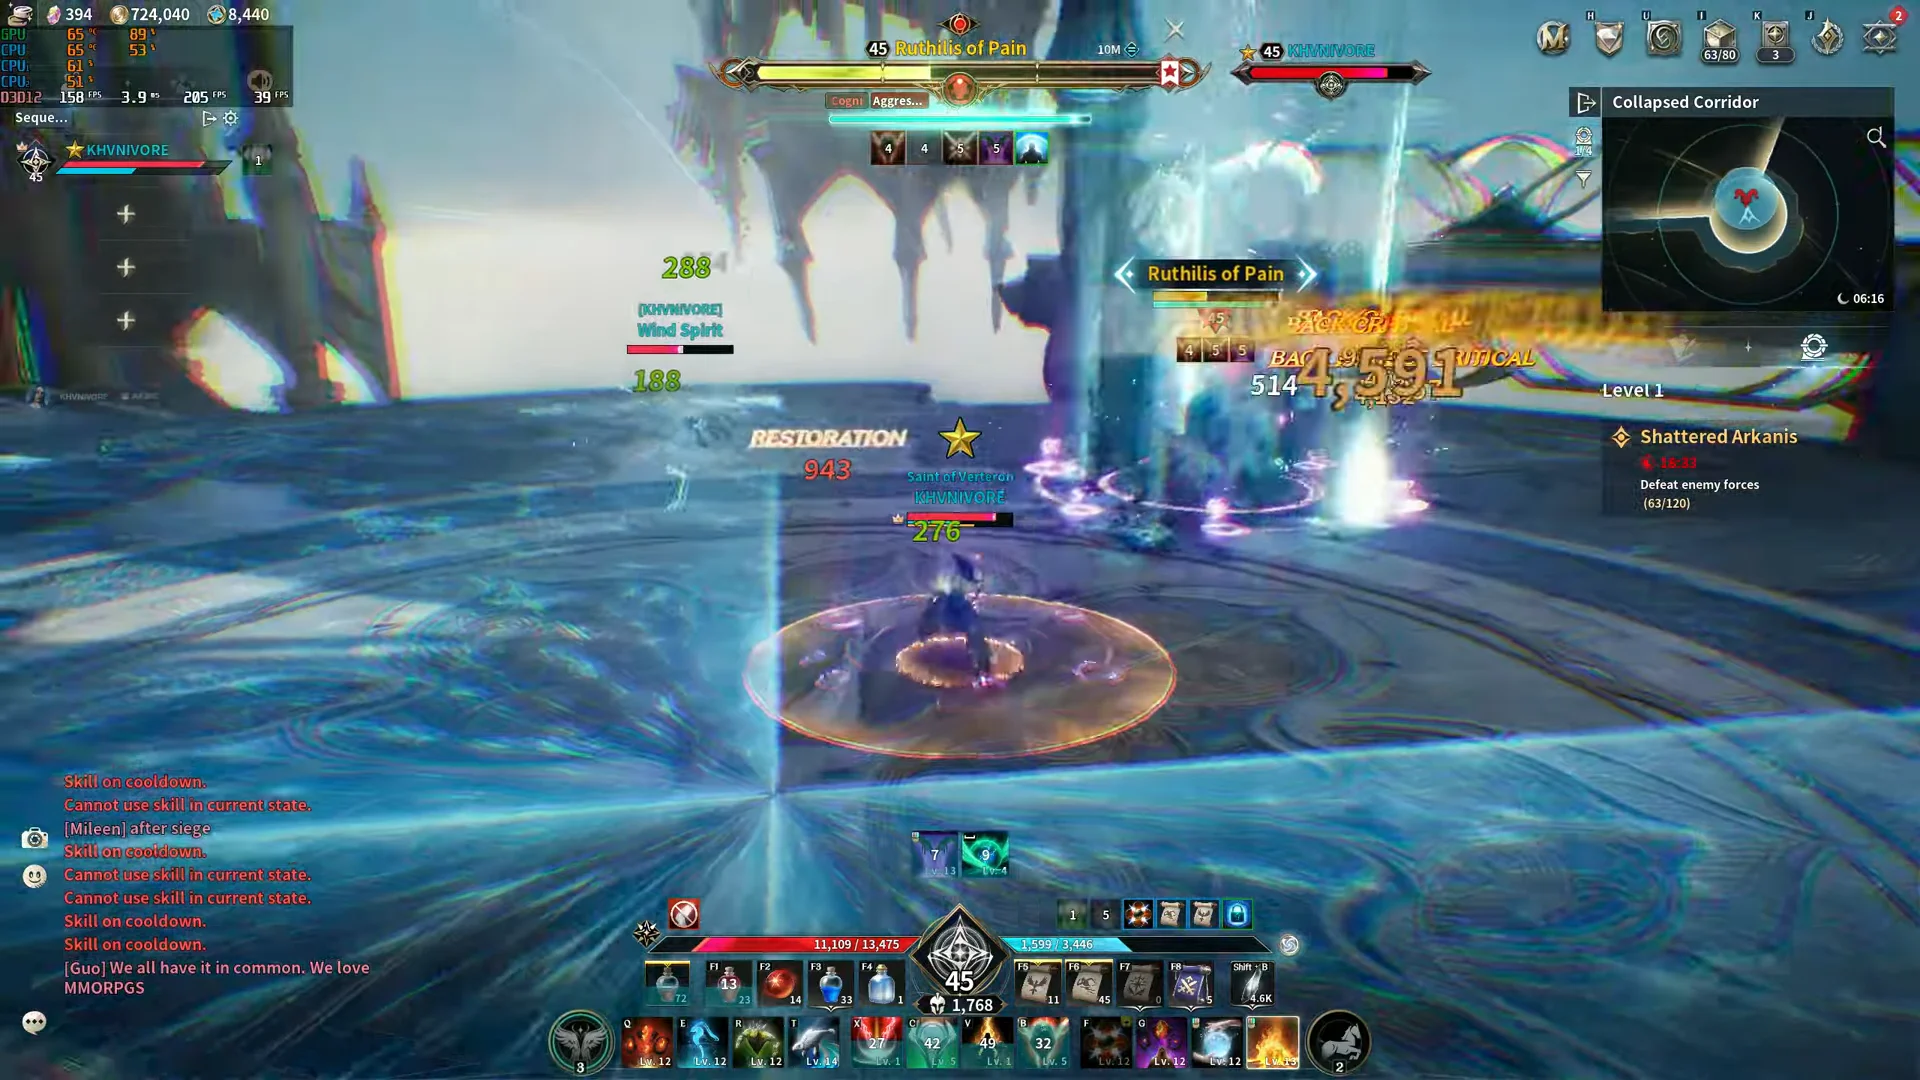
From 95% HP the boss adds a donut jump onto the furthest player, and from 50% HP it fires guillotine line attacks that bleed and knock down. Read the orange rectangular telegraphs early and keep moving across the platform rather than standing still.
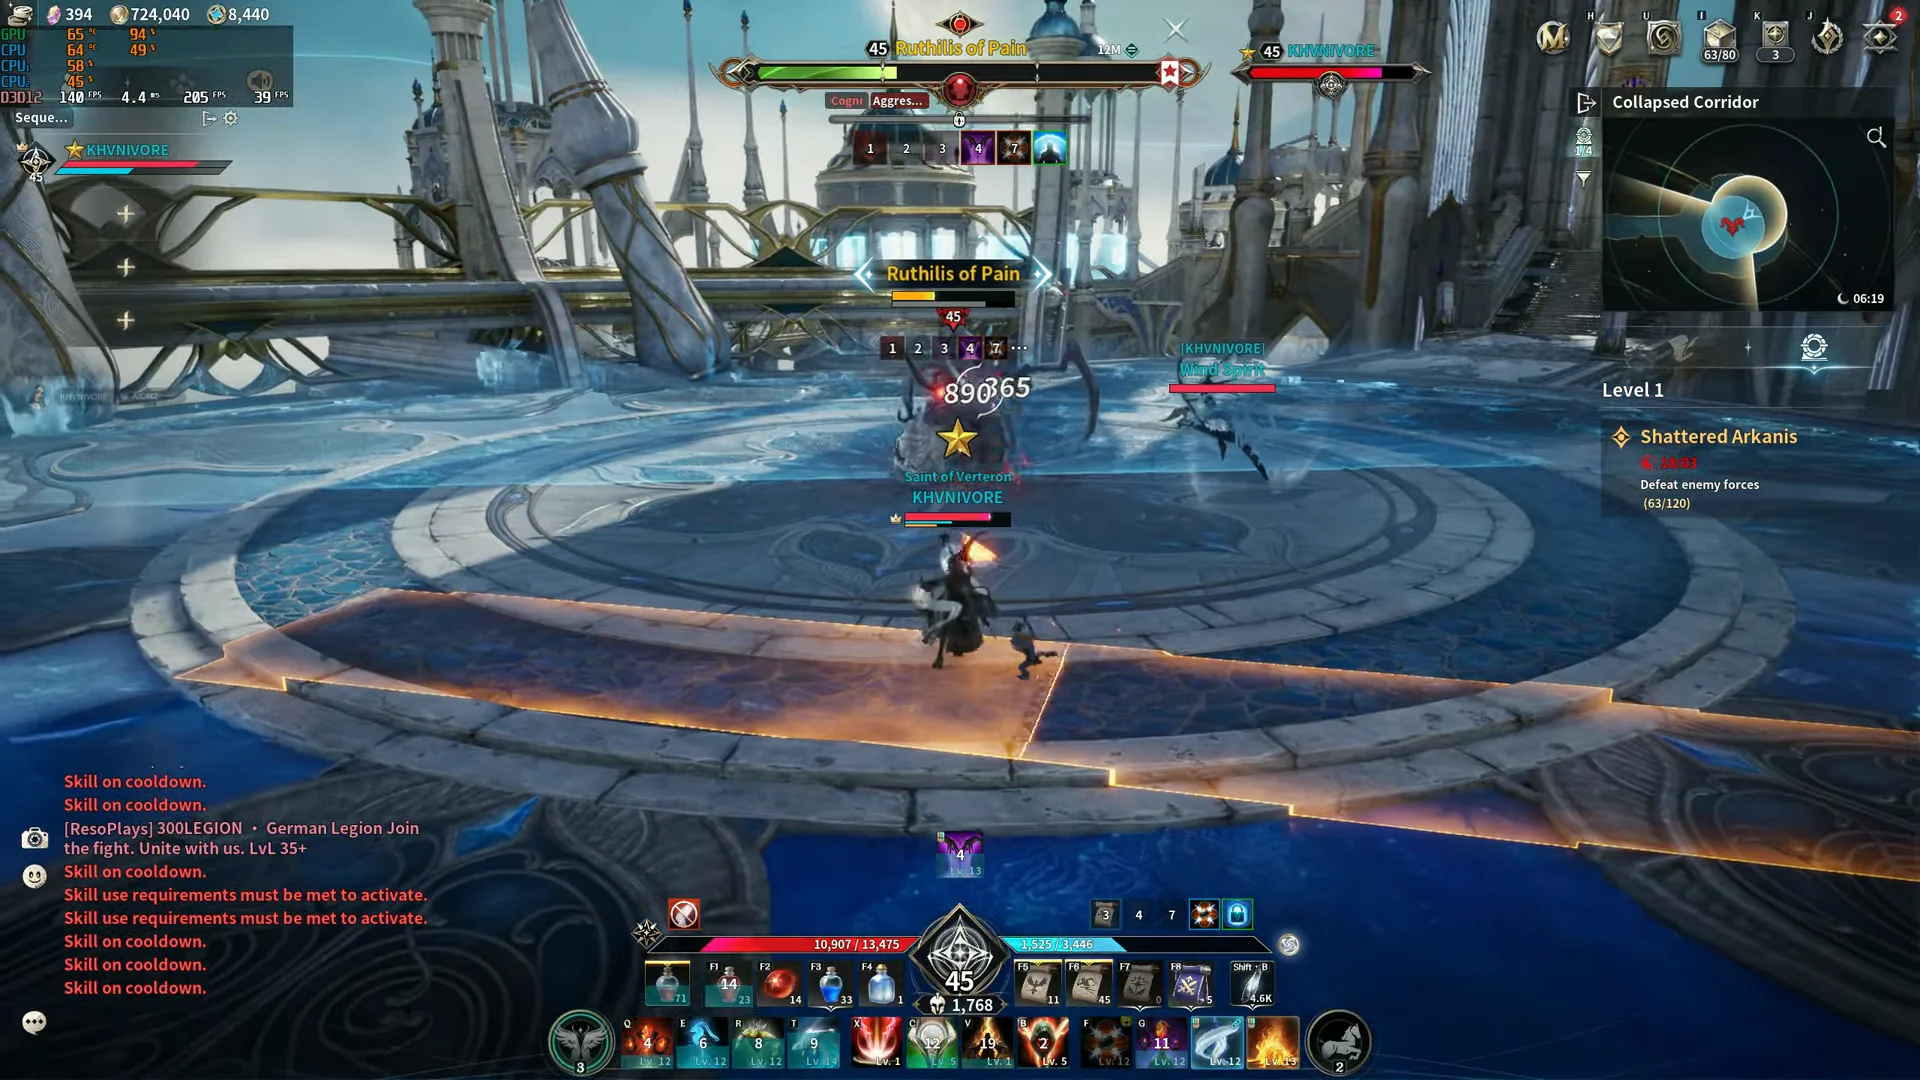
The red circular indicators are the point-blank bursts, so keep attacking while watching for the next telegraph color rather than tunnelling on your rotation.
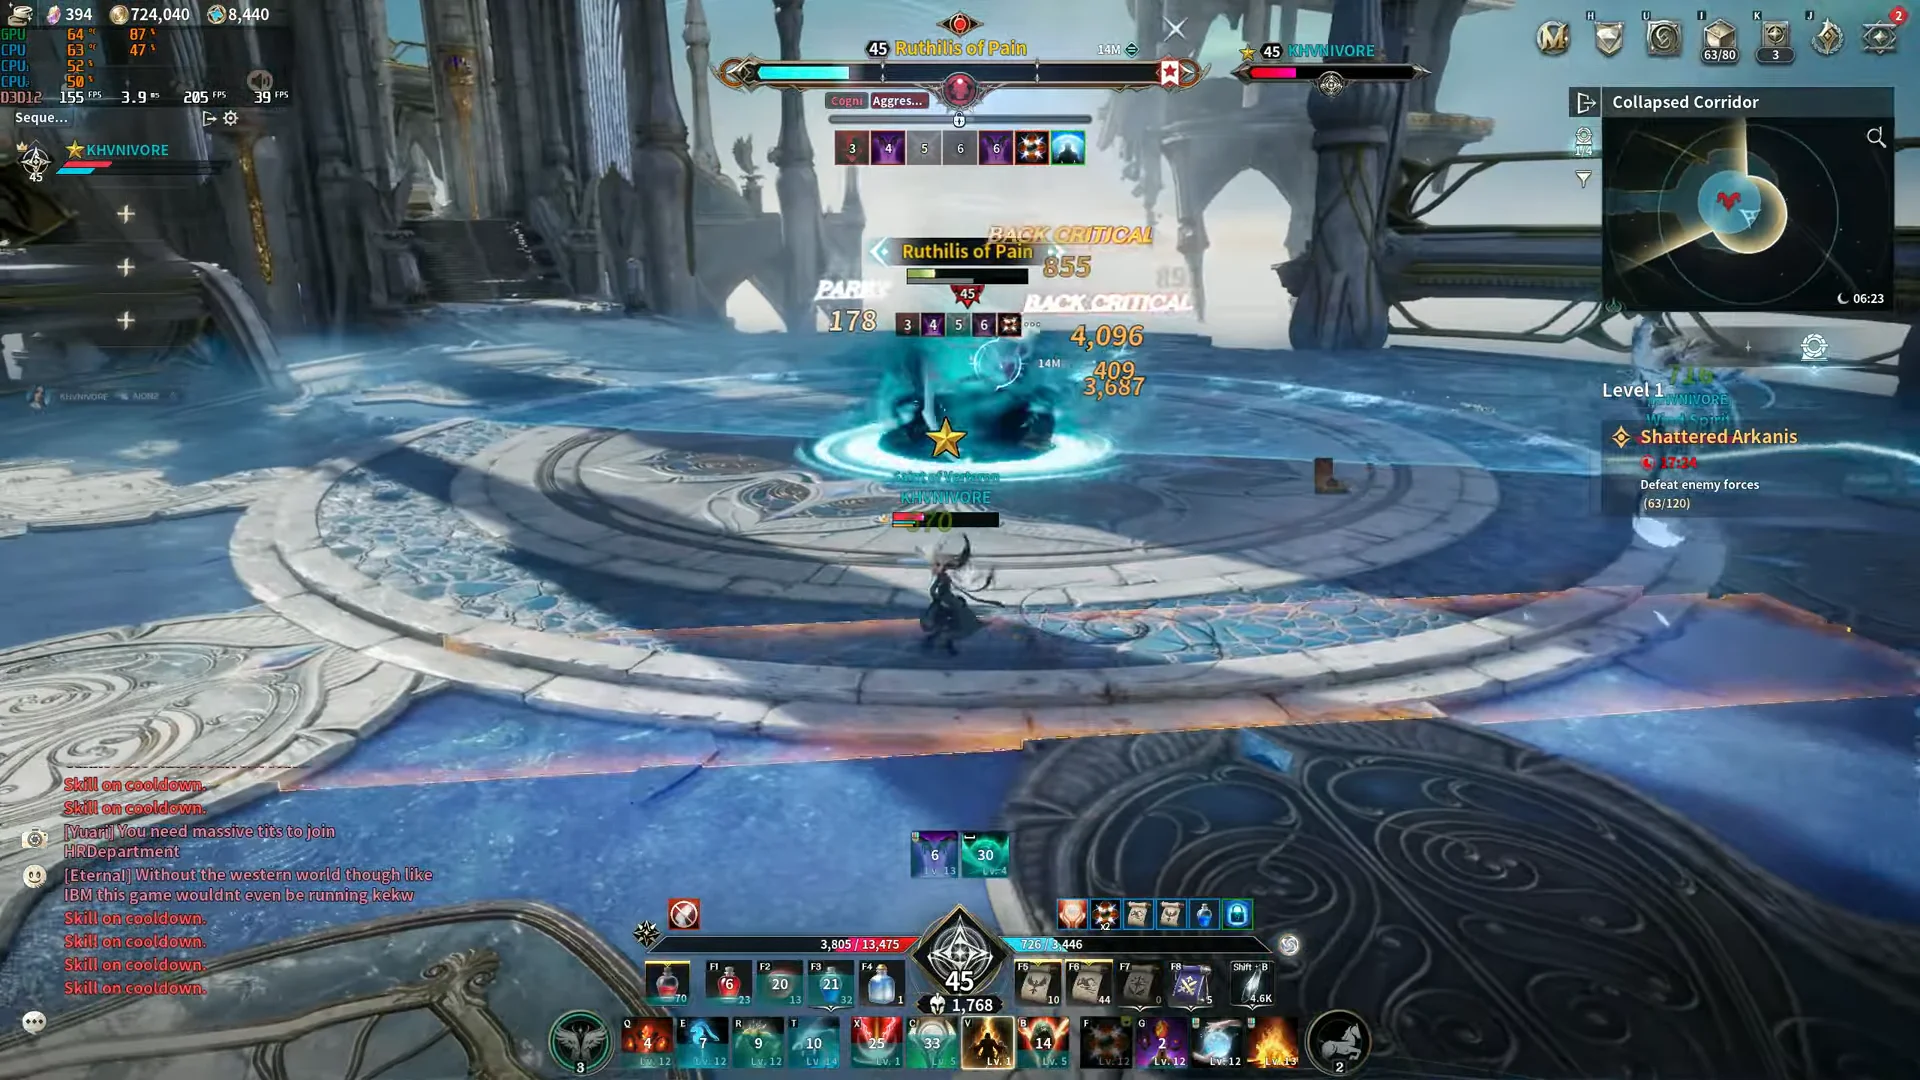
As the health bar drops, the arena fills with overlapping area-of-effect waves. Prioritise survival over damage here, because a single death inside a puddle wave is hard to recover from in a small group.
| Drop | Grade | Chance |
|---|---|---|
| Soul Codex (Bound) | Special | 40% |
| Amplify Stone Fragment (Unique) (Bound) | Unique | 20% |
| Arcana: Chalice of Vigor (Bound) | Common | 20% |
| Arcana: Chalice of Magic (Bound) | Common | 20% |
| Arcana: Parchment of Vigor (Bound) | Common | 11.3% |
| Arcana: Parchment of Magic (Bound) | Common | 11.3% |
| Arcana: Mirror of Vigor (Bound) | Common | 11.3% |
| Arcana: Mirror of Magic (Bound) | Common | 11.3% |
| Lesser Manastone (Bound) | Common | 10% |
| Lesser Soulstone (Bound) | Common | 10% |
| Intermediate Manastone (Bound) | Common | 2.0% |
| Intermediate Soulstone (Bound) | Common | 2.0% |
| Kina | Common | — |
Talisra of the Void
Talisra of the Void is the final boss and sits in the Void Altar. Its reward table is the richest of the three, upgrading the Arcana to Epic and Rare grades and guaranteeing Silentium, Soul Codex, Enhance Stone and Kina on every kill.

The encounter uses colored droplets at 75% and 30% HP: players pick up purple or white marks, then drop matching protective domes near the boss. When Talisra flashes a color sequence, you stand inside the dome of each matching color to survive the raid-wide wave. A light spear check and a diamond jail at 50% HP round out the mechanics.
| Drop | Grade | Chance |
|---|---|---|
| Amplify Stone Fragment (Unique) (Bound) | Unique | 20% |
| Arcana: Parchment of Vigor (Bound) | Epic | 16.9% |
| Arcana: Parchment of Magic (Bound) | Epic | 16.9% |
| Arcana: Mirror of Vigor (Bound) | Epic | 16.9% |
| Arcana: Mirror of Magic (Bound) | Epic | 16.9% |
| Arcana: Chalice of Vigor (Bound) | Rare | 11.2% |
| Arcana: Chalice of Magic (Bound) | Rare | 11.2% |
| Lesser Manastone (Bound) | Common | 30% |
| Lesser Soulstone (Bound) | Common | 30% |
| Intermediate Manastone (Bound) | Common | 6.0% |
| Intermediate Soulstone (Bound) | Common | 6.0% |
 Silentium (Bound) Silentium (Bound) | Special | — |
| Soul Codex (Bound) | Special | — |
| Enhance Stone | Common | — |
| Kina | Common | — |
What the run is worth farming for
The Amplify Stone Fragment (Unique) (Bound) is the headline reason to run the dungeon, and it drops from all three bosses at 20% per kill. Because every boss can produce it, a full clear gives you three separate 20% chances at the fragment each time.
Beyond that, the dungeon feeds two Arcana families you rely on for card progression. The Mirror and Parchment cards come from Talisra at Epic grade, 16.9% each, while the Chalice cards appear on all three bosses. Siliator and Ruthilis also top up your Lesser Manastone and Soulstone supply, and Talisra hands out Silentium and Enhance Stone on every kill.
Confirming a clear and claiming the reward
When a boss dies, the screen shows a Boss Defeated banner with the boss name, and the Odyle Energy Cube reward is placed directly into your inventory. A loot orb also drops on the arena floor with an “F Pick up” prompt, so walk over and collect it before leaving the room.
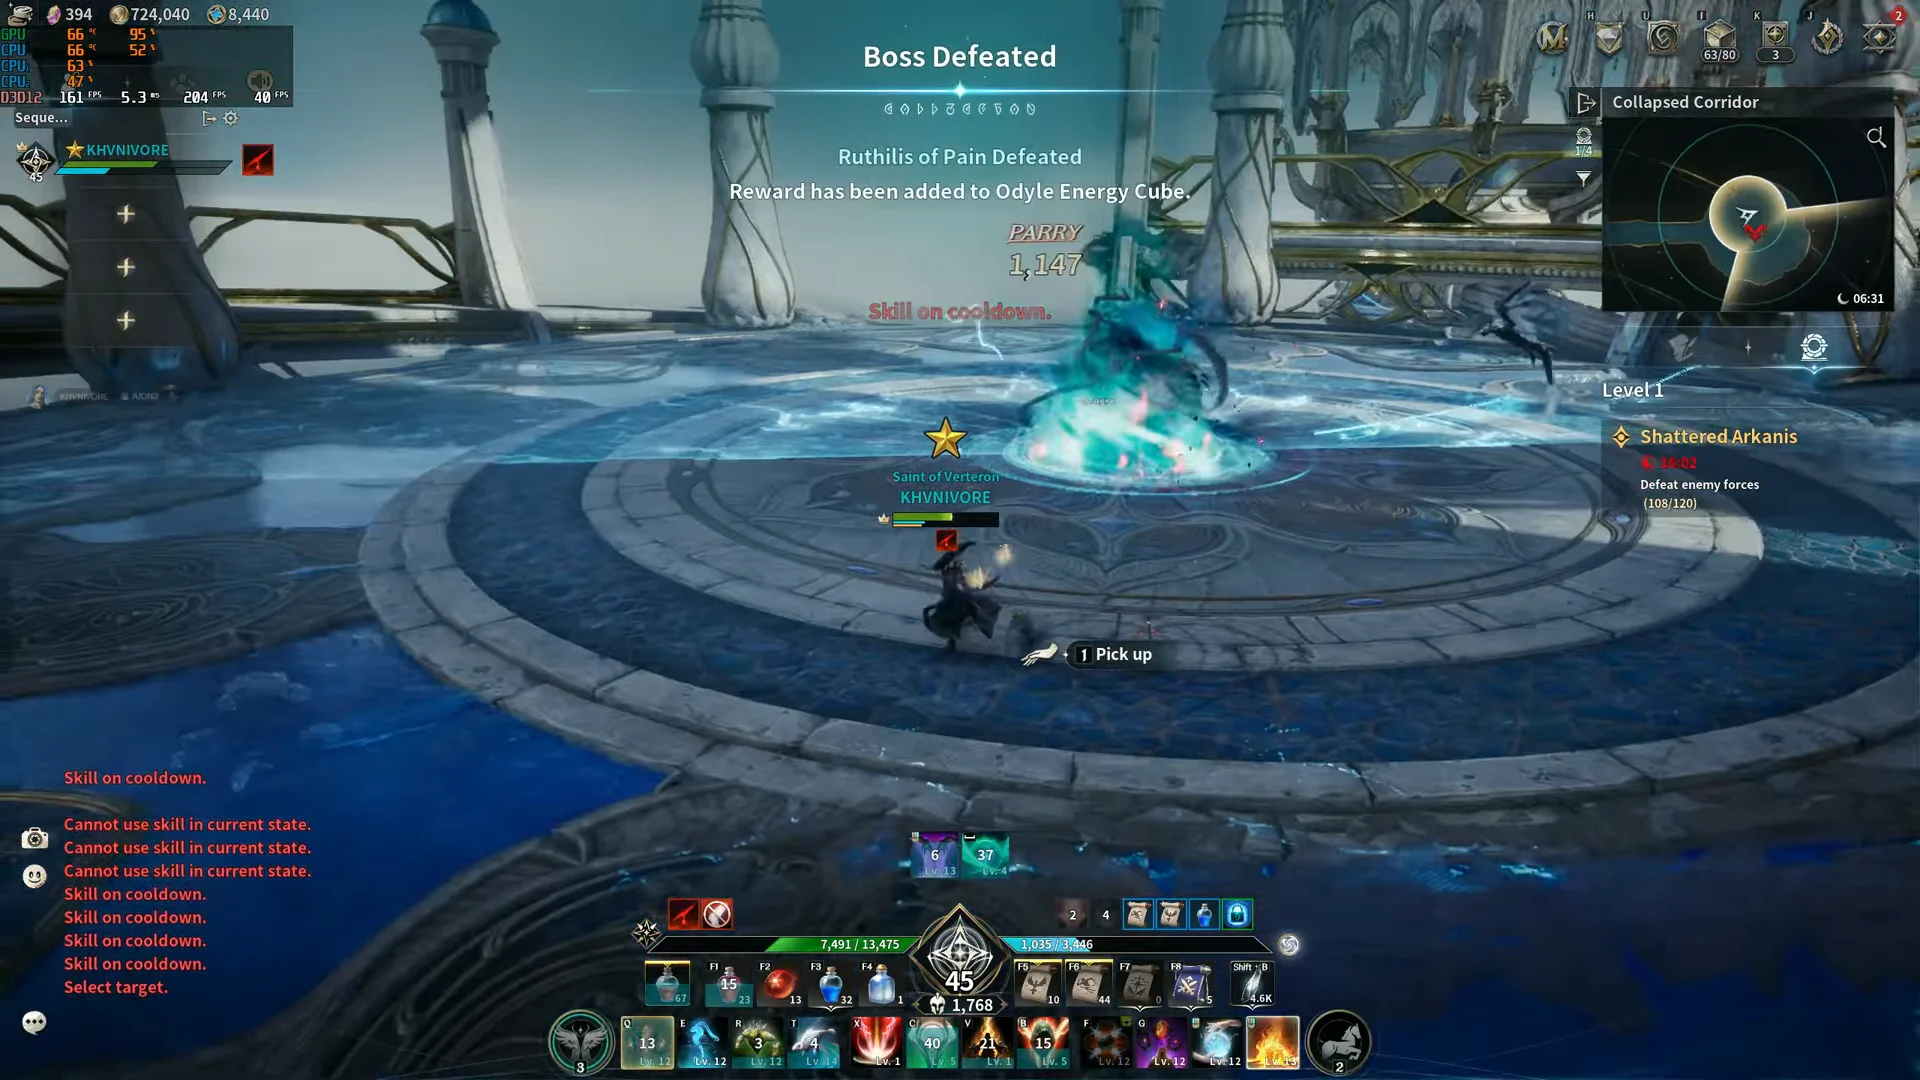
Only the reward claim counts against your weekly allowance, which is tied to the Remaining Unobtained Cube Count. With 10 claims refreshing every Wednesday, plan your Transcendence stages around the stones and Arcana you still need, since the harder stages do not change which items drop, only the grade and the hazards you clear through to reach them.