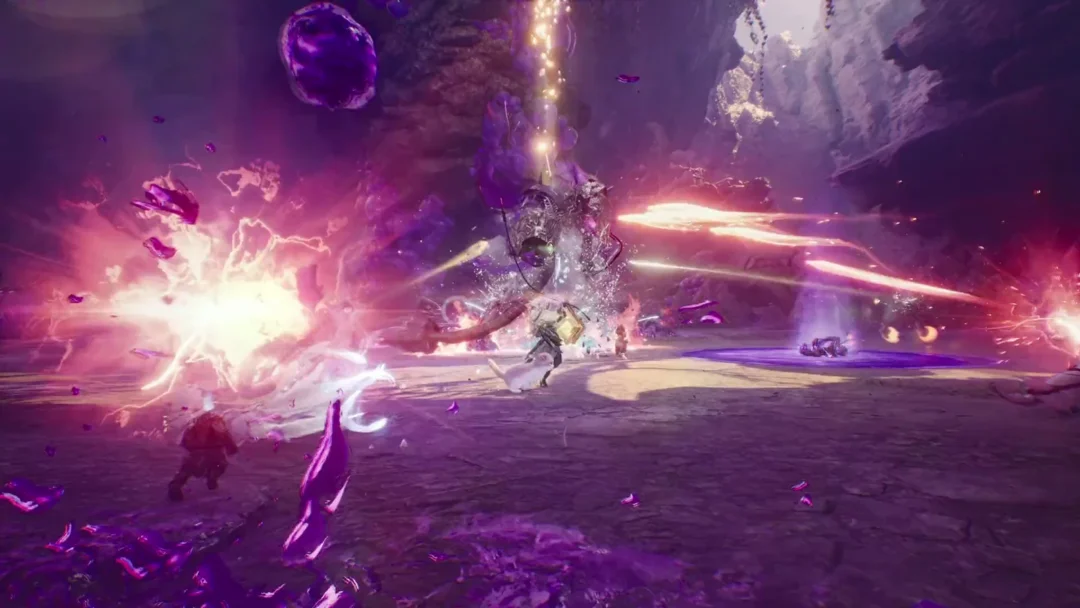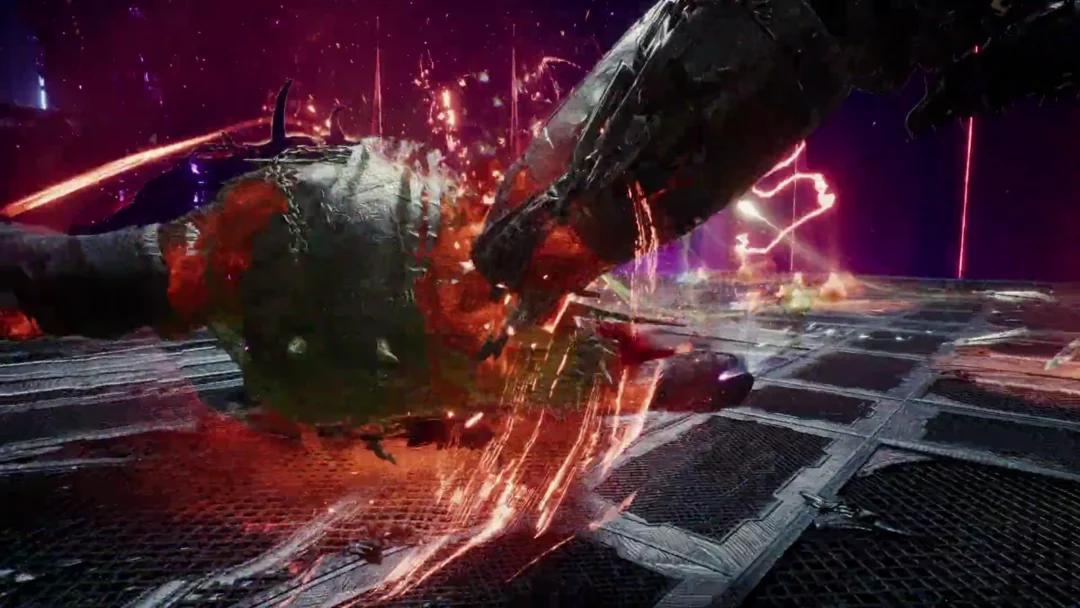
Fire Temple is a party dungeon in AION 2 built around four bosses, a fire-wall final fight, and a shared reward cube that fills up as you clear each encounter. The dungeon fits 1 to 5 players and runs on a 60-minute timer, with loot scaling by which bosses you choose to down before the end.
Quick answer: Silver Blade Rotan, Red Spark Ignus, Black Smoke Murute, and Kromede’s Desire are the four bosses. Beating the mid-bosses loads their loot into the Odyle Energy Cube; defeat Kromede’s Desire to finish the run and unlock the cube.
Fire Temple entry requirements
Fire Temple comes in two difficulties, Exploration and Conquest, each with its own gate. Exploration opens the moment you hit level 35, while Conquest asks for a higher level and far more gear score. Both allow a party of 1 to 5 and share the same 60-minute time limit.
| Difficulty | Level | Item level | Players |
|---|---|---|---|
| Exploration | 35 | 500 | 1–5 |
| Conquest | 45 | 2,100 | 1–5 |
Bosses sit at level 37 on Exploration and scale upward on higher difficulty, with the creature pool ranging up to level 74. You can run the whole thing solo at level 37, which is how the Exploration clear is usually first tackled.
Fire Temple boss order and route
The run moves from the Path of Atonement through the Burning Temple and Fire Corridor, ending at the Mirror Altar. Each boss you defeat deposits its rewards into the Odyle Energy Cube, so clearing both mid-bosses before the finale is what maximizes your loot.
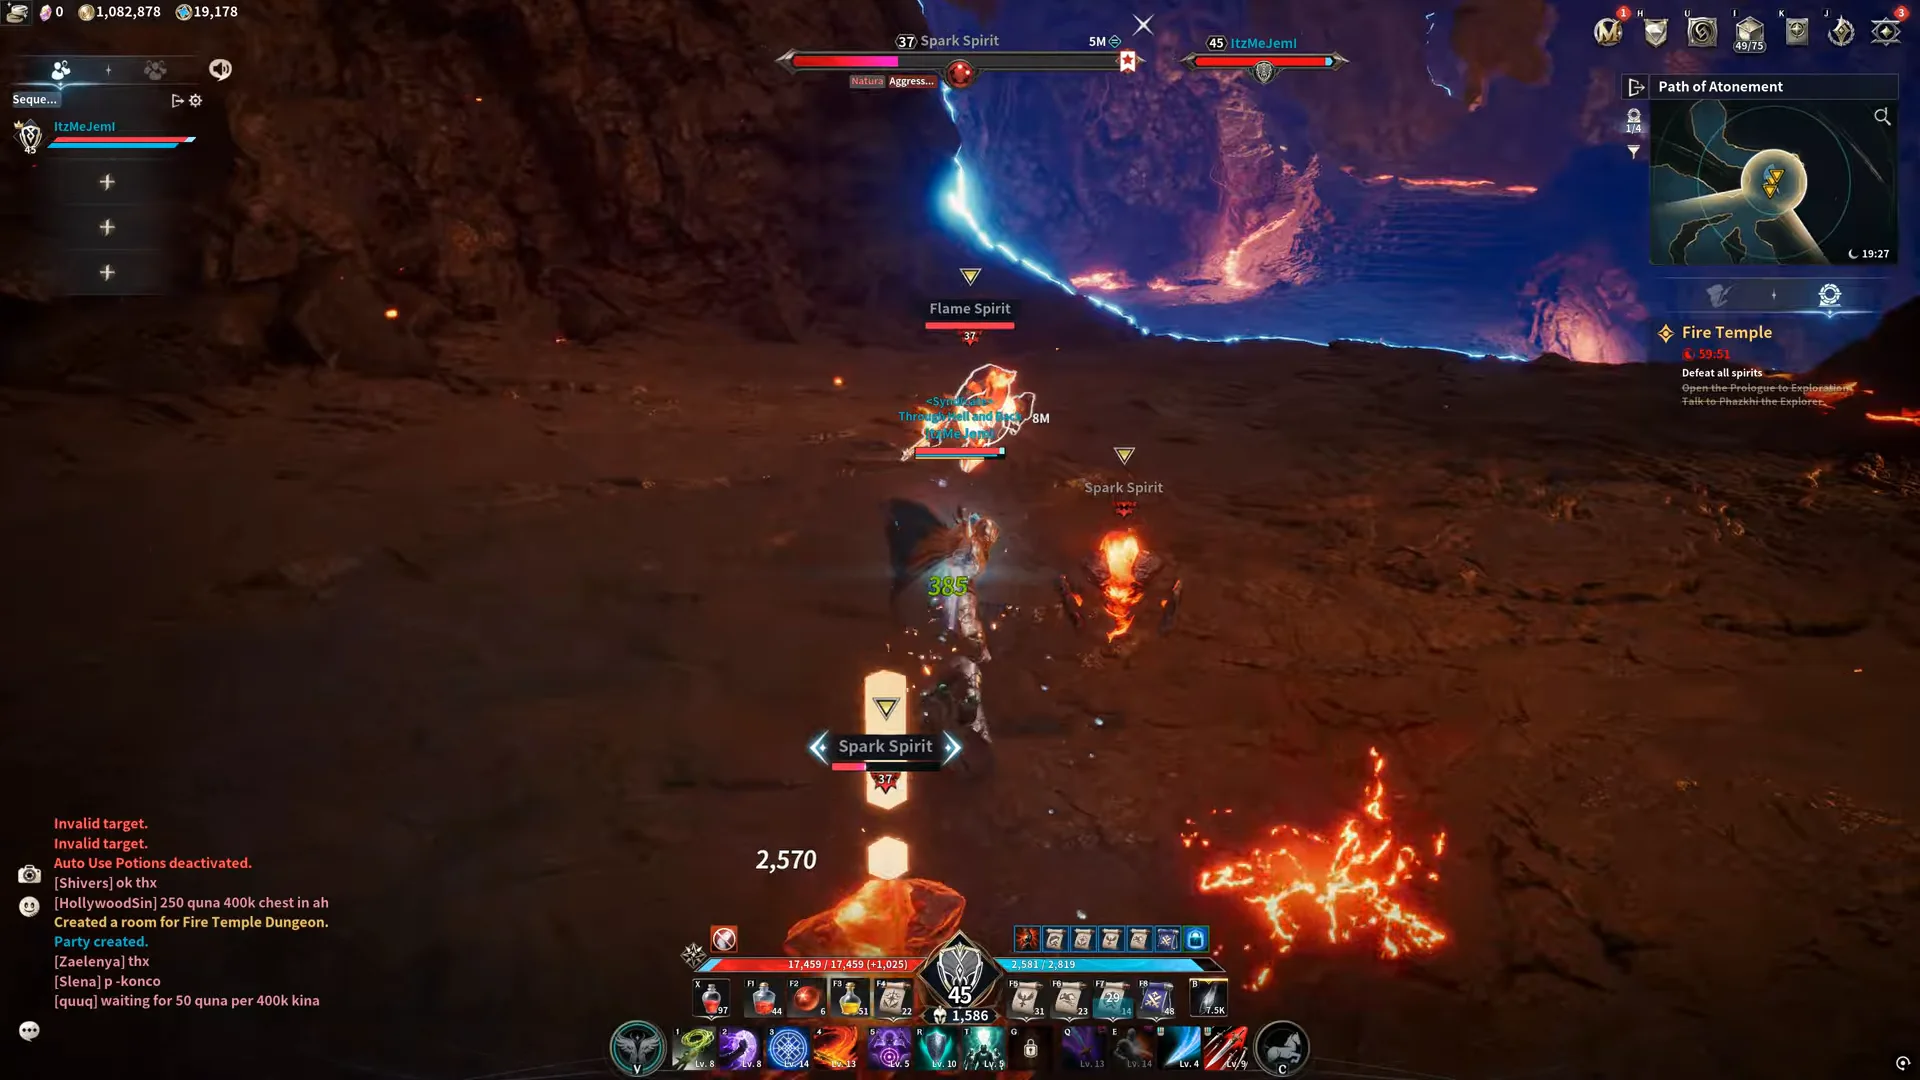
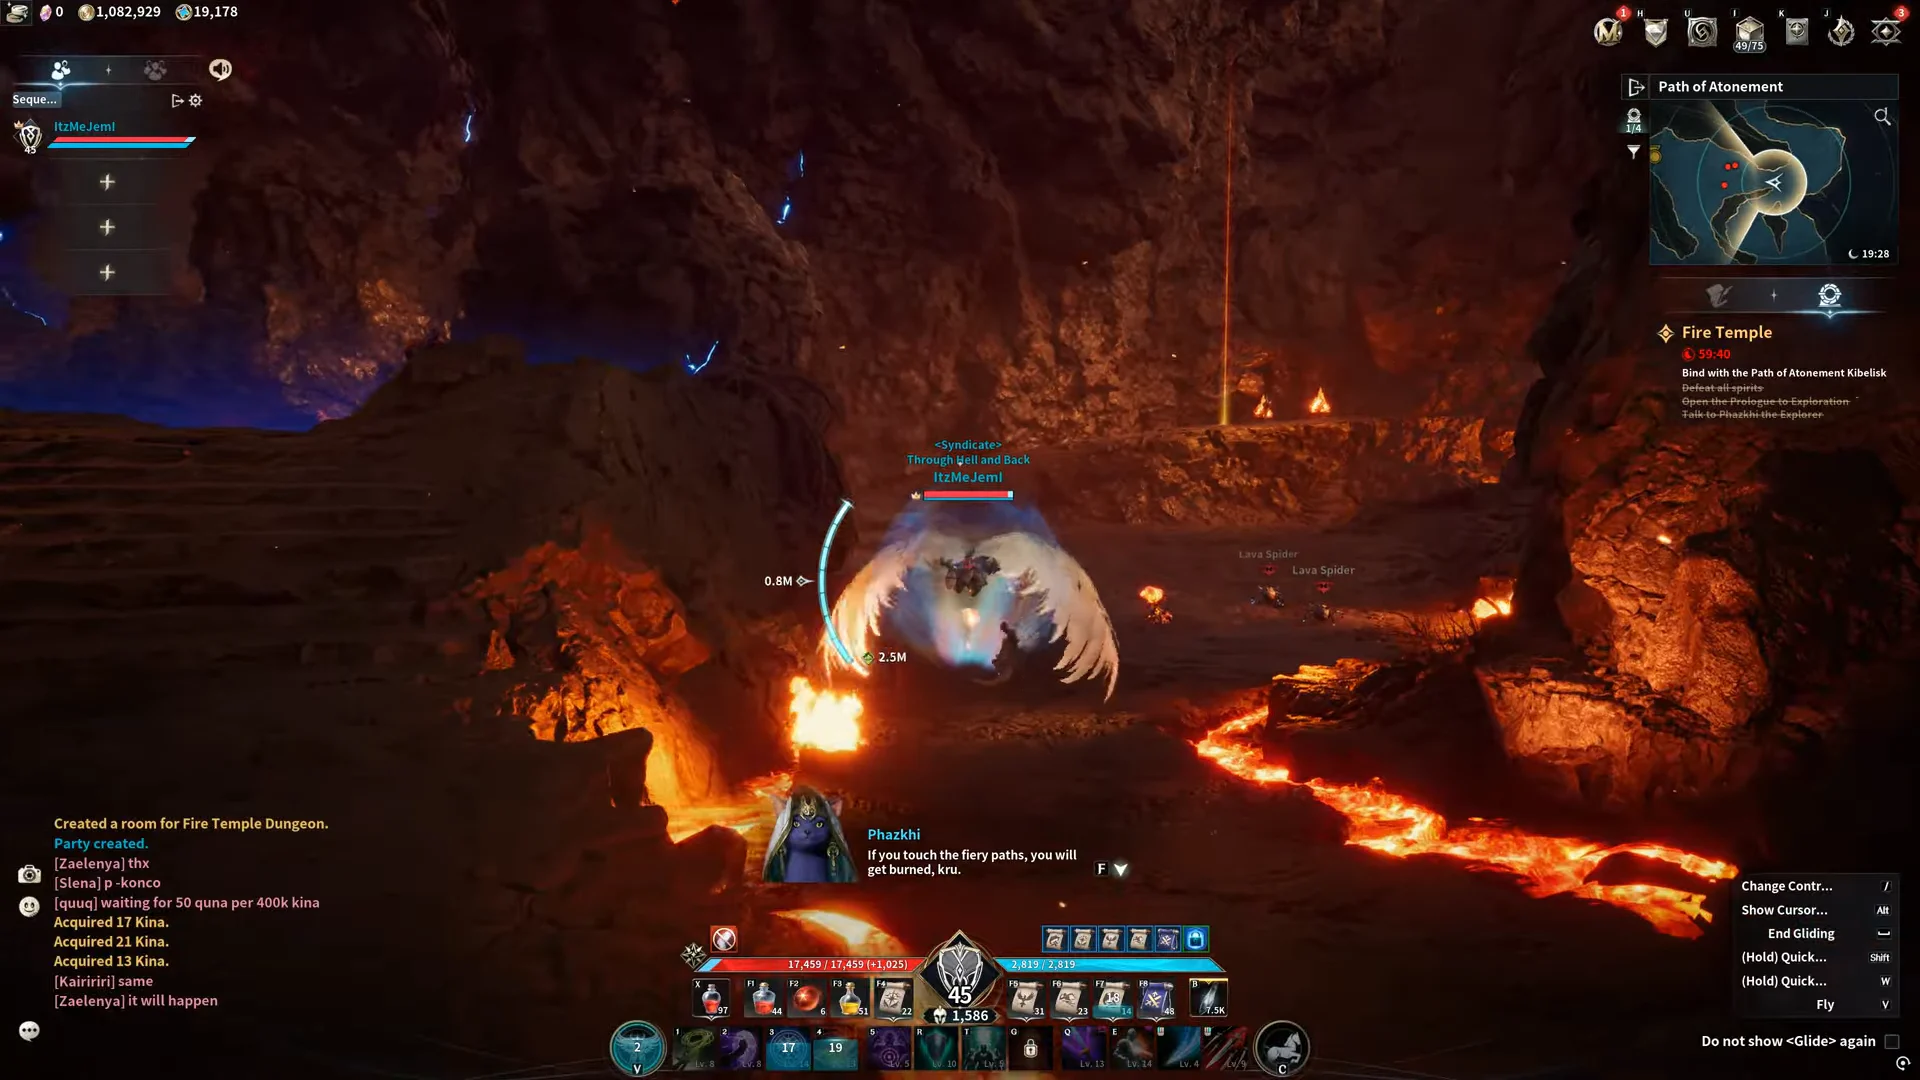
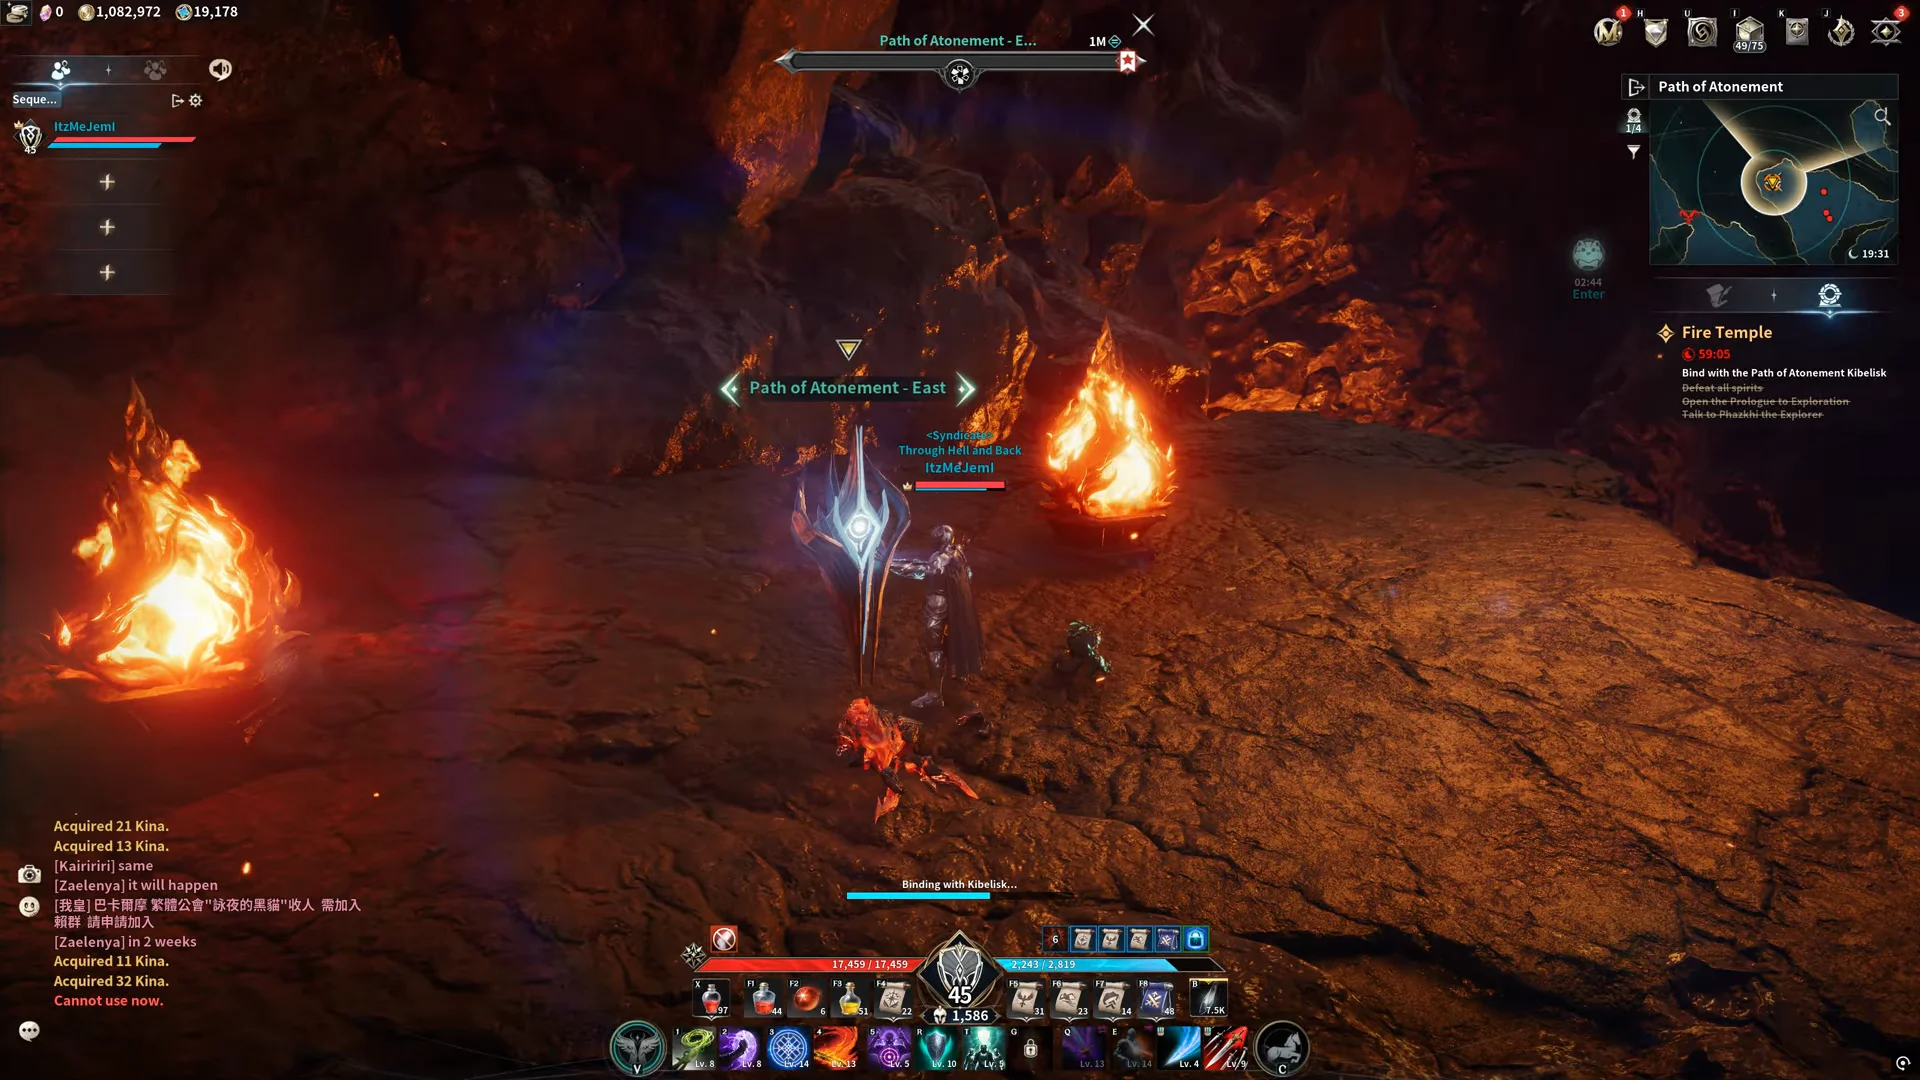
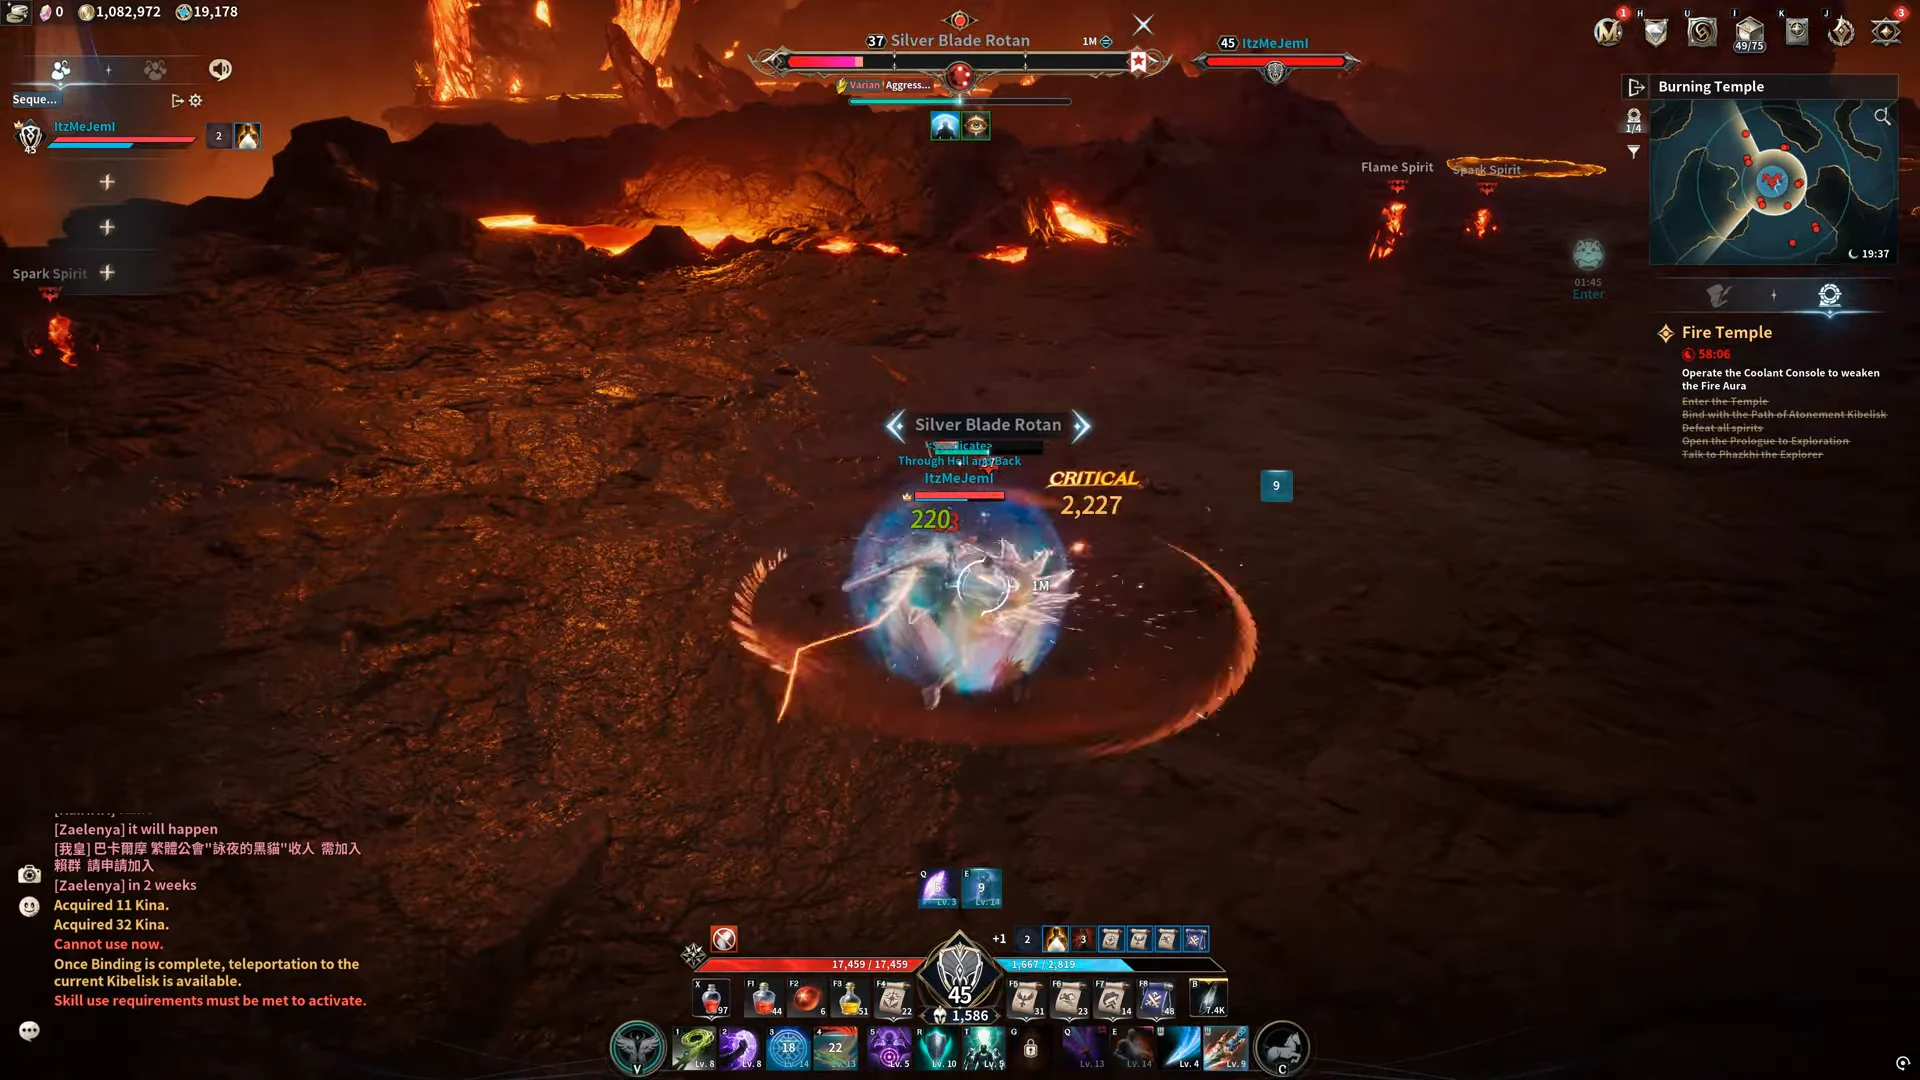
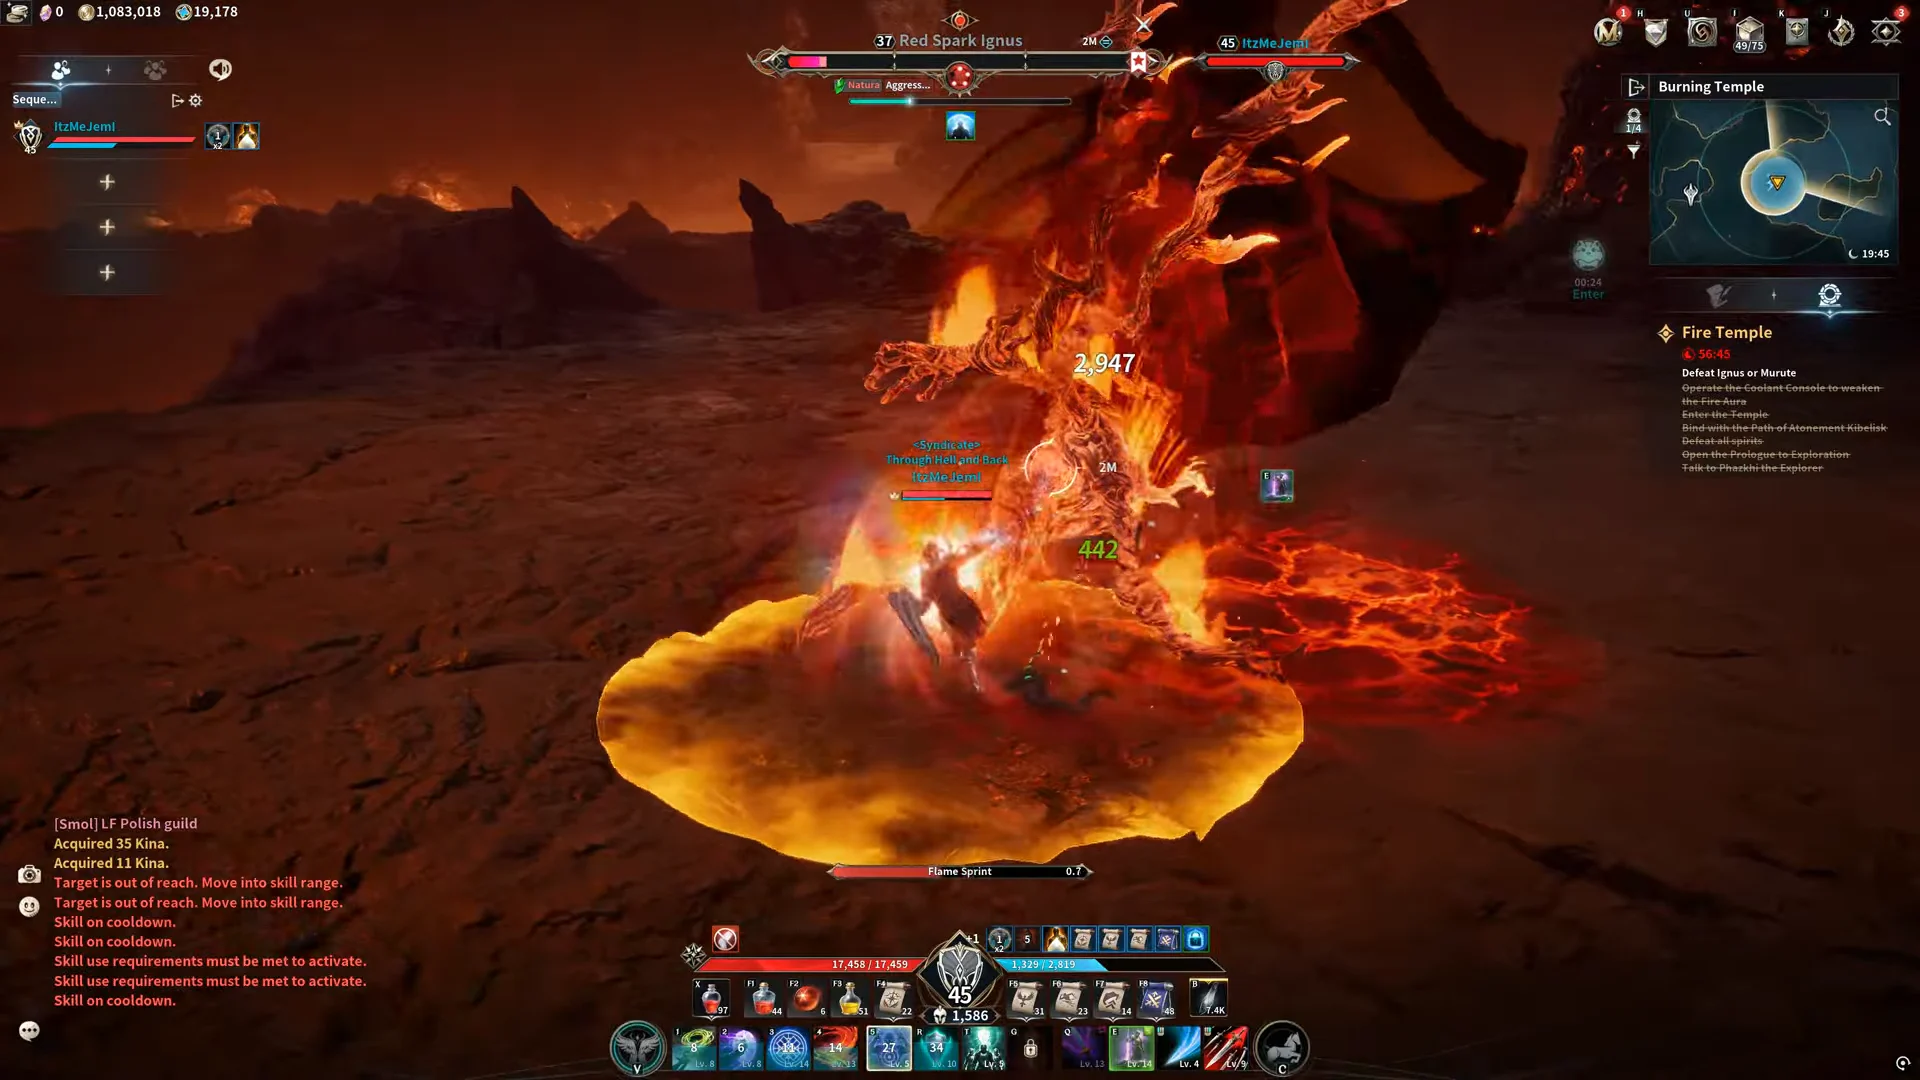
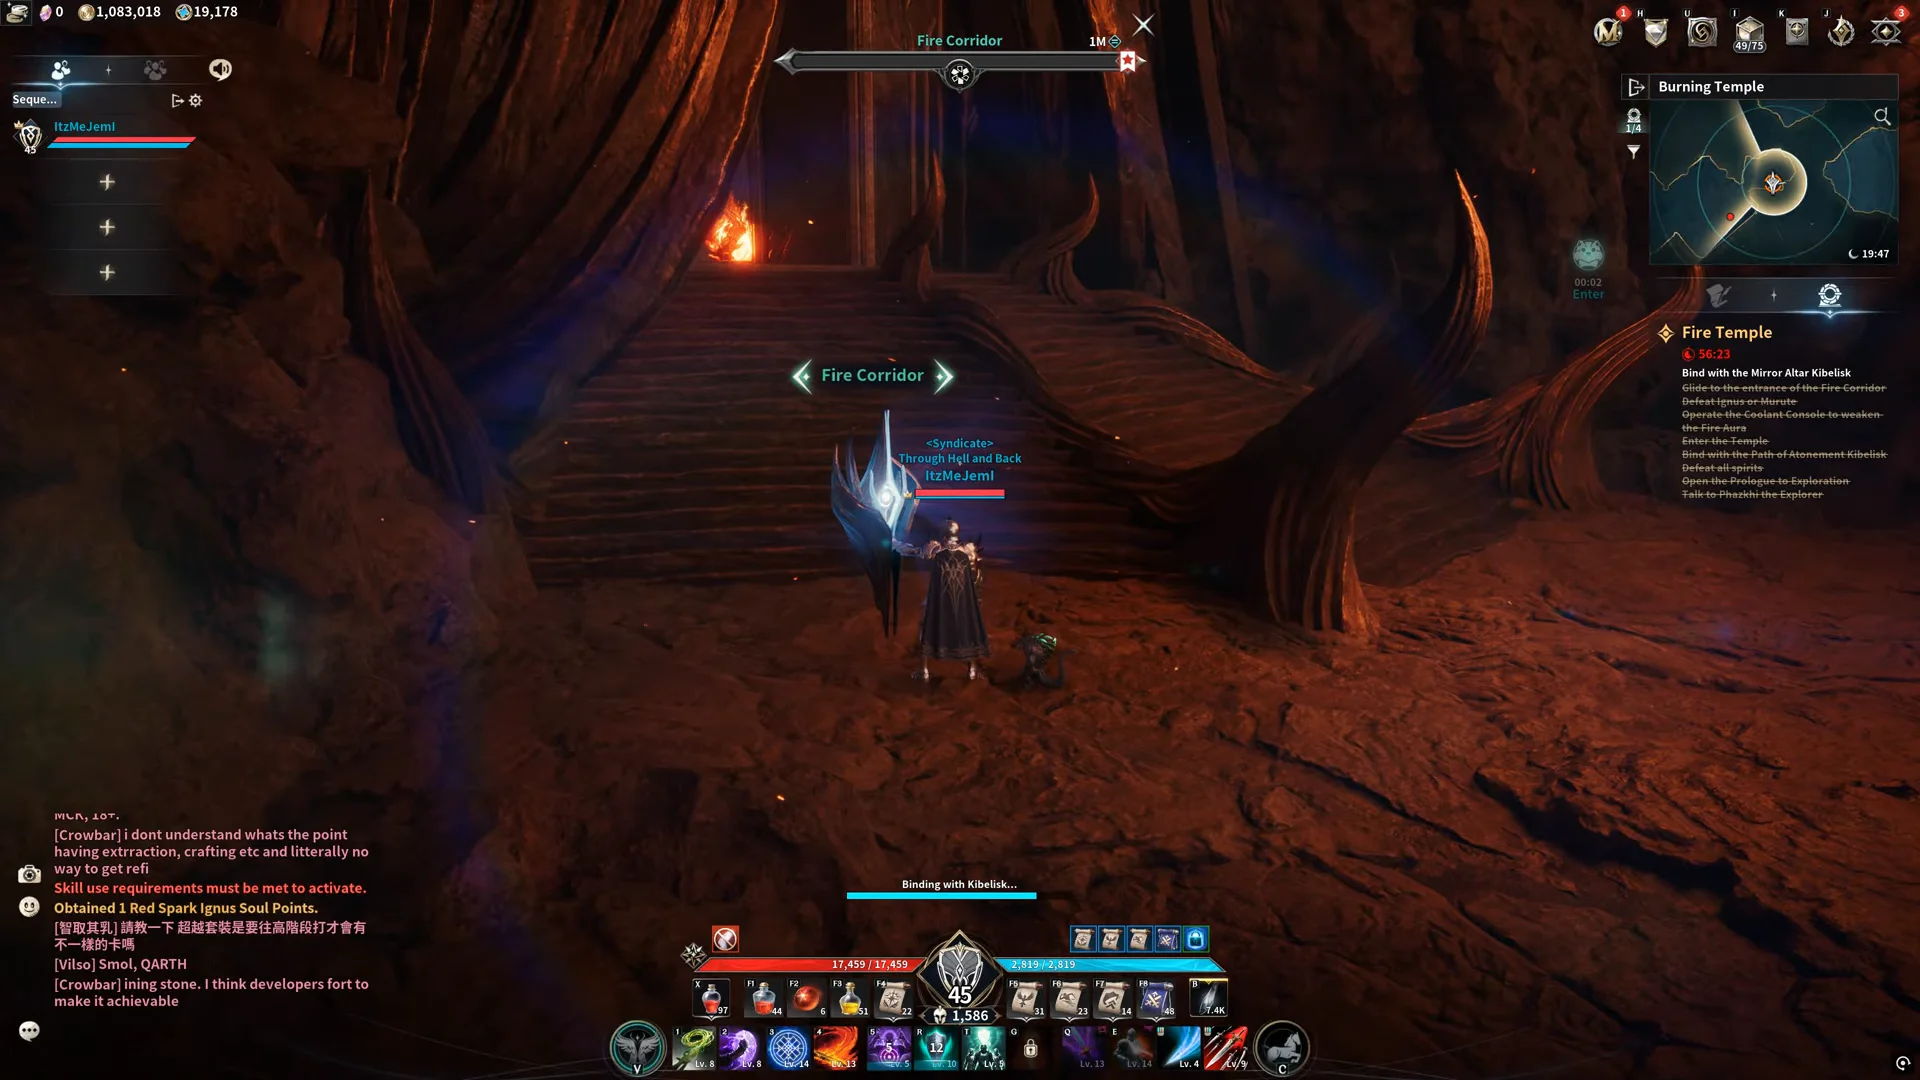
You know the clear worked when the “Expedition Complete” screen appears and the Odyle Energy Cube becomes lootable. Each mid-boss you downed beforehand shows up as added loot inside it.
Wait for the whole party to enter the Mirror Altar before engaging Kromede’s Desire, or latecomers can be locked out of the final fight.
Fire Temple boss drops and drop rates
Silver Blade Rotan is the only boss without a gear table. It drops a single bound trophy, Soul: Silver Blade Rotan, and nothing else of note, so it functions as a gate rather than a loot source.
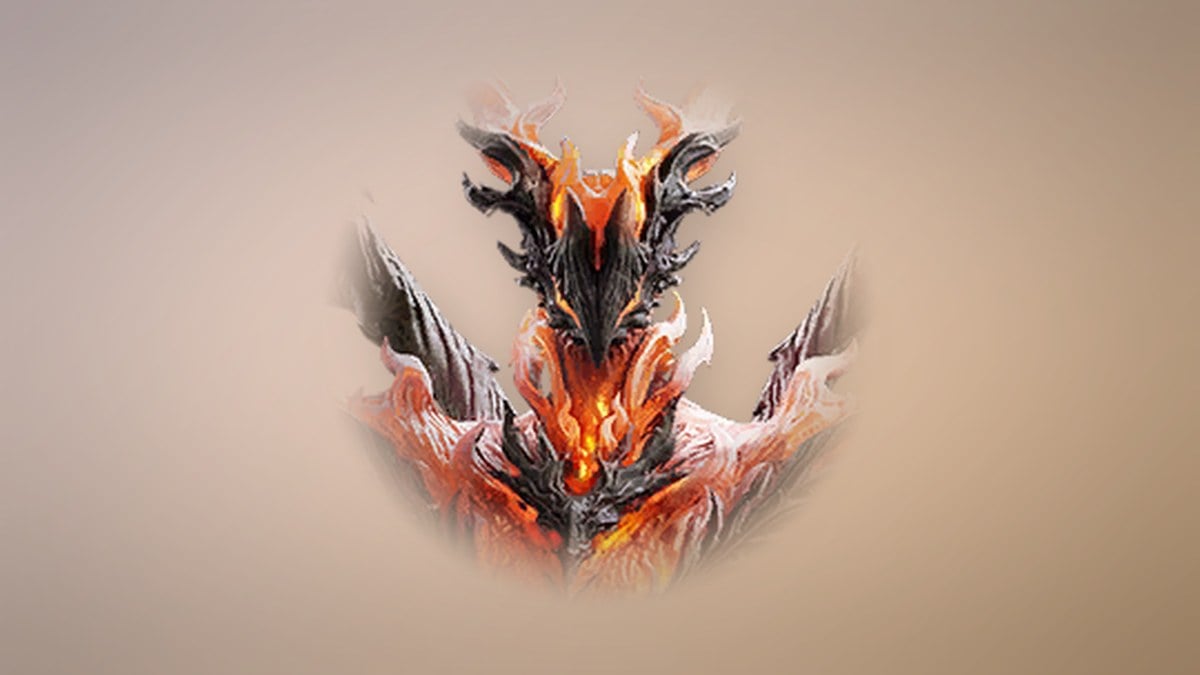
Red Spark Ignus drops
Red Spark Ignus is the first loot boss, mixing refining materials, Balaur crafting mats, and Corrupted Judicator gear. It also drops the Amplify Stone Fragment at 20%, alongside guaranteed Kina and its own Soul trophy.
| Drop | Grade | Chance |
|---|---|---|
 Soul Codex (Bound) Soul Codex (Bound) | Special | 60% |
 Refining Stone Refining Stone | Common | 53.7% |
| Amplify Stone Fragment (Bound) | Unique | 20% |
| Corrupted Judicator Gloves | Epic | 10.7% |
| Corrupted Judicator Cloak | Epic | 10.7% |
 Balaur’s Essence Balaur’s Essence | Epic | 10% |
 Durable Balaur Scale Durable Balaur Scale | Epic | 10% |
 Durable Balaur Leather Durable Balaur Leather | Epic | 10% |
 Durable Balaur Horn Durable Balaur Horn | Epic | 10% |
| Corrupted Judicator Helm | Epic | 8.5% |
| Corrupted Judicator Pauldrons | Epic | 8.5% |
| Corrupted Judicator Boots | Epic | 8.5% |
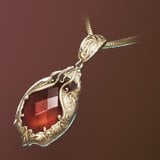 Corrupted Judicator Necklace Corrupted Judicator Necklace | Epic | 8.5% |
| Corrupted Judicator Greaves | Epic | 7.1% |
| Judicator Gloves | Epic | 6.8% |
| Judicator Cloak | Epic | 6.8% |
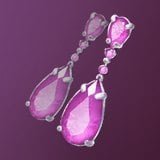 Judicator Earrings Judicator Earrings | Epic | 6.8% |
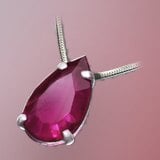 Silent Necklace Silent Necklace | Epic | 5.4% |
Black Smoke Murute drops
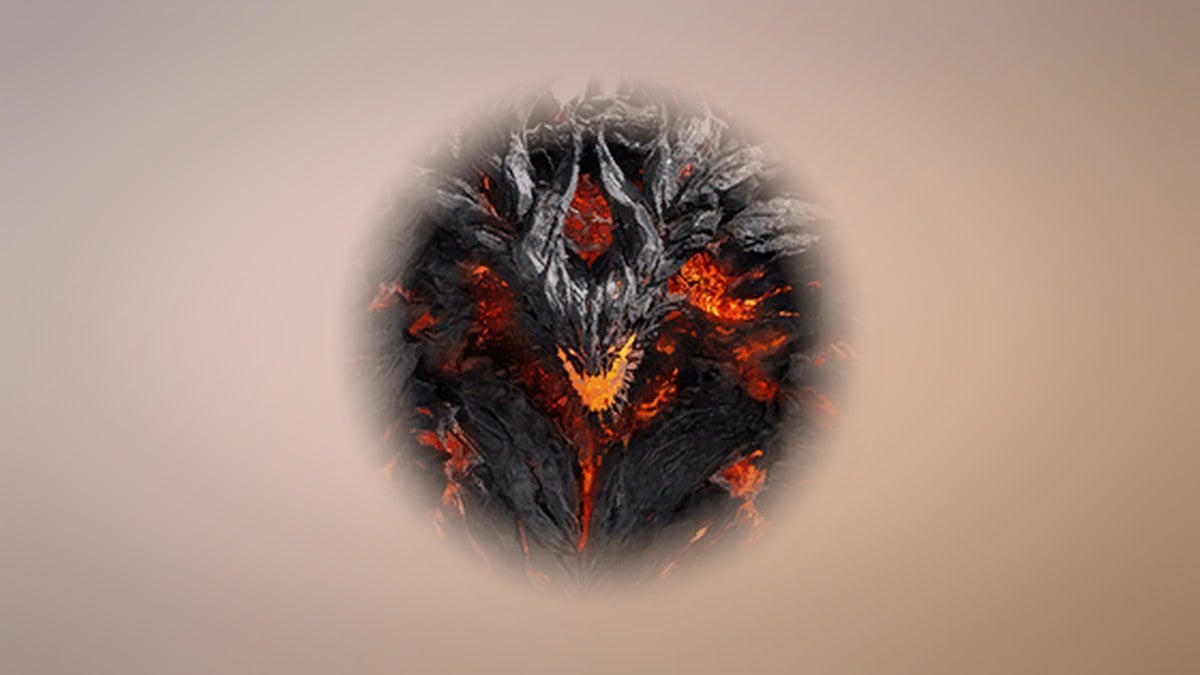
Black Smoke Murute shares most of the mid-boss pool but swaps in its own Murute Earrings at 10% instead of Red Spark Ignus’s extra Corrupted pieces. It carries the same 60% Soul Codex, 53.7% Refining Stone, and 20% Amplify Stone Fragment rates.
| Drop | Grade | Chance |
|---|---|---|
| Soul Codex (Bound) | Special | 60% |
| Refining Stone | Common | 53.7% |
| Amplify Stone Fragment (Bound) | Unique | 20% |
| Balaur’s Essence | Epic | 10% |
| Durable Balaur Scale | Epic | 10% |
| Durable Balaur Leather | Epic | 10% |
| Durable Balaur Horn | Epic | 10% |
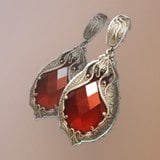 Murute Earrings Murute Earrings | Epic | 10% |
| Corrupted Judicator Gloves | Epic | 10% |
| Corrupted Judicator Cloak | Epic | 10% |
| Corrupted Judicator Helm | Epic | 8% |
| Corrupted Judicator Pauldrons | Epic | 8% |
| Corrupted Judicator Boots | Epic | 8% |
| Corrupted Judicator Necklace | Epic | 8% |
| Judicator Gloves | Epic | 6.8% |
| Judicator Cloak | Epic | 6.8% |
| Judicator Earrings | Epic | 6.8% |
| Silent Necklace | Epic | 5.4% |
Kromede’s Desire drops
Kromede’s Desire is the richest table. The Balaur crafting mats climb to 30% each, the full Judicator Epic armor set rolls at its highest rates here, and three Unique items appear, including the Enraged Kromede Ring and Earrings. Silentium, Kina, and Enhance Stone come as guaranteed extras.

| Drop | Grade | Chance |
|---|---|---|
| Durable Balaur Scale | Epic | 30% |
| Balaur’s Essence | Epic | 30% |
| Durable Balaur Leather | Epic | 30% |
| Durable Balaur Horn | Epic | 30% |
| Amplify Stone Fragment (Bound) | Unique | 20% |
| Judicator Gloves | Epic | 15.2% |
| Judicator Cloak | Epic | 15.2% |
| Judicator Earrings | Epic | 15.2% |
| Judicator Helm | Epic | 12.2% |
| Judicator Pauldrons | Epic | 12.2% |
| Judicator Boots | Epic | 12.2% |
| Judicator Greaves | Epic | 10.2% |
| Judicator Breastplate | Epic | 7.6% |
| Wrathful Ego | Unique | 3.6% |
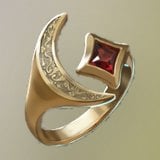 Enraged Kromede Ring Enraged Kromede Ring | Unique | 1.7% |
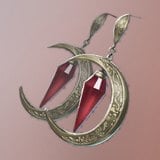 Enraged Kromede Earrings Enraged Kromede Earrings | Unique | 1.3% |
Rewards worth running Fire Temple for
The Amplify Stone Fragment is the headline farm target, dropping at 20% from all three loot bosses. It is a bound Unique material that converts into an Amplify Stone through Substance Morph, which awakens the unique power on your gear. It stacks up to 1,000 and also sells in the shop for 2,000 Abyss Points.

The Judicator set is the Epic armor the dungeon exists to hand out. Each piece is tier-2 gear at item level 38, requires level 35, has three manastone slots, and enchants to a maximum of +10. For reference on where it sits, the Judicator Boots’ Defense of 184 ranks 18th highest among 147 shoe items, trailing the Splendent Ebony Dragon Lord Boots and Splendent Wise Dragon Lord Boots, both at 504.
Beyond gear, the run is a steady source of refining and crafting materials. Refining Stone drops better than one run in two from the mid-bosses, Balaur’s Essence and the Durable Balaur components stock up quickly, and Kromede’s Desire adds the Unique Wrathful Ego and her two Enraged Kromede accessories for players chasing the rarer tail of the table.