Outskirts of Nochte Beacon Walkthrough in Mortal Shell 2
Break the hidden wall, drop the bridge with Free Aim, and claim the Ovum to cleanse this Infested Den beacon.
Break the hidden wall, drop the bridge with Free Aim, and claim the Ovum to cleanse this Infested Den beacon.
by AllThingsHow Staff
The Outskirts of Nochte beacon sits in the heart of The Hag’s Path, south of the Citadel of Penance. Cleansing it means clearing the Infested Den, a flooded dungeon full of Mycellian Skulks and giant worm enemies. The run hinges on two things people miss: a breakable wall right after the entrance, and a rope you can only hit after changing an aim setting.
Quick answer: Descend the beacon elevator, strike the stone wall ahead to open the Infested Den, drop the bridge by shooting its rope (turn Auto Lock-On off and Free Aim on first), open the chest for the Hag Stone, then drop into the final pit and cleanse the corruption to collect the Ovum.
Where to find the Outskirts of Nochte beacon
The beacon is located southwest of Fainweald, inside The Hag’s Path region. On the map it reads “MAP UNAVAILABLE FOR THIS AREA,” so the interior stays unmapped while you explore it. Interact with the beacon and select Cleanse Beacon, then ride the elevator at the end of the path down into the dungeon.
Everything you can collect on this run is fixed. Here is the full loot list for the Infested Den.
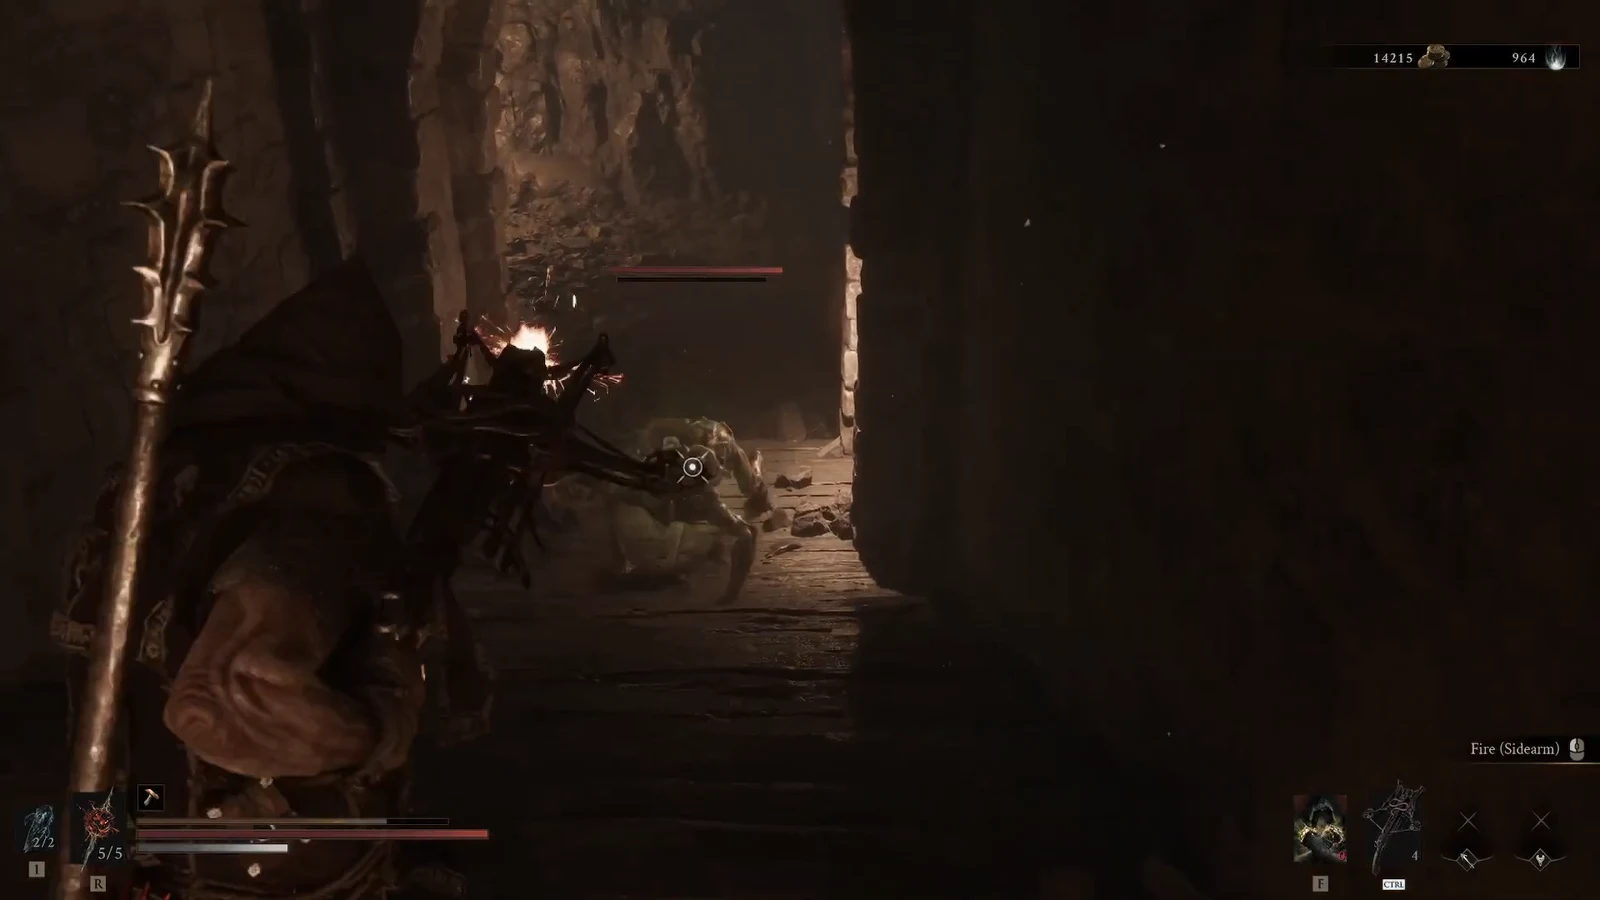
Exit the elevator and watch for a Mycellian Skulk waiting to your left. Take it out, then continue straight ahead toward the far wall.
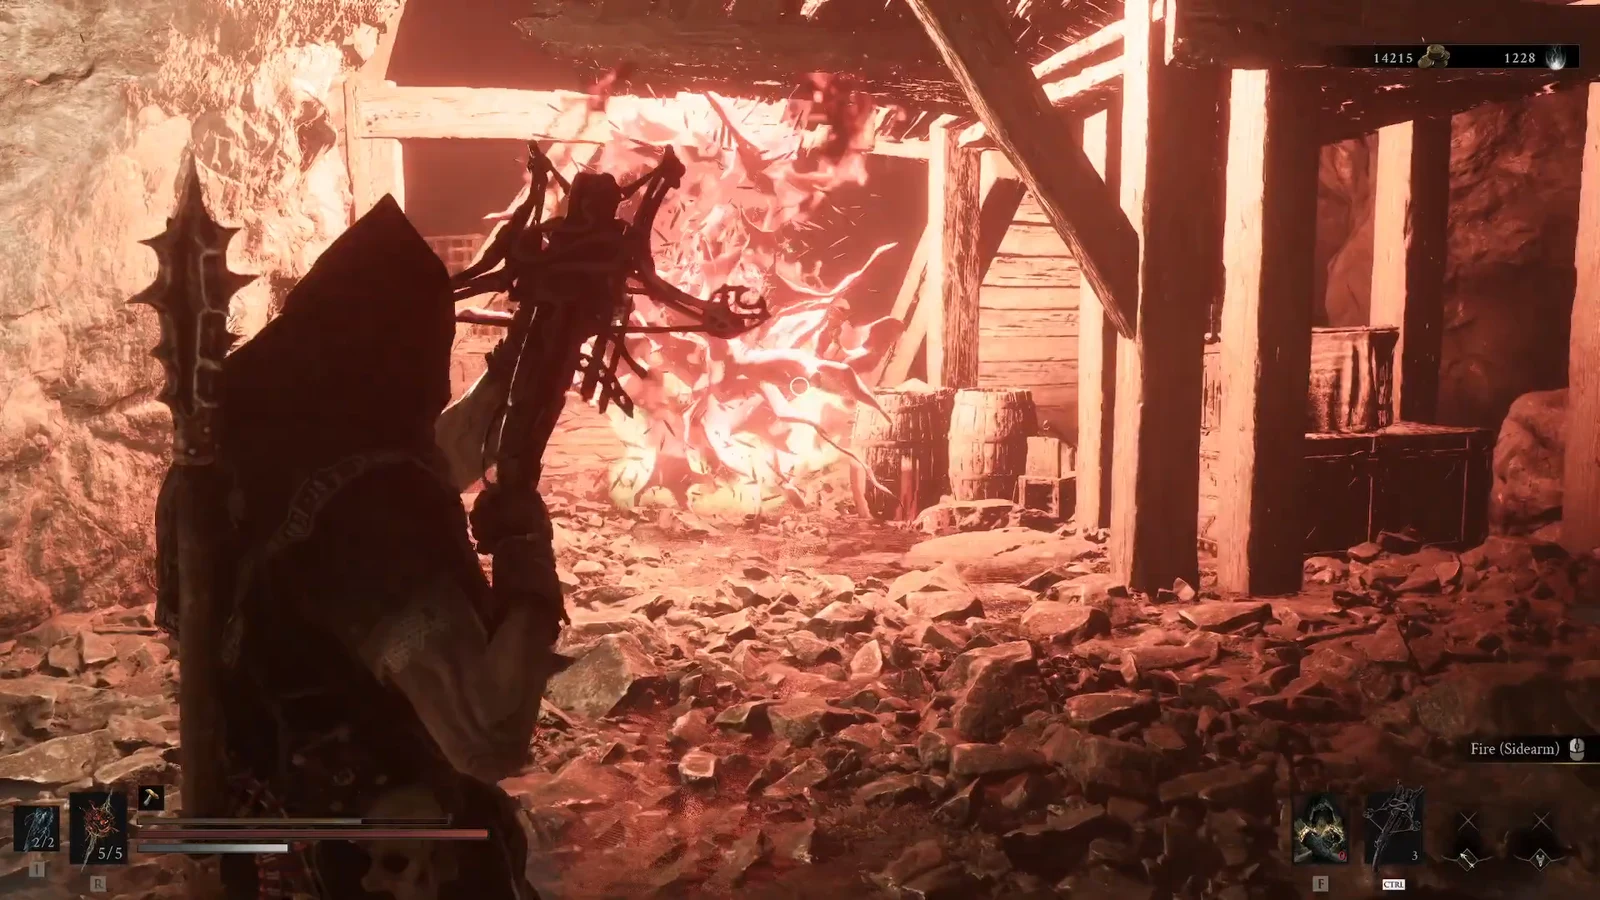
00:09Clearing the guard near the corpse before striking the wall that opens the Infested Den. Image credit: Cold Symmetry / via @PazarGamingGuides. Shown at 00:09 in PazarGamingGuides’s video.
Attack the cracked stone wall ahead, next to the corpse on the ground. It looks solid, but a few hits break it open and reveal the entrance to the Infested Den.
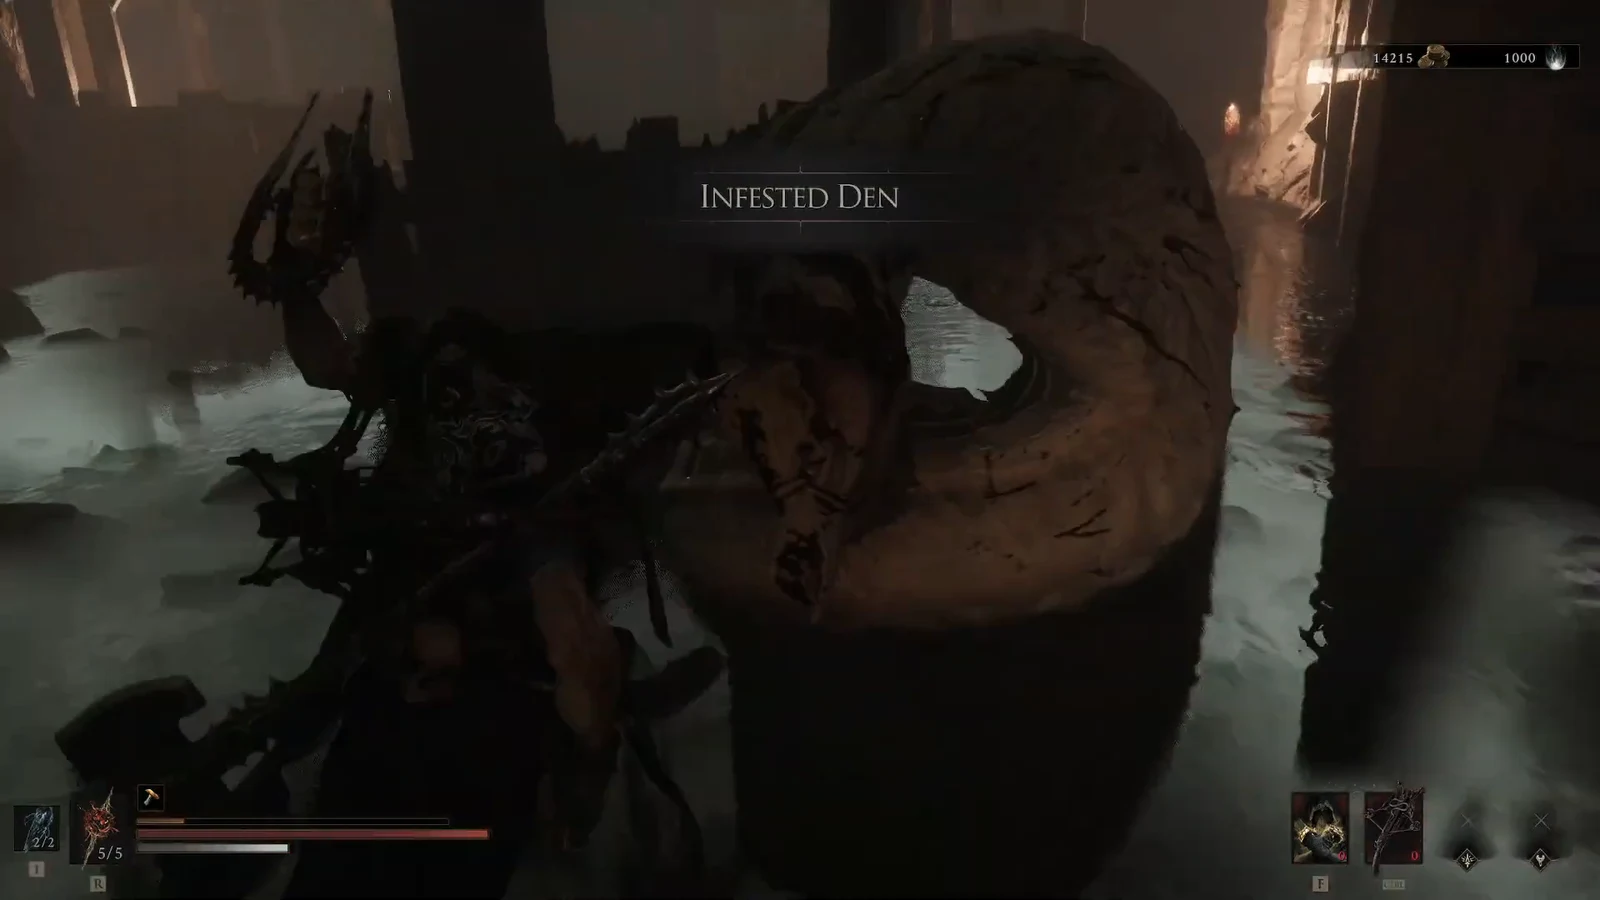
Push inside and deal with the Mycellian Skulk that rushes you, followed by the Leechtongue behind it. The area is flooded and poisonous in places, so keep moving between fights.
00:25The Infested Den title appears as you enter and engage the first large worm. Image credit: Cold Symmetry / via @PazarGamingGuides. Shown at 00:25 in PazarGamingGuides’s video.
Turn left toward the wooden doorway and clear the two Skulks guarding it. Take the stairs to the right of the doorway and defeat the three Skulks at the top.
Drop the bridge with Free Aim
The bridge to the next area is held up by a rope. You lower it by shooting that rope with your crossbow. The problem is that Auto Lock-On snaps your aim onto nearby enemies instead of the rope, so you need to change two settings before this works.
Open the Game Settings menu. Set Auto Lock-On to No, then set Enable Free Aim to Yes. This stops the crossbow from auto-targeting enemies so you can aim freely at the rope.
01:18Approaching the rope-held bridge, where Free Aim is needed to line up the shot. Image credit: Cold Symmetry / via @PazarGamingGuides. Shown at 01:18 in PazarGamingGuides’s video.
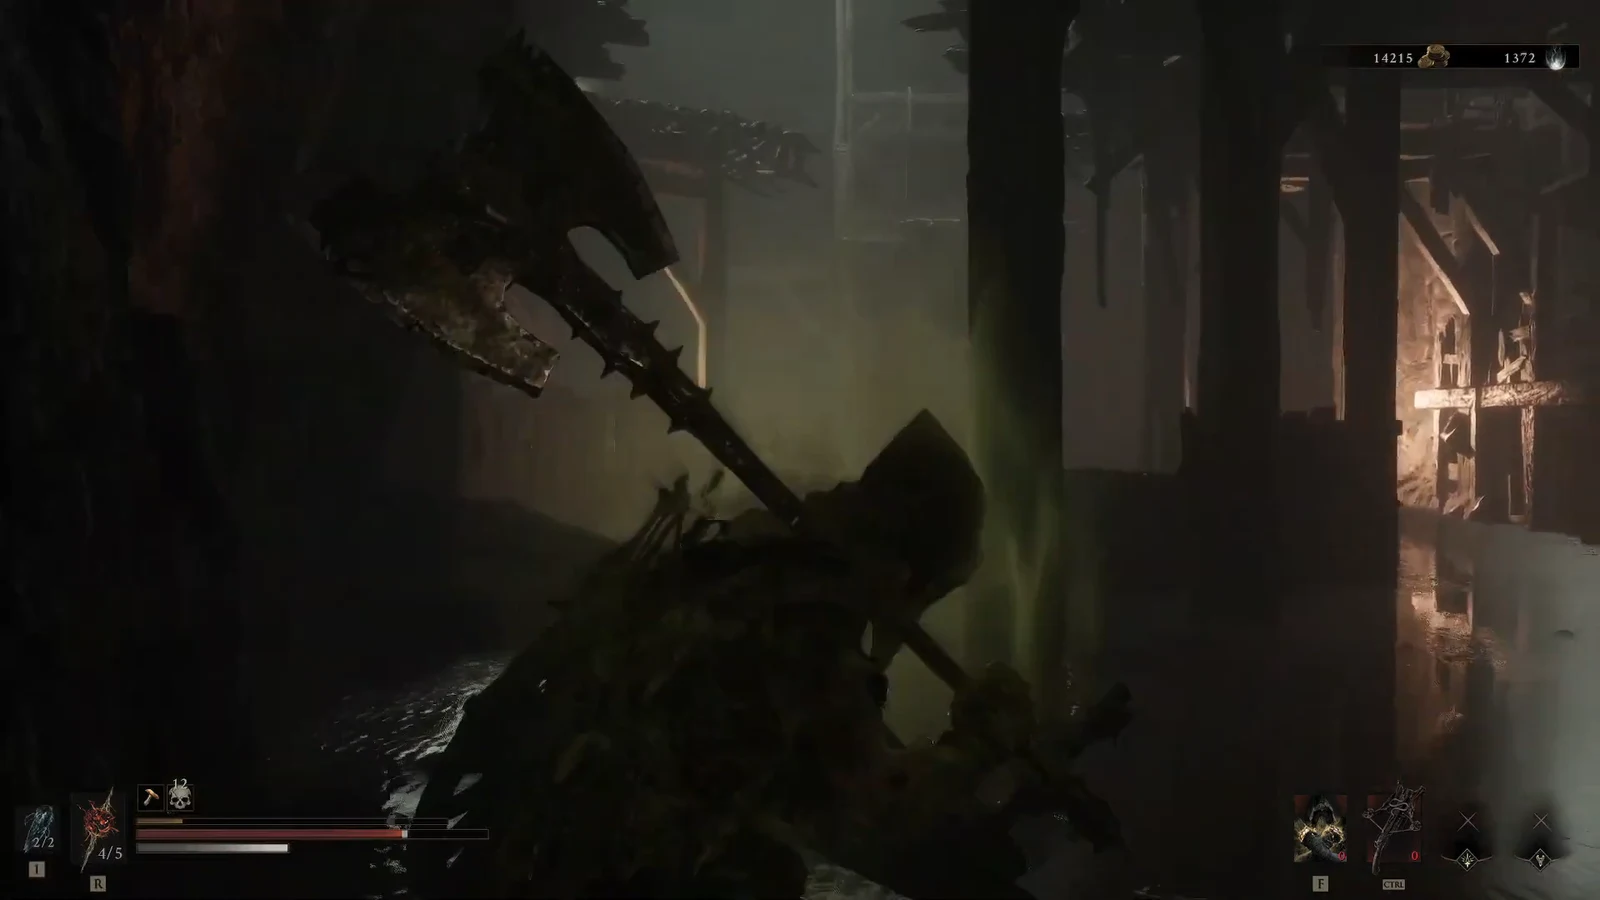
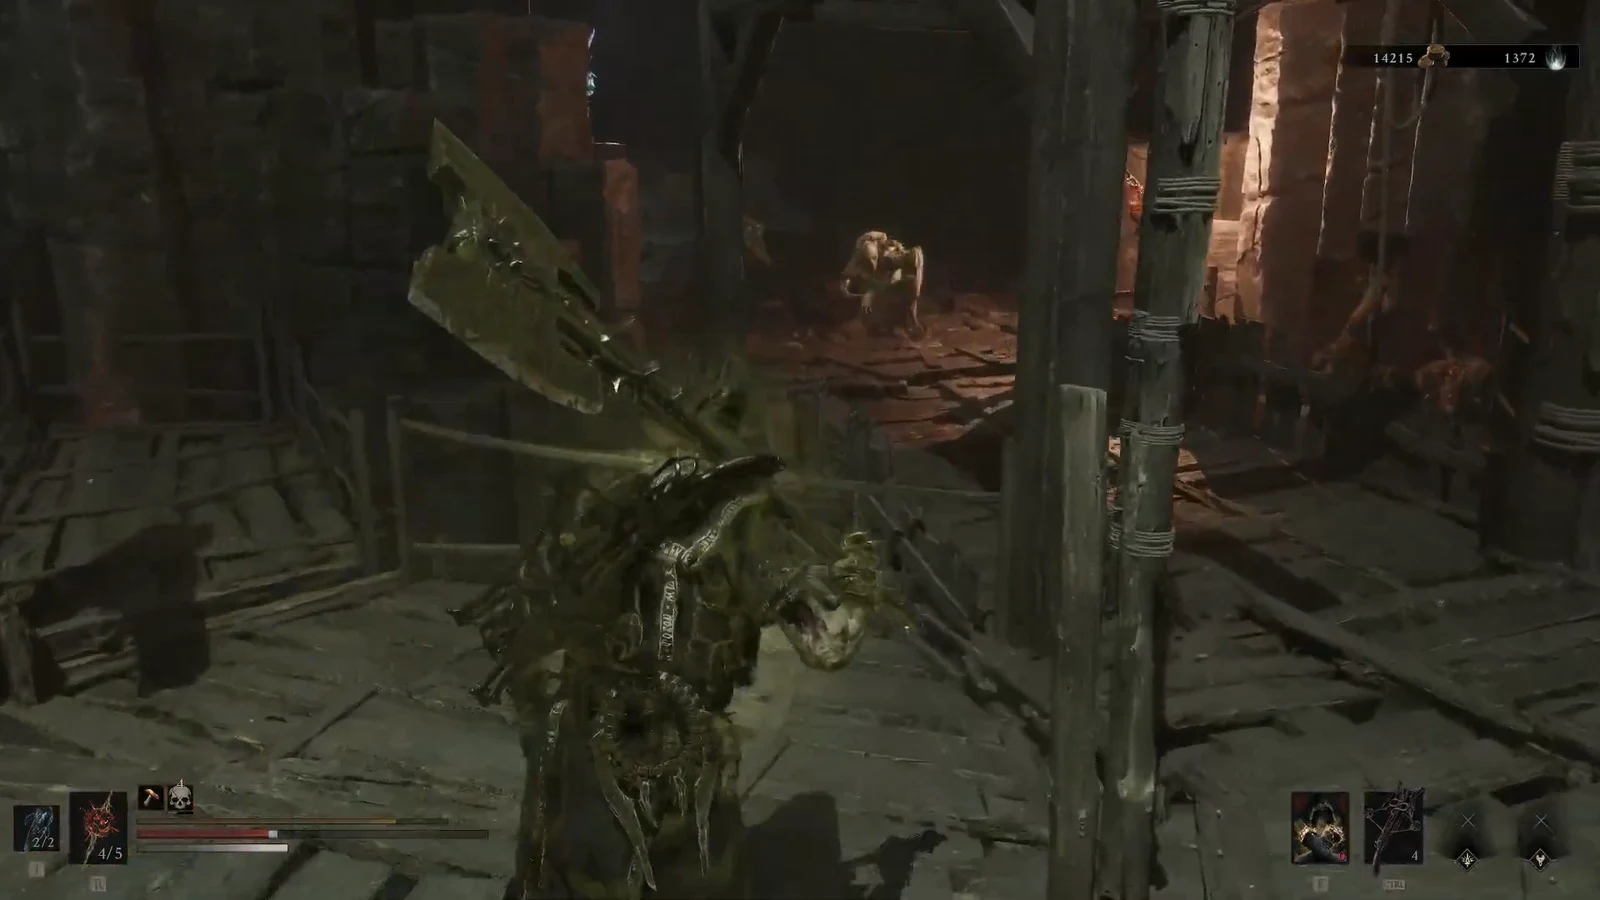
Cross the bridge and collect the 500 Coin to the left. Two more Skulks wait ahead, so clear them before you keep looting.
00:52Fighting through the wooden scaffolding after the bridge drops. Image credit: Cold Symmetry / via @PazarGamingGuides. Shown at 00:52 in PazarGamingGuides’s video.
Continue through the area the Skulks came from. Check the growth on the left, marked by a silver tree structure, and strike it to pick up Laterite. Then climb to the next area.
Defeat the three Skulks at the top, then open the white stone chest to claim the Hag Stone. This is a Tarstone that adds poison infusion for your sidearm, viewable in the Tarstones menu.
02:19Clearing the upper chamber that holds the Hag Stone chest. Image credit: Cold Symmetry / via @PazarGamingGuides. Shown at 02:19 in PazarGamingGuides’s video.
Before you drop, look over the ledge into the lower pit. Use crossbow shots from the high ground to weaken the exploding poison enemies and chip away at the worm creature below. There’s a glowing white plant growth nearby to refill your energy gauge between shots.
Drop into the pit. A Leechtongue and several Skulks are waiting alongside the worm. Finish the worm with a heavy attack or summon, then mop up the rest.
Approach the central corruption growth and cleanse it. Accept the “Collect Ovum and return to beacon?” prompt to take the Ovum and clear the dungeon.
You’ll know it worked when “NEW OVUM FOUND” appears and you’re returned to the beacon exterior. The Glimpse reward lands at the same time, completing the loot checklist. From here, the map points you toward the nearby Corrupted Gate for your next objective.