

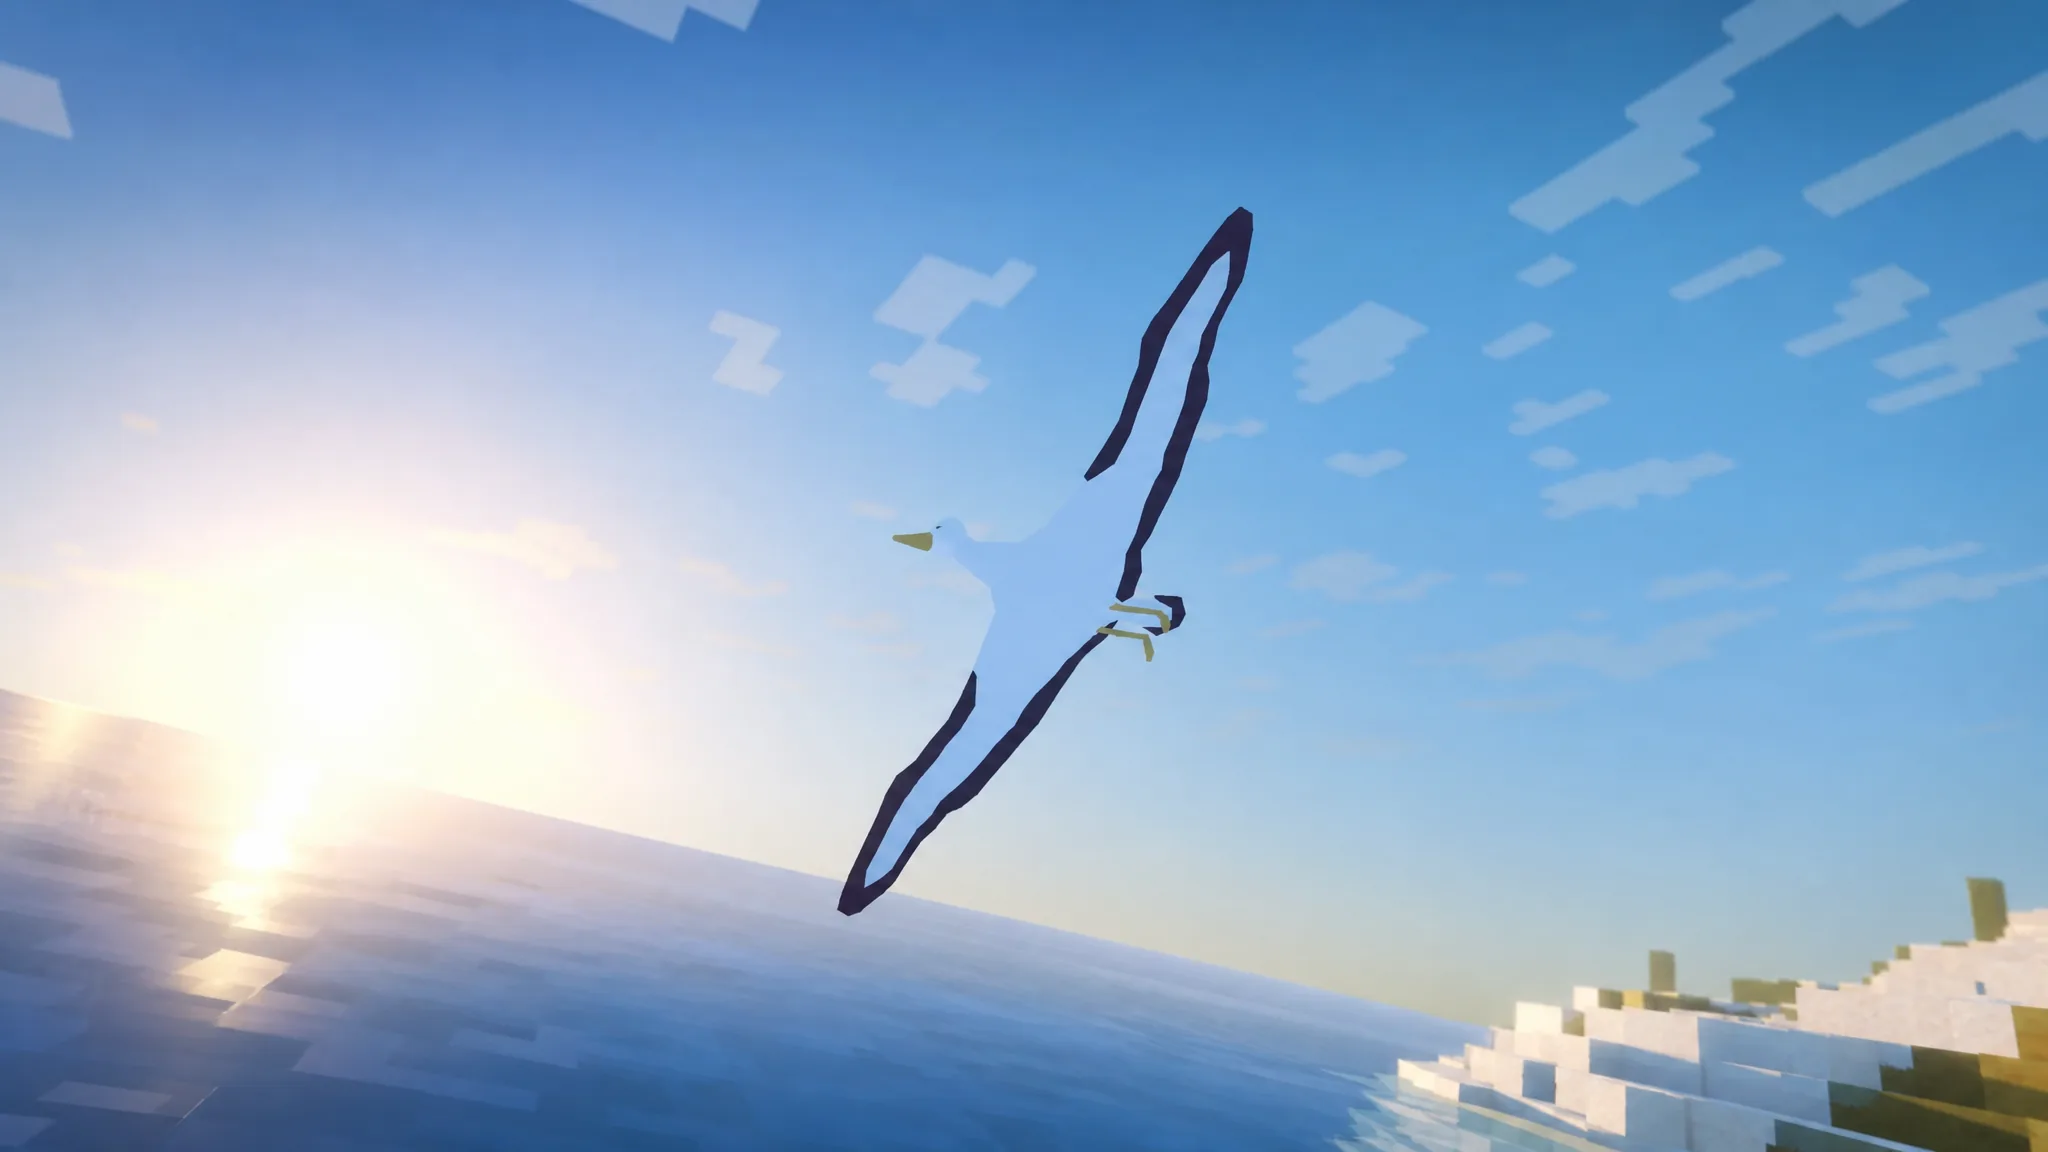
The Albatross is the second-to-last boss in How to Fish, and it breaks the pattern set by every fight before it. Instead of a creature you pull from the water, this one is a bird that circles the fourth island and attacks from the air. It only shows up after you deal with a smaller fight first, and beating it comes down to two things: a weapon that can reach it, and cover you can duck behind between shots.
Quick answer: Catch and defeat the Tuna, lay it on the ground to summon the Albatross, then shoot it with a Sniper Rifle from inside a building. Break for cover whenever it dives or drops projectiles, step out and hit the red dot, and repeat until it dies.
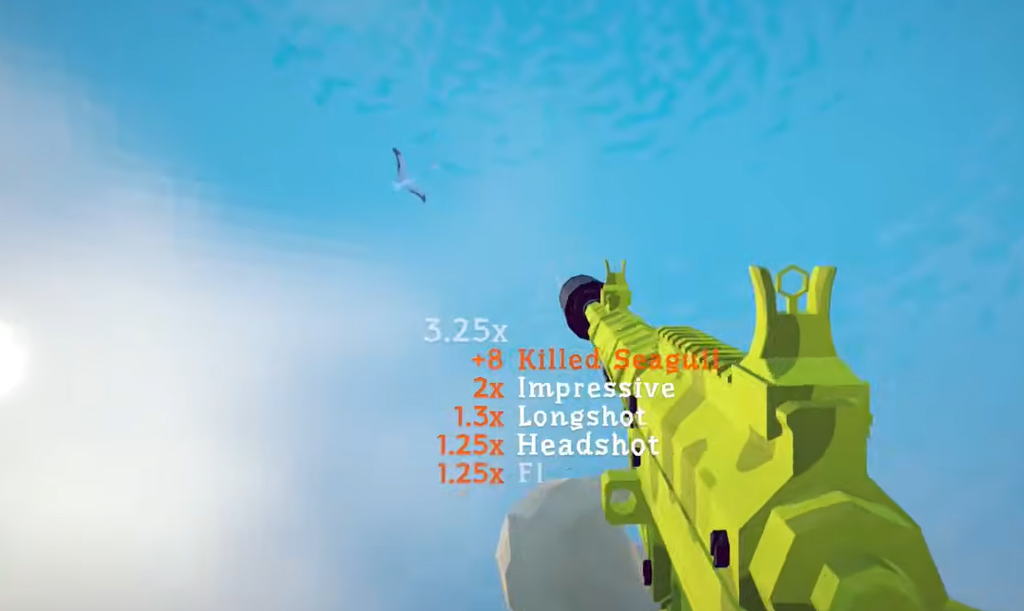
Summon the Albatross with a Tuna
The Albatross does not appear on its own. On the fourth island (the rocky area), an NPC in the shop warns you about a large bird that keeps terrorizing the locals. Bringing it out requires a Tuna, which is a mini-boss in its own right.
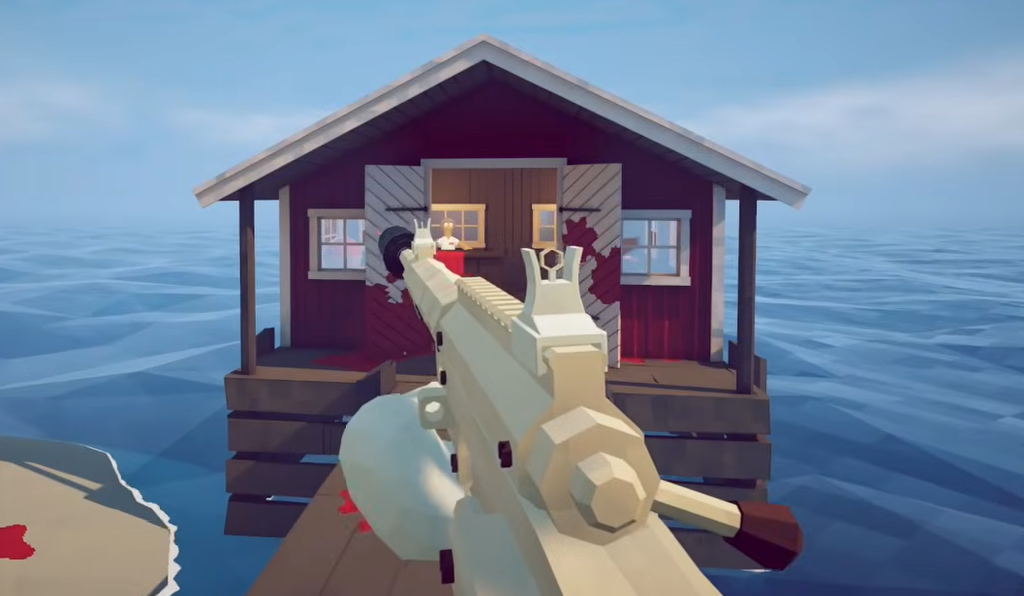
Use a Sniper Rifle, not the Shotgun
Because the Albatross stays high in the sky and keeps its distance, close-range weapons are close to useless here. A Shotgun, pistol, or SMG will miss most shots as the bird moves. The Sniper Rifle is the clean answer, since it reaches the range the bird sits at and lands heavy hits.
You can buy the Sniper Rifle on the fourth island for $3,800, so save up before you start the fight. Add a scope so you can aim at the bird properly during the encounter. Each sniper shot deals around 250 damage, which is far more than the other guns manage against a target this far away.
The trade-off is timing. The scope zooms in hard, so you need quick reactions to line up the bird as it moves and fire before it repositions. If you prefer to stay unscoped, a maxed-out SMG can also grind the Albatross down, but you will need cooked food in your inventory to tank hits while you close the gap on accuracy.
| Weapon | Effect against the Albatross |
|---|---|
| Sniper Rifle (with scope) | Best option. Reaches the bird’s range, ~250 damage per shot. |
| Maxed SMG | Workable brute-force choice if you keep cooked food for healing. |
| Shotgun / pistol | Ineffective. Most shots miss at range. |
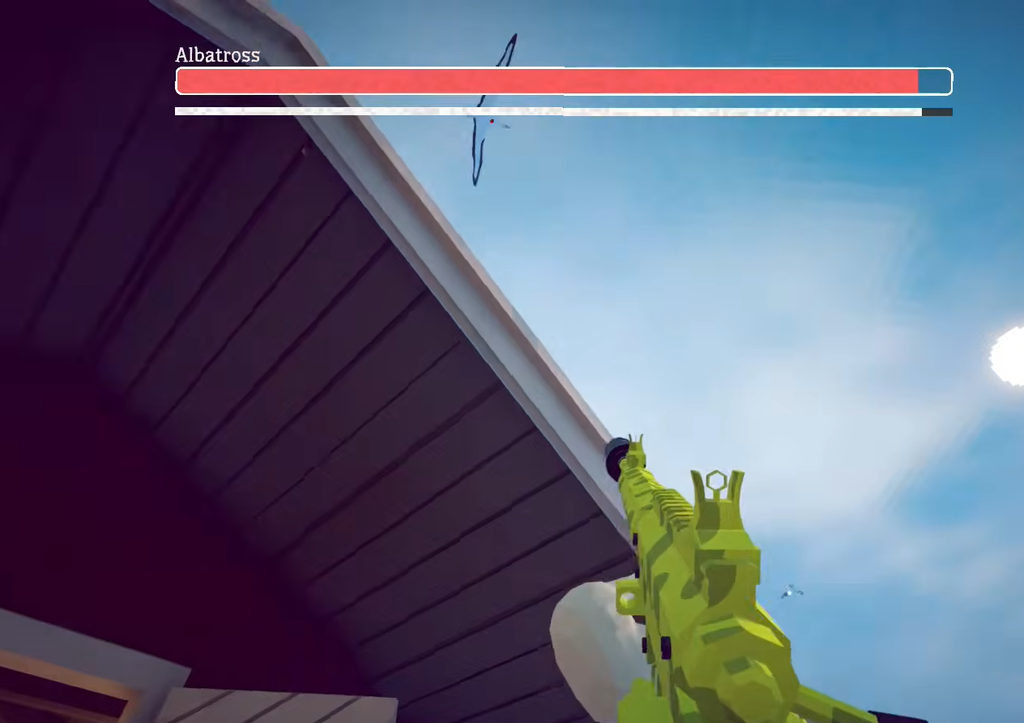
Fight from cover and shoot between attacks
When you land on the fourth island, every NPC is hiding inside a hut. That is your cue for the whole fight. The buildings block the Albatross’s attacks completely, so you shoot, retreat indoors, wait it out, and step back out for another shot.
The bird has two attacks. It either swoops straight down at you, or it rains projectile droppings across the area, and those droppings do real damage. Both are fully avoided by heading inside a building. The fishing shop and the casino both make solid cover.
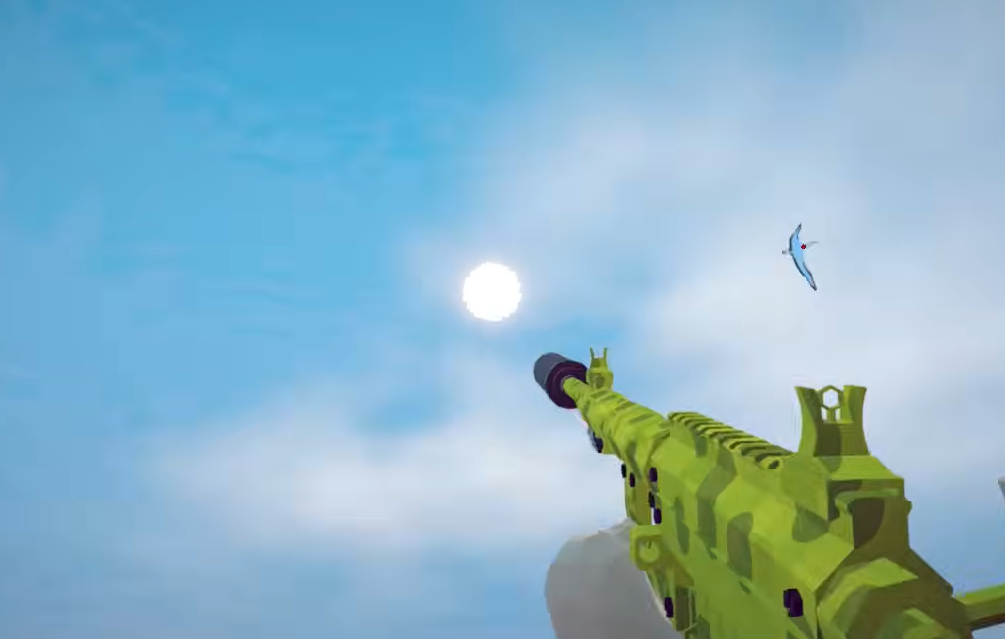
Do not chase the bird around the island. Every time you follow it, you give up the cover and firing lane you already set up. Stay put, let it come back into view, and let the building do the defending.
Confirm the kill and get the next island’s coordinates
Keep an eye on the boss health bar as you cycle shots and cover. Once it empties, the Albatross drops and the fight is over. The kill alone is not the end of the step, though. The NPC wants the bird’s head, so pick it up before you wander off or sail away.
Hand the head to the NPC and you receive a flash drive with the coordinates for the fifth and final island, the Volcano, where the Bowhead Whale waits. If the bird is dead but no new coordinates appear on your radar, the head hand-in is the first thing to check.
The Albatross rewards patience more than firepower. Trigger it with the Tuna, keep a building at your back, take measured sniper shots in the gaps between its attacks, and turn in the head to move on to the last stretch of the game.





