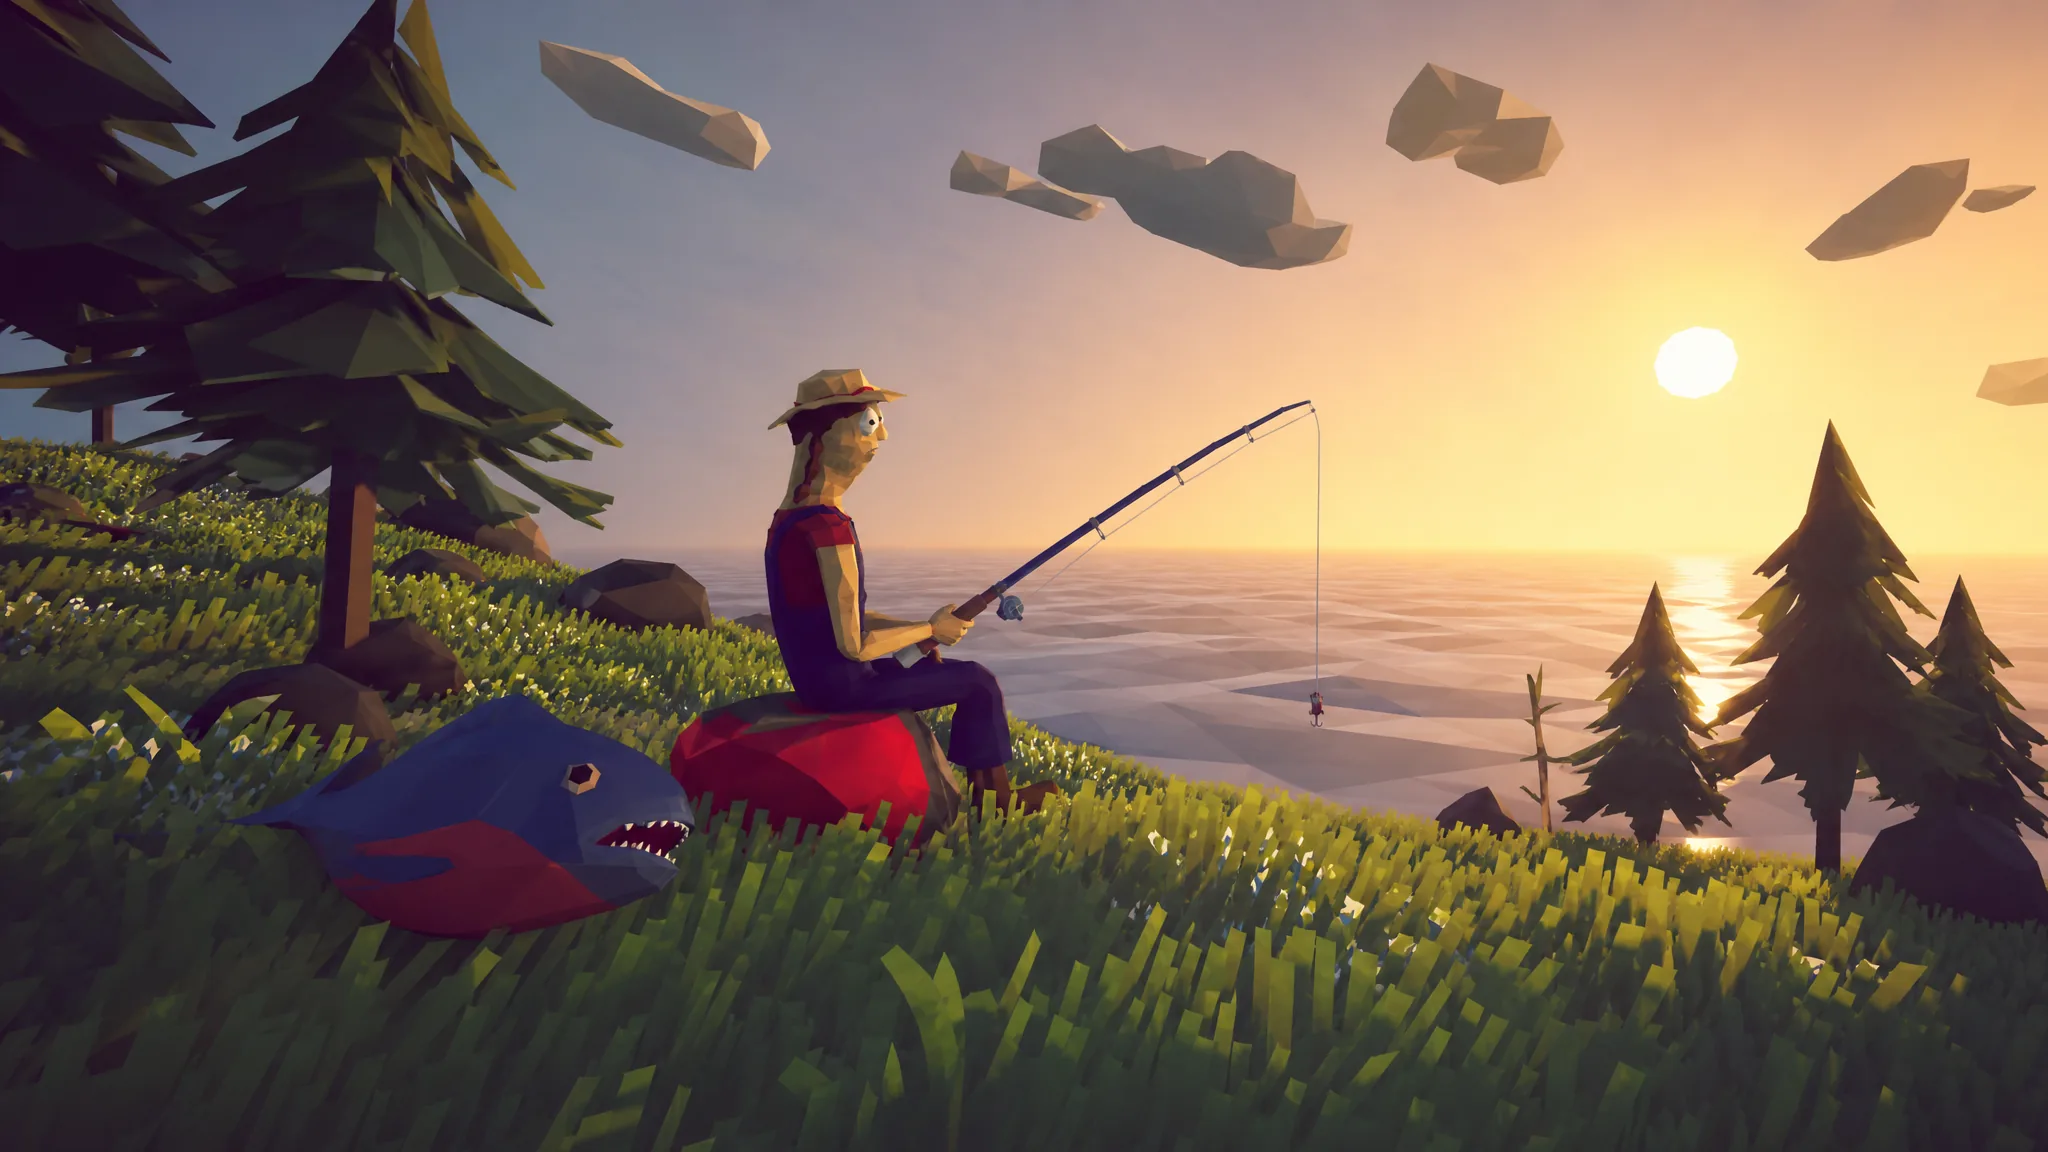
Catching anything in How to Fish comes down to two variables: the rod in your hands and the lure tied to it. The game’s species are locked behind bait tiers that unlock as you move from island to island, so a Scientific Lure fish will never bite on a Beginner Lure, and the crustaceans near the starting lighthouse only respond to the Crab Fishing Rod.
Quick answer: Match the lure tier to the island — Crab Fishing Rod with a free lure or Hot Dog at the Lighthouse, free lure and Beginner Lure on the Forest island, Standard Lure in the Desert, Professional Lure at the Rocks, and Scientific Lure at the Volcano.
Island order and how each one unlocks
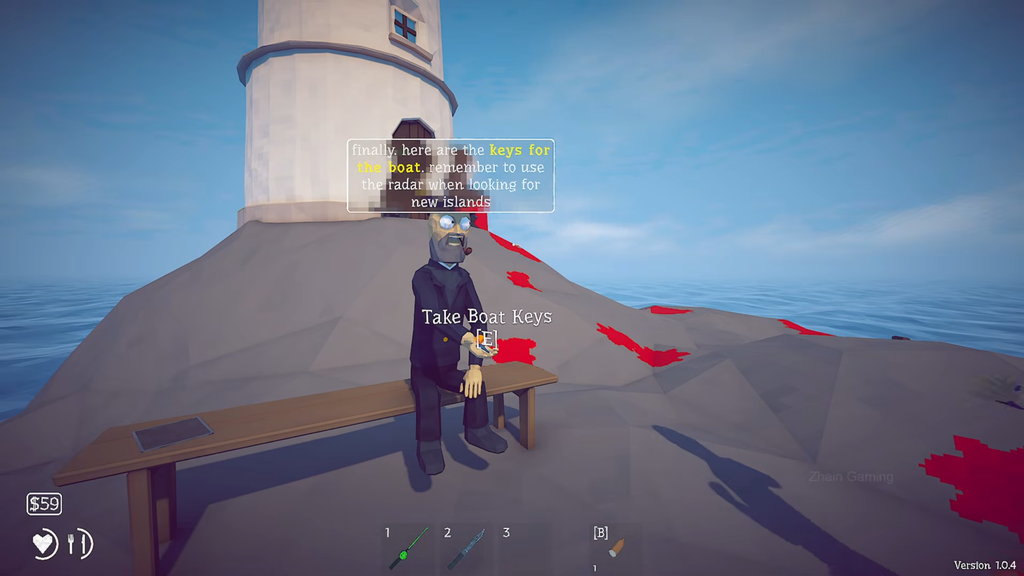
You don’t pick islands off a map at random. Each new set of coordinates is handed to you for finishing the previous island’s task, which means the species list is effectively a progression ladder.
| Island | How you get access |
|---|---|
| Lighthouse | Starting location |
| Island 2 (Forest) | Unlocked after the Lighthouse opening |
| Island 3 (Desert) | Coordinates given for completing the Island 2 quest |
| Island 4 (Rocks) | Coordinates given for helping the tourist on Island 3 |
| Island 5 (Volcano) | Coordinates given for helping the tourist on Island 4 |
Crab Fishing Rod catches: free lure and Hot Dog
The Crab Fishing Rod is the only tool that pulls up the Lighthouse’s shellfish, and it stays useful after you leave. Swapping the free lure for a Hot Dog changes what shows up on the line, and the same rod-and-Hot-Dog pairing lands regular Piranha once you reach the Forest island.
| Species | Location | Bait |
|---|---|---|
| Rock Crab | Lighthouse | Free lure |
| Shrimp | Lighthouse | Free lure |
| Rock Crab | Lighthouse | Hot Dog |
| Lobster | Lighthouse | Hot Dog |
| Piranha | Island 2 (Forest) | Hot Dog |
Free lure and Beginner Lure fish on the Forest island
Island 2 is where the standard Fishing Rod finally matters. Two species overlap between the free lure and the Beginner Lure, so you can start scooping them up before you buy an upgrade, but Cod, Perch, and Triggerfish need the Beginner Lure specifically.
| Species | Bait |
|---|---|
| Mackerel | Free lure |
| Gar | Free lure |
| Pike | Free lure or Beginner Lure |
| Goldfish | Free lure or Beginner Lure |
| Cod | Beginner Lure |
| Perch | Beginner Lure |
| Triggerfish | Beginner Lure |
Standard Lure fish on the Desert island
Island 3 runs on a single bait. Every species here bites the Standard Lure on the Fishing Rod, which makes it the cleanest island to complete — there’s no reason to swap gear once you’re set up.
| Species | Rod and bait |
|---|---|
| Angelfish | Fishing Rod, Standard Lure |
| Boxfish | Fishing Rod, Standard Lure |
| Catfish | Fishing Rod, Standard Lure |
| Sea Urchin | Fishing Rod, Standard Lure |
| Seahorse | Fishing Rod, Standard Lure |
| Clownfish | Fishing Rod, Standard Lure |
| Bluegill | Fishing Rod, Standard Lure |
| Salmon | Fishing Rod, Standard Lure |
| Needlefish | Fishing Rod, Standard Lure |
Professional Lure fish on the Rocks island
Island 4 repeats the same one-bait structure with the Professional Lure. The lineup mixes real species with a couple of oddities, including the Voxelfish and the Sengarat.
| Species | Rod and bait |
|---|---|
| Parrotfish | Fishing Rod, Professional Lure |
| Voxelfish | Fishing Rod, Professional Lure |
| Bass | Fishing Rod, Professional Lure |
| Halibut | Fishing Rod, Professional Lure |
| Eel | Fishing Rod, Professional Lure |
| Tigerfish | Fishing Rod, Professional Lure |
| Flying Fish | Fishing Rod, Professional Lure |
| Sengarat | Fishing Rod, Professional Lure |
| Red Snapper | Fishing Rod, Professional Lure |
Scientific Lure fish on the Volcano island
The Volcano is the deep-sea tier, and it leans into it. All five species need the Scientific Lure, and the roster is built around creatures you’d expect from the bottom of the ocean.
| Species | Rod and bait |
|---|---|
| Anglerfish | Fishing Rod, Scientific Lure |
| Blobfish | Fishing Rod, Scientific Lure |
| Oarfish | Fishing Rod, Scientific Lure |
| Superdwarf Fish | Fishing Rod, Scientific Lure |
| Stonefish | Fishing Rod, Scientific Lure |
Boss fish and the baits that trigger them
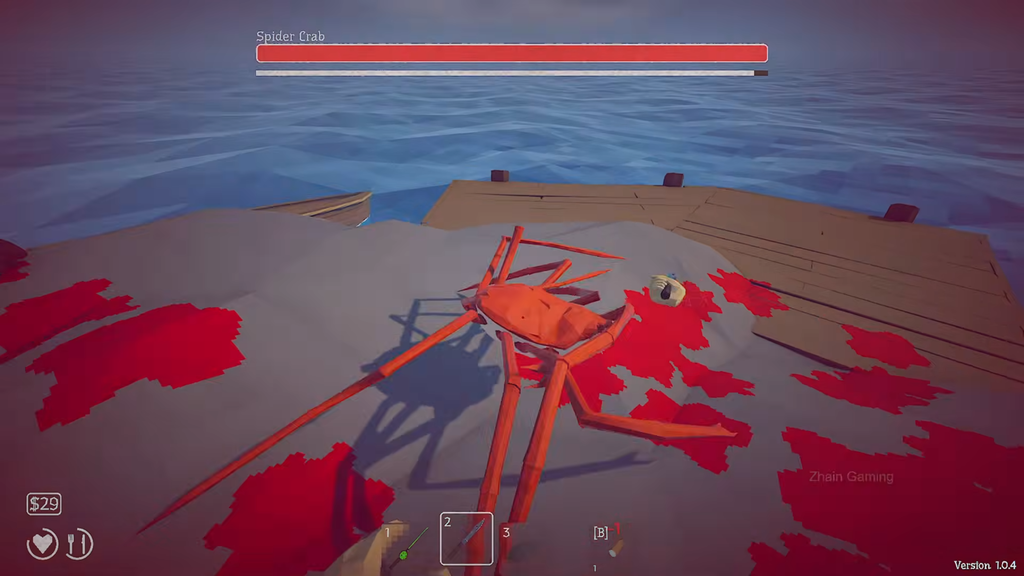
Bosses ignore the normal lure ladder entirely. Each one has a single specific bait, and neither of them is something you’d think to cast on a regular trip. The Spider Crab at the Lighthouse takes an Empty Beer Can, while the Giant Piranha on the Forest island only responds to a Modified Leech.
| Boss | Location | Bait |
|---|---|---|
| Spider Crab | Lighthouse | Empty Beer Can |
| Giant Piranha | Island 2 (Forest) | Modified Leech |
Note: if a species refuses to show up no matter how long you cast, the usual culprit is a mismatched pairing rather than bad luck. Confirm both halves of the combination — the rod type and the exact lure tier for that island — before assuming the spot is wrong.
The practical takeaway is that lure upgrades, not skill, gate most of the collection. Buy into each new tier as soon as you land on an island, keep the Crab Fishing Rod and a Hot Dog in reserve for the shellfish and Piranha, and save the Empty Beer Can and Modified Leech for the two boss encounters.