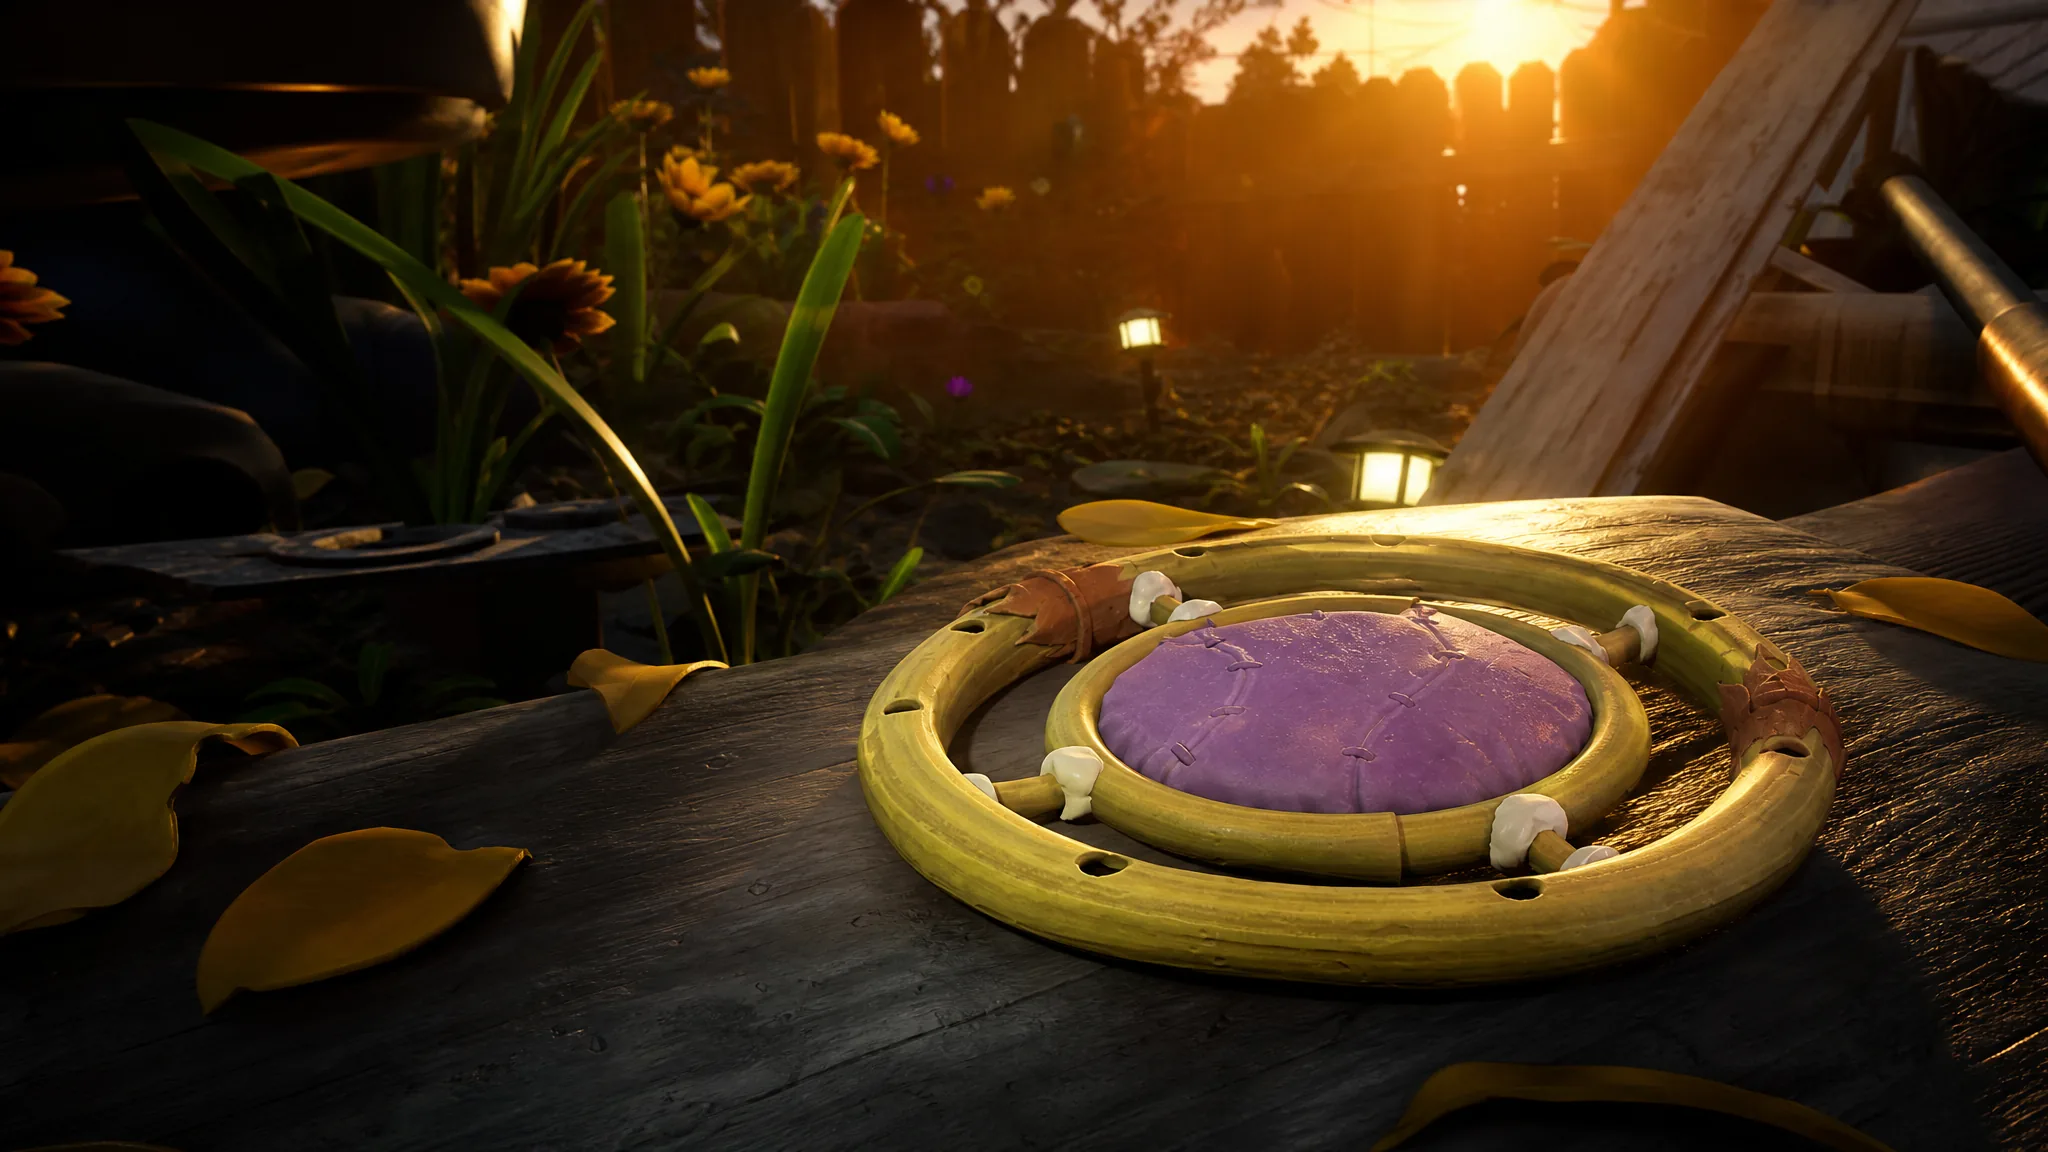
The Bubble Diffuser is the first piece of underwater building that makes Skunk Pond survivable for long stretches. It creates a pocket of breathable air around itself, so you can stop treating your oxygen bar as the timer on every dive. Getting it comes down to one unlock and one crafting recipe added in the Into the Abyss update.
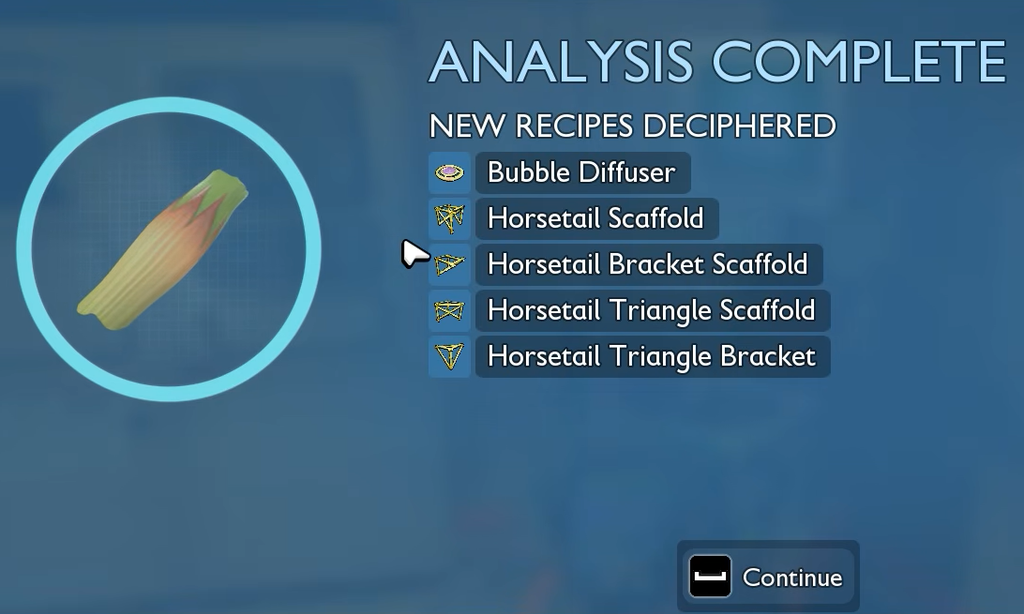
Quick answer: Harvest Horsetail Stem in the shallows of Skunk Pond with Tier 2 Clippers, scan one at a Resource Analyzer to unlock the recipe, then build the Bubble Diffuser from the underwater building menu using 3 Horsetail Stem, 4 Wax, and 2 Blueberry Leather.
Bubble Diffuser requirements and recipe
The Bubble Diffuser is a utility building. It is crafted from the Building Menu rather than a workbench, and it carries a Coziness value of 25. Before you can place one, you need the recipe unlocked and the materials on hand.
| Detail | Value |
|---|---|
| Unlock method | Analyze Horsetail Stem |
| Crafted at | Building Menu |
| Materials | 3 Horsetail Stem, 4 Wax, 2 Blueberry Leather |
| Function | Diffuses bubbles to create a breathable area underwater |
| Coziness | 25 |
Unlock the recipe by scanning Horsetail Stem
The whole progression hinges on Horsetail Stem. Until you analyze it, the Bubble Diffuser will not appear anywhere in your building options, so this is the step to complete first.
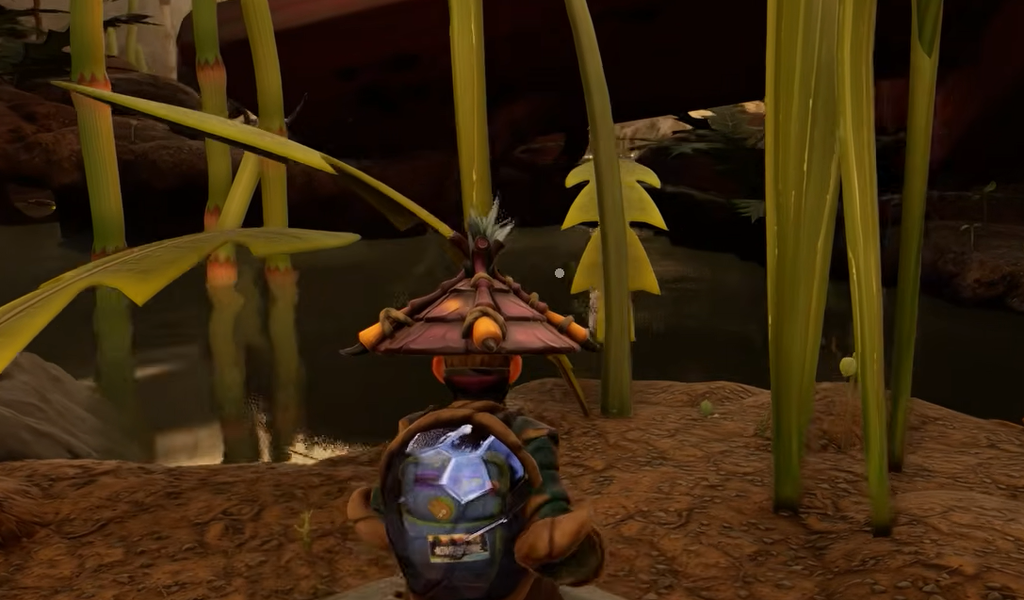
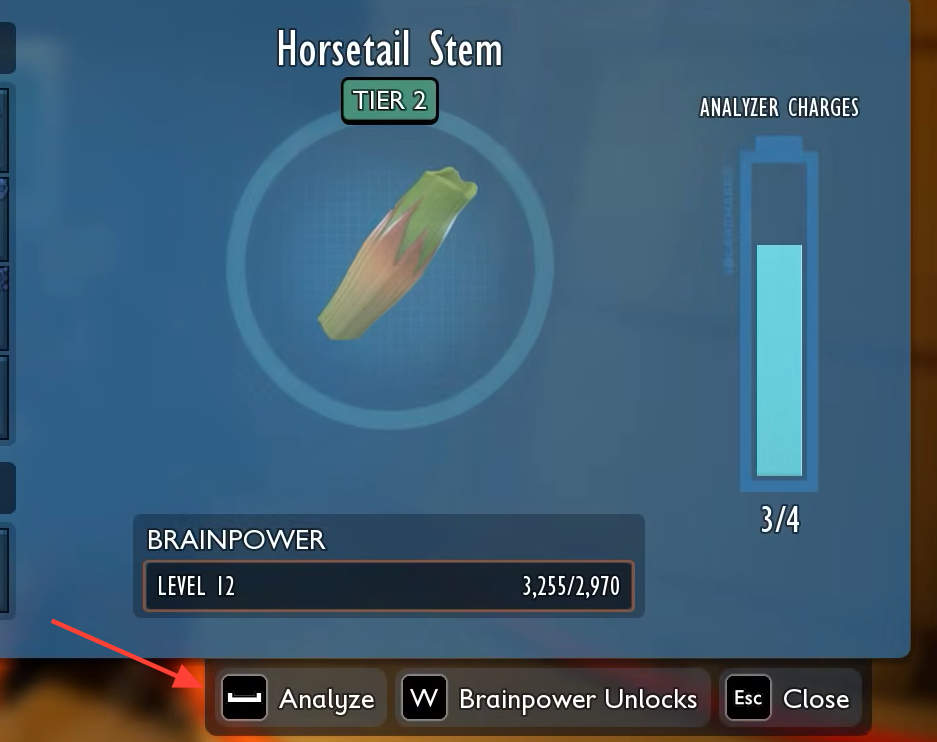
Horsetail Stem feeds into more than one part of the Pond phase, including Quartz Glass production. Keep a surplus so a single analysis run doesn’t leave you short later.
Build the Bubble Diffuser underwater
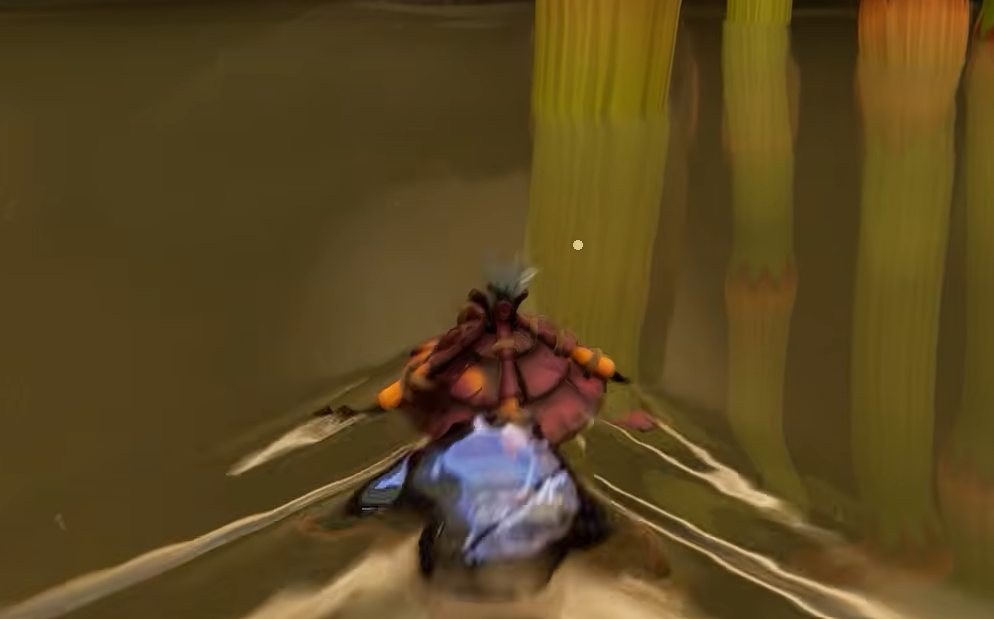
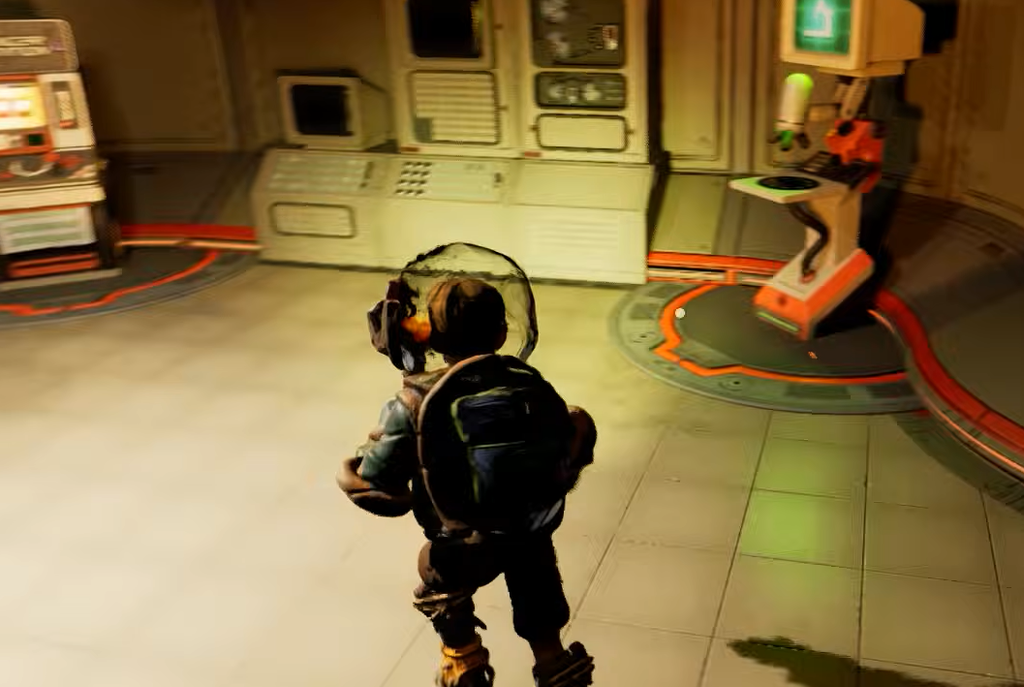
Once the recipe is unlocked, the build itself has one quirk that catches most players. The underwater building options behave differently from normal structures, and you may not see the Bubble Diffuser in the menu while standing on dry land.
Confirm it works and fix failed placements
You know the Bubble Diffuser is working the moment your oxygen bar stops draining inside its effective area. Standing over an active Diffuser gives you a safe air zone, letting you build walls, storage, and other pieces without rushing back to the surface.
If the placement preview refuses to confirm, the problem is terrain, not the recipe. The common rejection messages are Unsupported, Too Steep, and Location Obstructed. Nudge the position slightly, adjust the angle, or move to a flatter patch of ground until the surface accepts the structure. There is no need to swim far away just because the first spot fails.
Where to place your first Diffuser
A valid location is not always a useful one. The point of the Diffuser is to sit near the deep work you keep returning to, so treat your first one as a forward air station rather than the centerpiece of a full base.
- Place it near a repeat resource route, a cluster of underwater structures, or a deep landmark you revisit often.
- Aim for the depth where your oxygen usually starts running low, not a spot just below the surface where you barely need air.
- Keep it shallow enough that reaching the site and building it does not use up almost your entire oxygen margin, since you have to construct it without the air point already in place.
The Diffuser only makes one location safe. It does not travel with you, so keep your Diving Suit for actual movement through the depths and use the Diffuser as the retreat point you build around. If you only need Mushroom Walls to start, those work underwater too, which means you can establish the air station first and expand the base later.