
The Sanguine Shoreline Beacon sits deep inside the Sanguine Caverns Gate, the northern-most gated region of Fainweald in Mortal Shell 2. Reaching it means cutting through a long stretch of canyon combat, dropping into the Pulsing Caves, and climbing back up to Hermit’s Pass before you can finally cleanse it. Along the way you can pick up a Revered Gland, which raises how much Mother’s Pulse you can carry.
Quick answer: Cleanse the Stonebled Gate Beacon to open the Corrupted Gate, pass through the Pulsing Caves and drop past its beacon, then follow the path up through Hermit’s Pass to the Sanguine Shoreline Beacon. Grab the Revered Gland from the chest beside it, then cleanse the beacon for Mother’s Pulse Capacity +1.
What cleansing the Sanguine Shoreline Beacon gives you
Cleansing the beacon claims its Ova and permanently increases your Mother’s Pulse Capacity by one. It also becomes a fast-travel point in the Mether’s Breath menu and restores your Health and Resolve whenever you return. The Sanguine Shoreline Beacon is the second of three beacons in the Sanguine Caverns region, sitting between the Pulsing Caves and the Child’s Feeding Grounds.
None of these beacons are missable. If you skip this one, you can come back and cleanse it after the final boss during free-roam, before you commit to New Game+.
Open the Sanguine Caverns Gate first
You cannot reach the Sanguine Shoreline until the gate is open. That requires cleansing the Stonebled Gate Beacon, which is tucked inside a cave with a trail of blood leading to it, just before the Sanguine Caverns Gate itself. Cleansing it opens the Corrupted Gate and grants access to the full region.
The most direct starting point is the Widow’s Overlook Beacon. From there you run through Blackridge Pass and Blackridge Cliffs before descending into the Sanguine Caverns.
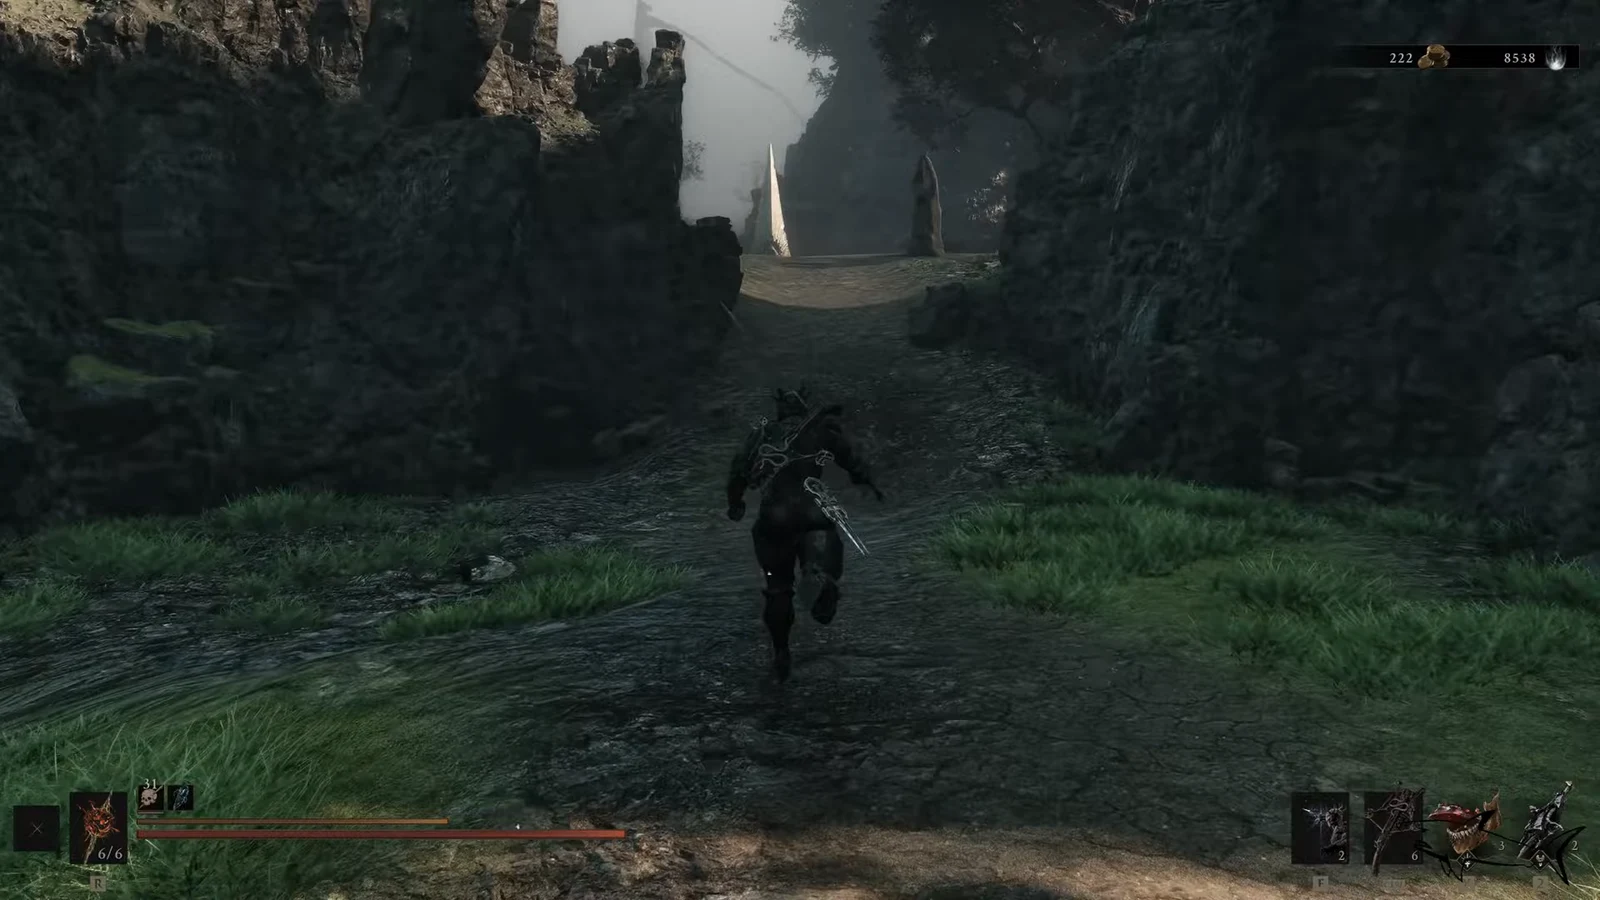

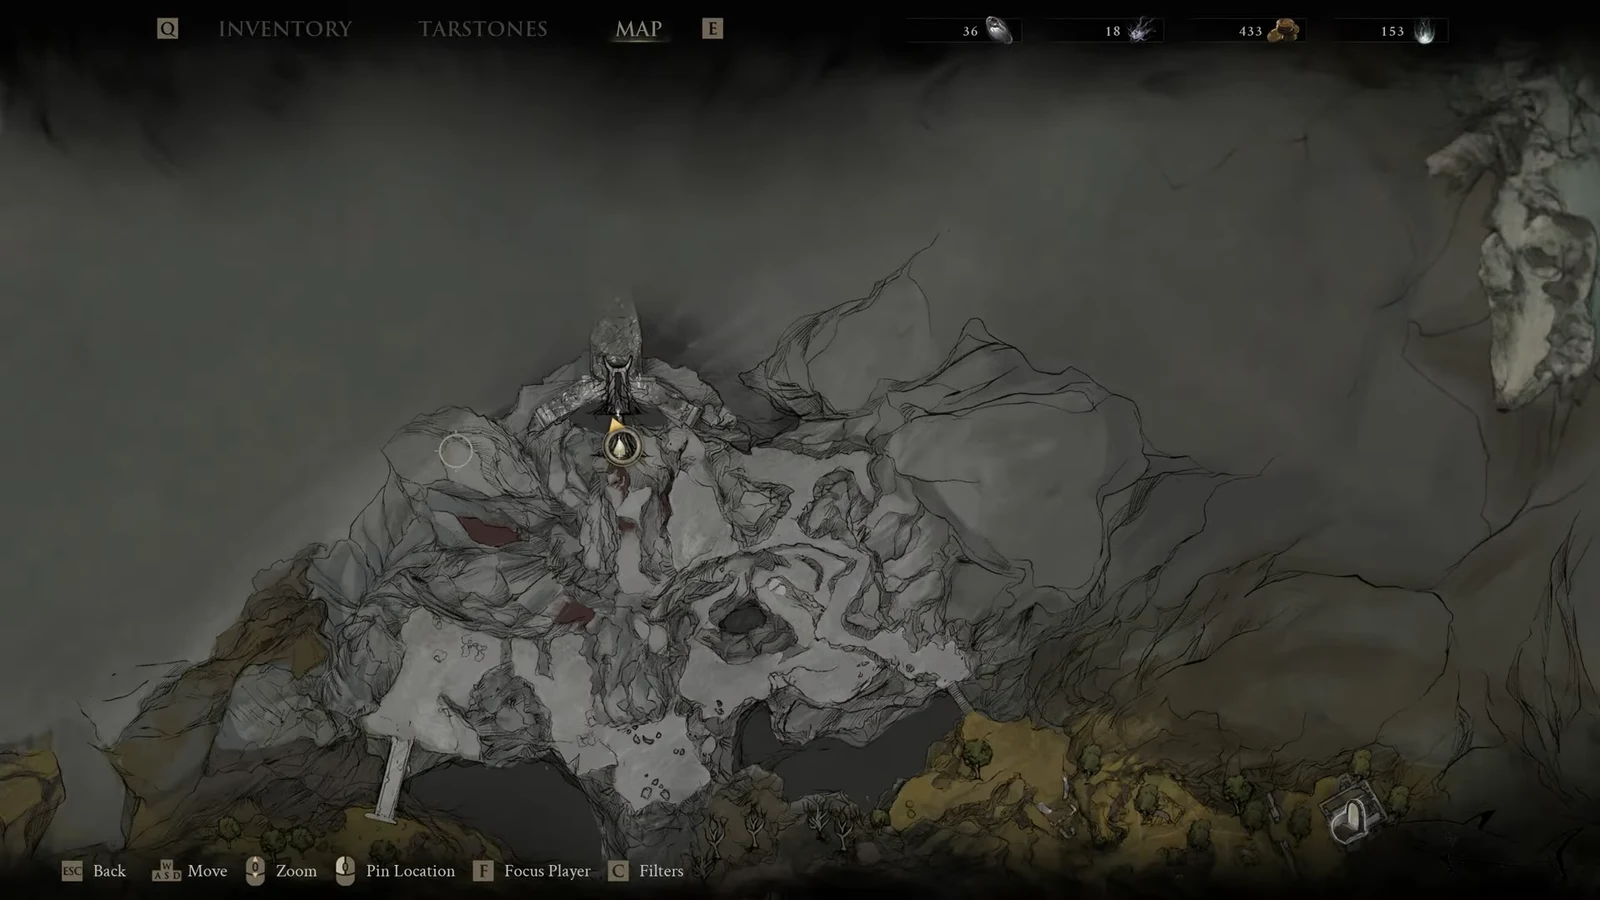
Route from the Corrupted Gate to the Sanguine Shoreline
Once inside the gate, the path runs through the battlefield-style clearings of the caverns, into the Pulsing Caves, and finally up toward Hermit’s Pass. Watch for Bloatmine traps, which detonate when you get close, and for the illusory stalagmite walls that hide pickups.
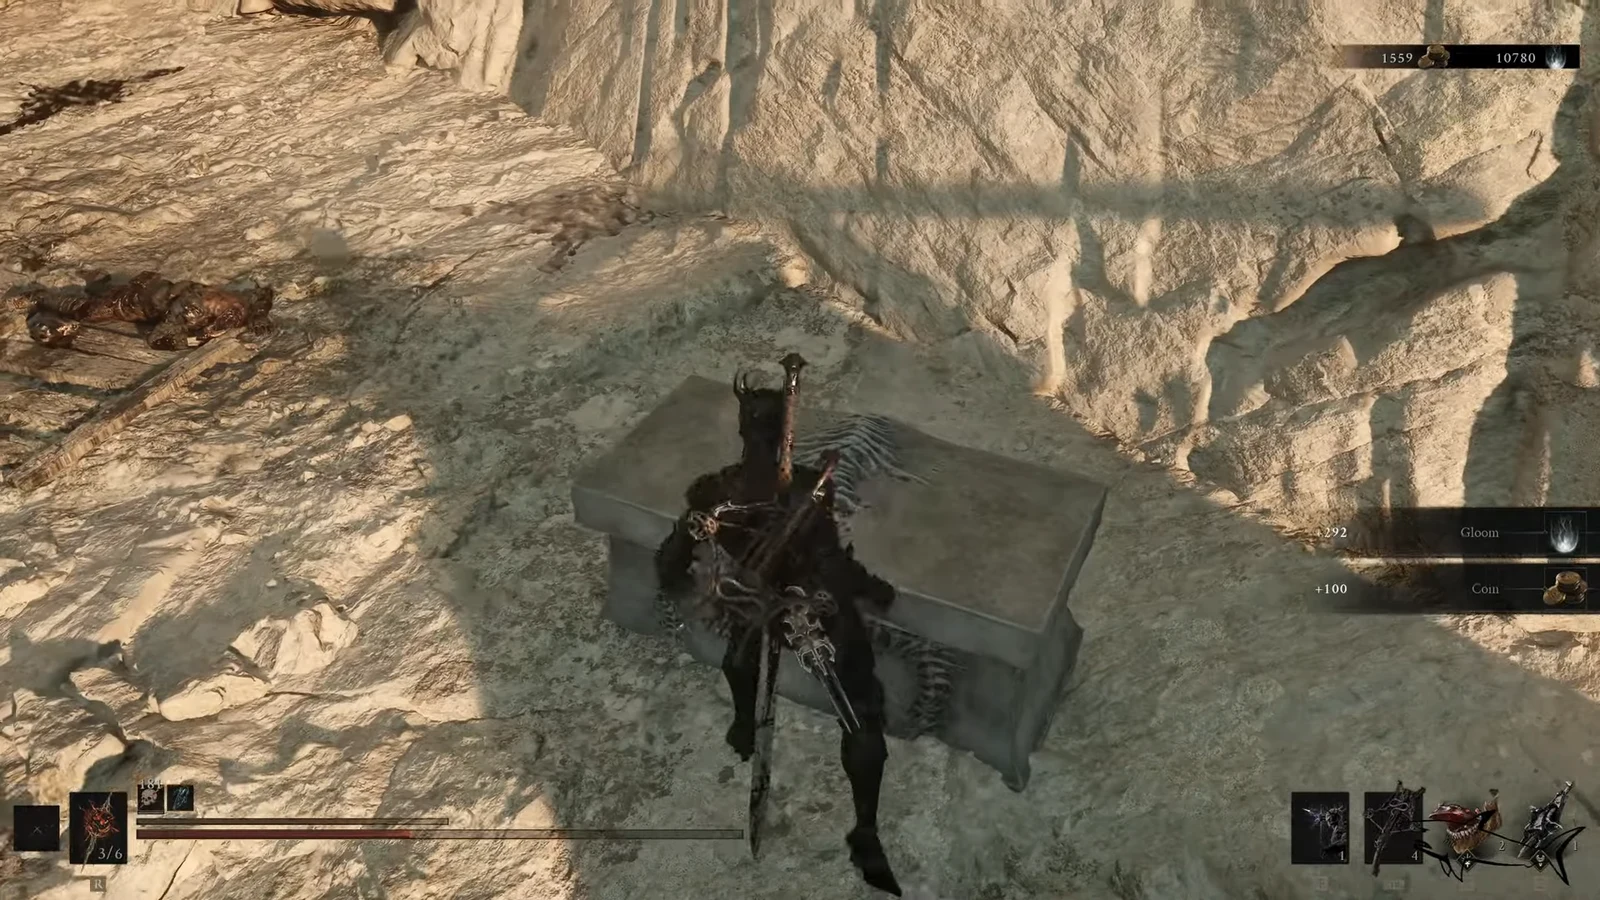
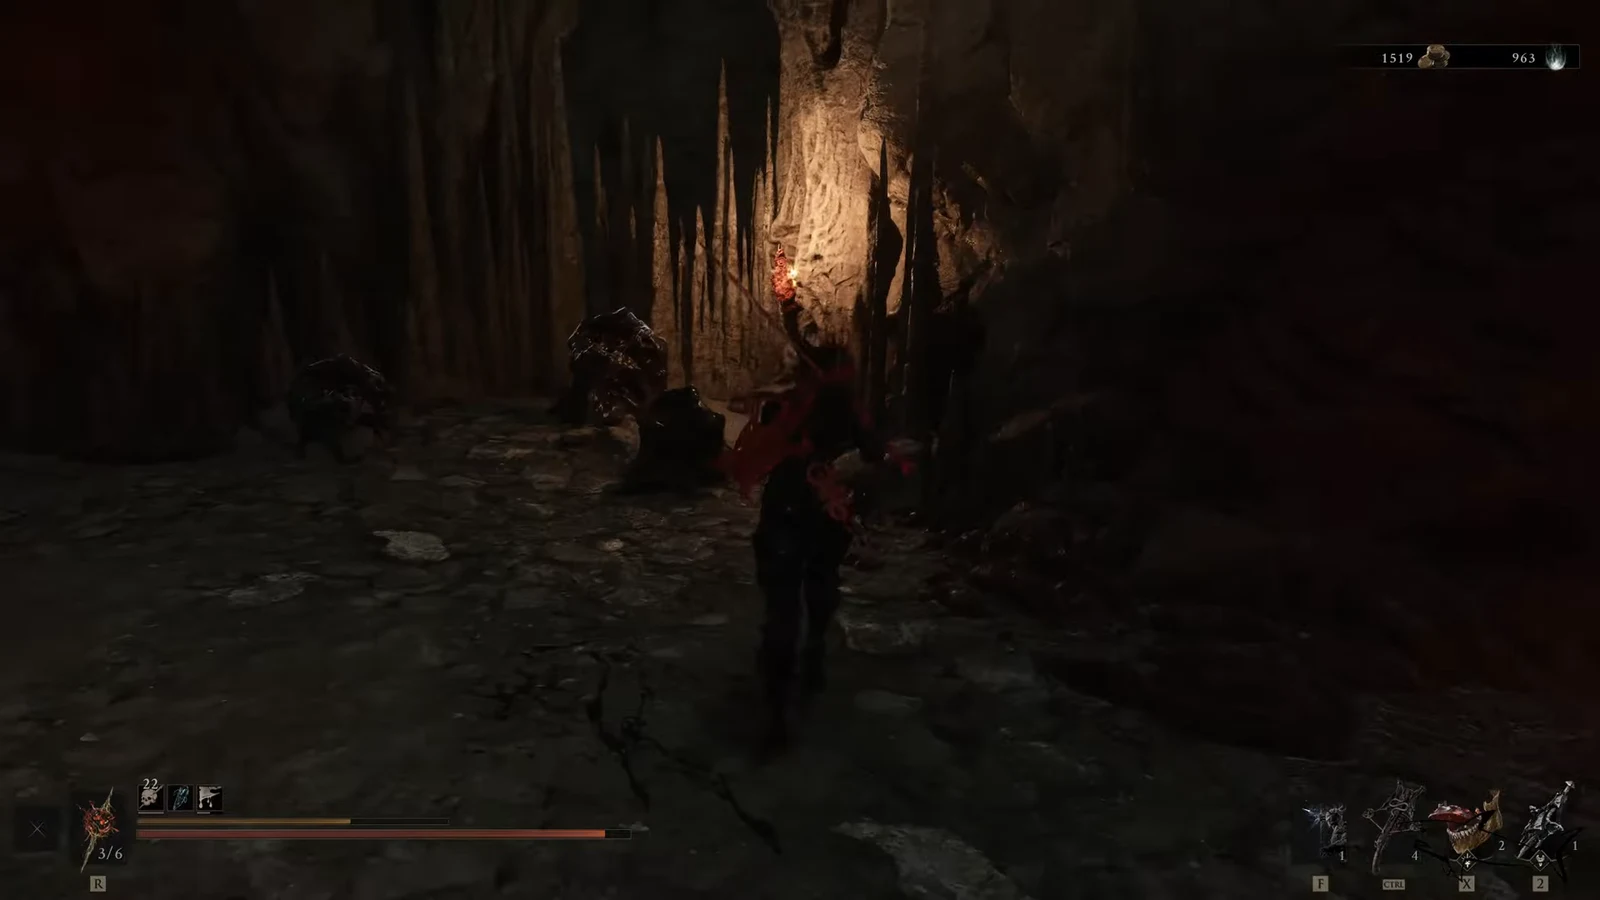
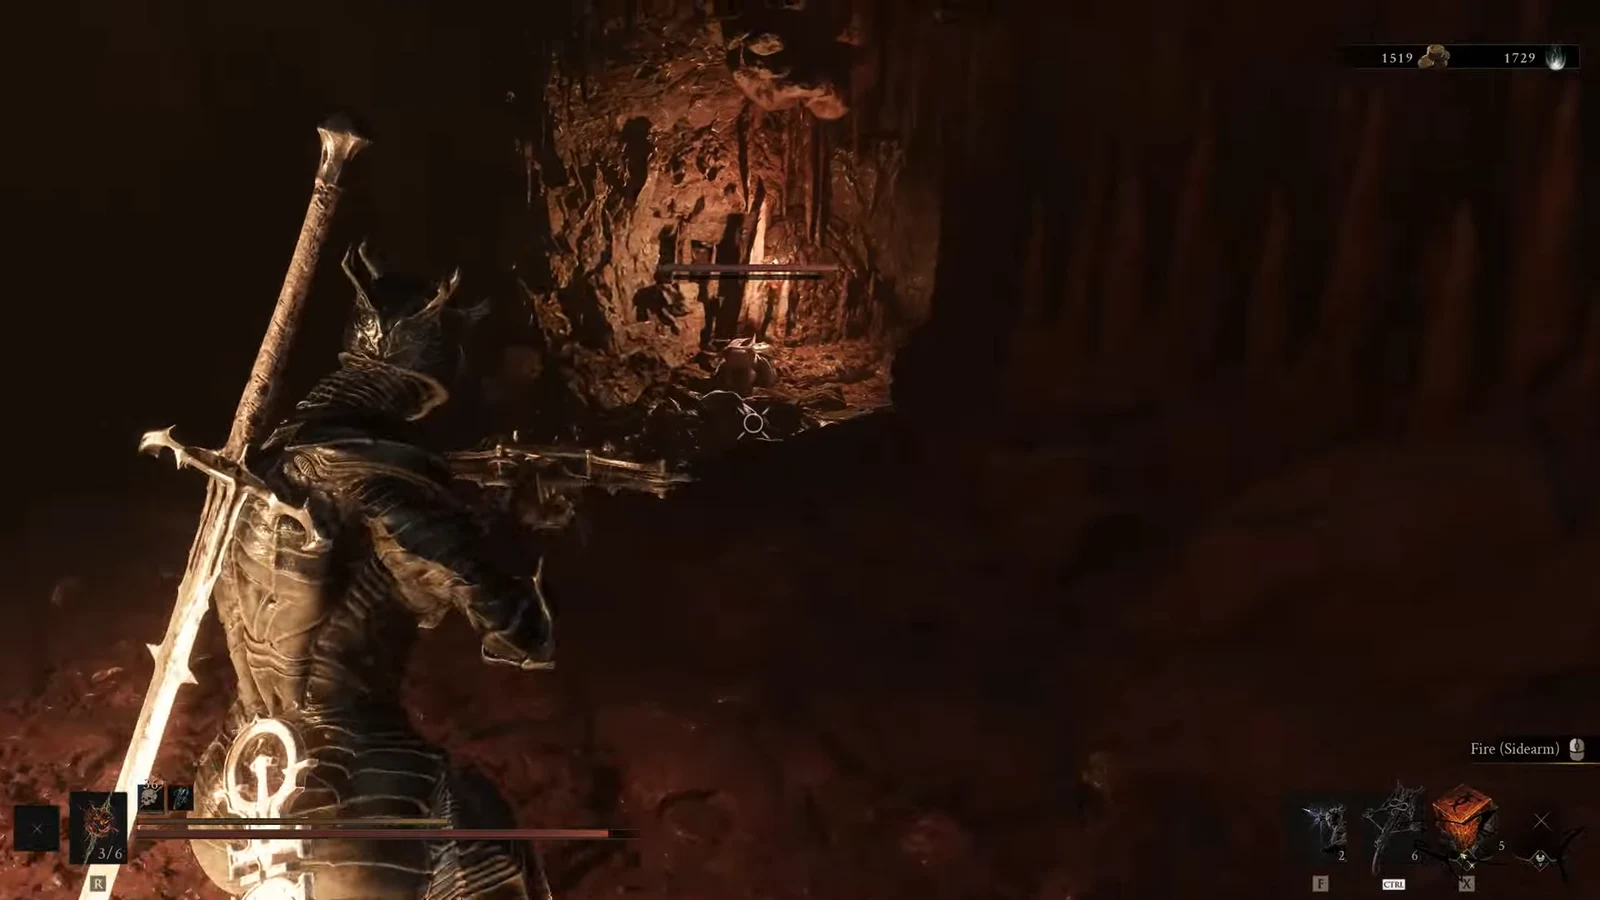
Items you collect on the way
| Item | Where it is | What it does |
|---|---|---|
| Synaptic Vessel | Behind an illusory stalagmite wall in the Sanguine Caverns | Improves Mether’s Pulse efficiency |
| Deadeye tarstone | Chest in the enemy camp guarded by a Stoner | Increases ranged critical damage |
| Mether’s Flesh | Headstone in the deep Pulsing Caves tunnels | Used elsewhere in the game |
| Revered Gland | Chest near the Sanguine Shoreline Beacon, among candles | Increases Mother’s Pulse capacity |
Note: The Synaptic Vessel and Revered Gland are both Healing Upgrades. You consume them at any beacon, choosing “Improve Efficiency” for a Synaptic Vessel or “Improve Capacity” for a Revered Gland.
How to confirm the beacon is cleansed
When you interact with the beacon you will see the “Beacon Found” prompt, followed by “New Ovum Found” and the option to collect the Ovum and return. Cleansing it displays the “Beacon Cleansed” message, and the Mother’s Pulse Capacity +1 upgrade applies immediately. The Sanguine Shoreline entry then appears in the Mether’s Breath fast-travel list at every beacon.
If the beacon will not cleanse, the usual cause is that the Stonebled Gate Beacon has not been cleansed yet, so the Corrupted Gate is still closed and the region is unreachable. Cleanse it first, then follow the route through the Pulsing Caves and Hermit’s Pass to reach the shoreline. With the beacon claimed, the path continues on toward the Child’s Feeding Grounds and the region’s boss.