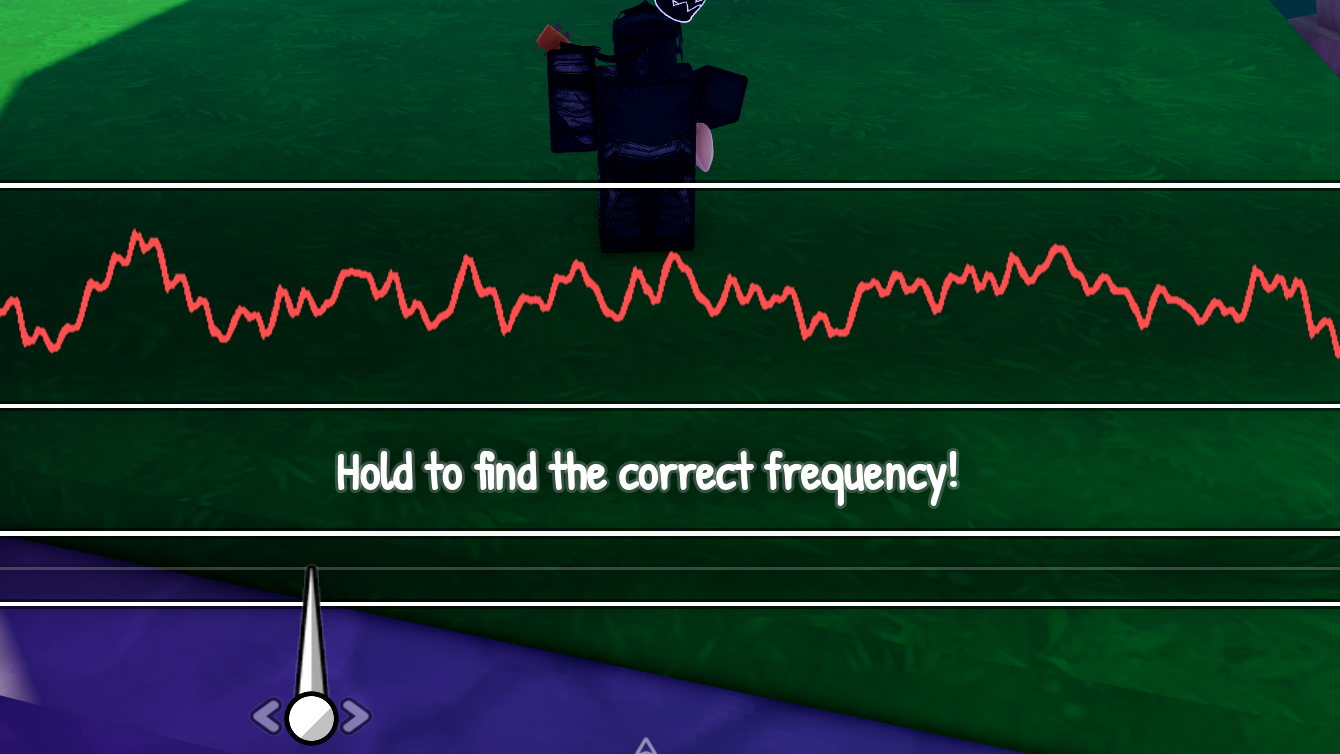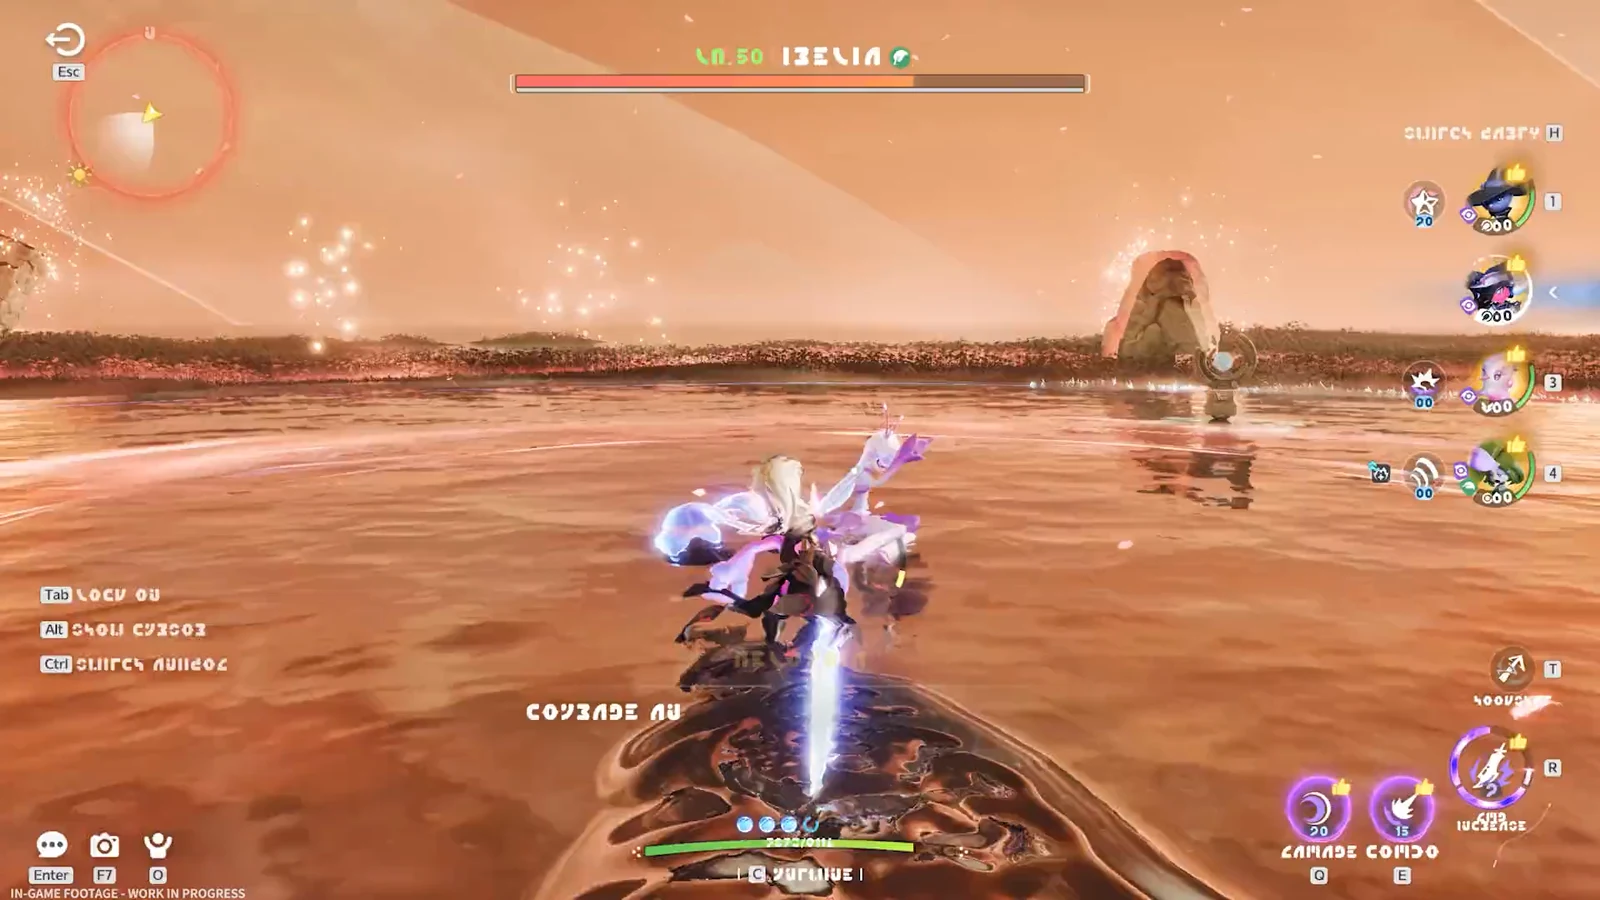
Talia, known as Iron Tower, is a Pathfinder Challenge at Beast Fang Ridge in Aniimo. Her squad leans on round, heavily armored Aniimo that shrug off close-range physical hits and punish you with charged long-range attacks, so the fight rewards distance and element matchups over raw sustain.
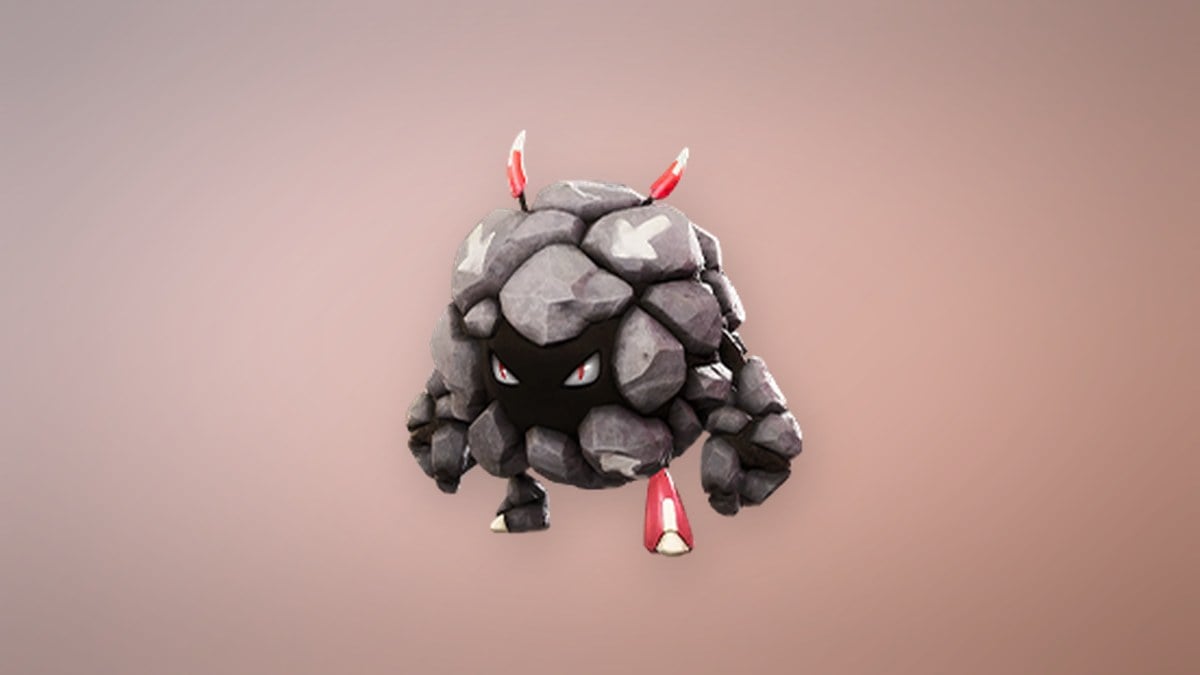
Quick answer: Bring ranged Water and Grass DPS plus a BREAK-focused pick such as Lunara with Lunar Eclipse. The duel starts at Level 40 against Rookey (Dark) and Bouldus (Earth), north of the Rising Flame Sanctum.
Talia’s team and weaknesses
The challenge is a two-stage fight with a 5:00 time limit per stage. The opening stage fields two Aniimo at the recommended level, and the rematch raises the level and adds two more. The game recommends Grass, Water, and Light for both stages.
| Stage | Level | Aniimo | Element |
|---|---|---|---|
| Challenge | 40 |  Rookey Rookey | Dark |
| Challenge | 40 | 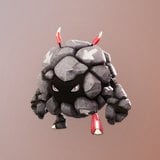 Bouldus Bouldus | Earth |
| Rematch | 53 | Rookey, Pawney | Dark |
| Rematch | 53 | Bouldus, Waleetle | Earth |
The rematch adds a field effect called Close-Quarter Strike. It raises BREAK efficiency by 50% and grants Talia’s team 30% damage reduction whenever a BREAK attempt fails, which makes clean BREAK timing far more important in the second stage.
Counter Aniimo to bring
Both of Talia’s starters mostly close in for melee normal attacks, so the safest answer is an Aniimo that can hit from range and kite. Water is effective against Bouldus, while a strong BREAK pick tears down Rookey quickly. Pair your damage dealer with a Regen and a Support Aniimo to cover healing, buffs, and EP recovery between exchanges.
- Lunara with Lunar Eclipse equipped, to drain the enemy BREAK gauge and counter Rookey.
- A BREAK or DPS Water Aniimo such as Panpanta, to handle Bouldus.
- Grass and Wind picks like Leafy or Turbo for extra ranged pressure.
- Helion as an additional DPS option against the lineup.
Lunar Eclipse is your main answer to Rookey: this Holy skill strikes the target with moonlight, adding BREAK damage that increases with your Aniimo’s level. It has 60 power, costs 20 EP, and has a 1-second cooldown.

Panpanta is a Water BREAK Aniimo whose Home Run skill lands heavy single hits, making it a reliable pick for cracking Bouldus. Leafy covers the Grass angle as an Energy role, and Turbo adds Wind pressure as a Support.



Attacks to watch and how to react
Rookey’s Bouncy Sling
Rookey repeatedly charges and then launches itself at you with Bouncy Sling, a Dark skill with 55 power that hits in a 2.5-meter radius and raises the target’s BREAK damage taken by 15% for 15 seconds. It drains both your HP and BREAK gauge fast, and if it ricochets to nearby allies it spreads the problem.

When Rookey starts to charge, dash away in a different direction so the lunge misses. Use the arena’s uneven ground to your advantage: fire from the lower end of a slope, and Rookey will often fly over your position.
Once you enter BREAK, Rookey follows up with Heavy Slam, which can knock out an Aniimo instantly. Avoid being caught in a broken state next to it.
Bouldus’s Boulder Blast
Boulder Blast is a Rock skill with 175 power and an 8-second cooldown. Bouldus spins across the ground, pulls in debris, then detonates for AoE damage and scatters 6 Rock Piles around itself. The wind-up is your cue to pull back, swap between your Regen and Support Aniimo, and top up HP and EP before re-engaging.

Bouldus’s Rolling Ball
Rolling Ball lets Bouldus become a ball and roll forward for 15 seconds, with its direction under your control. It damages anything it hits and creates extra AoE damage when it rebounds off a wall. Short-range Aniimo are especially vulnerable, so keep a ranged attacker active and chip away at Bouldus, dashing out of its path whenever it rolls toward you.
Where to find Talia
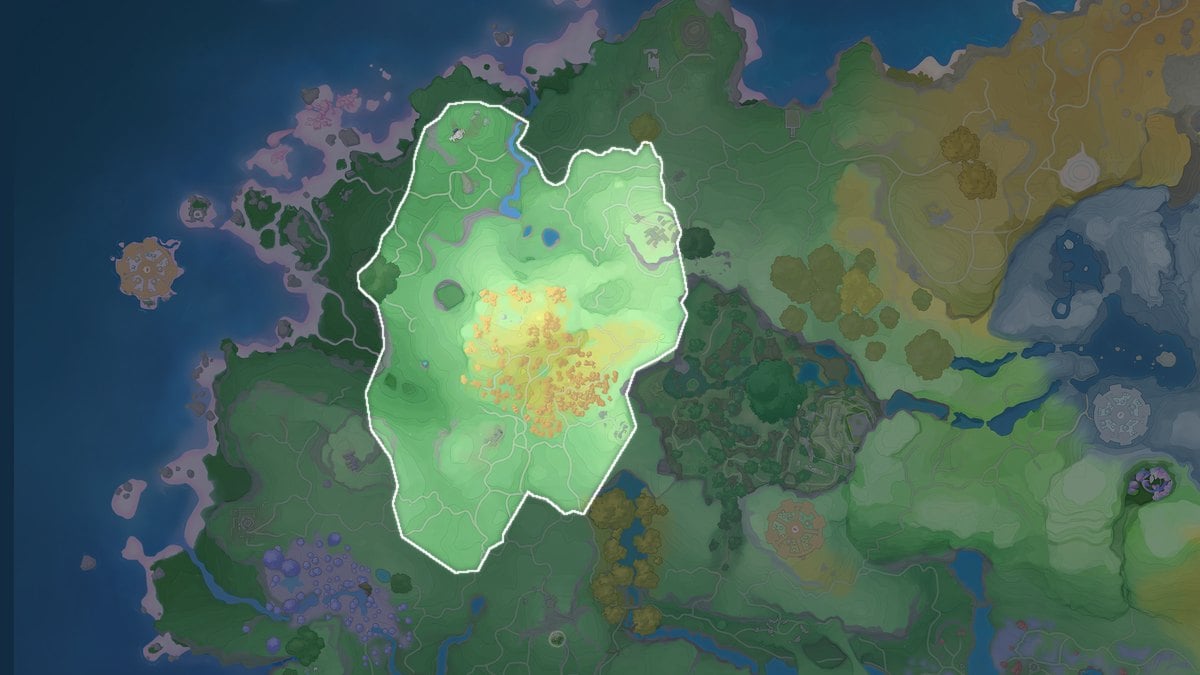
Talia stands at the intersecting path heading east, north of the Rising Flame Sanctum in Beast Fang Ridge. The fastest route is to teleport to the area’s Nurture point or the Sanctum itself and walk the short distance over.
Talia rewards
Each stage grants its first-clear rewards once.
| Stage | Reward | Amount |
|---|---|---|
| Challenge | Safaris | 300 |
| Challenge |  Star Sand Star Sand | 1 |
| Challenge | Common Held Item Core | 2 |
| Challenge |  Fragment – Besauce Fragment – Besauce | 1 |
| Challenge | Credits | 50,000 |
| Rematch |  Sparkling Crystal Sparkling Crystal | 20 |
| Rematch | Star Shard | 4 |
| Rematch |  Growth Fruit Growth Fruit | 5 |
| Rematch | Credits | 50,000 |
How to confirm the win
You have cleared the challenge once Talia’s last Aniimo falls and the victory screen pays out the first-clear rewards above. Talia greets a successful run with a line about cracking her rolling defense, confirming you broke through the squad’s armor. After the challenge is done, you can return and take on the Level 53 rematch for its own reward set.