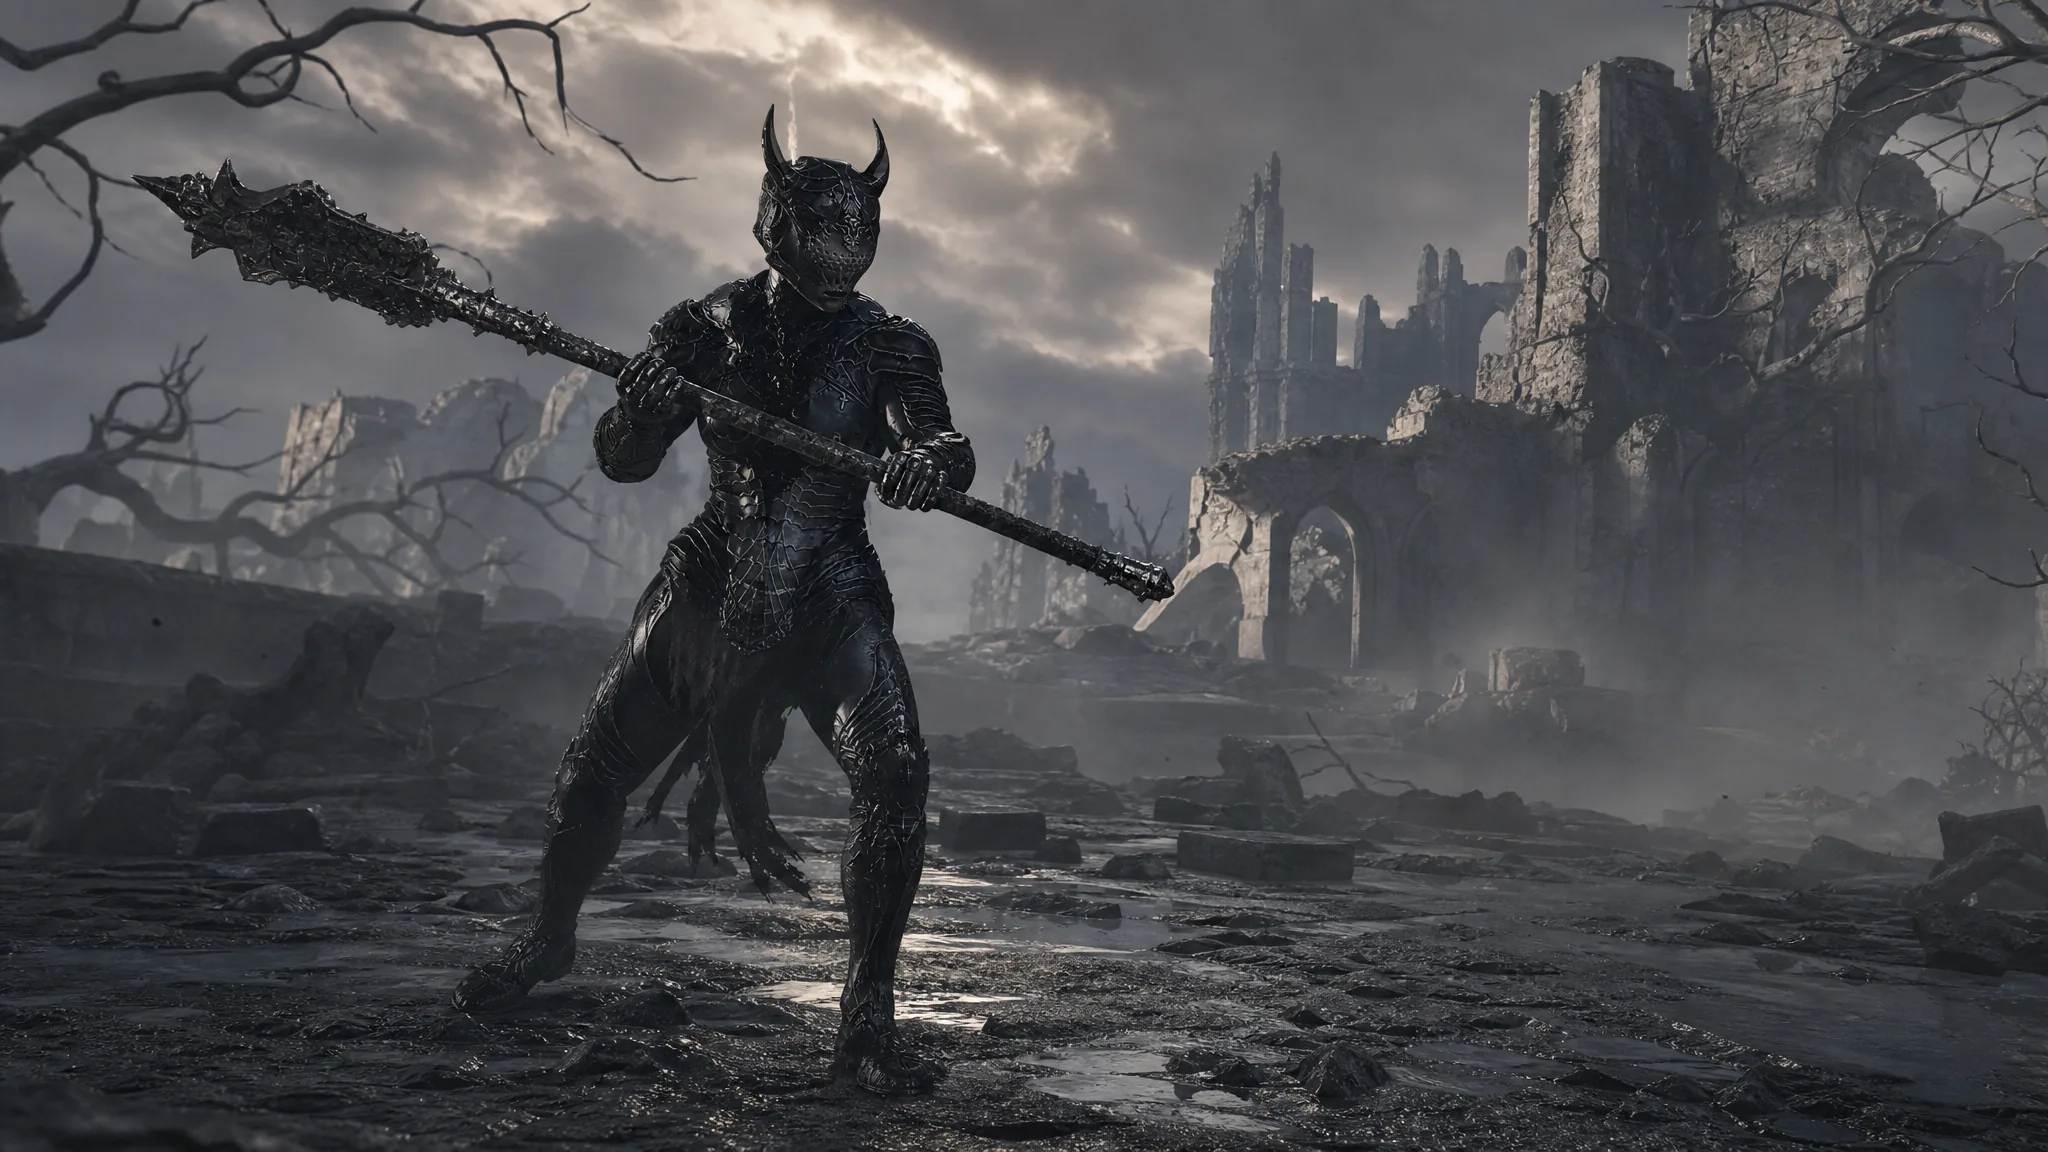
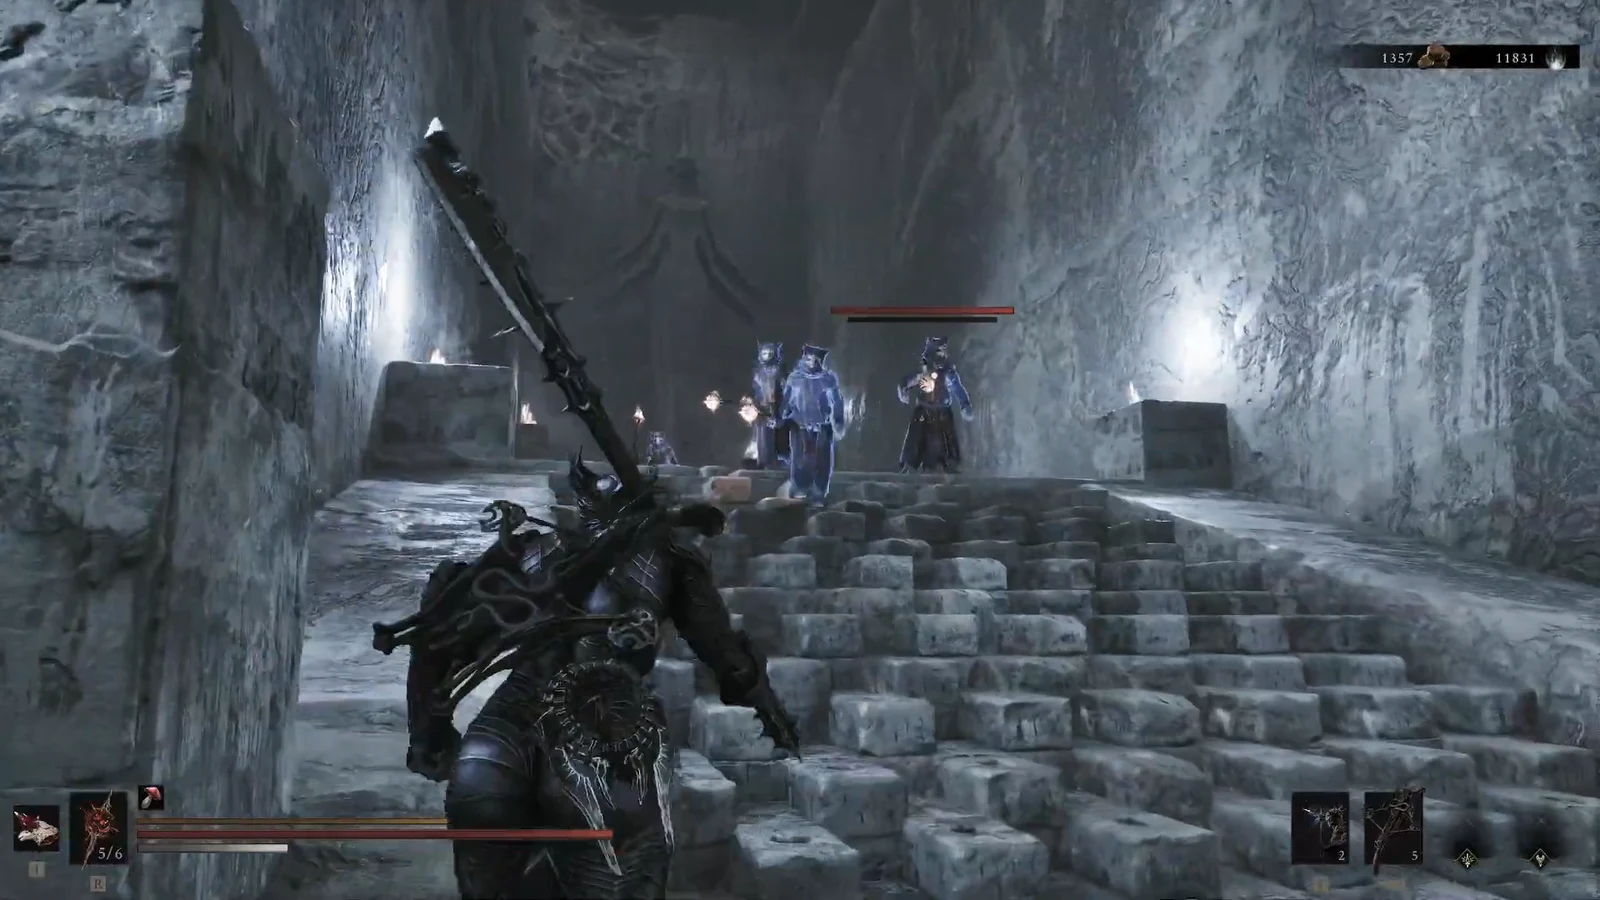
The glowing blue enemies you meet on the stone stairs of the Unfound Path cannot be hurt while they shine. Every hit bounces off, their health bar stays full, and pushing forward only gets you surrounded. The glow is not a random buff. It comes from a nearby light, and once you understand that link the fight becomes simple.
Quick answer: The blue enemies are invincible only while they stand inside the range of a glowing light source at the top of the stairs. Lure them down the steps away from that light, or smash the lantern itself, and the blue glow drops so you can kill them normally.
Why the blue enemies cannot be damaged
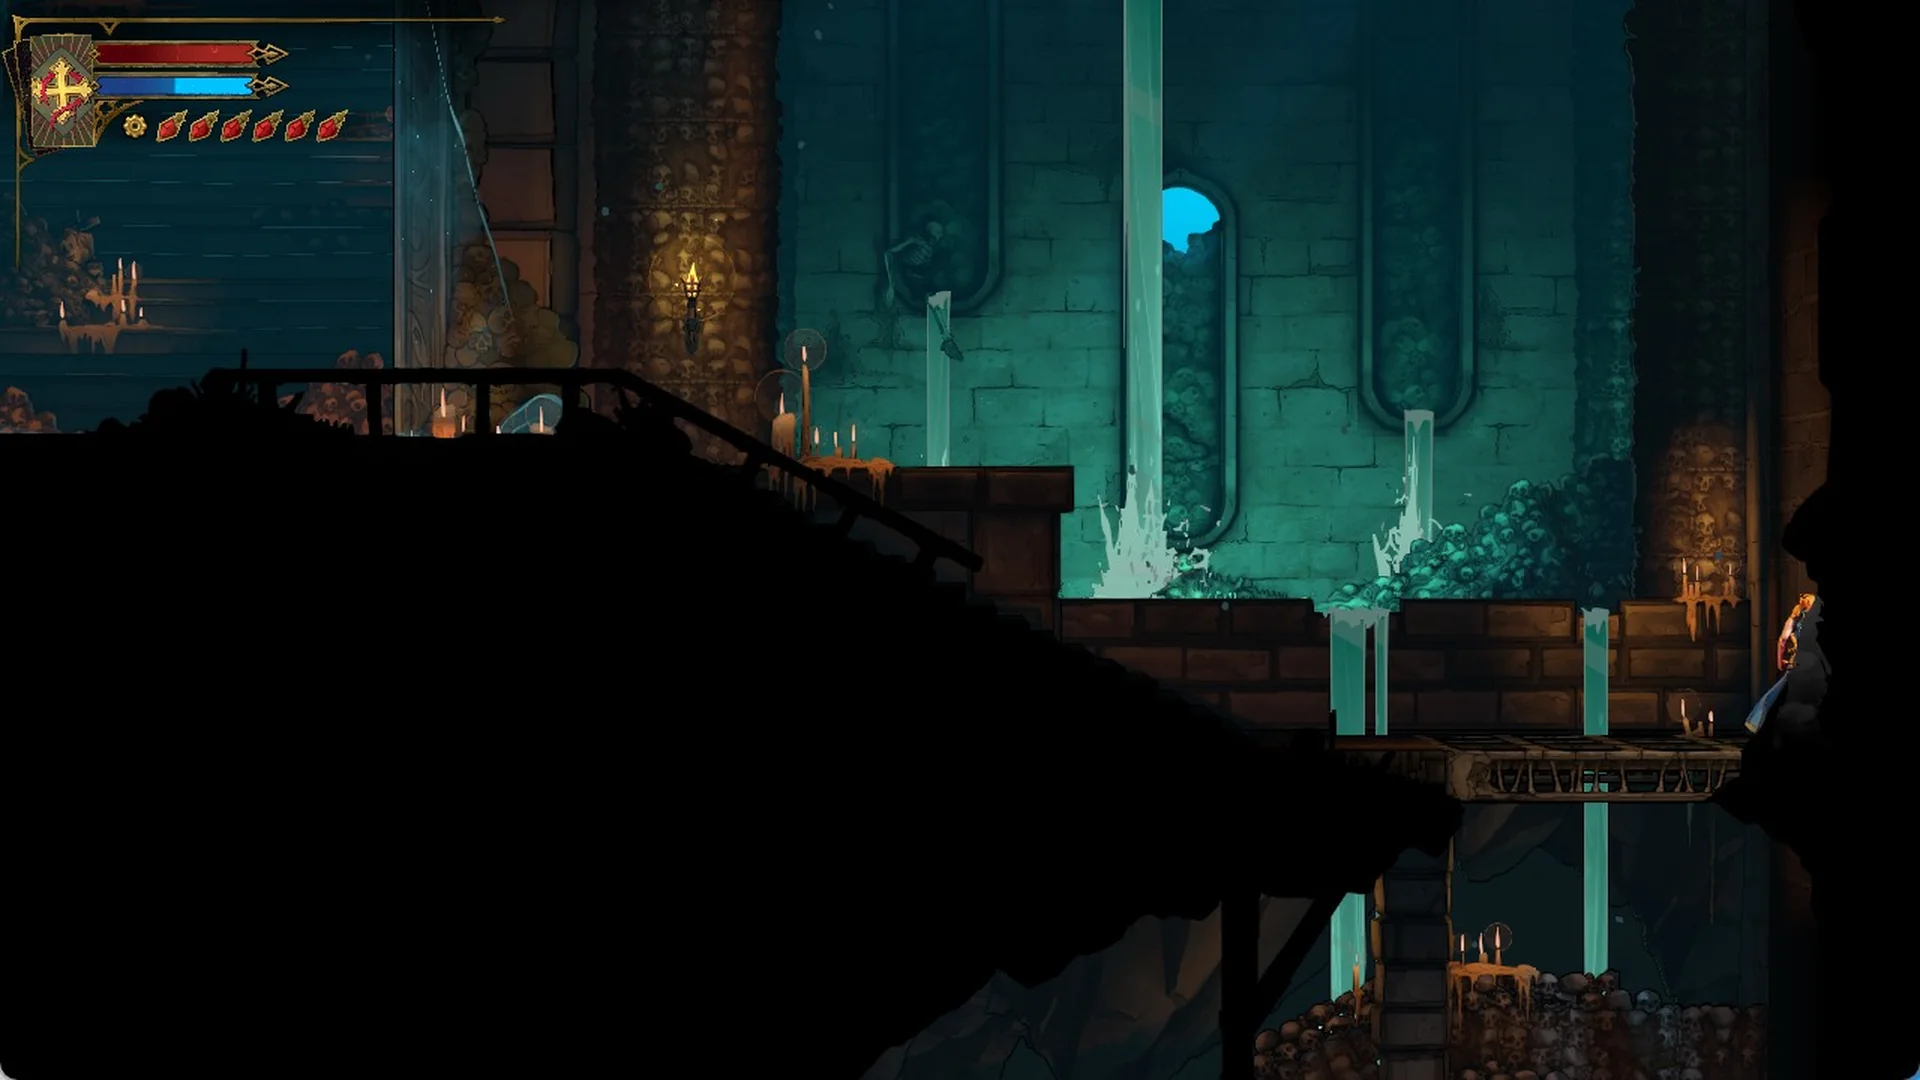
These enemies carry a distinct blue, glowing aura. That aura is the visible sign that they are protected. The protection is granted by a light source at the top of the staircase, and time appears frozen inside its reach. Any enemy standing under that light takes zero damage from your weapon, your sidearm, or your Break attacks.
The rule is about position, not the enemy itself. The moment a glowing foe steps outside the light’s range, it loses the blue aura and behaves like an ordinary enemy again. So the whole fight is about controlling where they stand, not about hitting harder.
Two ways to strip the blue glow
You have two reliable options to remove the protection. Pick whichever fits the layout in front of you.
| Method | How it works | Best used when |
|---|---|---|
| Lure them out | Run past or toward the enemies, then retreat down the stairs. They chase you out of the light’s range and their glow disappears. | The light is hard to reach or ringed by too many enemies. |
| Destroy the light | Attack the glowing lantern a few times to extinguish it. With the source gone, every enemy nearby loses protection at once. | You can reach the lantern and want to disable it for the whole area. |
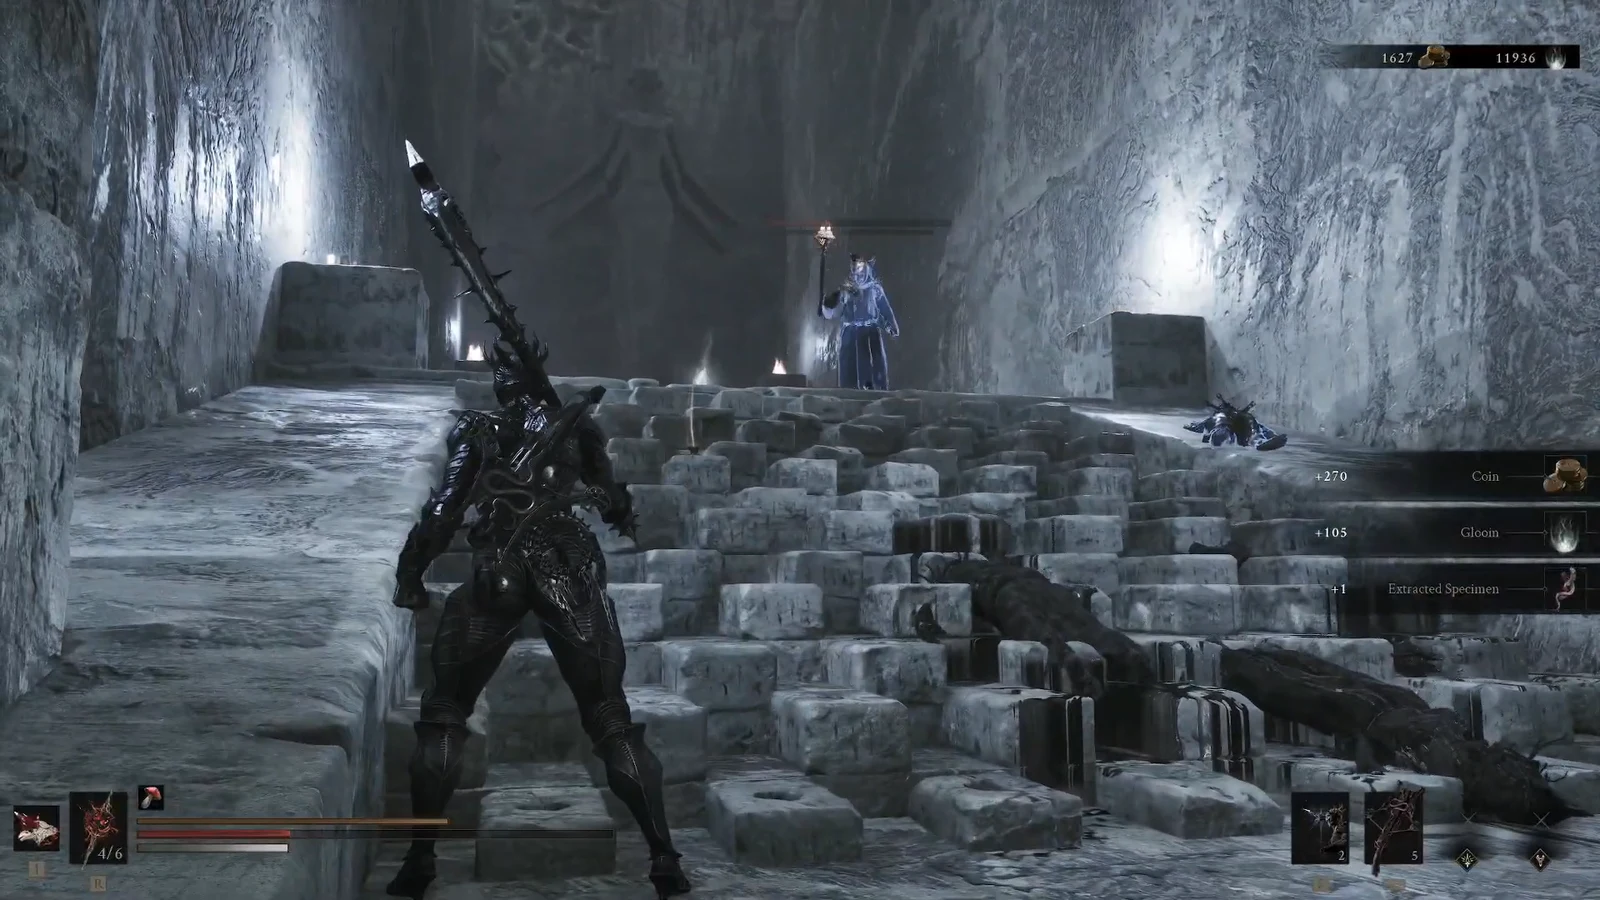
Both approaches end the same way. Once a blue enemy is out of range or the light is off, it can be damaged normally and goes down like any other foe.
Clearing the staircase and taking the Revered Gland
How to know it worked
You have done it right when an enemy’s blue aura vanishes and its health bar starts dropping as you hit it. If the glow is still on and your strikes do nothing, the enemy is still inside the light’s range. Pull it further back, or go turn the light off, before you swing again.
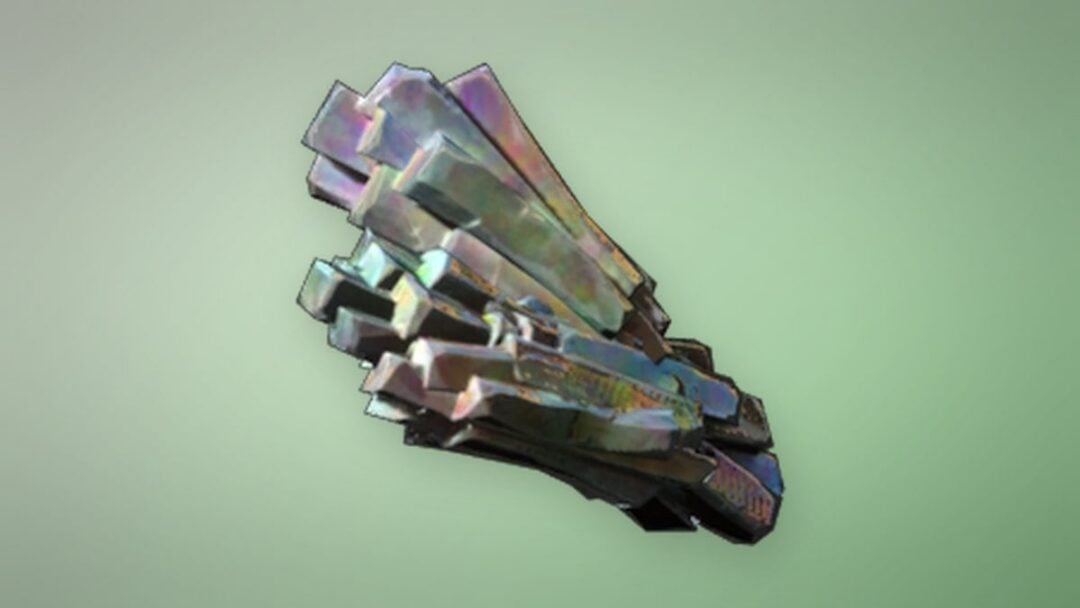
Once every glowing foe is dead, the staircase is safe and the Revered Gland at the top is yours to grab without being ganged up on.
The same trick works everywhere blue lights appear
This is not a one-off puzzle. The same blue-lantern mechanic shows up across the Faded Citadel and its surrounding areas. In the Ashen Sanctum you pass blue lanterns that freeze time and make any enemy beneath them invulnerable, and the fix is identical. Draw the enemies out of range, or hit the lantern a few times to switch off its protection.
It matters most during the fight with Solnir, the Gloom Seeker. That arena holds several blue flame lanterns, so destroy those first before you commit to the boss. In the Citadel Atrium, where two lanterns cover a large group of enemies, you only need to put out one of them to open the area up. Clearing the light before the fight is always the safer play than trading blows with something that cannot be hurt.