Chapter 11 (Patera): A Plague Tale Legacy — All Collectible Locations
Where to find both charms, all three artefacts, and every Resonance Point in the Patera labyrinth.
Where to find both charms, all three artefacts, and every Resonance Point in the Patera labyrinth.
by Sehaj Padda
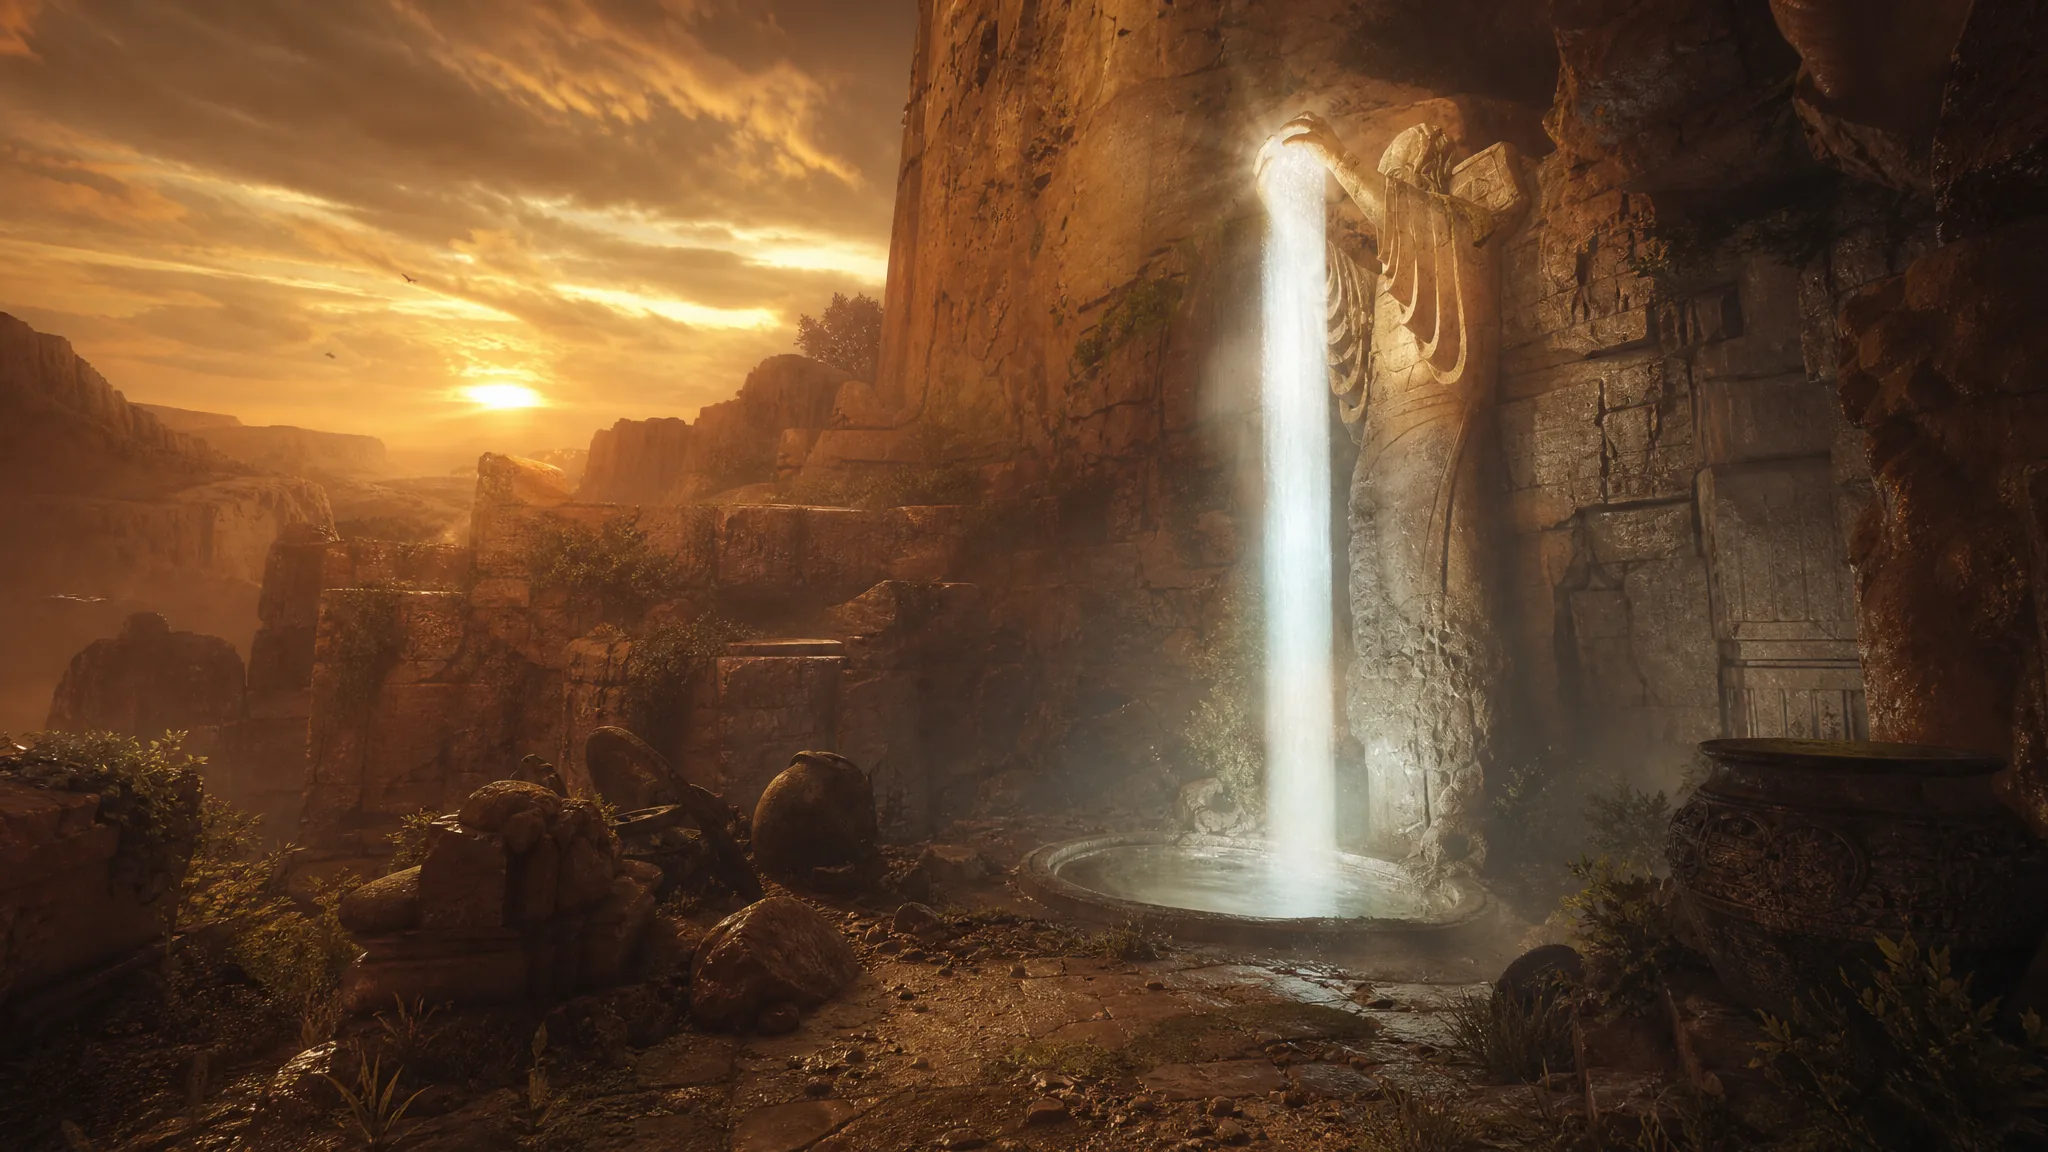
Chapter XI – Patera drops Sophia into an underground labyrinth built around a giant statue that fires a beam of light. Almost every collectible sits along the same path you take to realign five giant lenses, so a clean run through the chapter naturally sweeps up most of what you need. The named pickups here are two charms and three artefacts, wrapped in a long trail of Resonance Points.
Quick answer: Collect the Olden Abacus, Burnt Mosaic, and Weasel Foot artefacts, plus the Arm Band #5 and Bracelet #5 charms, and grab every Resonance Point you pass. The charms and artefacts are not missable and can be re-collected later through Chapter Select, but Resonance Points must be gathered during the same run to count toward your skill tree.
Chapter 11 (Patera) collectible checklist
Five collectibles in Patera have unique names and count toward the Hoarder and Superstitious trophy tracks. Everything else you pick up is a Resonance Point, which feeds your skill tree.
Collectible
Type
Where it is
Olden Abacus
Artefact
In a chest just after the cavern soldier fight, near the second lens
Arm Band #5
Charm
In a chest reached by walking along the rim of the lens on the upper ledge
Bracelet #5
Charm
In a cobweb-covered chest after Faro boosts you up a scaffold
Burnt Mosaic
Artefact
On the ground in the flooded chamber past the fourth lens
Weasel Foot
Artefact
On the ground in the camp after the final lens, near the chapter’s end
How the lenses and light beam gate the pickups
Most of the labyrinth is locked behind the light beam. You operate cranks to align each of the five lenses, which redirects the beam deeper into the caverns. That same beam burns away the corruption and cobwebs covering levers and doorways, so you often need to point the light at a blockage before a path or chest opens up.
Two things worth remembering as you go. Defeating certain groups of soldiers drops bonus Resonance Points on the spot, so clear enemies fully before moving on. And several chests and ledges require Faro to boost Sophia up wooden scaffolds, meaning a few collectibles only become reachable after a co-op action.
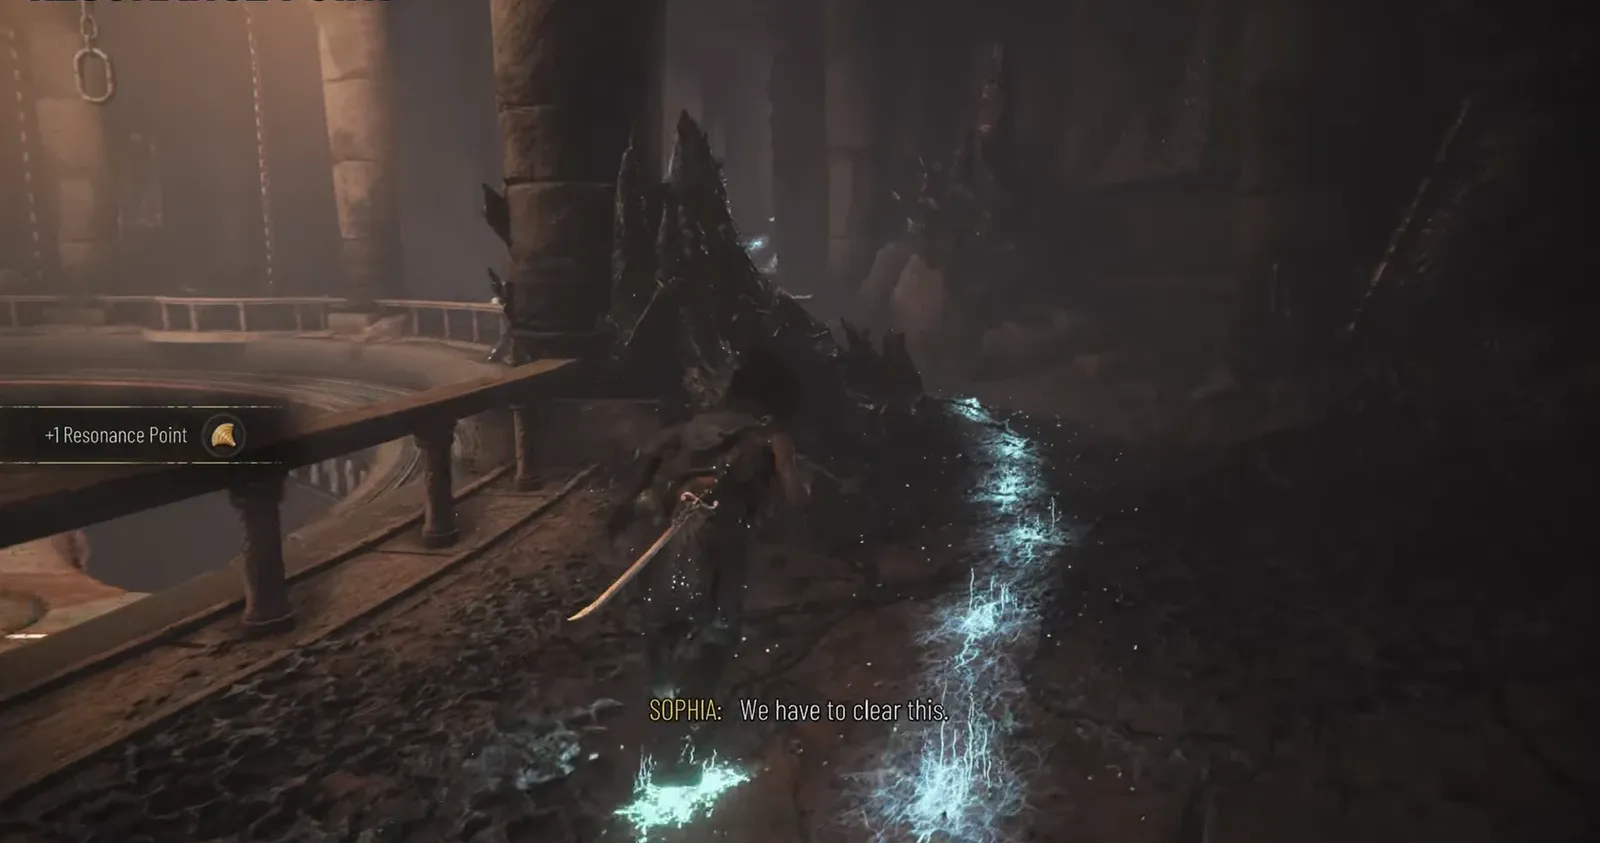
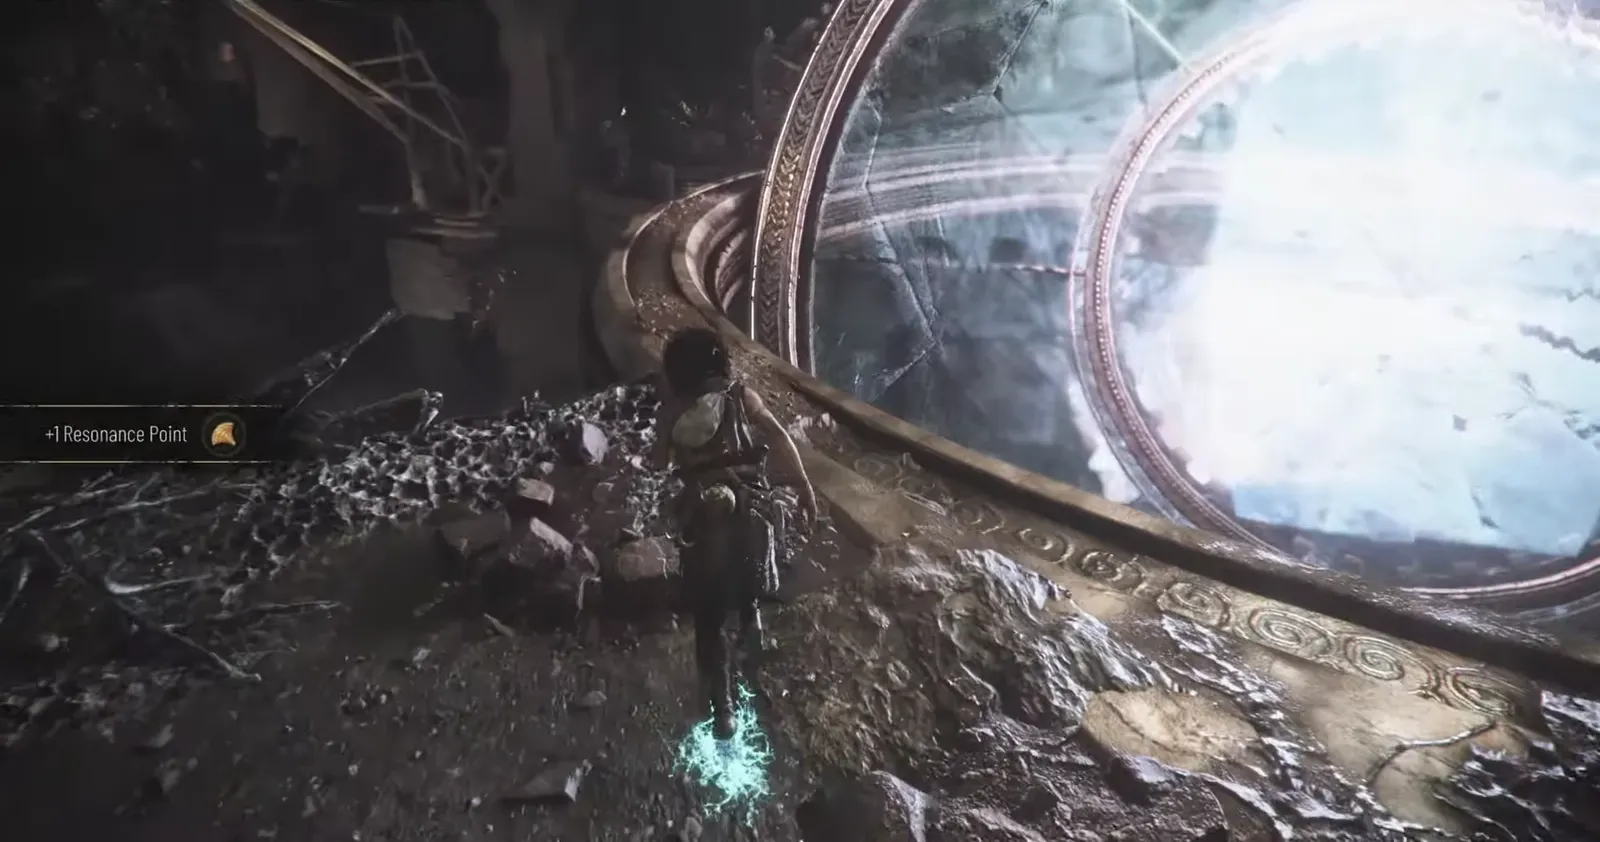
After Sophia jumps down the rocky opening into the underground area, follow the path and grab the first Resonance Point lying along it. Operate the nearby crank to redirect the beam, then pull the lever to open the stone doorway.
The first Resonance Point sits on the path just after you drop into the labyrinth. Image credit: Asobo Studio
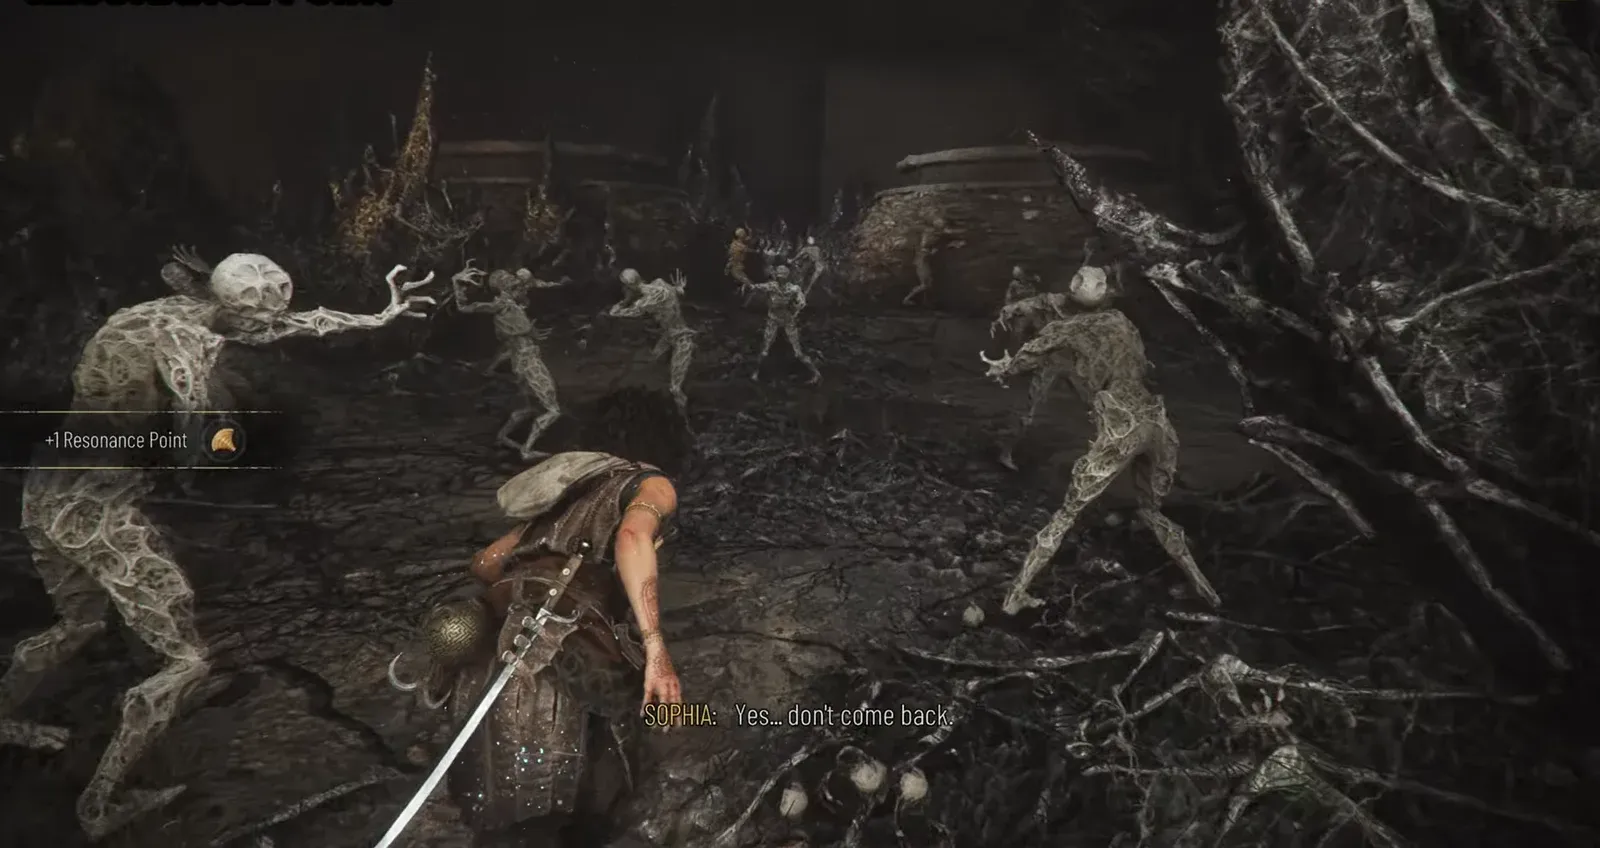
Continue until you reach the petrified corpses and collect the second Resonance Point beside them. Use the beam to burn away the corruption blocking the next lever, then work the crank to align the second lens.
Ride the zipline across the gap and grab the Resonance Point on the wooden platform. Activate the light pillar, then hold off the enemies that spawn by concentrating the light on them.
Use light concentration to survive the ambush after activating the light pillar. Image credit: Asobo Studio
Operate the third crank to align the next lens and collect the Resonance Point beside it. Swing across the gap; if Sophia falls, Faro will pull her back up. Fight off the enemies waiting near the burning brazier.
Let Faro boost you up the wooden scaffold and grab the Resonance Point on the upper ledge. Walk carefully along the rim of the lens to reach a chest holding Arm Band #5.
Arm Band #5 waits in a chest at the end of the lens rim on the upper ledge. Image credit: Asobo Studio
Take the Resonance Point near the circular grate, then clear the group of soldiers ambushing you on the stone platform. They drop two more Resonance Points when beaten.
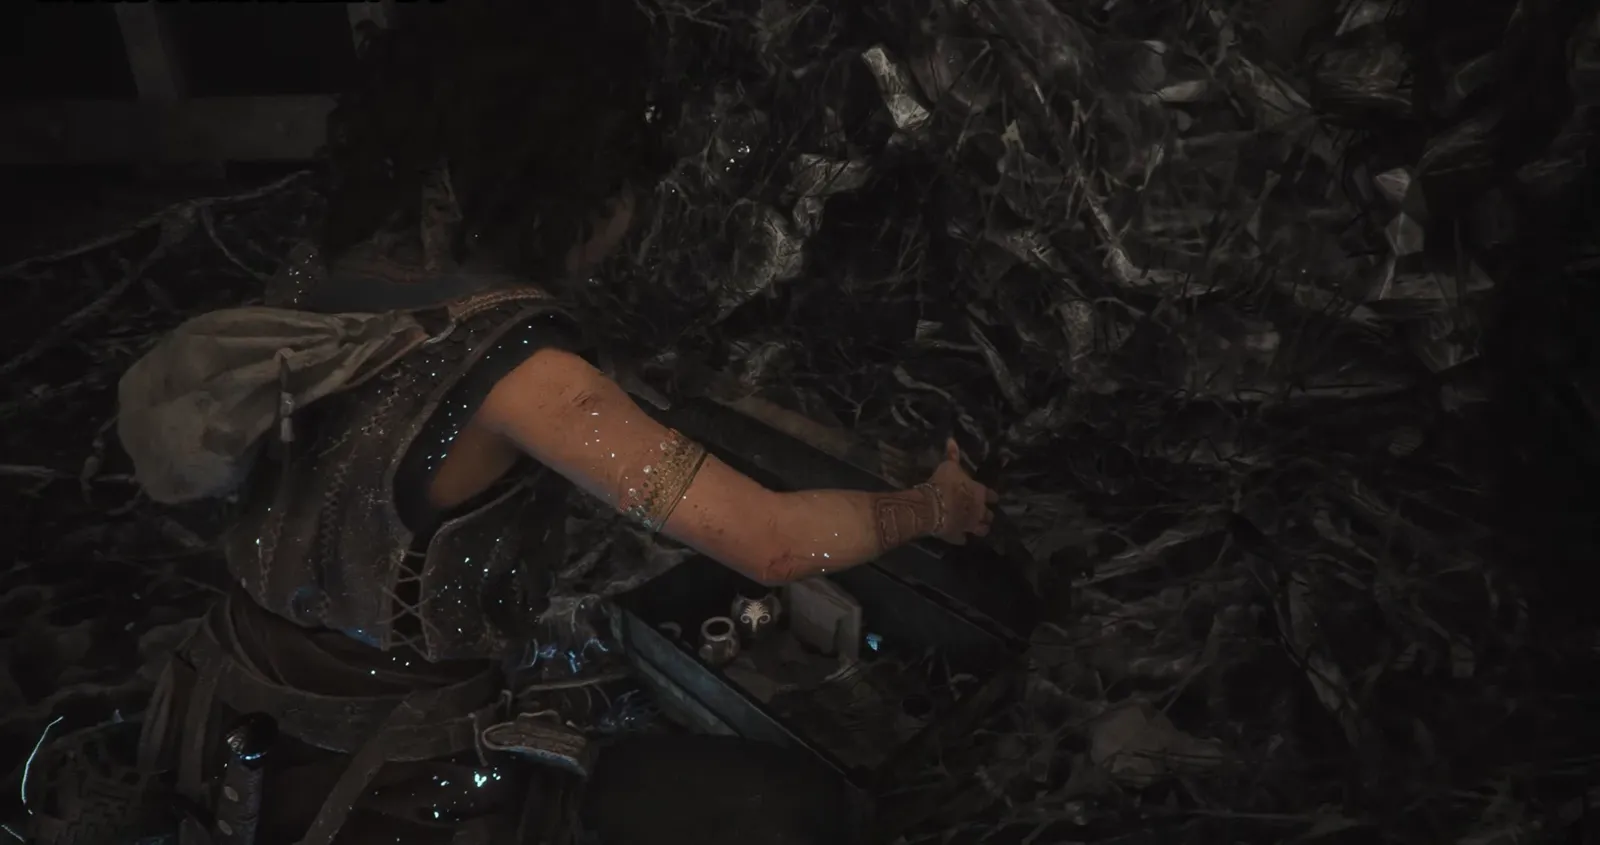
Have Faro boost you up the next scaffold and open the cobweb-covered chest to collect Bracelet #5. Two Resonance Points sit near this chest, so grab both before leaving.
Bracelet #5 is hidden in a chest buried in cobwebs after the scaffold boost. Image credit: Asobo Studio
Pull the lever to lower the wooden lift and ride it up. Burn away the cobwebs and corruption with the beam, then collect the two Resonance Points near the gate and align the fourth lens at the crank.
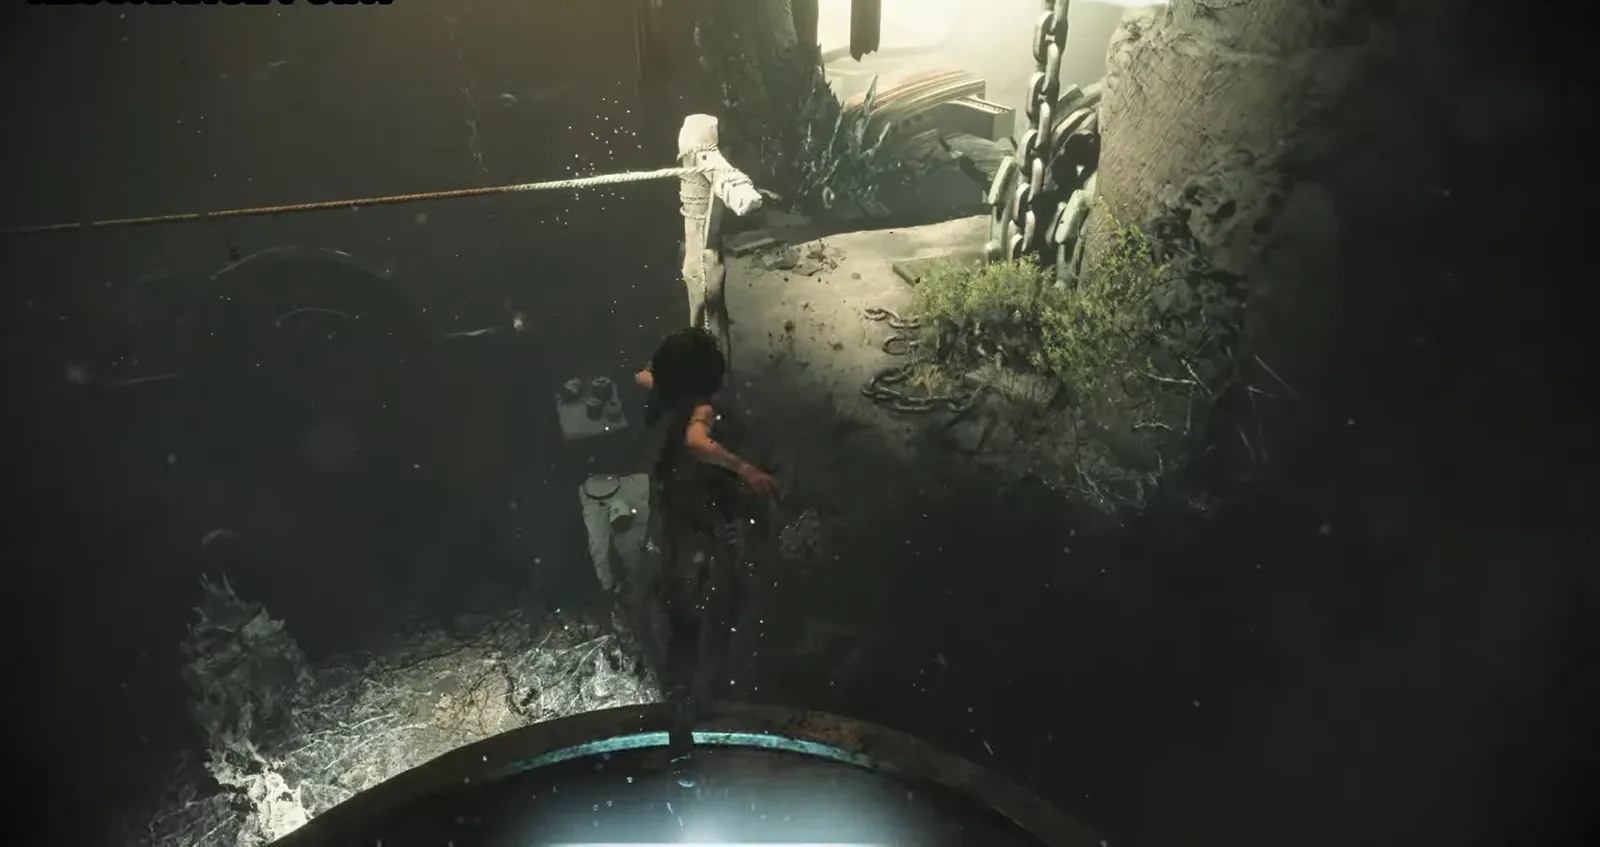
Swing across on the rope and defeat the enemies in the flooded chamber. Pick up the Burnt Mosaic artefact from the ground here, then grab the two Resonance Points by the gate.
Move through the corridor lined with petrified enemies and take the Resonance Point along the way. Climb the large tilted golden panels; Faro pulls a lever to open the circular aperture, letting you swing through the beam to the far side.
The rope crossings near the machinery hide Resonance Points along the ledges. Image credit: Asobo Studio
Collect the Resonance Point in the dark tunnel, activate the light pillar to clear the path, and swing across the next gap. Operate the final crank to align the fifth lens, then swing over to reunite with Faro.
At the camp, grab the last Resonance Point near it. Before the chapter closes, pick up the Weasel Foot artefact lying on the ground in the camp to complete the set.
Confirming you collected everything
You have cleared Patera’s named collectibles once the Olden Abacus, Burnt Mosaic, and Weasel Foot appear in your Artefacts menu, and Arm Band #5 and Bracelet #5 show up among your Charms. Chapter Select displays a tracker showing how many items you have found per chapter, so you can quickly spot anything left behind.
If you miss a charm or artefact, it is not lost. Reload the chapter through Chapter Select, grab it, and back out to the main menu. Resonance Points work differently. Collecting them through Chapter Select does not carry forward, since continuing a later chapter resets you to the point total you started that chapter with. To unlock the full skill tree you need at least 165 Resonance Points gathered within a single continuous run, so treat the ones in Patera as same-run pickups rather than something to farm later.