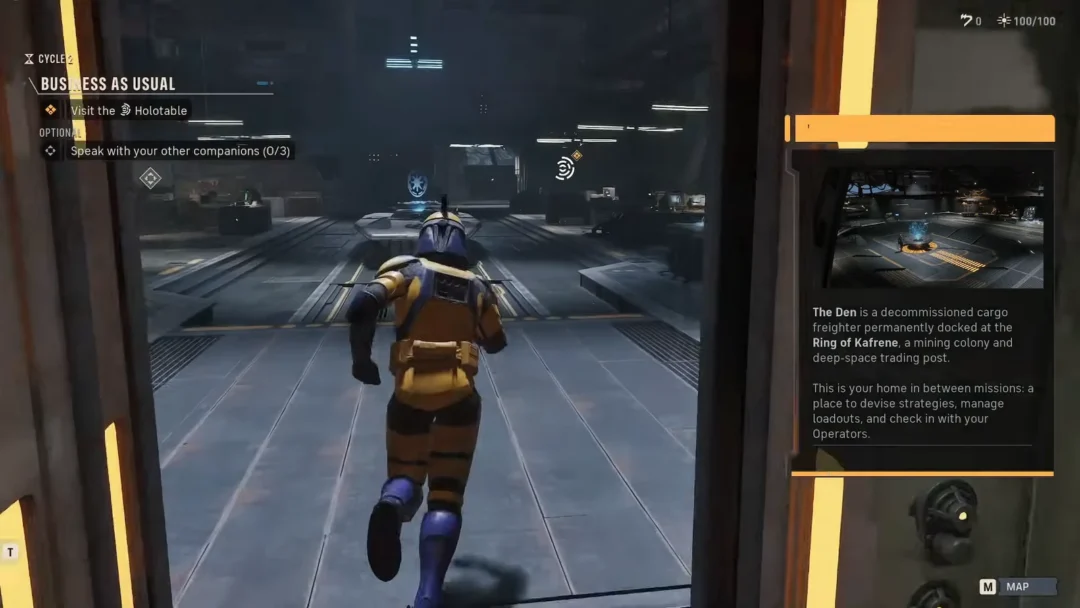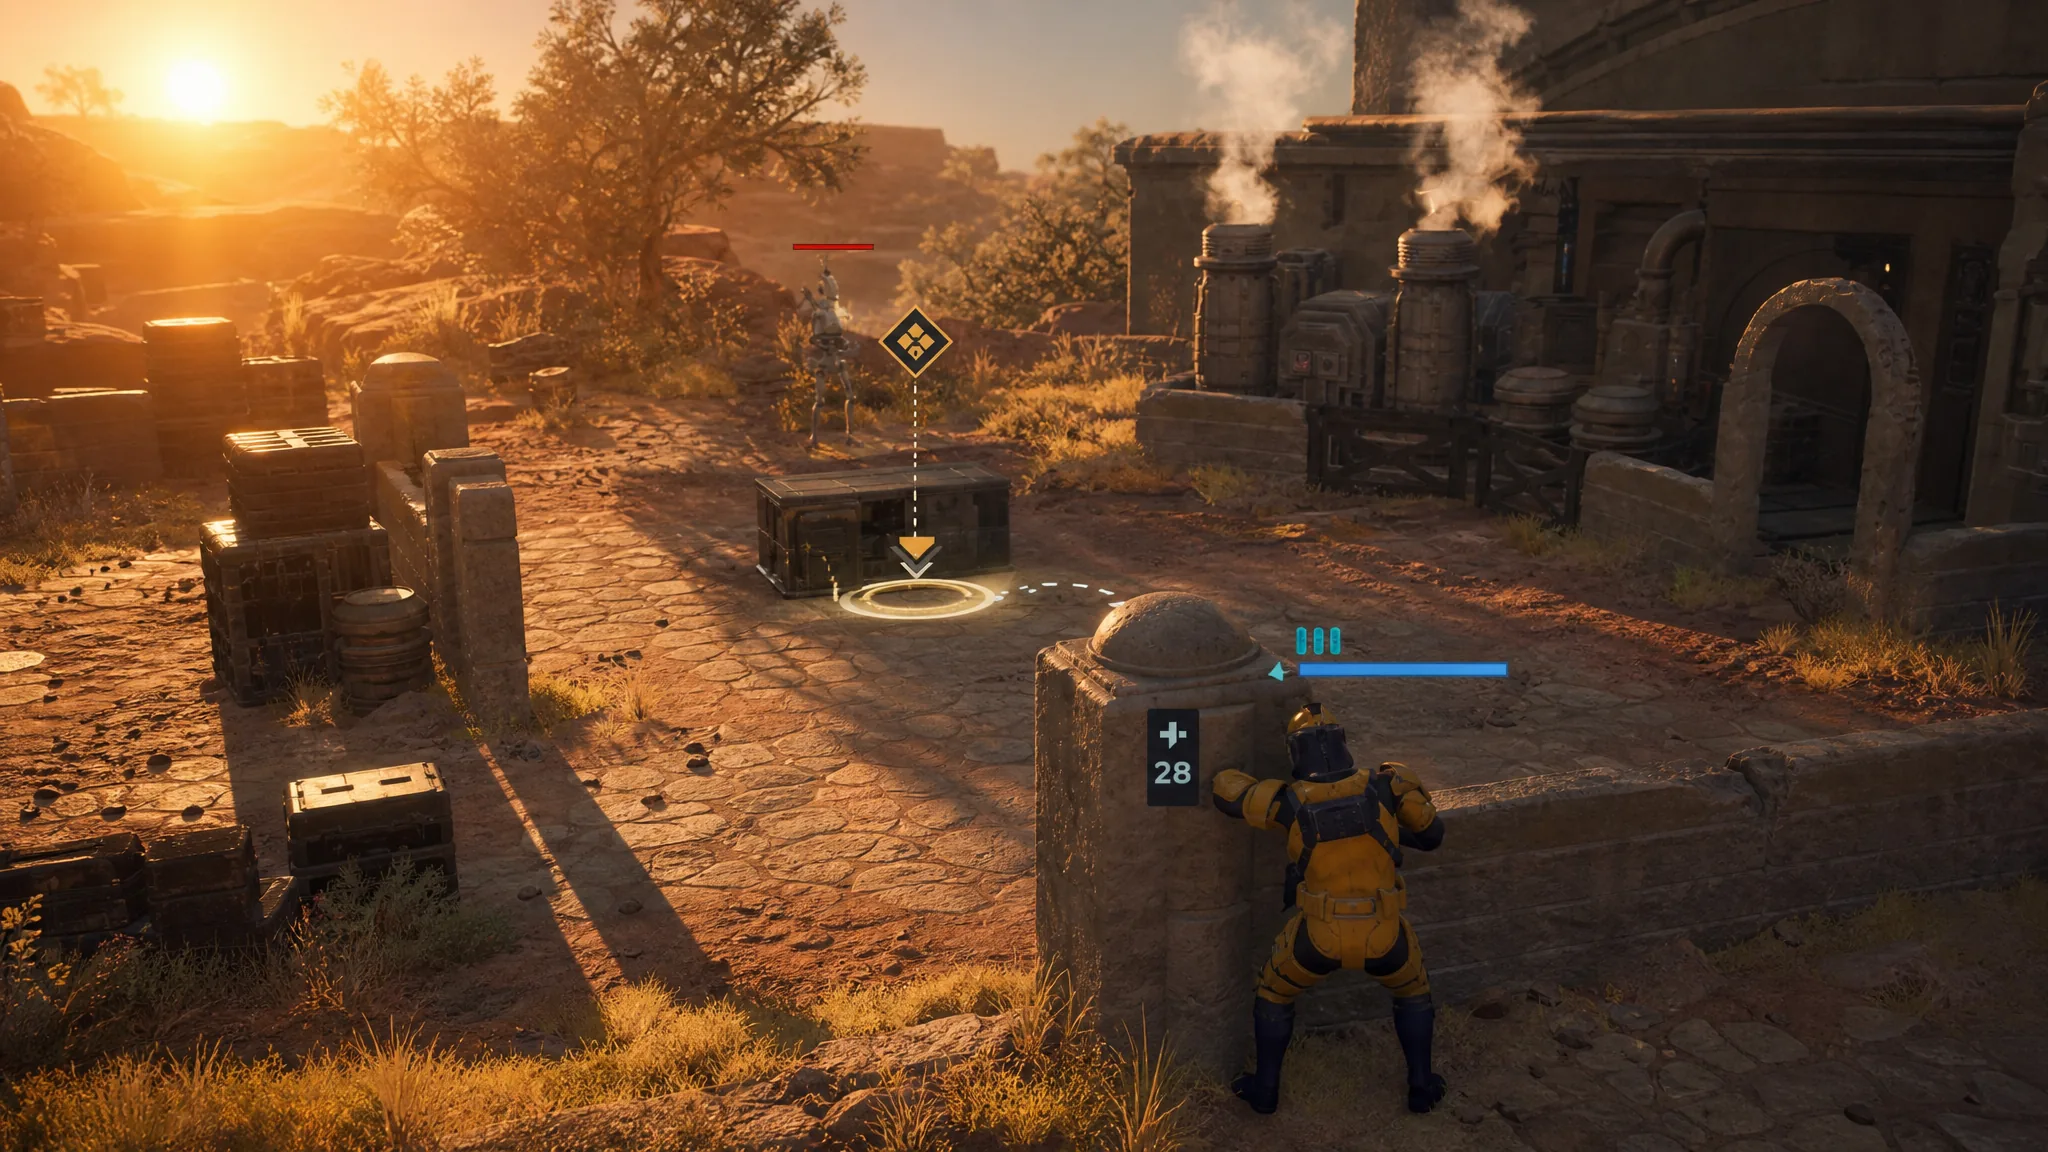
Combat in Star Wars Zero Company is a turn-based tactics game where position decides the outcome. During the early “Fight Your Way Out” sequence, you learn the core loop by moving Hawks into cover and firing on a B1 Battle Droid. Getting this right means understanding two things, the camera and the radial menu.
Quick answer: Open Hawks’ radial menu, pick Move with the Left Mouse Button, then click the highlighted destination marked as cover. To fire, open the radial menu again, select Fire Longarm Blaster, and confirm the target with the Left Mouse Button.
Camera controls before you move
Battlefield awareness comes first. Before committing to a move, line up the camera so you can see the cover positions and the enemy. The camera uses two separate control sets, one for panning and one for rotation.
| Input | Action |
|---|---|
| W, A, S, D | Move (pan) the camera around the map |
| Q, E | Rotate the camera left and right |
| Left Mouse Button | Select actions and confirm targets |
Rotating with Q and E is the fastest way to spot cover tiles that are hidden behind terrain, so use it whenever a destination is not clearly visible.
Move Hawks into cover
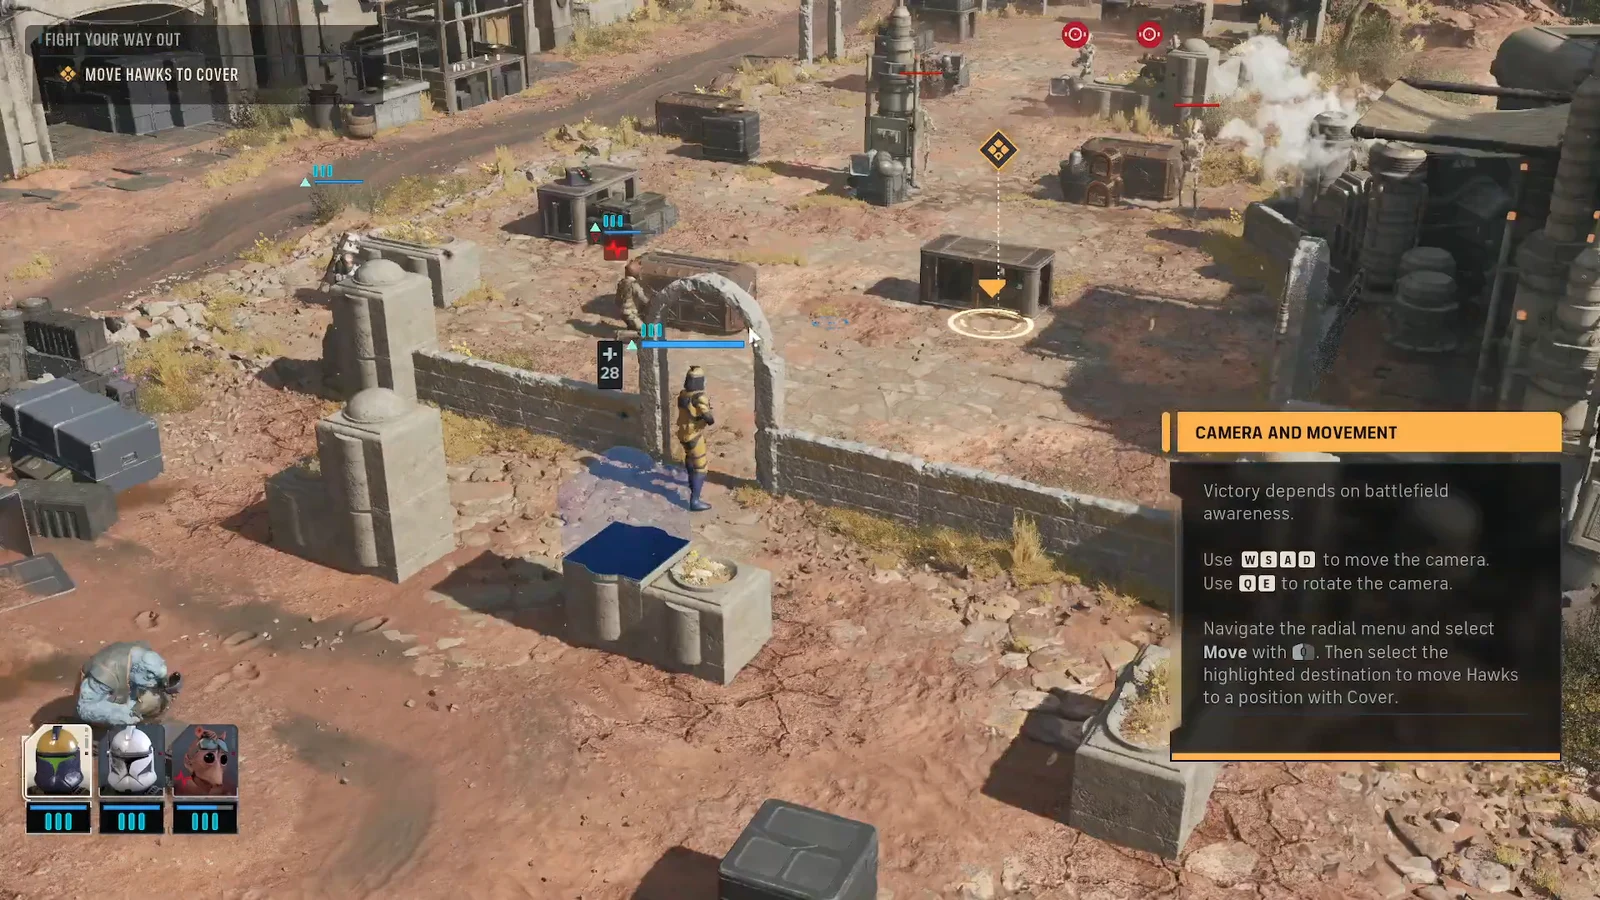
Standing behind cover reduces the damage Hawks takes from enemies like the B1 Battle Droid. That is the whole point of the move, you trade a bit of positioning time for a much safer firing spot.
Fire on the B1 Battle Droid
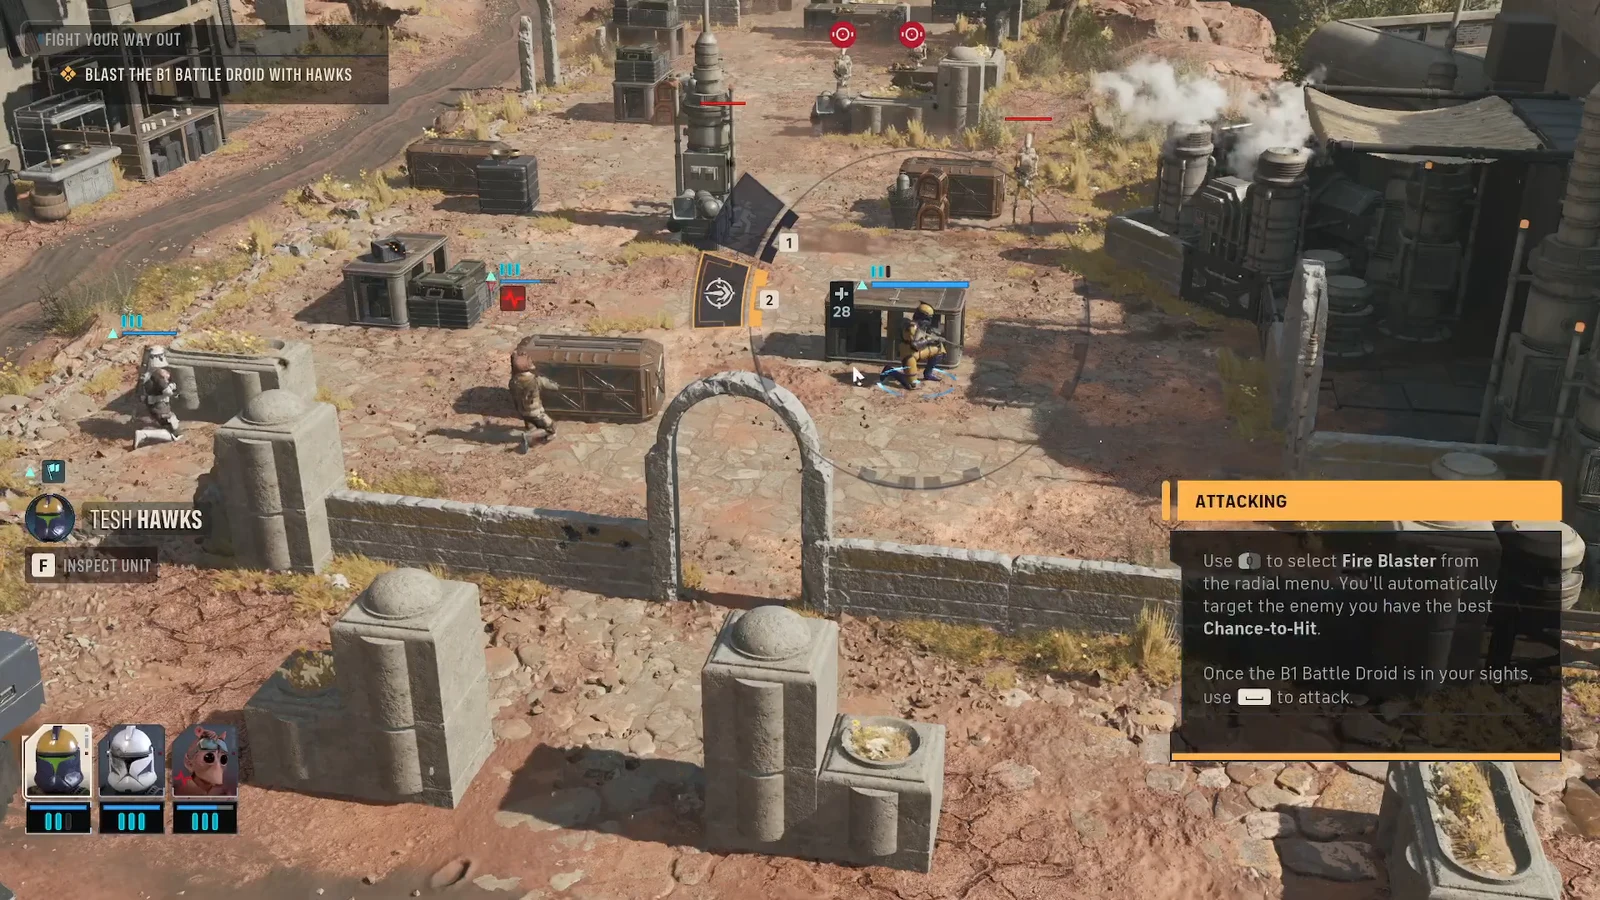
| Fire Longarm Blaster | Value |
|---|---|
| Action type | Slow Action, Ranged |
| Cost | AP 2 |
| Damage | 12 Blaster Damage |
Note: because the blaster auto-targets the highest Chance-to-Hit enemy, check who is selected before you confirm. If a different foe is highlighted than the one you want, reposition or rotate the camera first.
Move Aurelio to cover next
You know the cover-and-fire loop worked when the B1 Battle Droid goes down and the game prompts the next objective, moving your second squad member, Aurelio, to cover. Squad operators are meant to work together, so repeat the same steps to keep the whole team protected.
Select Aurelio, open the radial menu, choose Move, and click the highlighted position the game marks. From there, the encounter continues with the same rhythm, position into cover, then act.
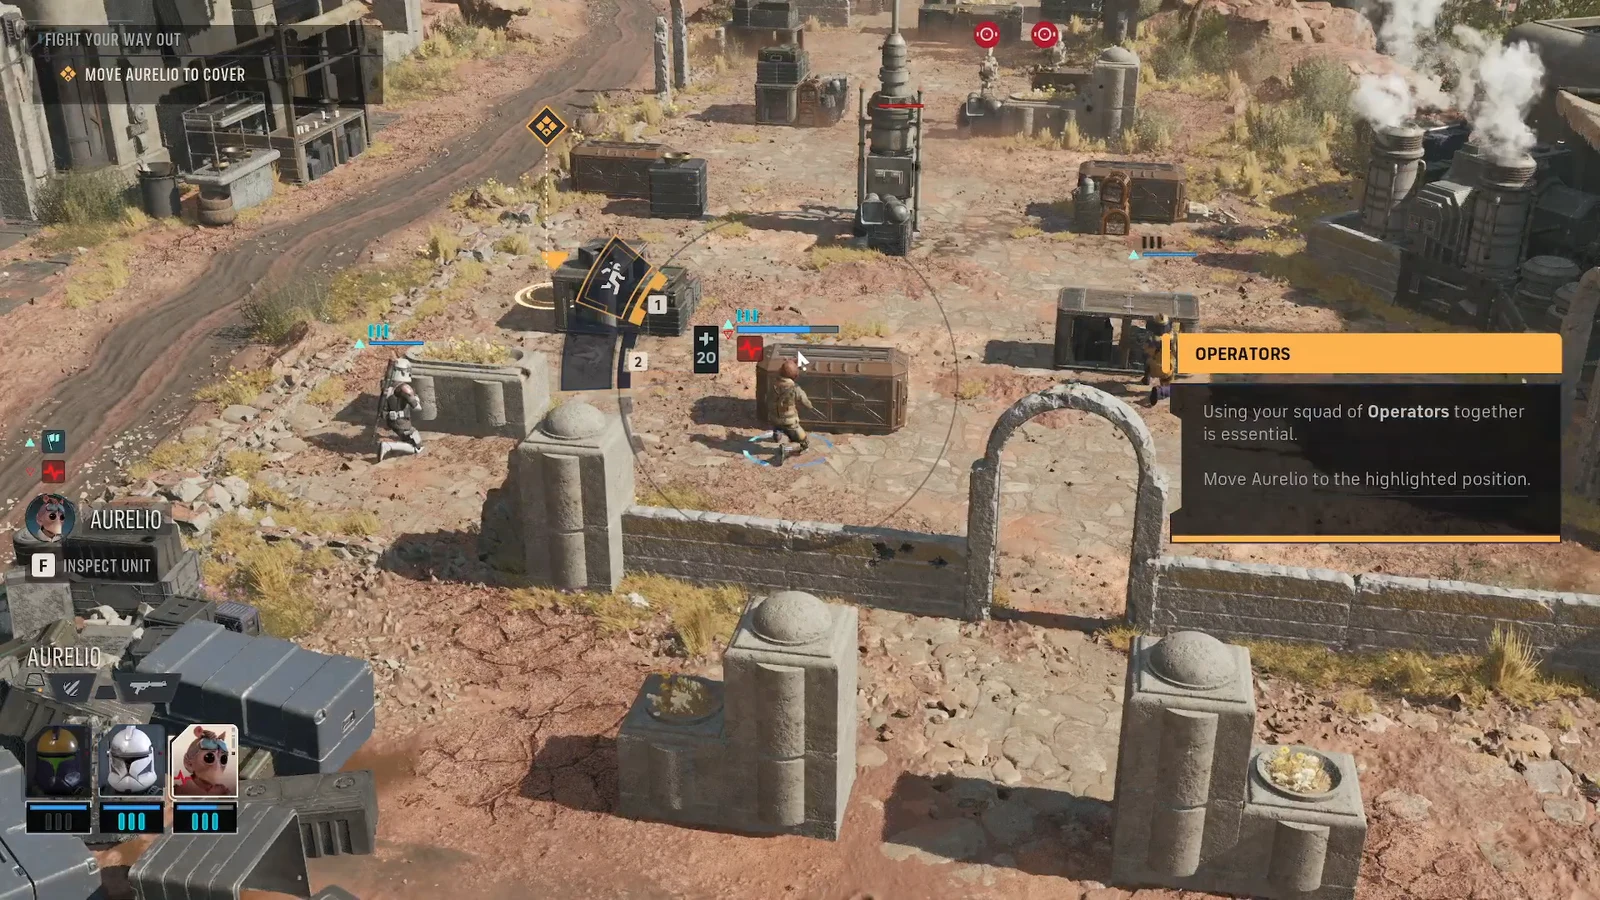
That loop, camera to read the field, Move to reach cover, then fire from safety, is the foundation of every mission in Star Wars Zero Company. Master it early with Hawks and Aurelio, and the rest of the game’s tactical decisions build cleanly on top of it.