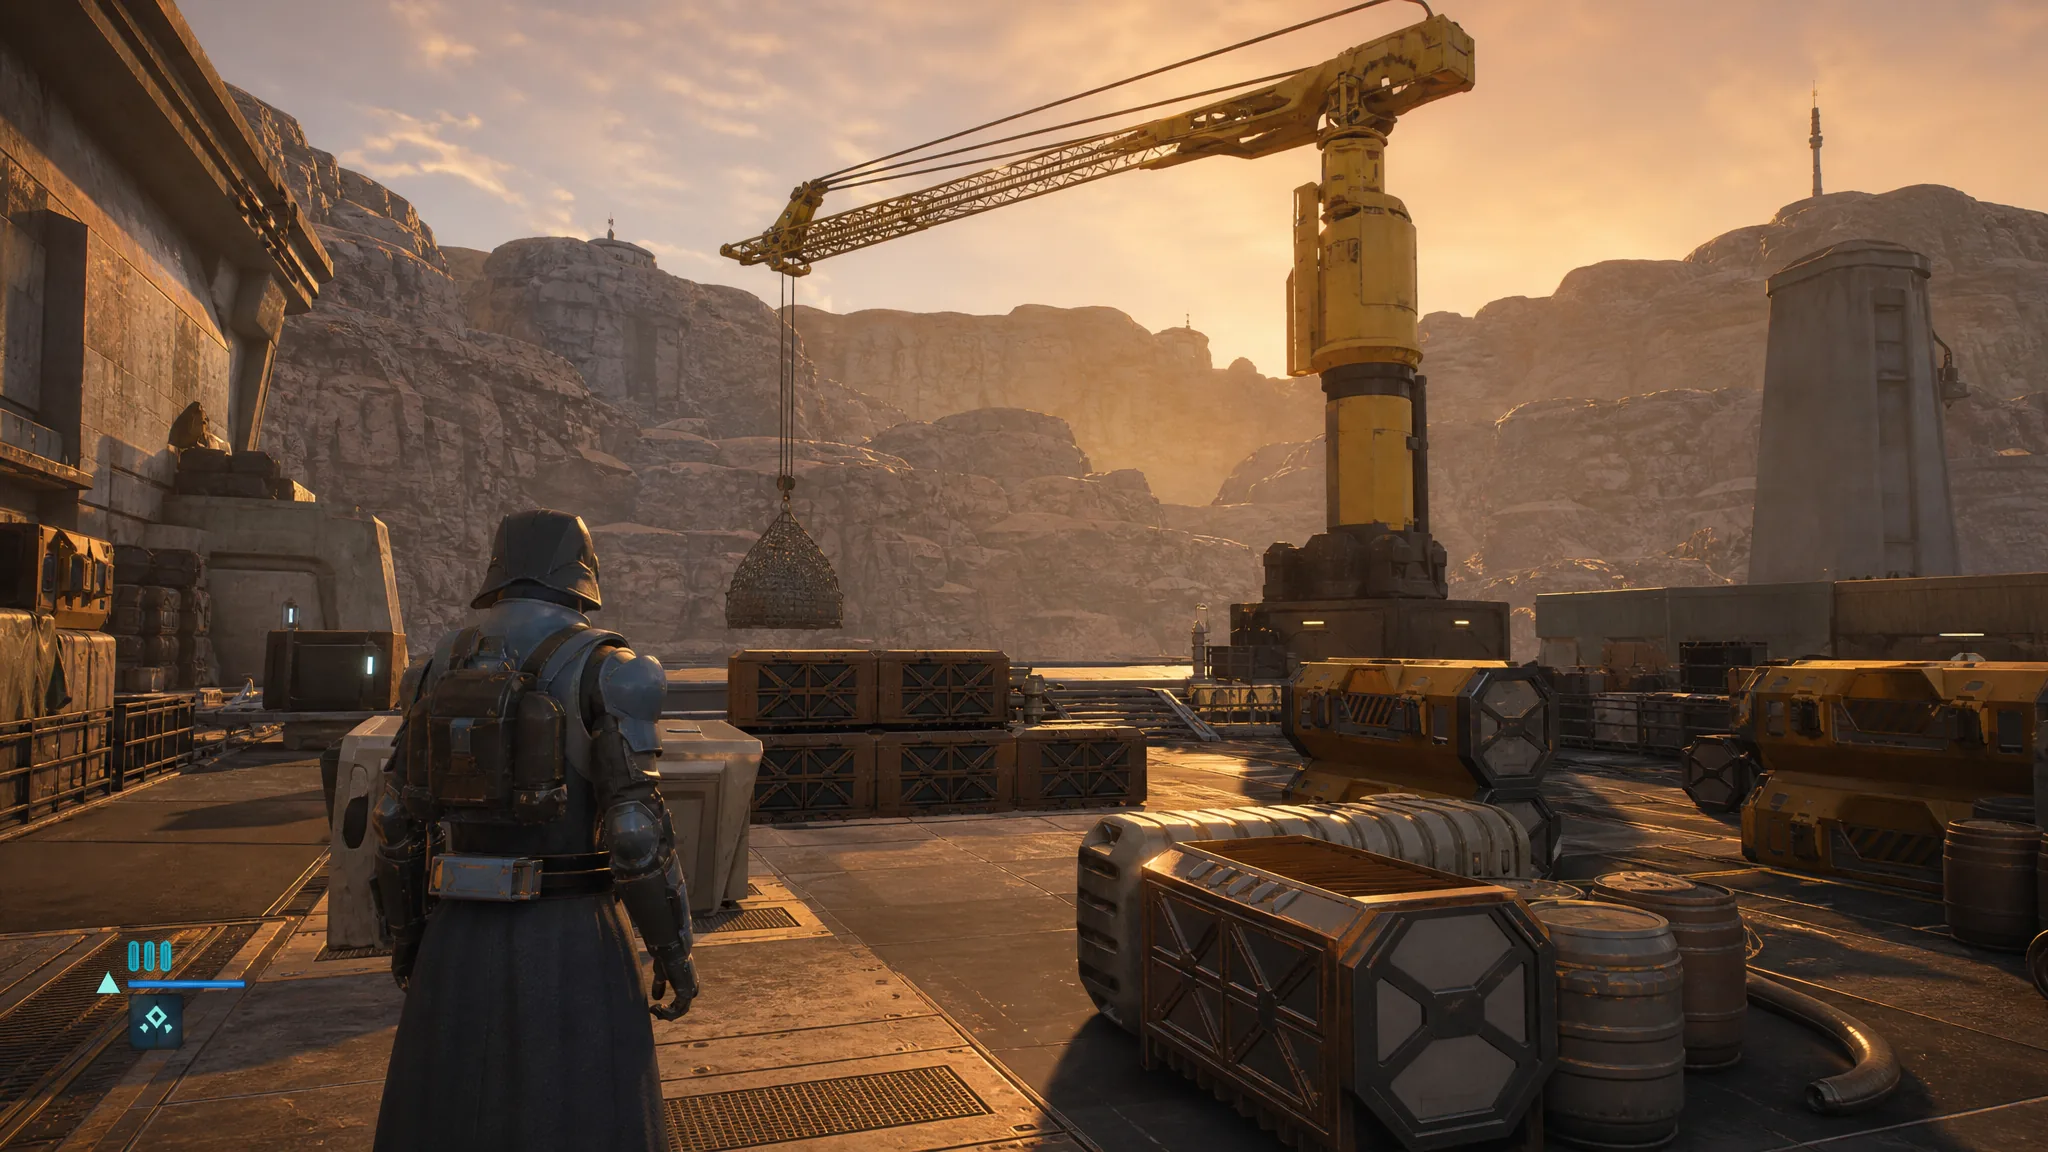
The crane in this early Star Wars Zero Company sequence is an environmental interaction that only Aurelio can start once he reaches the console. Selecting him and confirming the action moves the cargo container, but the console sits in the open, which sets up an ambush the moment the crane finishes its cycle.
Quick answer: Select Aurelio, choose the OPERATE CRANE action tile, and move him onto the console tile to confirm. He runs over and activates the crane automatically. Expect a Separatist Striker to drop in behind him, then respond with another squad member.
Operate the crane with Aurelio
The interaction is scripted as part of the INTERACTIONS tutorial, so the game highlights the crane console and walks you through the input. Follow the tiles in order and the activation triggers on its own.
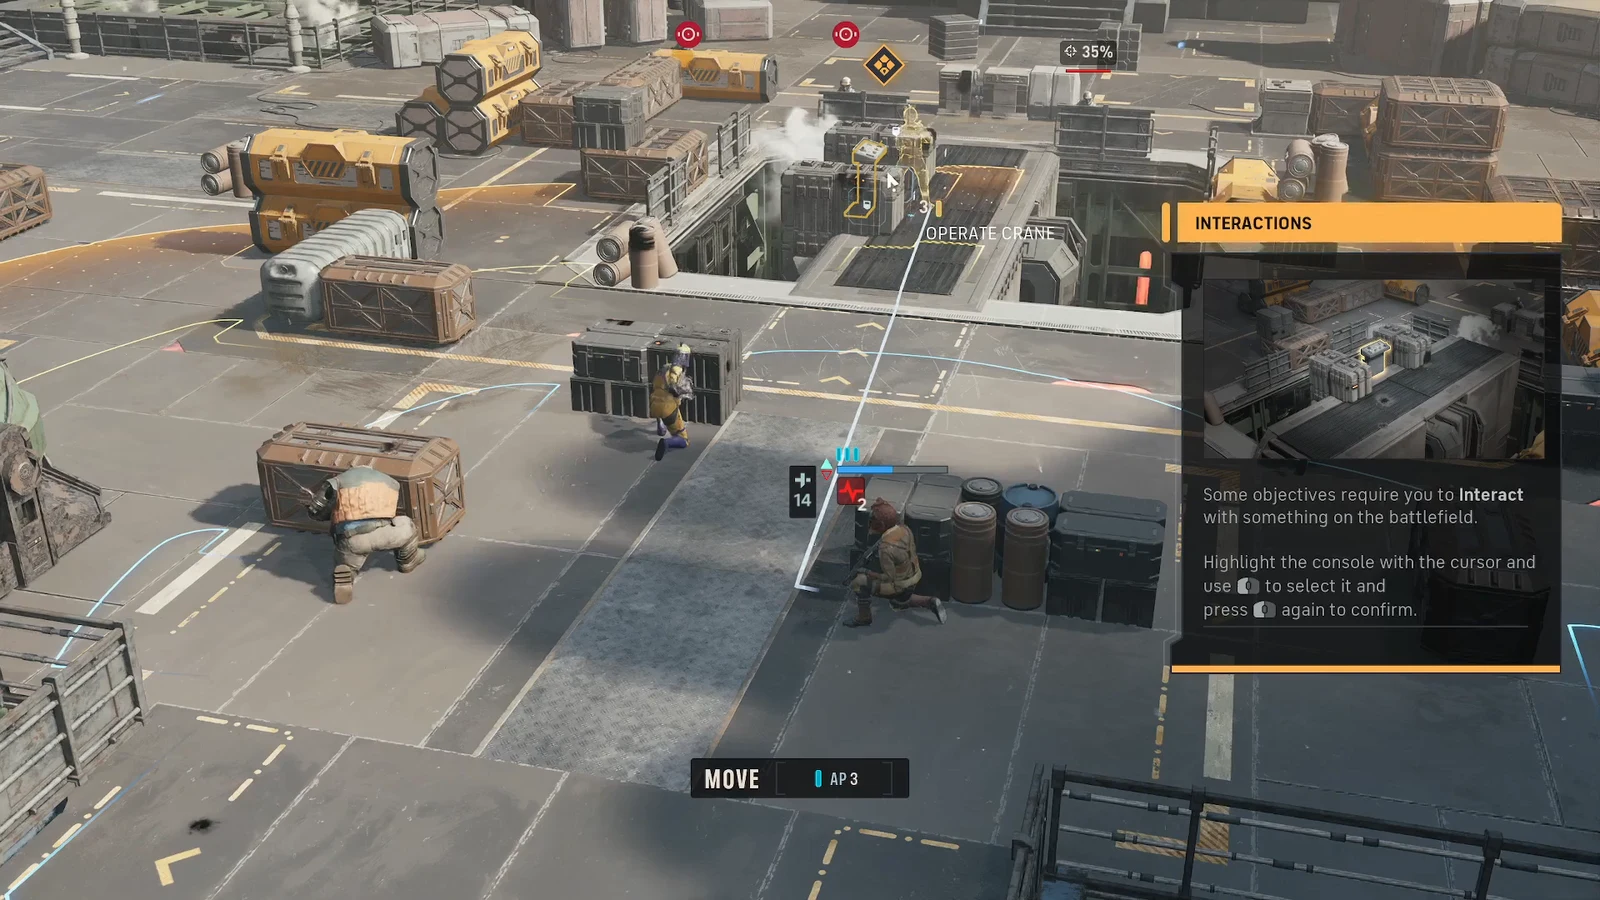
The ambush after the crane activates
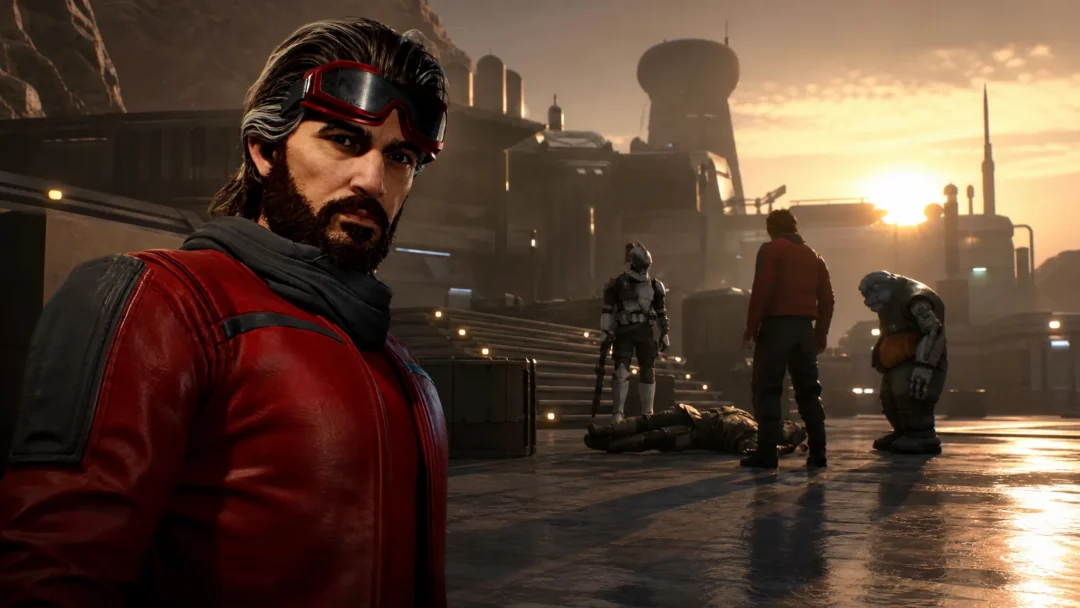
As soon as the crane finishes moving the container, a Separatist Striker drops down directly behind Aurelio and attacks. Because Aurelio is standing on the exposed console with no cover, the hit lands hard, and the game registers his defeat with an AURELIO HAS DIED notice.
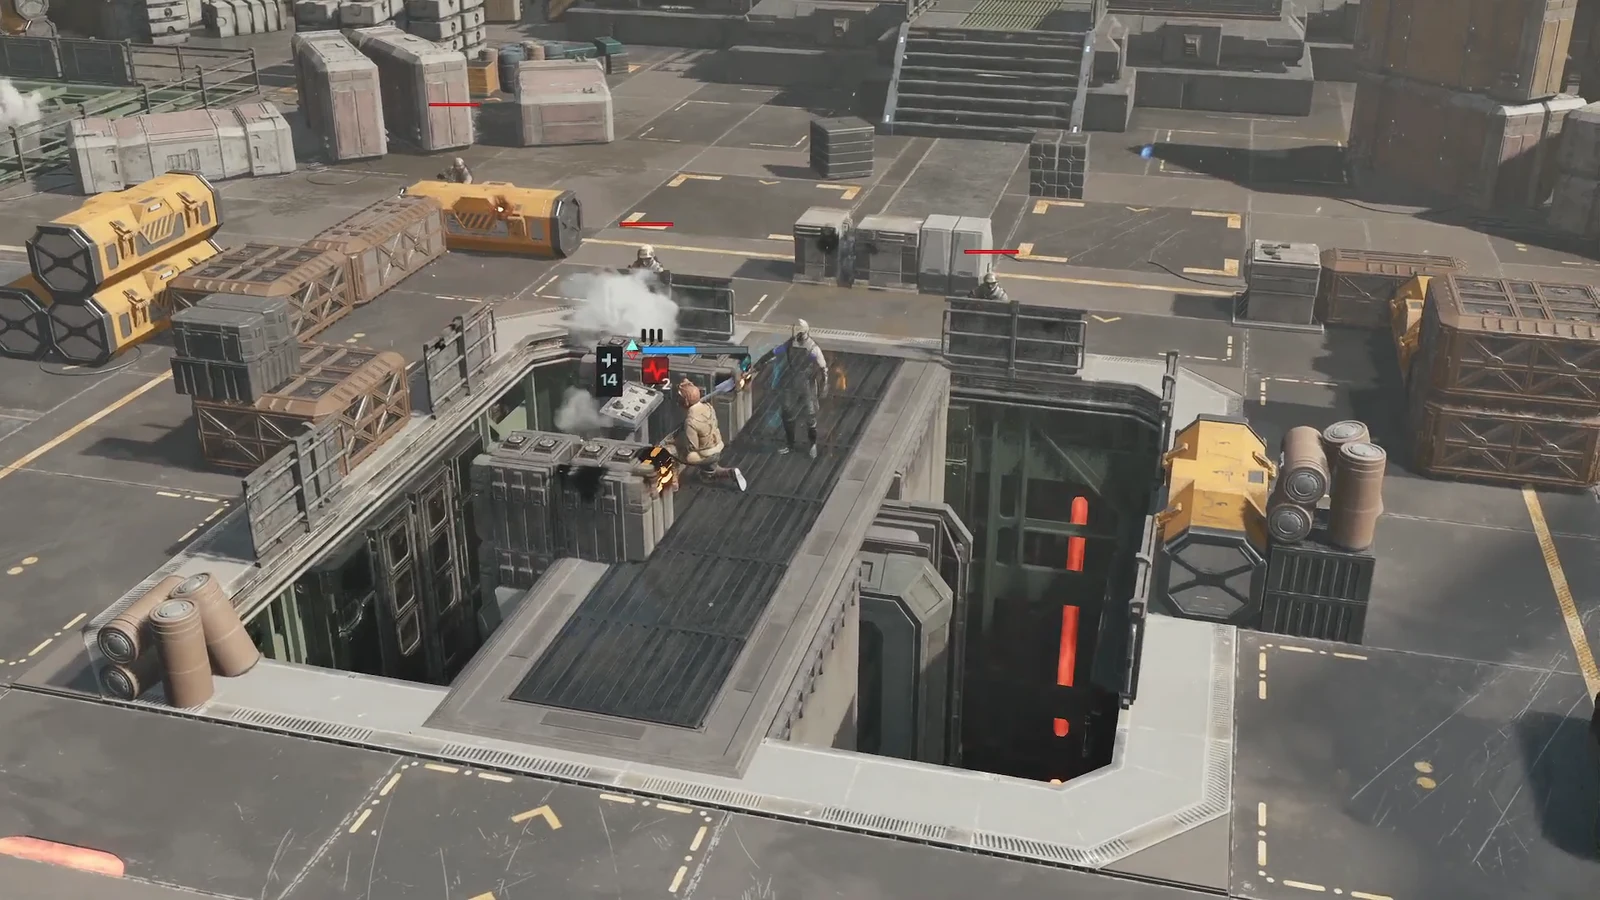
Note: this loss is part of the scripted tutorial beat that introduces the ADVANTAGE system. After Aurelio goes down, an ADVANTAGE tutorial box appears to explain special abilities and squad resources you can spend to swing the fight.
Counterattack with your next squad member
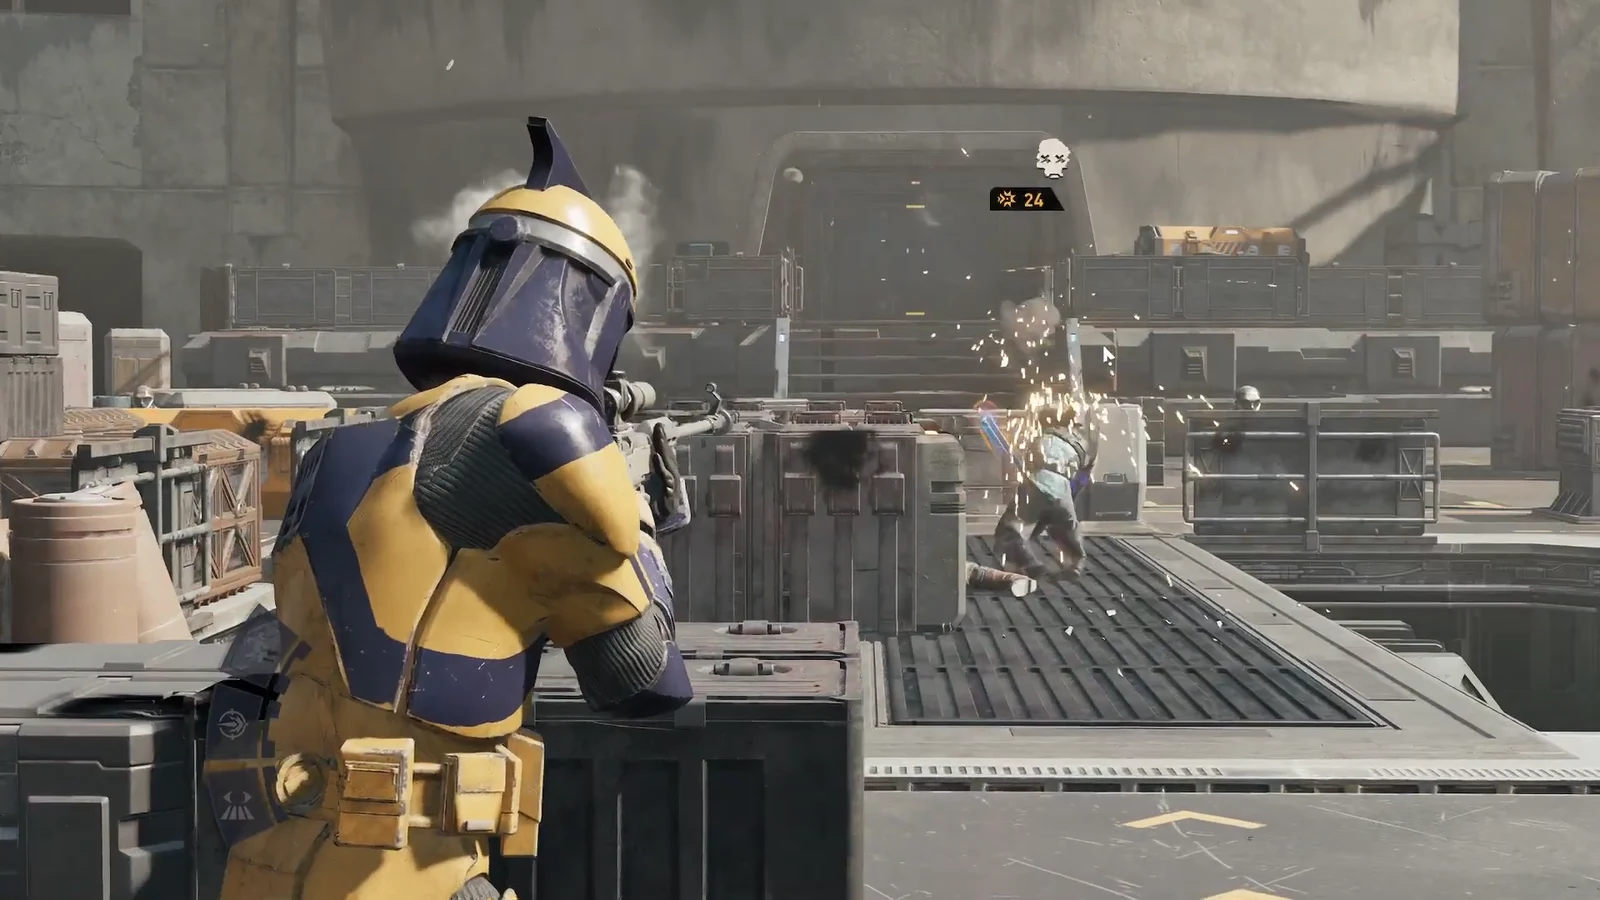
With Aurelio out, the game hands control to another operative so you can punish the Striker that dropped in. Switch to your remaining squad member, line up a shot on the enemy, and use the ADVANTAGE resources the tutorial just introduced to reinforce the attack.
Crane interaction summary
| Beat | What happens |
|---|---|
| Setup | Aurelio selected; INTERACTIONS prompt marks the crane console |
| Action | Choose OPERATE CRANE and move Aurelio to the console |
| Activation | Crane lifts and moves the cargo container in a cutscene |
| Ambush | Separatist Striker drops in behind Aurelio and defeats him |
| Tutorial | ADVANTAGE box explains special abilities and squad resources |
| Recovery | Switch to another operative and counterattack |
Treat the crane as a one-character objective that leaves Aurelio wide open, and keep the rest of your squad positioned to answer the drop-in. Once you activate the crane, expect the enemy immediately, spend your ADVANTAGE resources on the counterattack, and press forward with whoever is left standing.