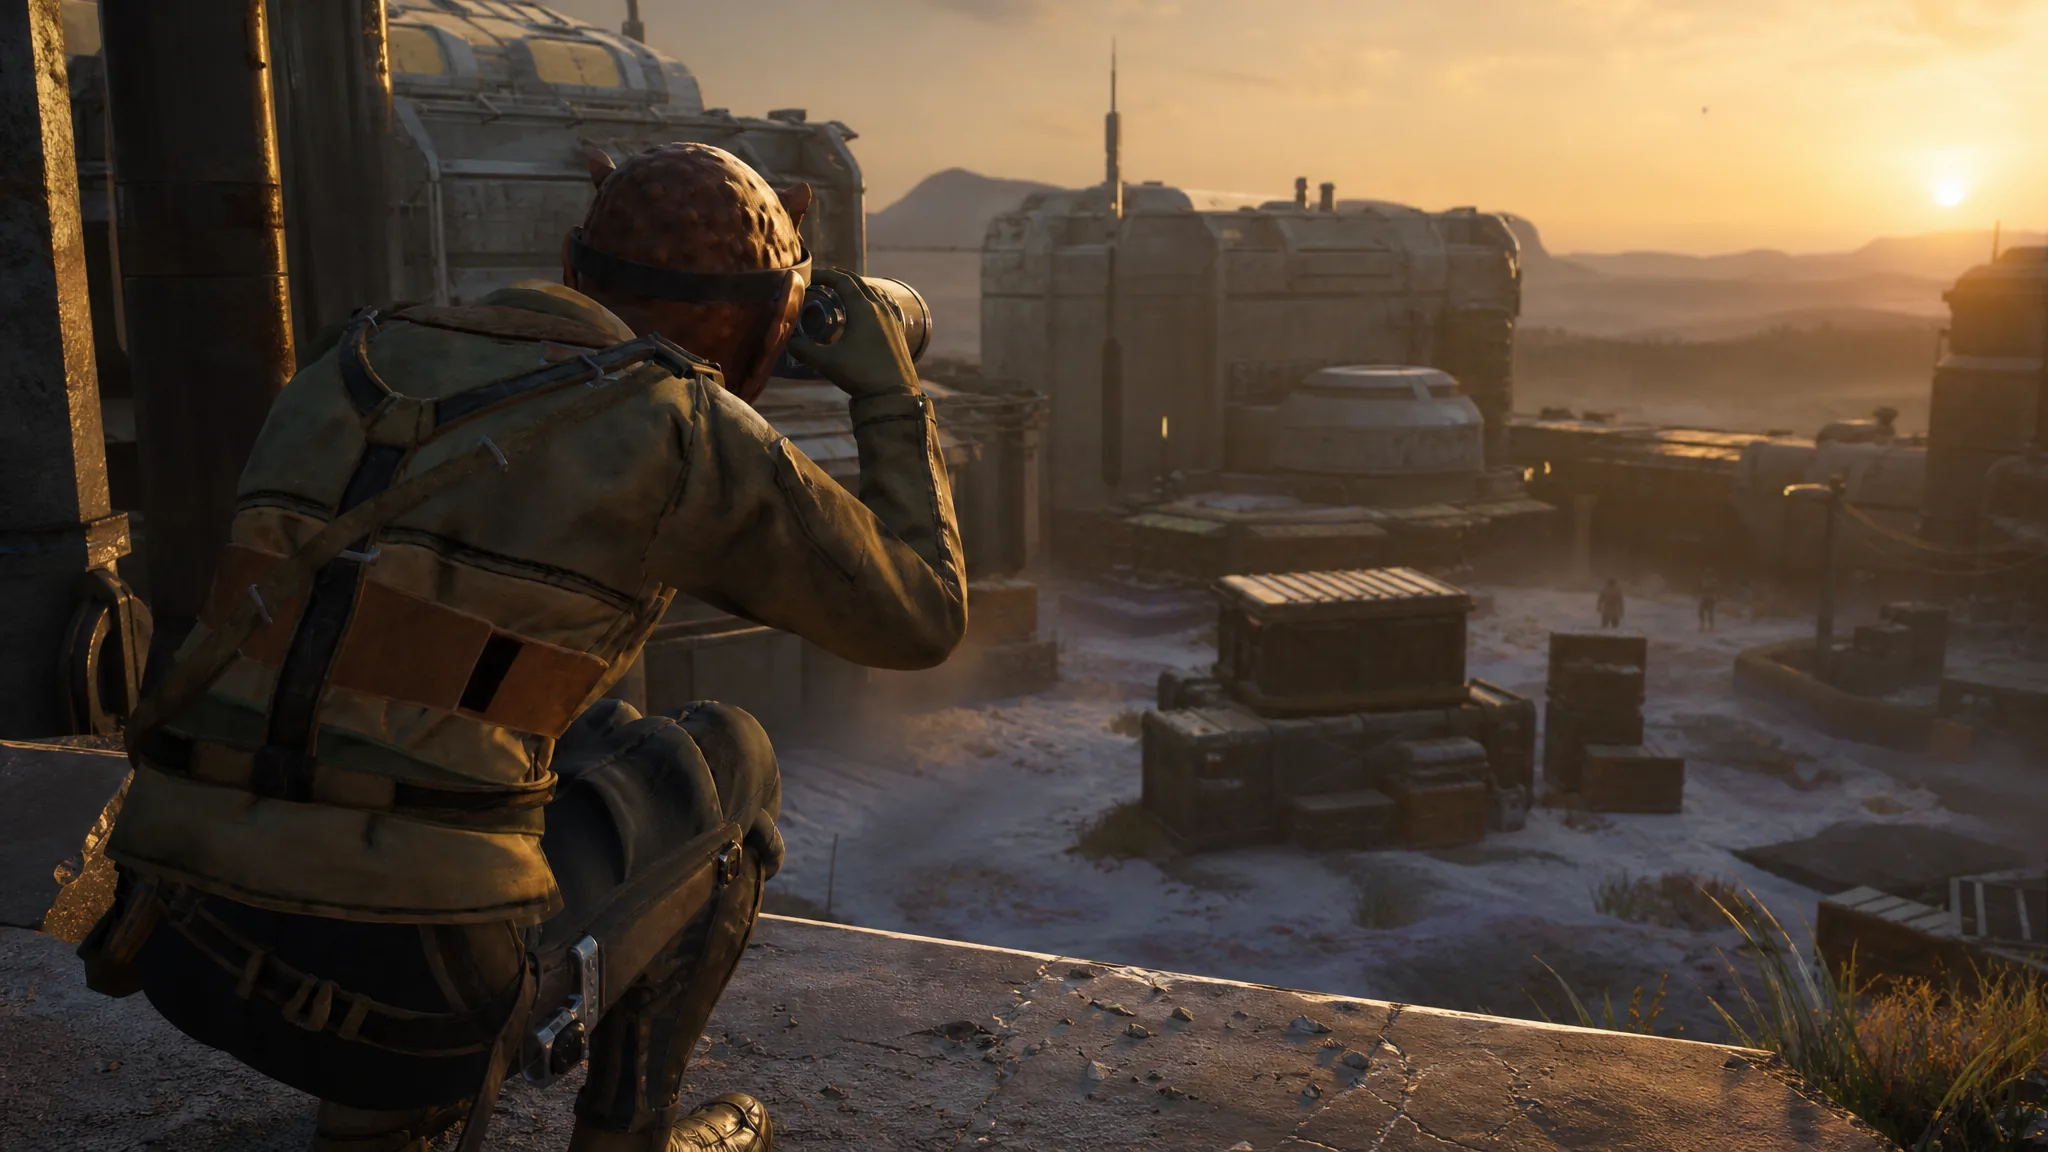
Overwatch in Star Wars Zero Company lets an operator hold fire and shoot enemies during the enemy phase, as long as those enemies move through or act inside a cone you place on the battlefield. Because the cone is adjustable and can interrupt movement, it works best as the last thing an operator does on a turn. Here is exactly how to arm it during the tutorial mission and confirm it fires.
Quick answer: Select an operator, open the radial menu, choose Overwatch, aim the cone over the path enemies will use, then end your turn. Any enemy that enters the cone during the enemy phase gets shot.
How Overwatch works in Zero Company
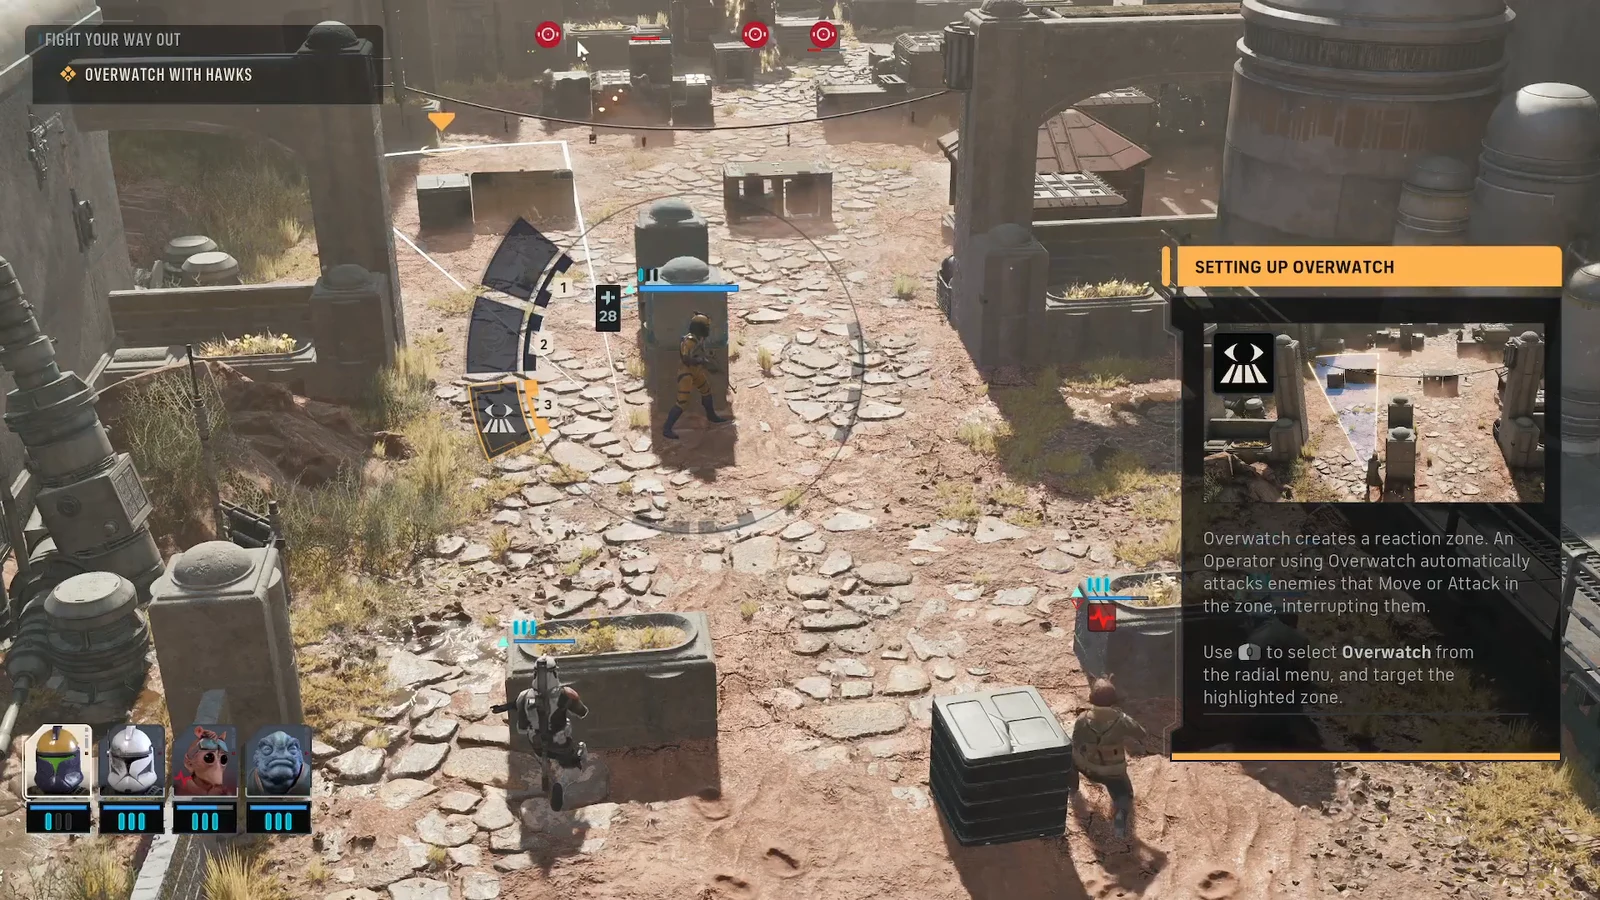
Overwatch is one of the actions each operator can spend Action Points (AP) on, alongside moving, attacking, using a Utility, or activating an Ability. Every operator gets three AP per turn. Unlike a simple reaction shot, Overwatch here uses a cone that you point in a chosen direction, and the shot triggers when an enemy either moves through the cone or takes an action inside it.
A few rules shape how you use it:
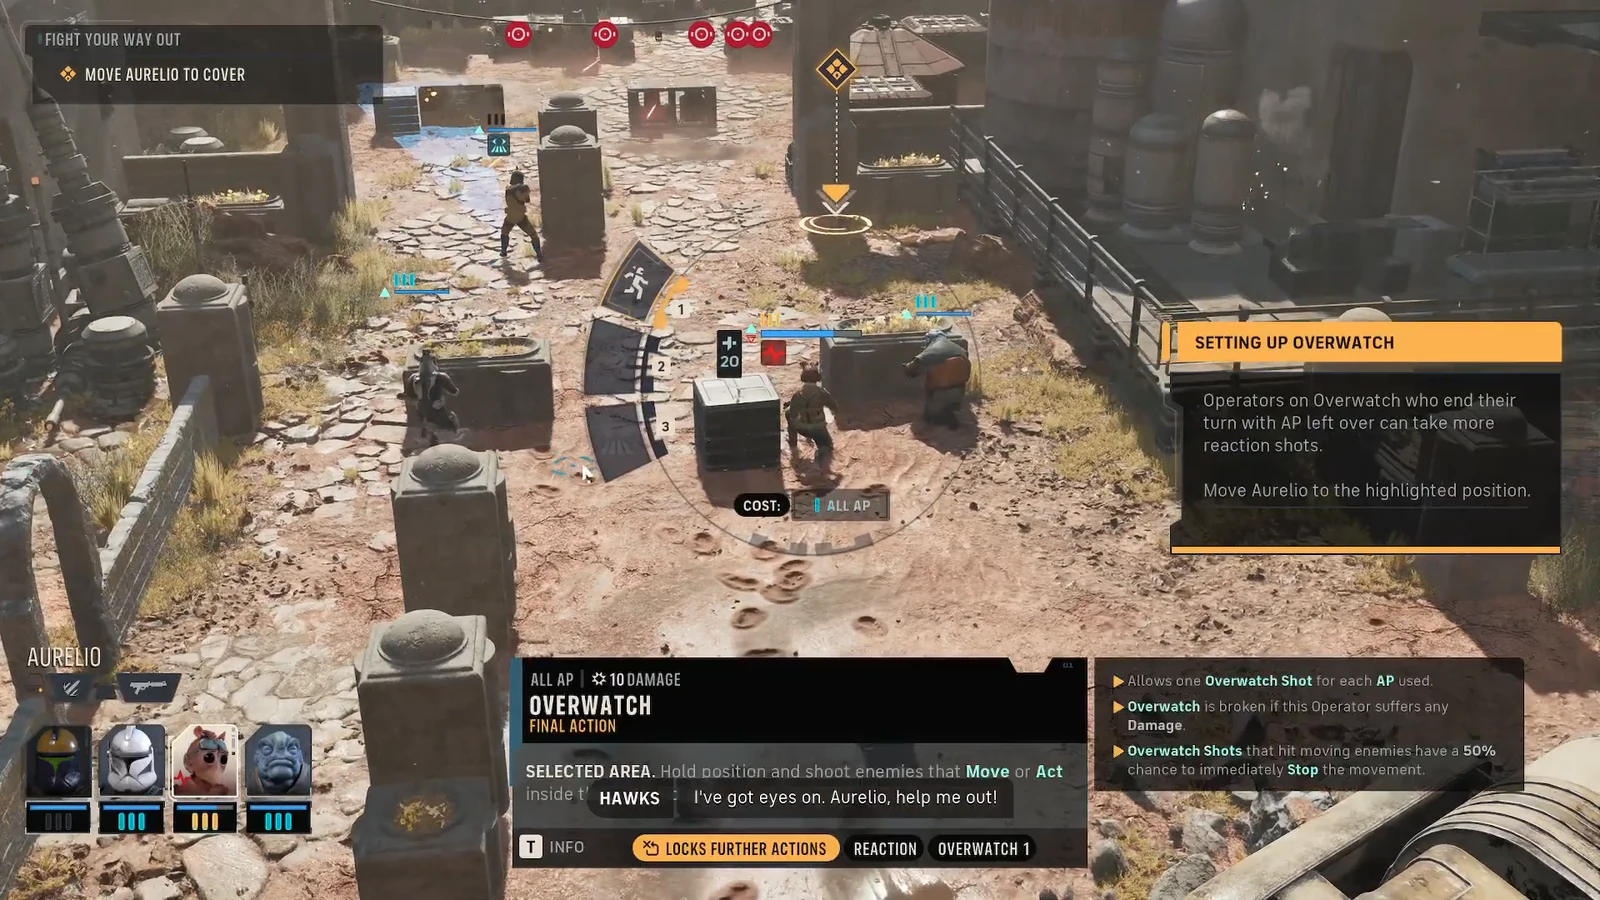
- Using Overwatch immediately ends that operator’s turn, so treat it as a final action.
- The number of enemies the operator can fire at scales with how much AP you put into the action.
- Your Chance-to-Hit changes with the length of the cone you place — a shorter cone generally means better odds.
- An enemy hit while moving may have its movement interrupted.
Set up Overwatch in the tutorial mission
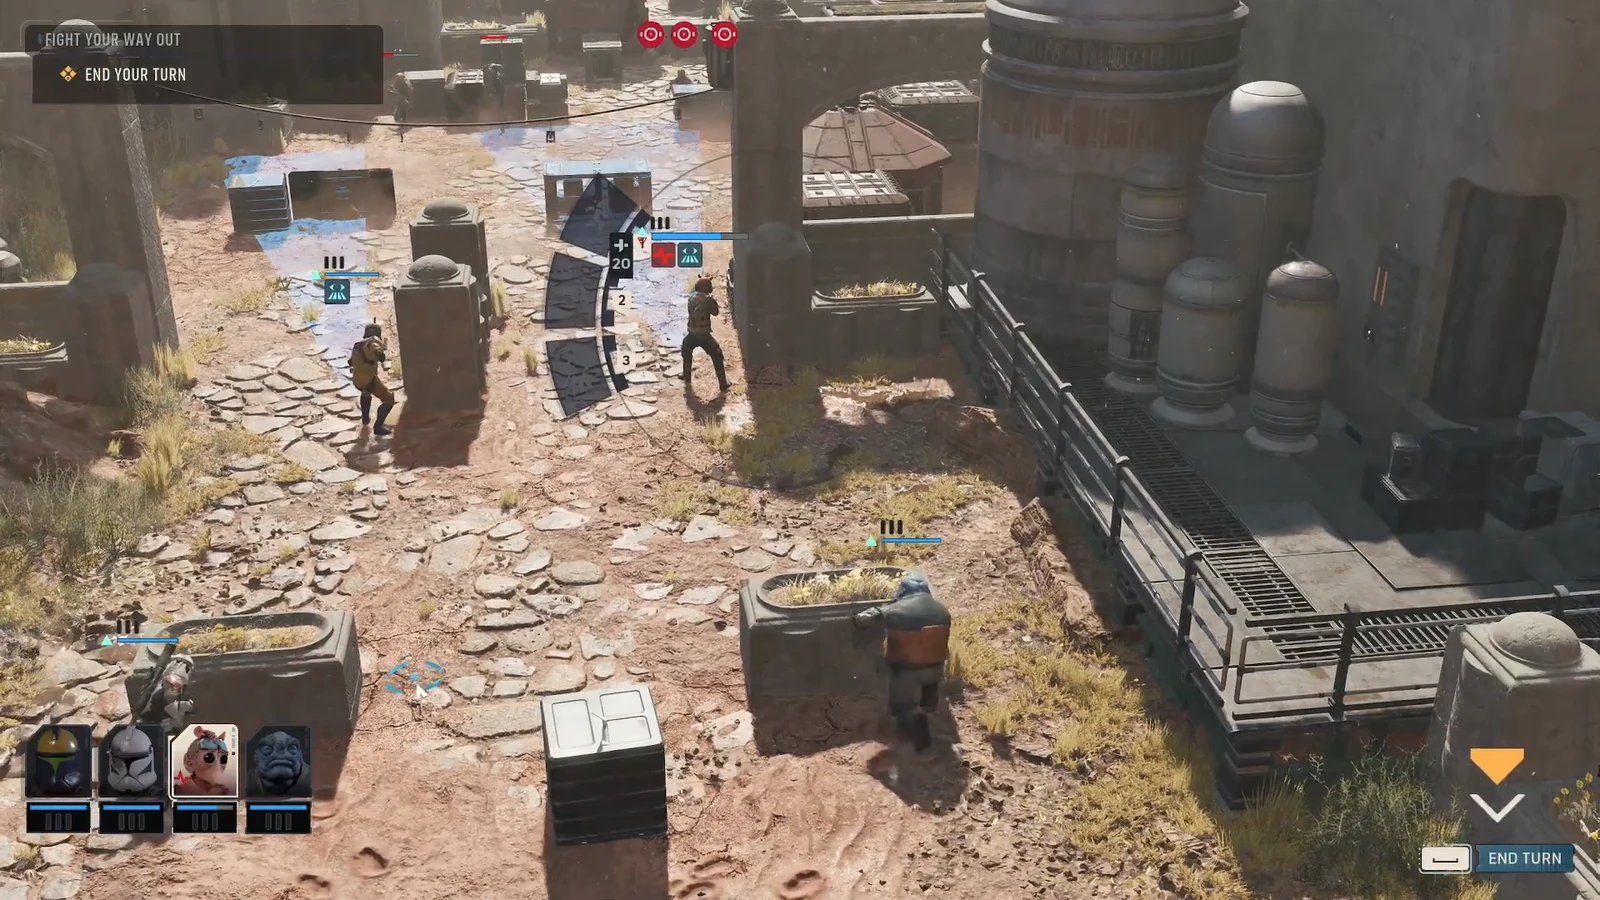
The tutorial walks you through arming two operators and covering separate enemy paths. Follow these steps in order.
Confirm Overwatch fired
You know the setup worked when the enemy phase begins and your operators automatically shoot at any enemy that steps into a cone. Enemies caught while advancing may stop short as their movement is interrupted. If both cones are covering the routes correctly, the incoming units take fire before they can act.
If Overwatch does not fire, the usual reasons are simple. The enemy never entered the cone, so re-aim it over the path they actually use. The operator’s turn was spent before you could arm it, since Overwatch needs to be the final action. Or the cone was placed too far in the wrong direction, leaving the approach uncovered.
Get more out of Overwatch
Two habits make Overwatch far more reliable. Keep the cone short where you can, since hit chance improves as the cone shrinks, and pour extra AP into the action when you want a single operator to fire on more than one enemy in a phase. Layering two or more operators over separate approaches, as the tutorial does, turns a chokepoint into a kill zone.
Overwatch also pairs well with abilities that reposition enemies. Combining a knockback move like Tel-Rea’s Force Push or Kabb’s Uppercut to shove an enemy out of cover and into a prepared cone sets up a clean reaction shot on your next enemy phase. Since there is no Fog of War in Zero Company, you can see enemy positions clearly and plan those cones with full information about where threats are.
Once you have the rhythm down — move, aim the cone, end turn — Overwatch becomes one of the most dependable tools for controlling how the enemy phase plays out.