
The Infinite Coil is the last operation in Star Wars Zero Company, and it locks you in the moment you launch it. There is no party swap once you start, no return to the Den, and a run of back-to-back fights that ends with two bosses in a row. Clearing it comes down to bringing the right operators and knowing which enemy to hit first in each encounter.
Quick answer: Bring Hawks (mandatory, must survive) plus Cly and Jae for area damage and finishing blows, then a medic or Trick. Beat Tython by killing his allies first and only chipping his health if you can absorb the counterattack, then defeat Fathom across two stages by ignoring her adds and keeping Hawks far away so she cannot mind-control your team.
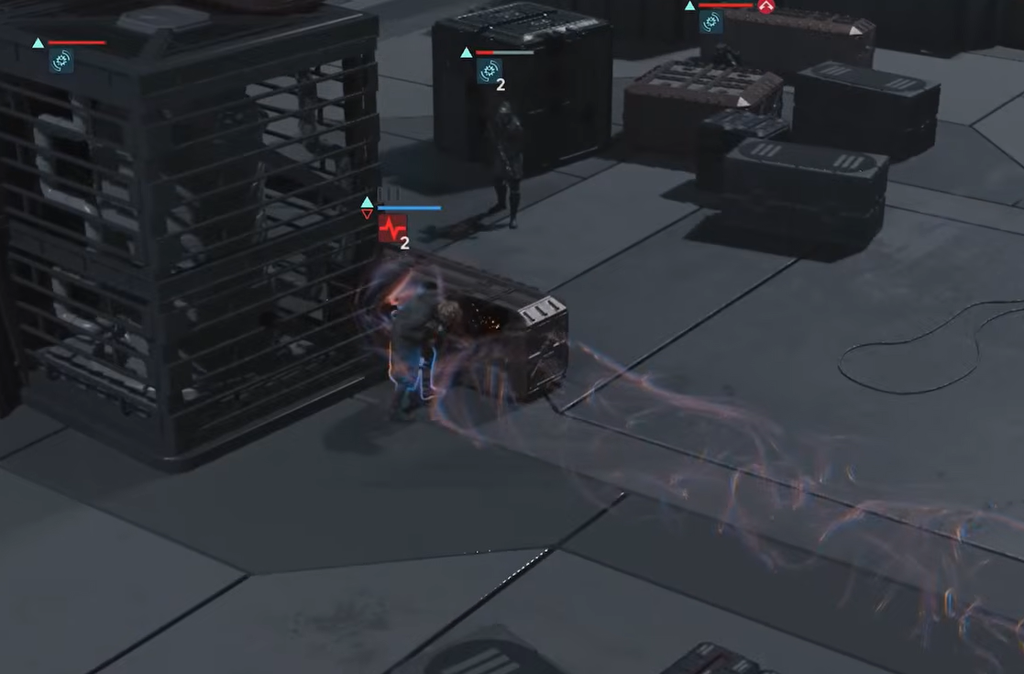
Prepare before you launch The Infinite Coil
The Infinite Coil unlocks during the Fathom’s Grand Designs arc, and once it appears you have three cycles before the game forces you into it. Use that short window on preparation rather than exploration. The single most valuable thing you can do is build up operator bonds so everyone deploys with as many upgrades as possible.
Note: the game warns you that you are entering the point of no return, and it means it. There is no extra story content hidden inside the mission beyond a few one-liners between fights, so there is no reward for padding the roster with main characters.
Best squad for the final mission
Hawks takes one of the four slots and must survive the whole mission, leaving you three free picks. The fights throw a lot of enemies at you, so the priority is dealing area-of-effect damage and removing weak units in a single turn instead of wasting actions finishing them off.
| Operator | Why bring them |
|---|---|
| Hawks | Mandatory. Must survive the mission. |
| Cly | Area-of-effect abilities and combat jump, which deals damage while repositioning without spending extra AP. |
| Jae | Her Final Shot ability automatically finishes low-health enemies, saving you a turn. |
| Medic or Trick | Take a medic who can instantly revive to full if Hawks has no healing. Otherwise bring a heavy hitter like Trick. |
The fourth slot depends on your Hawks build. If Hawks cannot heal, a medic keeps the squad stable through the long fight. If Hawks already has healing covered, a high-damage soldier like Trick clears enemies faster.
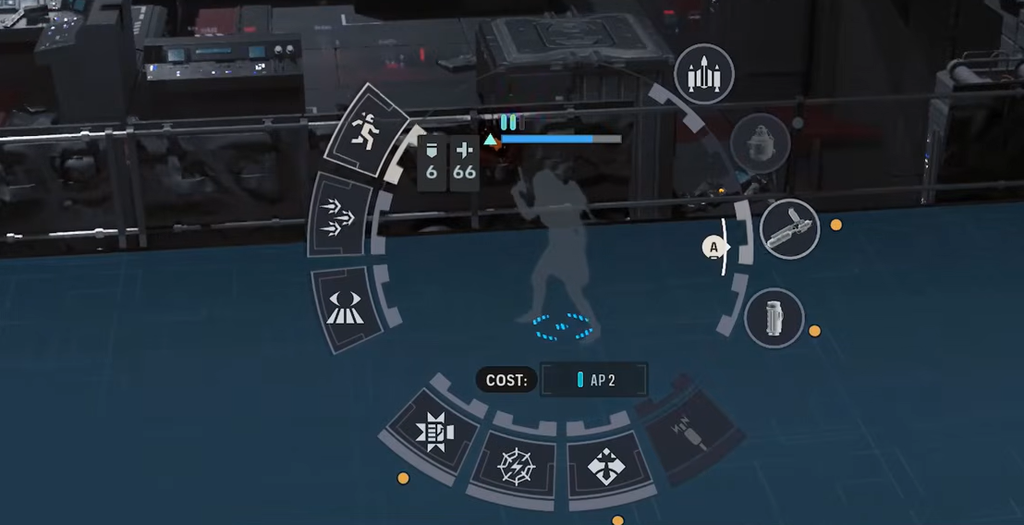
Reach the security terminal and survive the waves
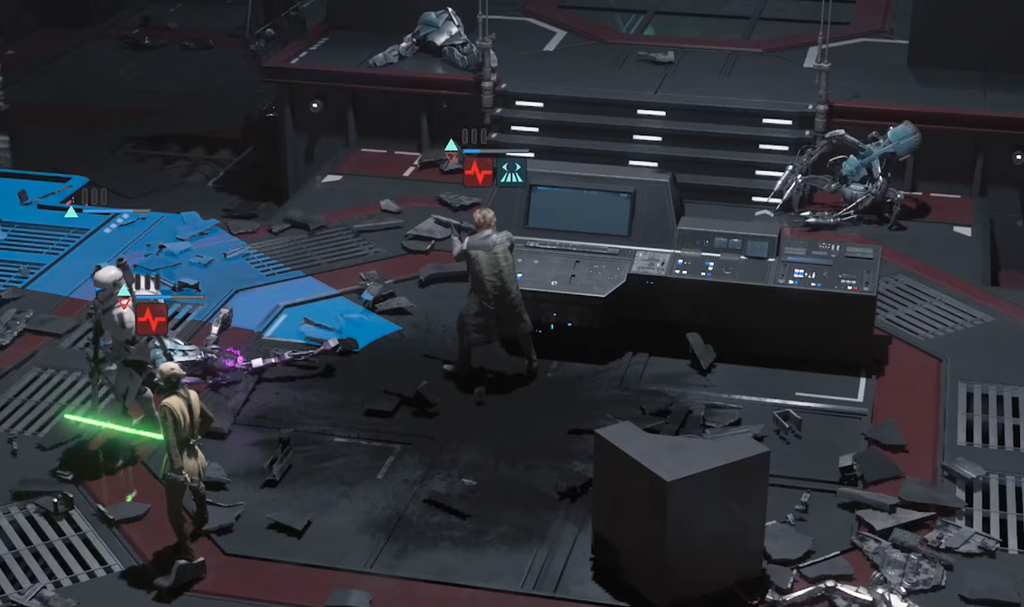
Defeat Tython, Fathom’s droid partner
After the terminal, keep moving through the station to the turbolift that leads to the command mast. Scoping out the large window along the way grants +10 intel. At your next objective, Tython ambushes you with a group of droids, and you must defeat him and every ally to end the fight.
Tython does not appear right away. You get three rounds before he shows up, so use them to kill as many allies as you can. Lean on area-of-effect attacks here, but hold some back for later in the fight. The sniper droids grow stronger every turn and can deal heavy damage on Tython’s command, so it is often worth removing them first.
Once Tython arrives, do not attack him directly unless the operator can absorb the return fire. Damaging him makes him order a droid to strike back immediately. Keep focusing his allies and only chip at his health once you have cleared enough of the swarm. If you brought a medic, you can afford to whittle Tython down earlier while managing the rest, which removes his commands from the fight sooner. Remember that the encounter only ends when everyone is dead, not just Tython.
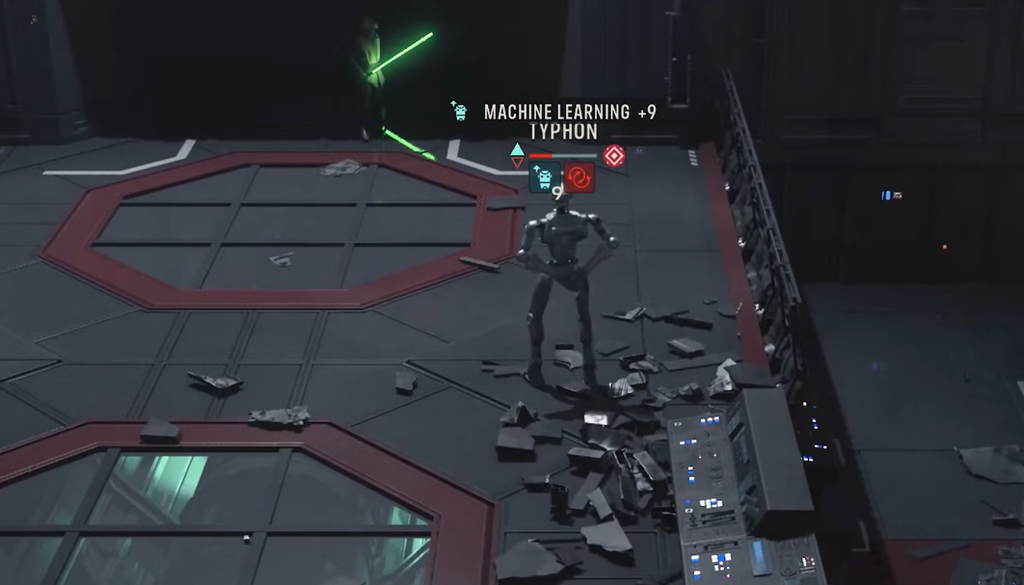
Defeat Fathom in the two-stage final boss fight
With Tython down, Fathom is the last boss, and her fight runs in stages. Getting her to half health triggers a cutscene that changes the battleground and brings Bennic into the fight on your side.
Stage one: focus only on Fathom
Fathom fights alongside Coil allies, but she is the only target that matters. Ignore everyone else and drive her health down to half. When she hits that threshold, the cutscene plays and Bennic joins.
Stage two: burst her down and control Hawks
The second stage plays the same way. Keep attacking Fathom and ignore her allies, now with Bennic added to your team. With everyone focusing her, including a Cly battle jump for free damage and Jae positioned to land an automatic finishing shot, you can potentially end the fight in a single turn.
The main danger is Hawks placement. Fathom can take control of Hawks and turn them on your own squad, and a leveled-up Hawks can hit very hard. Keep Hawks well away from both Fathom and the rest of the team so a controlled attack has nothing to reach. If Hawks does take damage, Bennic can heal them once he joins.

You know the mission is over when Fathom falls and a cutscene shows her influence leaving her victims. Bennic rejoins the team, and the squad heads back to The Den for the epilogue. Her defeat breaks the Shadow Plague’s hold on the surviving infected and leaves the Infinite Coil without the force holding it together, closing out the campaign.