Throw Food For Animals, the Goofy Chupacabra simulator, changes fast. The developer pushes changes constantly, and new areas and new animals tend to arrive in bigger drops. Each drop rewards players who already have strong Throw Power, good food, and a full plot. The game itself won’t tell you when the next one lands. It will tell you exactly how far you are from being ready for it.
Quick answer: The game shows no release time for its next update. Check the events listed on its Roblox page, and spend the wait upgrading your pull-up bar, food, and plot capacity.
Where the next Throw Food For Animals update time is posted
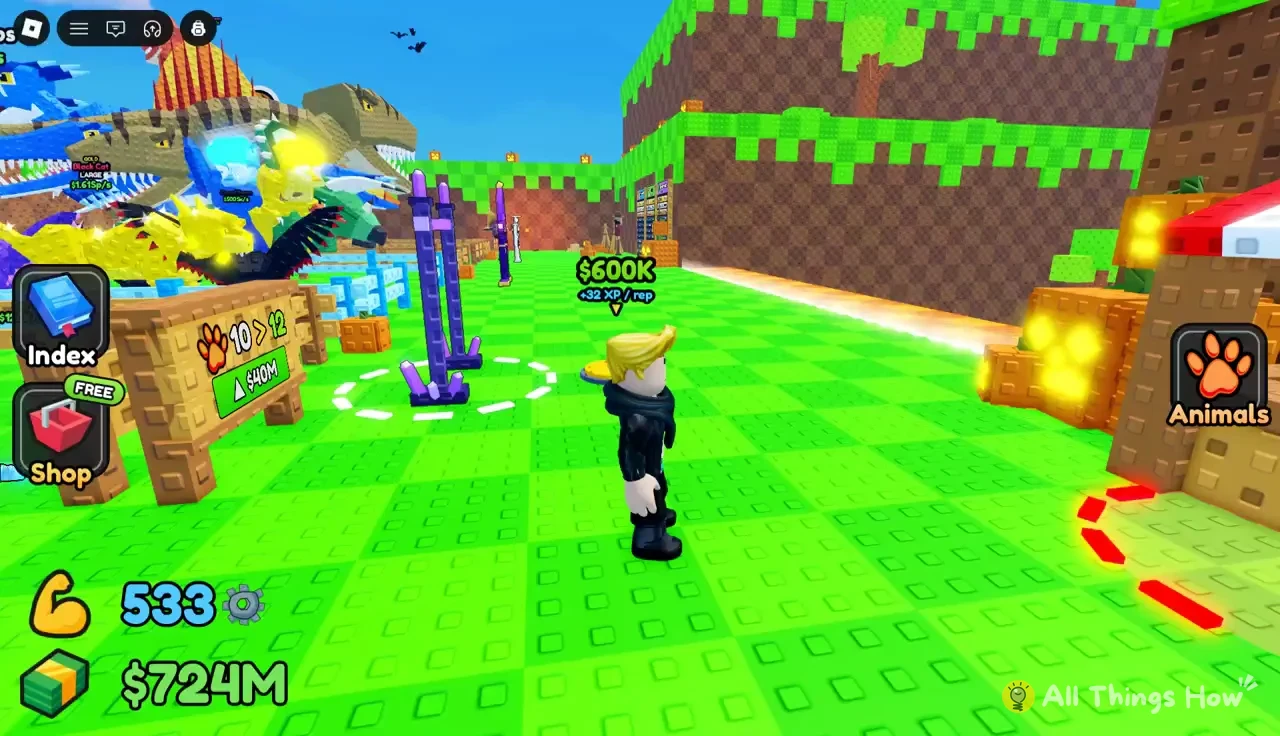
Nothing in the HUD counts down to new content. The Index, Shop, and Animals buttons cover your collection and purchases, not the release schedule. Scheduled releases and live events appear as event listings on the Throw Food For Animals Roblox page. Roblox shows those times in your local time zone. You can also subscribe to an event so Roblox sends you a notification when it goes live.
Until a listing appears, treat any specific date you hear as unconfirmed. New areas sit farther down the throwing lane than the old ones, so the useful thing to do in the meantime is push your throw distance and income as high as they’ll go.
How progress in Throw Food For Animals carries into new content
Everything in the game feeds one loop. Pull-up reps raise your level, and each level adds +5 Throw Power. More Throw Power sends food farther down the lane. Distance pushes the food through a chain of biomes, and the luck multiplier climbs the farther it goes. Better food attracts rarer animals. Those animals earn money every second, and that money buys the next bar, the next food, and more plot space.
- Pull-up bars set how much XP each rep gives.
- Levels convert that XP into Throw Power.
- Food tier and rarity decide which animals a throw can attract.
- Biome distance sets the luck multiplier on the catch.
- Plot capacity caps how many earning animals you can place.
A new area only pays off if your throws can reach it. The sections below follow that loop in order, starting with the bar.
Pull-up bar upgrades and costs
The pull-up station on your plot upgrades in tiers. Each tier roughly doubles the XP per rep, and the price rises much faster than that.
| Bar | Upgrade cost | XP per rep |
|---|---|---|
| Ruby Bar | $600K | +32 XP / rep |
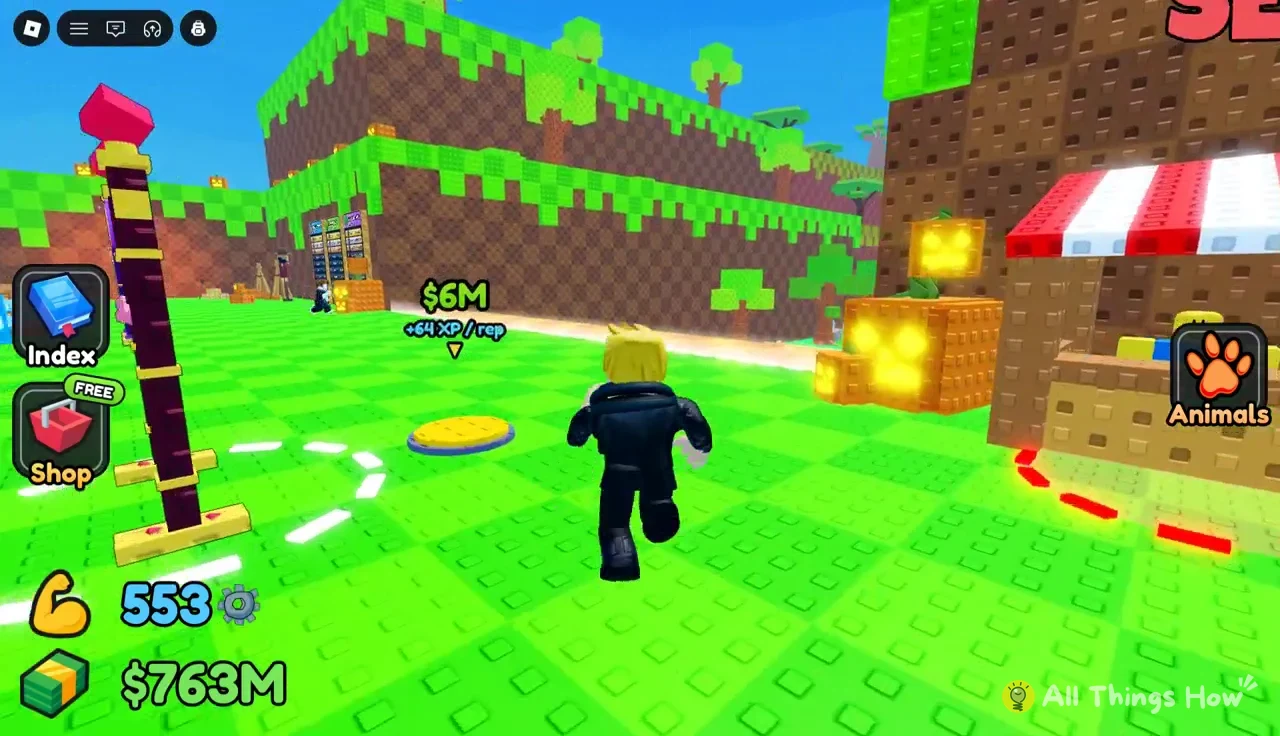
| Amber Bar | $6M | +64 XP / rep |
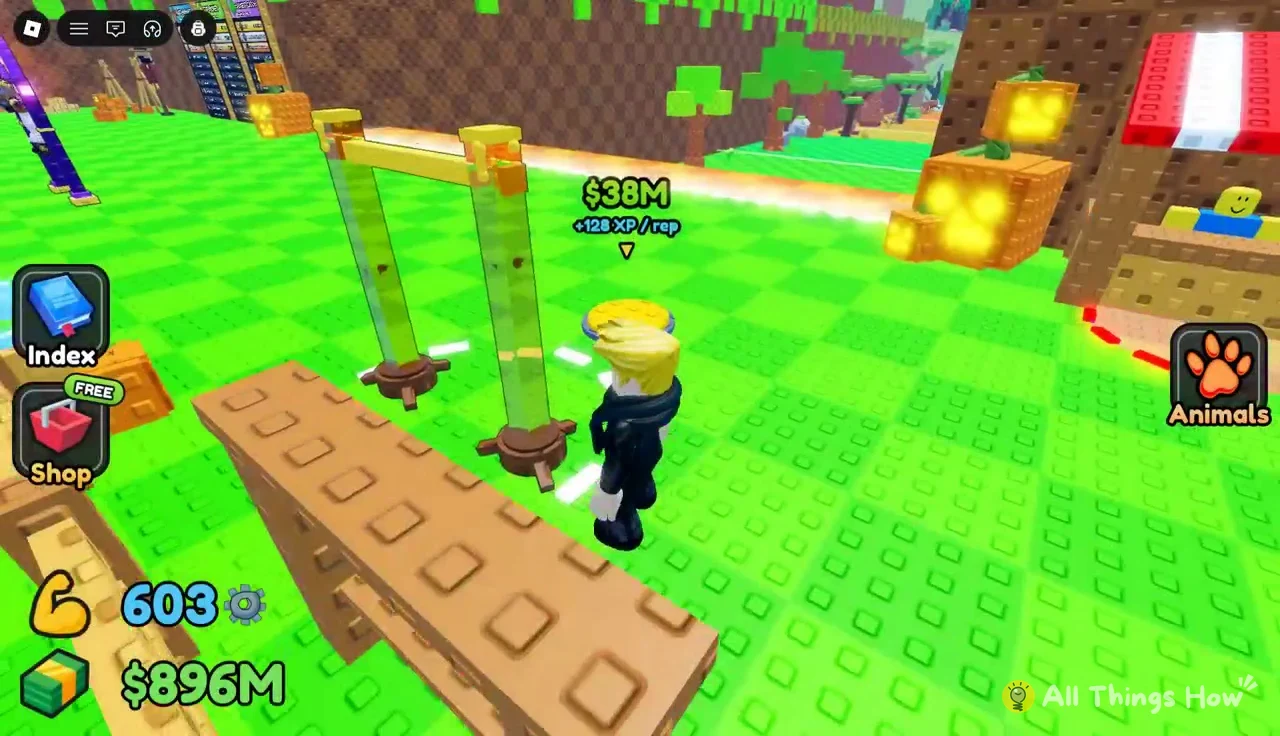
| Chrome Bar | $38M | +128 XP / rep |
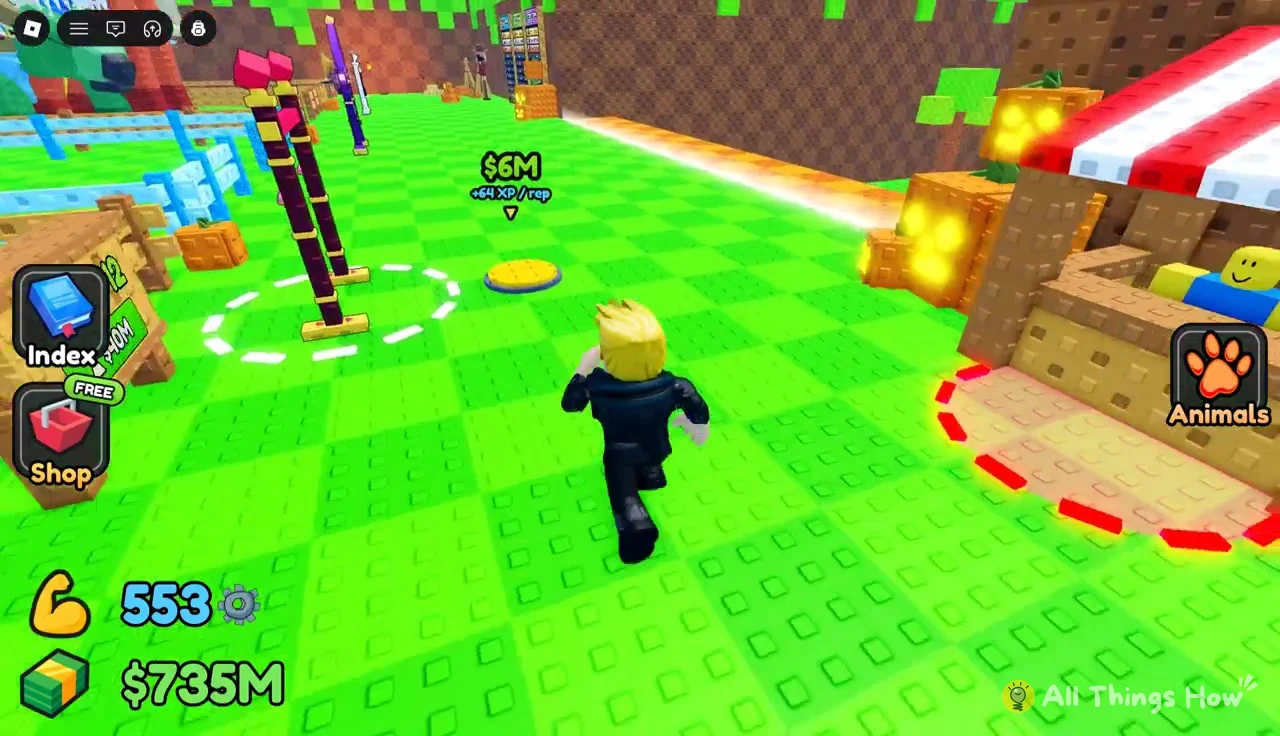
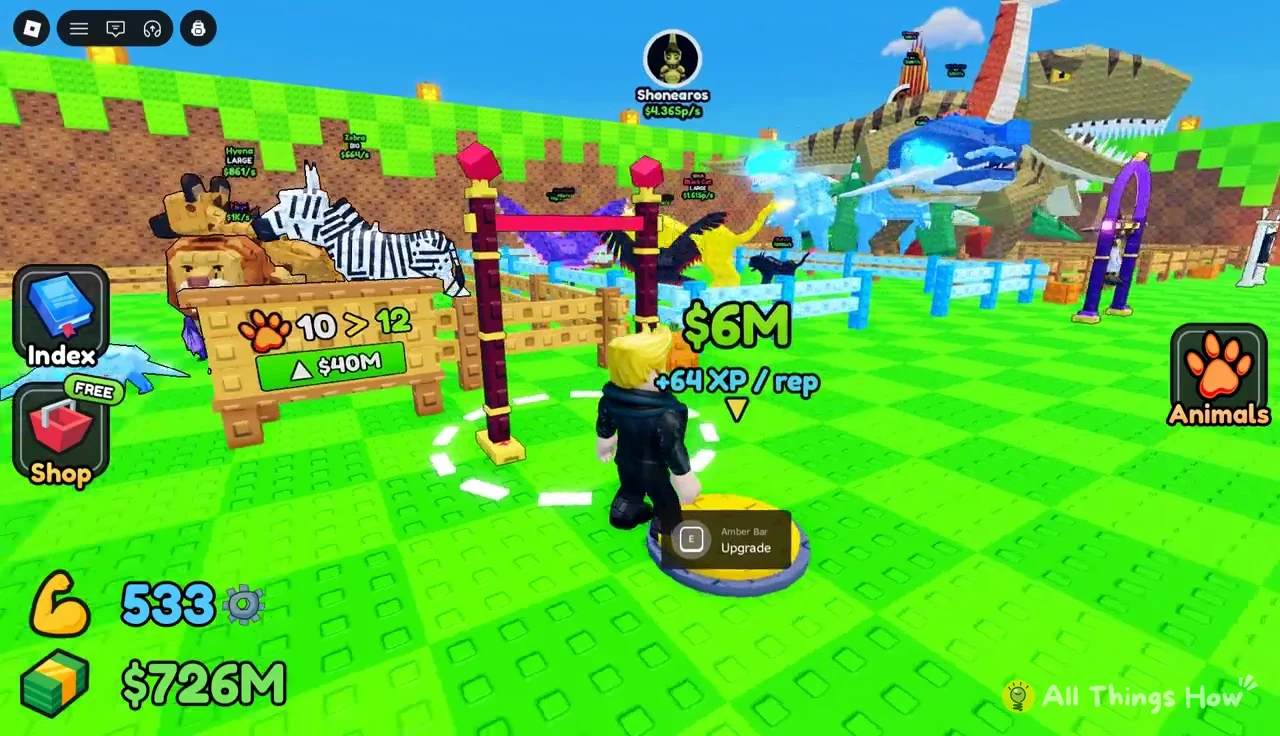
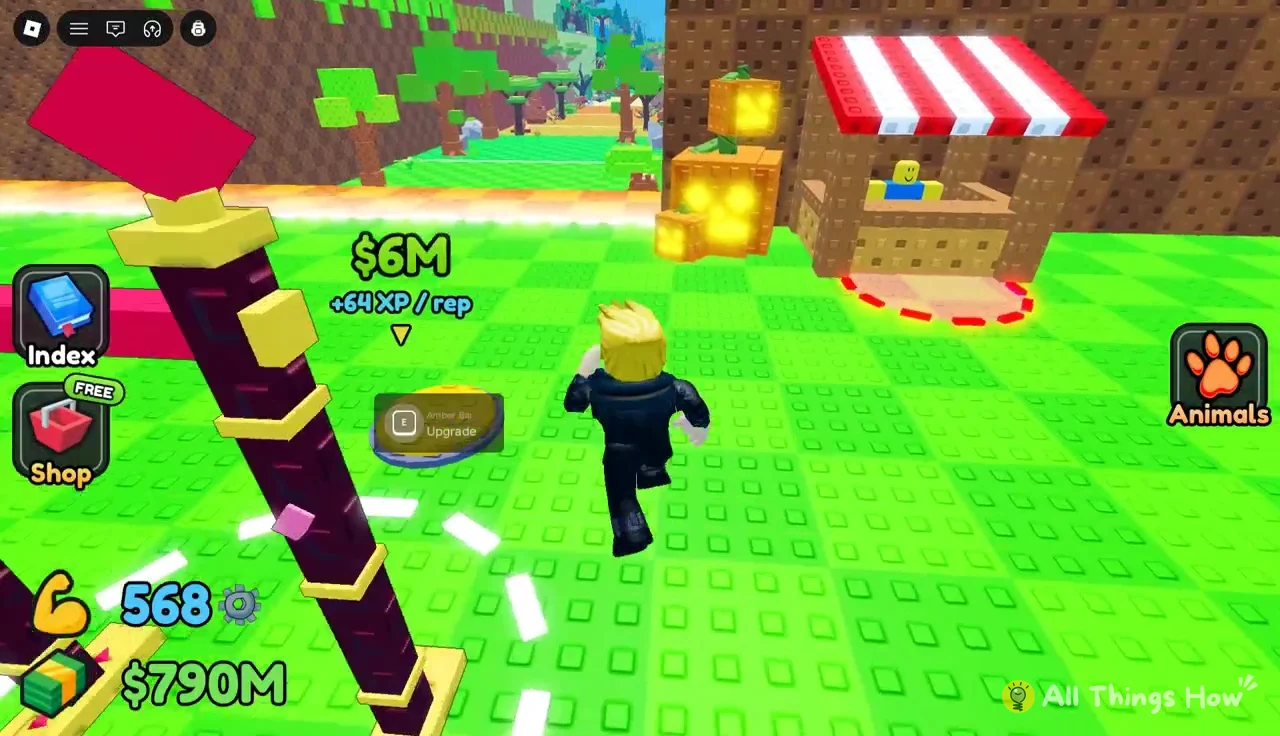
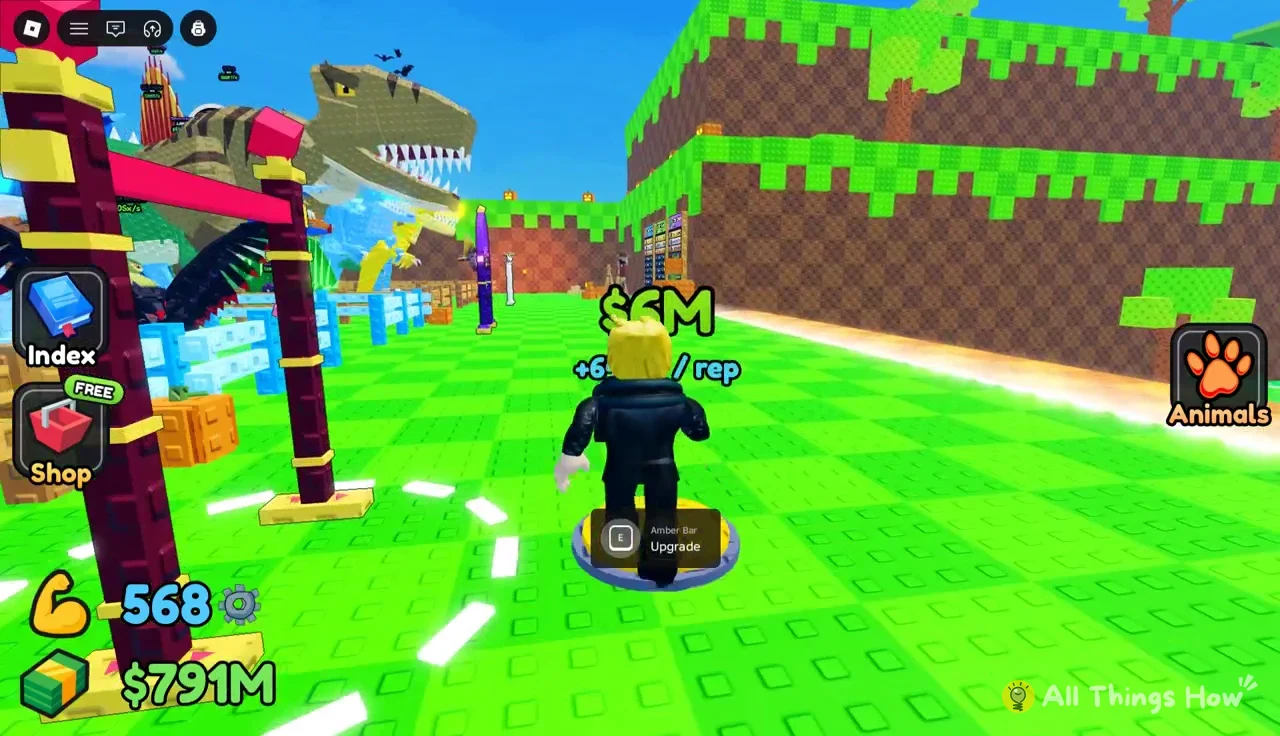
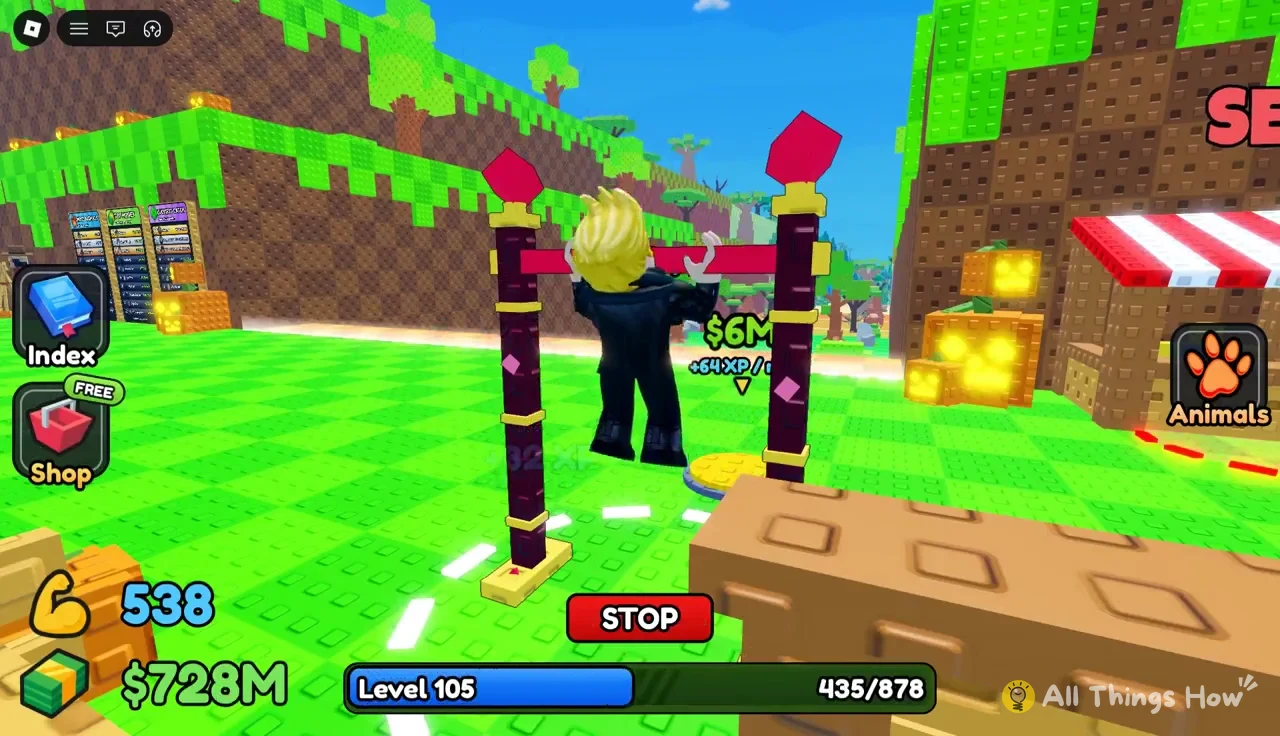
Once you buy a bar, a “NEW EQUIPMENT!” banner shows the next one in line with its price and XP per rep. After the Amber Bar, the banner points to the Chrome Bar at $38M.
Food Shop tiers and how to equip food
Food is the second lever. Each item has a tier and a rarity, and you throw whichever one you have equipped. A higher tier or rarity improves what a throw can attract.
| Food | Rarity | Tier | Price |
|---|---|---|---|
| Toast | Uncommon | Tier 2 | — |
| Orange | Uncommon | Tier 2 | — |
| Pear | Uncommon | Tier 3 | — |
| Cheese | Rare | Tier 3 | $1M |
Throw timing and biome luck multipliers
Throw distance comes from two things, your Throw Power and how well you time the meter. A vertical power meter charges when you start a throw, and stopping it in the sweet spot adds a bonus. A “PERFECT!” stop adds about +18 to +20 Power, and “GREAT!” lands just below that.
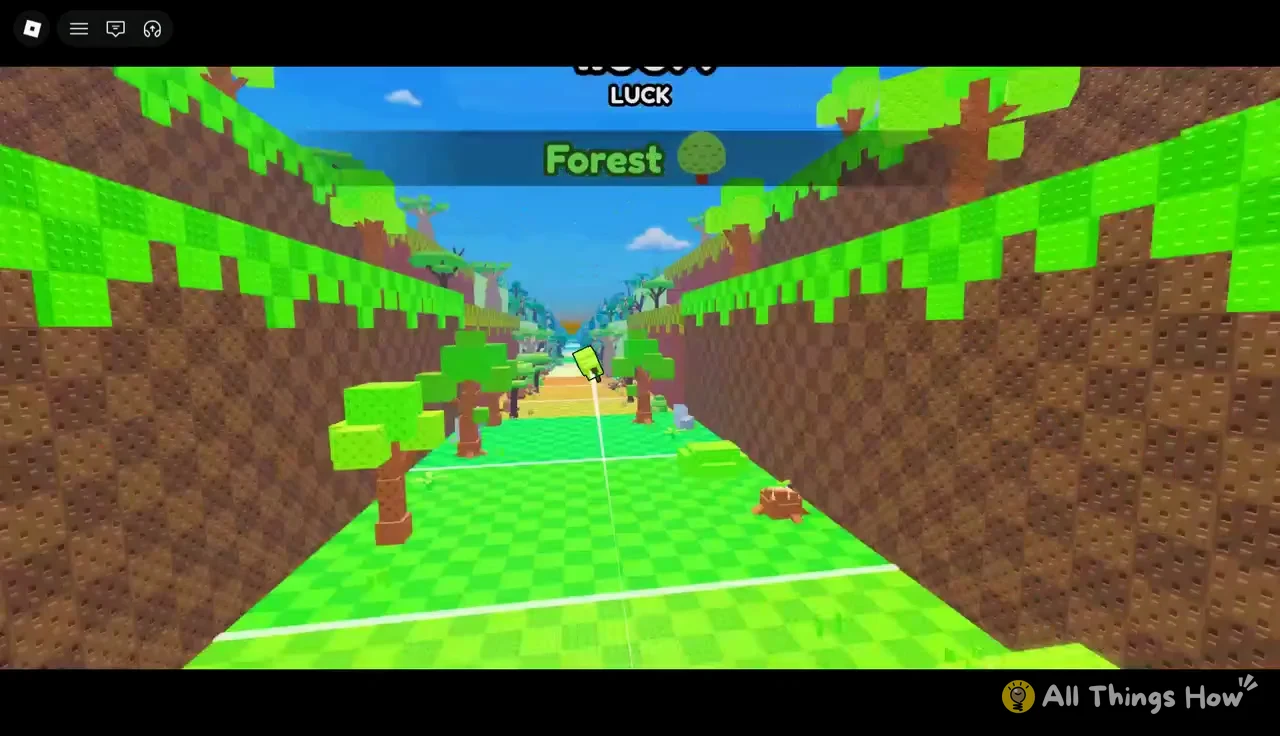
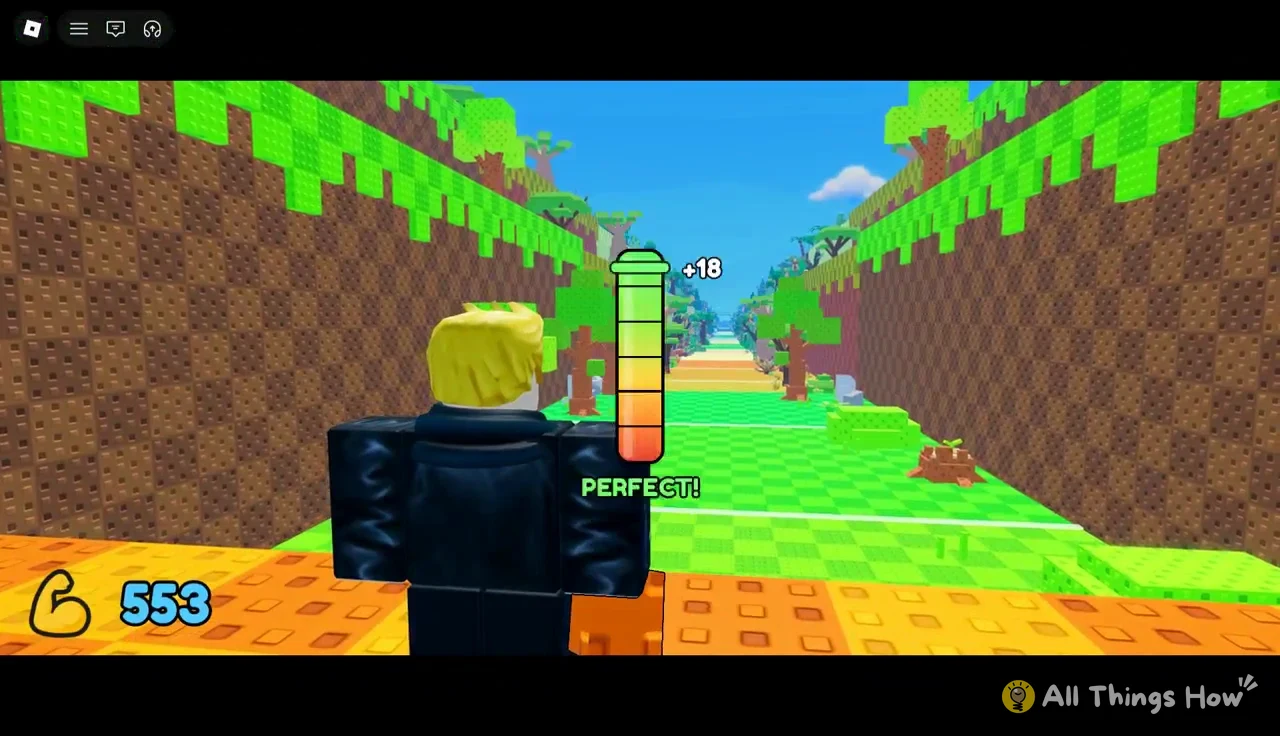
The luck multiplier climbs steadily as the food travels. Each biome covers a band of values.
| Biome (in order) | Luck multiplier range |
|---|---|
| Forest | About 2.03X to 3.72X |
| Savanna | About 4.49X to 6.19X |
| Desert | About 7.12X to 9.61X |
| Jungle | 10.51X and up (12.56X and beyond) |
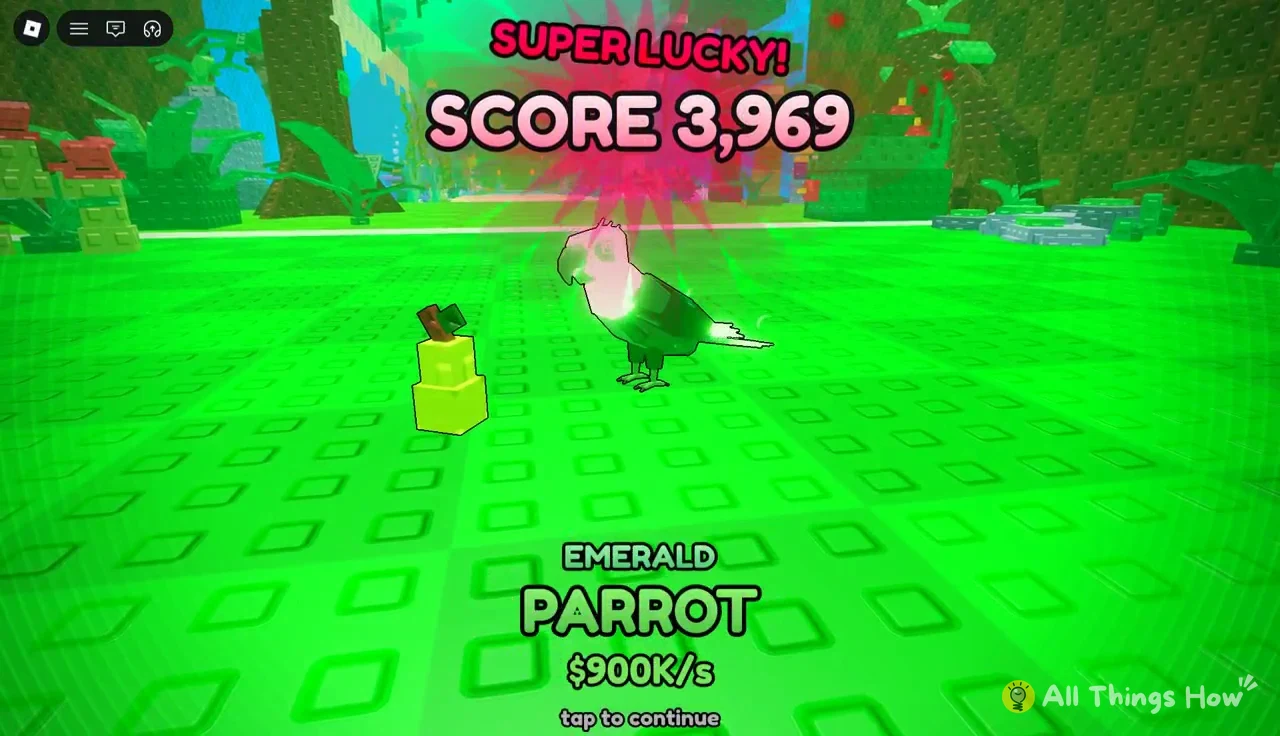
When the food stops, a results card names the animal and its income. First-time catches carry a “NEW!” tag. Unusually good rolls show “LUCKY!” or “SUPER LUCKY!” instead, and those can turn up a variant such as the Emerald Parrot. Tap to continue and the animal goes to your plot.
Animal income and plot capacity upgrades
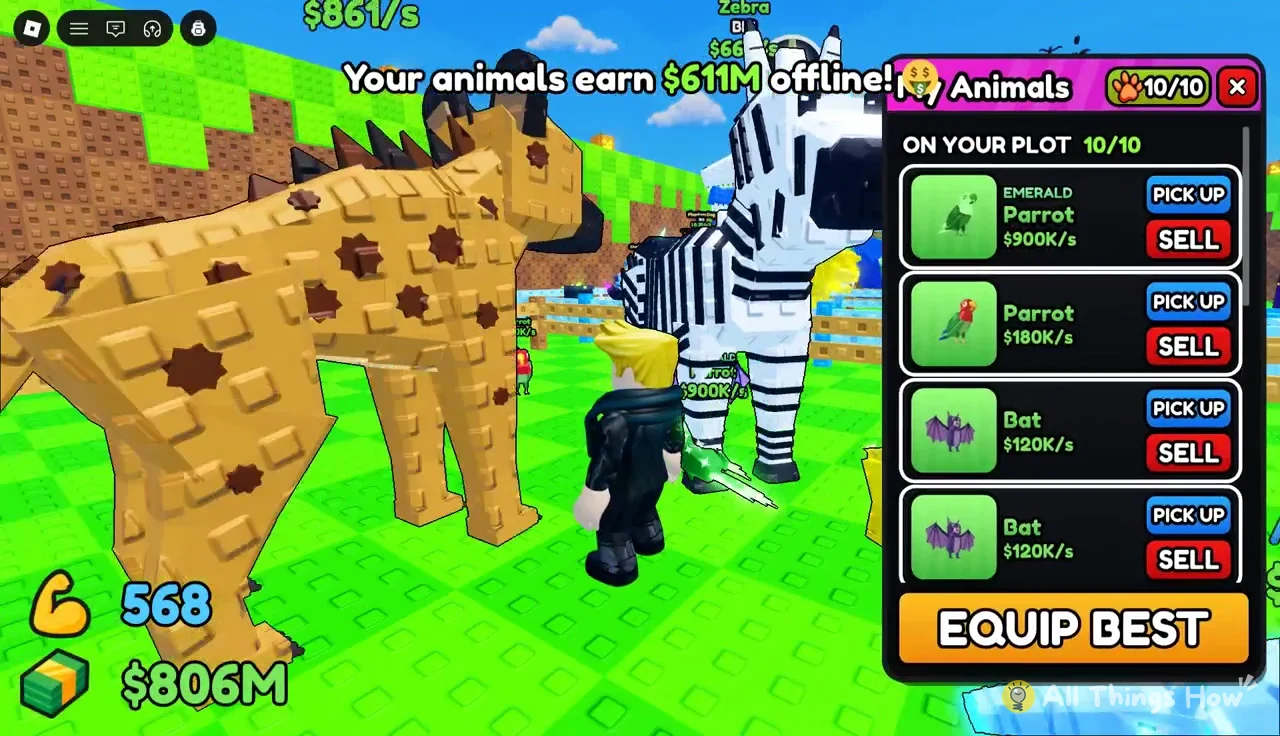
Animals pay out per second. They keep earning while you’re away, and the game greets you with a total such as “Your animals earn $611M offline!” when you return. That makes plot space as valuable as any catch.
| Animal | Income |
|---|---|
| Emerald Parrot | $900K/s |
| Cobra | $480K/s |
| Koala | $300K/s |
| Parrot | $180K/s |
| Bat | $120K/s |
| DIAMOND Aardvark | $1.44K/s |
| Lion | $1K/s |
| Hyena LARGE | $861/s |
| Zebra BIG | $664/s |
Each animal on your plot shows its name and earnings in a label above its head. Early animals like the Zebra and Hyena earn a tiny fraction of what a Jungle catch makes, so they are the first to go when space runs out.
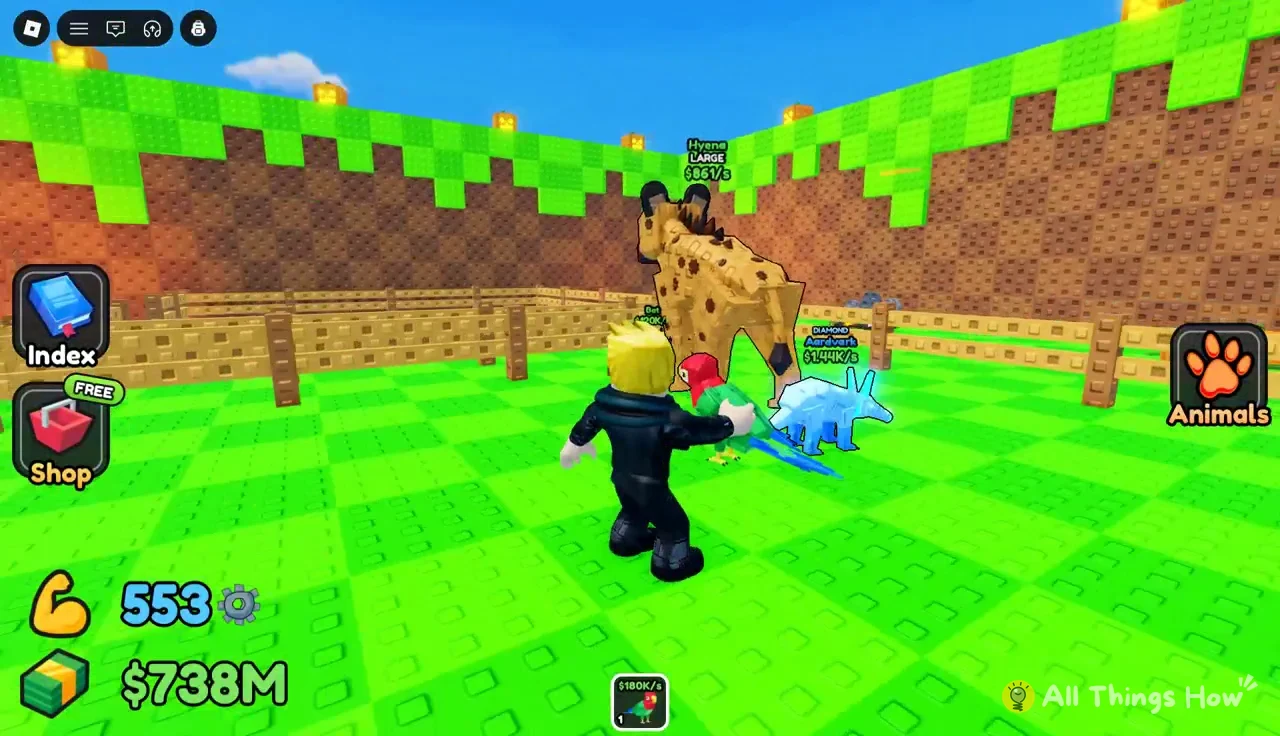
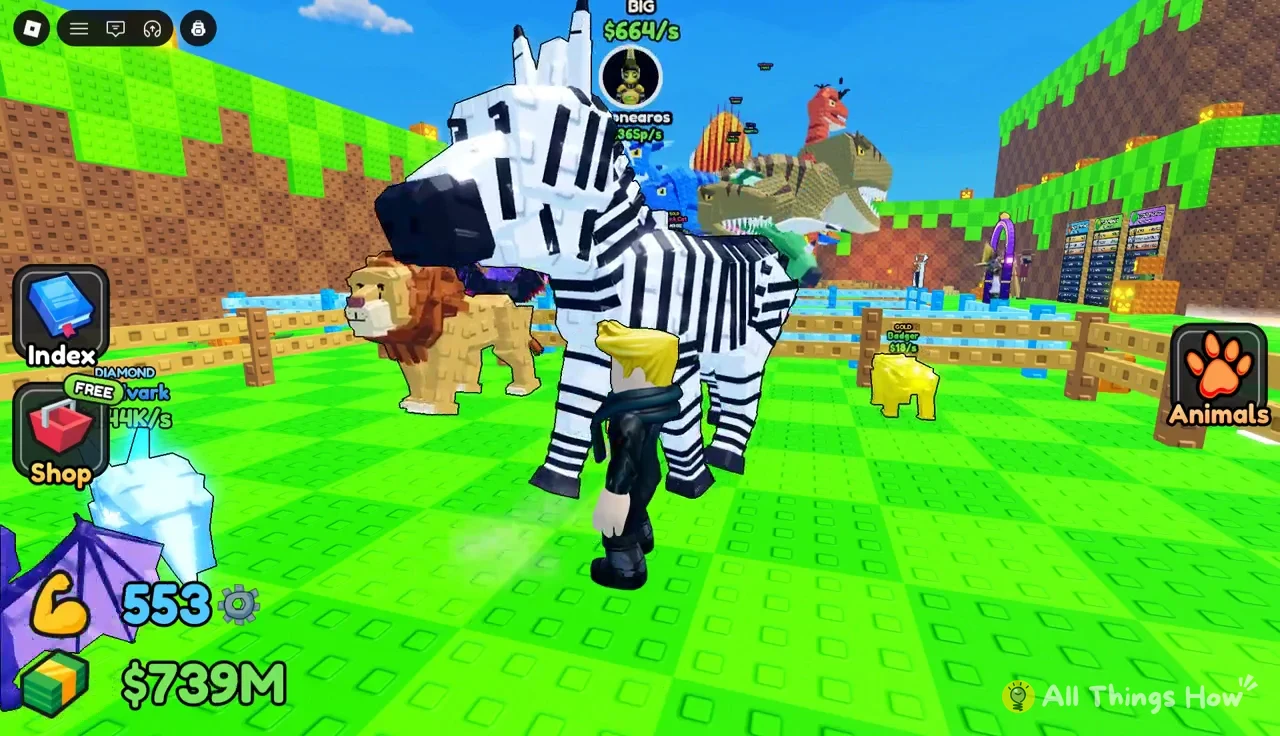
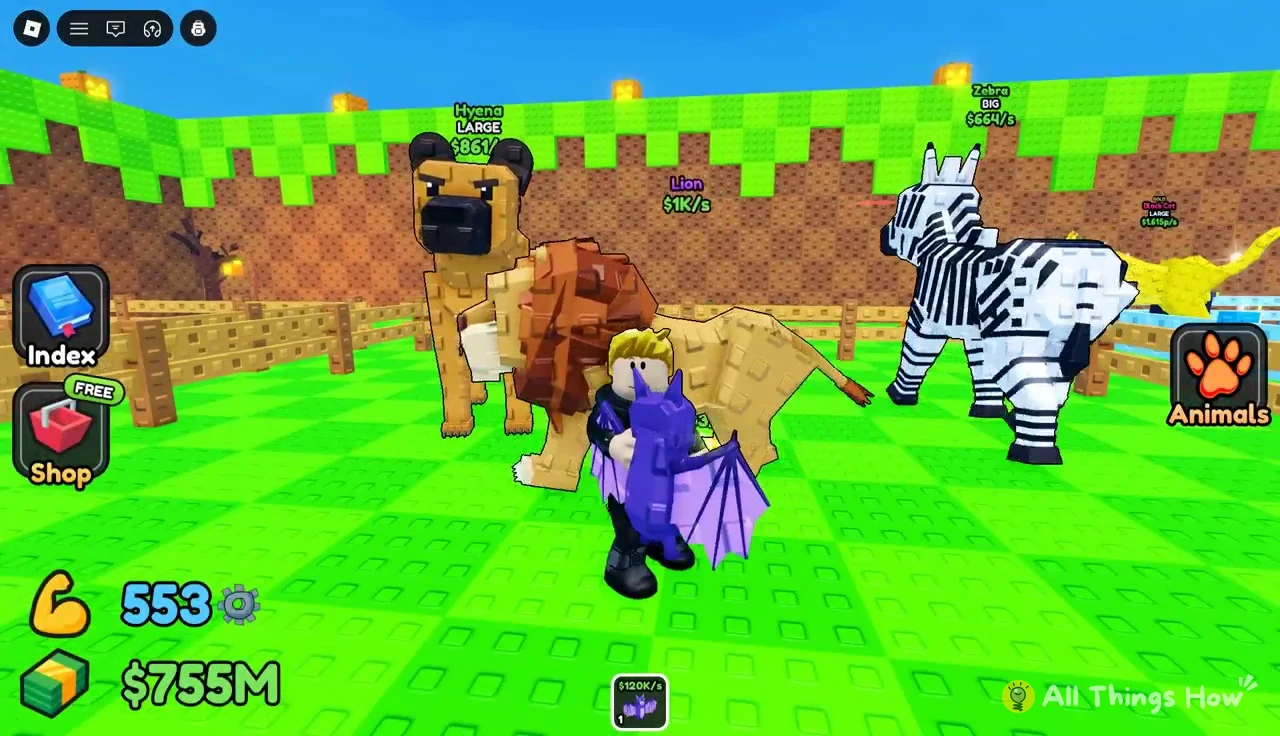
To manage the plot, open the Animals menu. It shows your slot count, such as 10/10, along with PICK UP and SELL buttons for each animal. Equip Best places your highest earners automatically. If they’re already out, the game replies “Your best animals are already on your plot!”
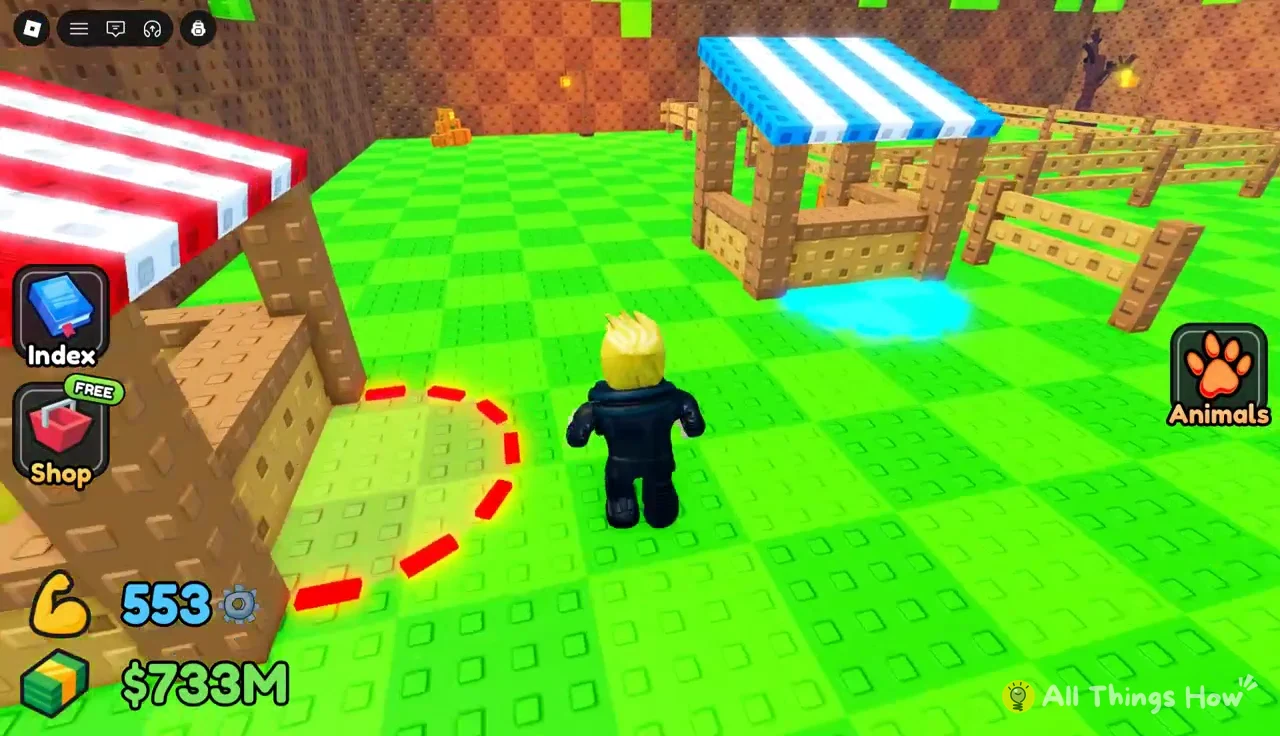
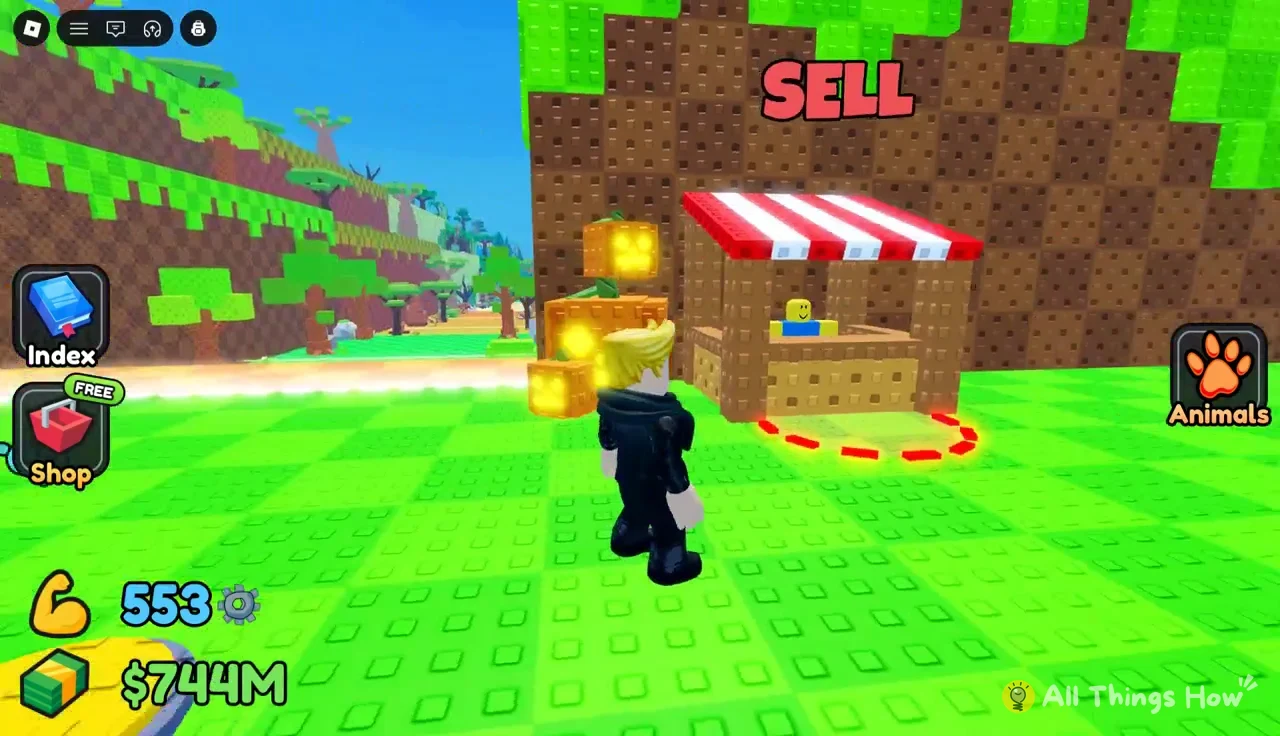
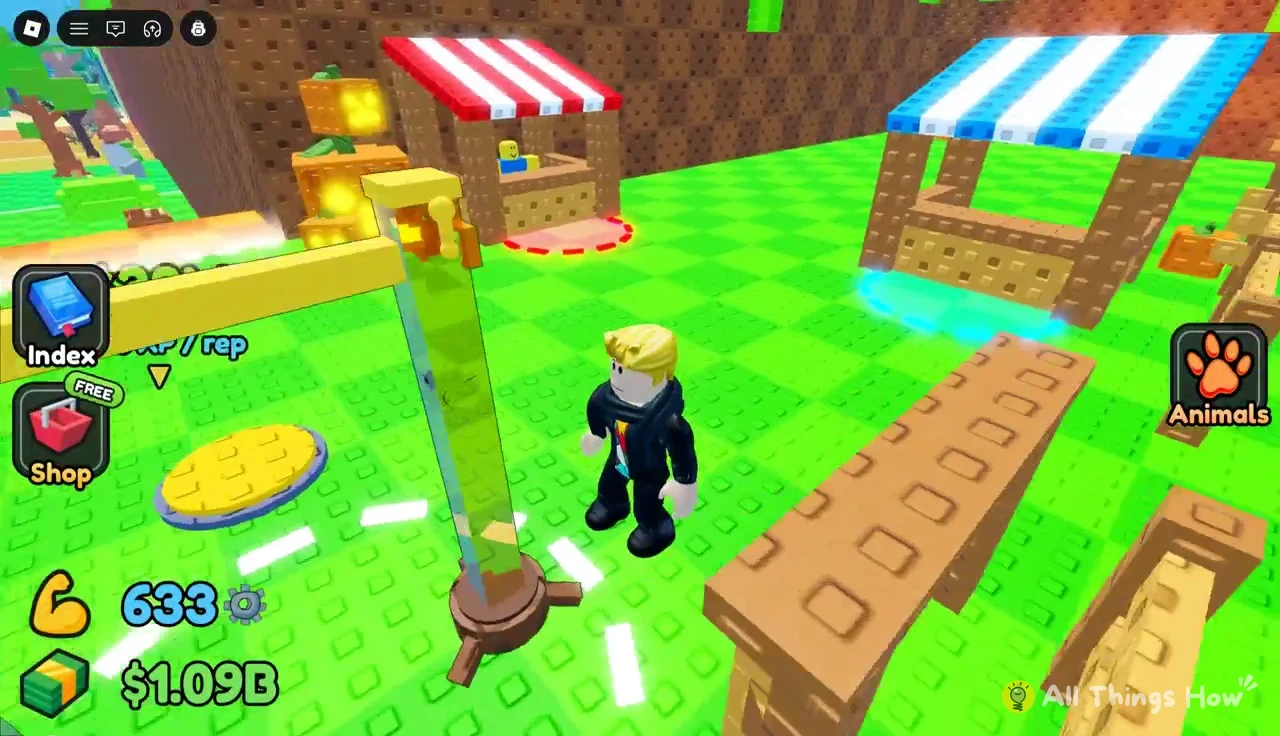
Your plot also has a Sell stall, marked by a red dashed ring on the ground.
Capacity upgrades are bought from plot signs, and the second one costs vastly more than the first.
| Plot upgrade | Cost |
|---|---|
| 10 > 12 animals | $40M |
| 12 > 14 animals | $200T |
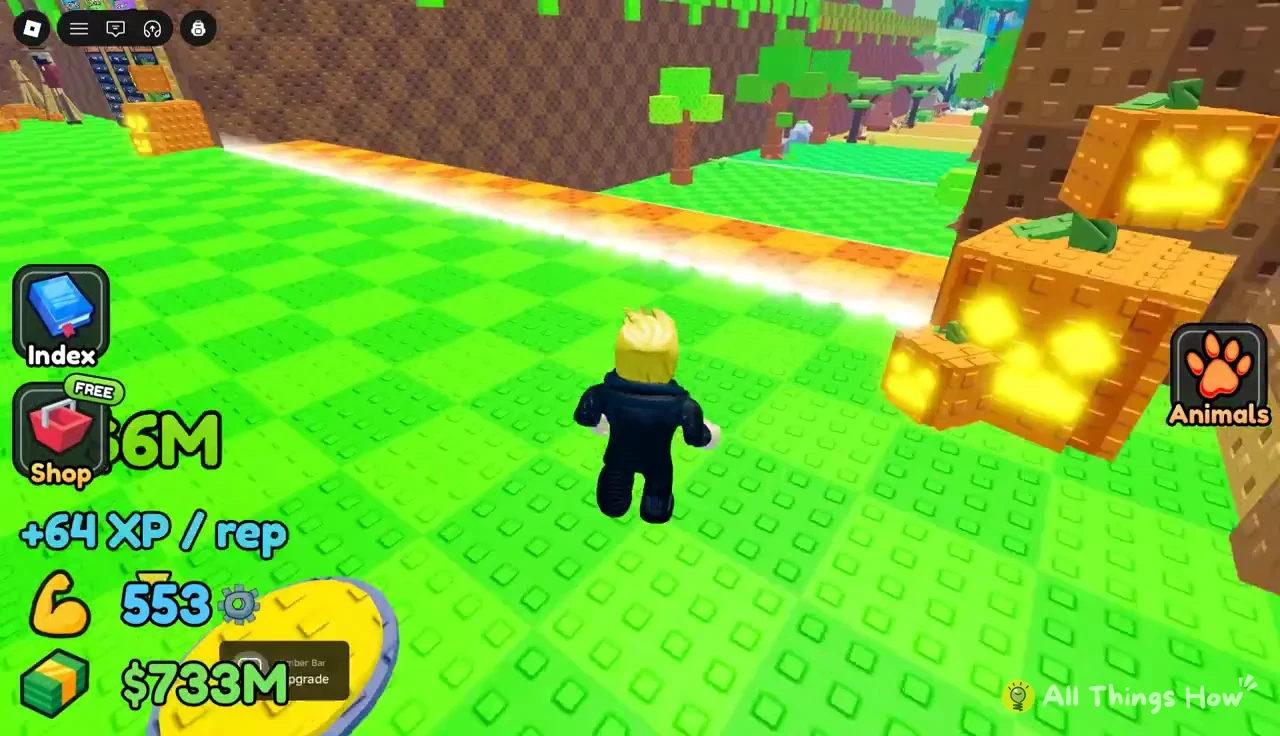
Walk onto the yellow pad under the capacity sign to buy the upgrade. A successful purchase shows “Plot upgraded! It holds 12 animals now”, and the Animals menu count rises to match.
You know you’re set for new content when the Animals menu reads full, such as 12/12, every slot holds a Jungle-tier earner, and your bar is at least Amber. From there, keep training and stacking income. When the update goes live, check the Index for new silhouettes before you throw.