Star Wars Zero Company runs on a tight action point economy, and most of the squad wipes and wasted campaign hours come from a handful of systems that behave differently than they look. Bit Reactor’s turn-based tactics game hides several of its most punishing rules behind default settings and tooltips that are easy to skim past.
Quick answer: Open the settings menu before your first mission and confirm whether permadeath is on, because it is enabled by default and a character dies for good after three injuries. Then use the Backup command every turn you can, since it costs 0 AP and 0 Advantage.
Permadeath is enabled by default
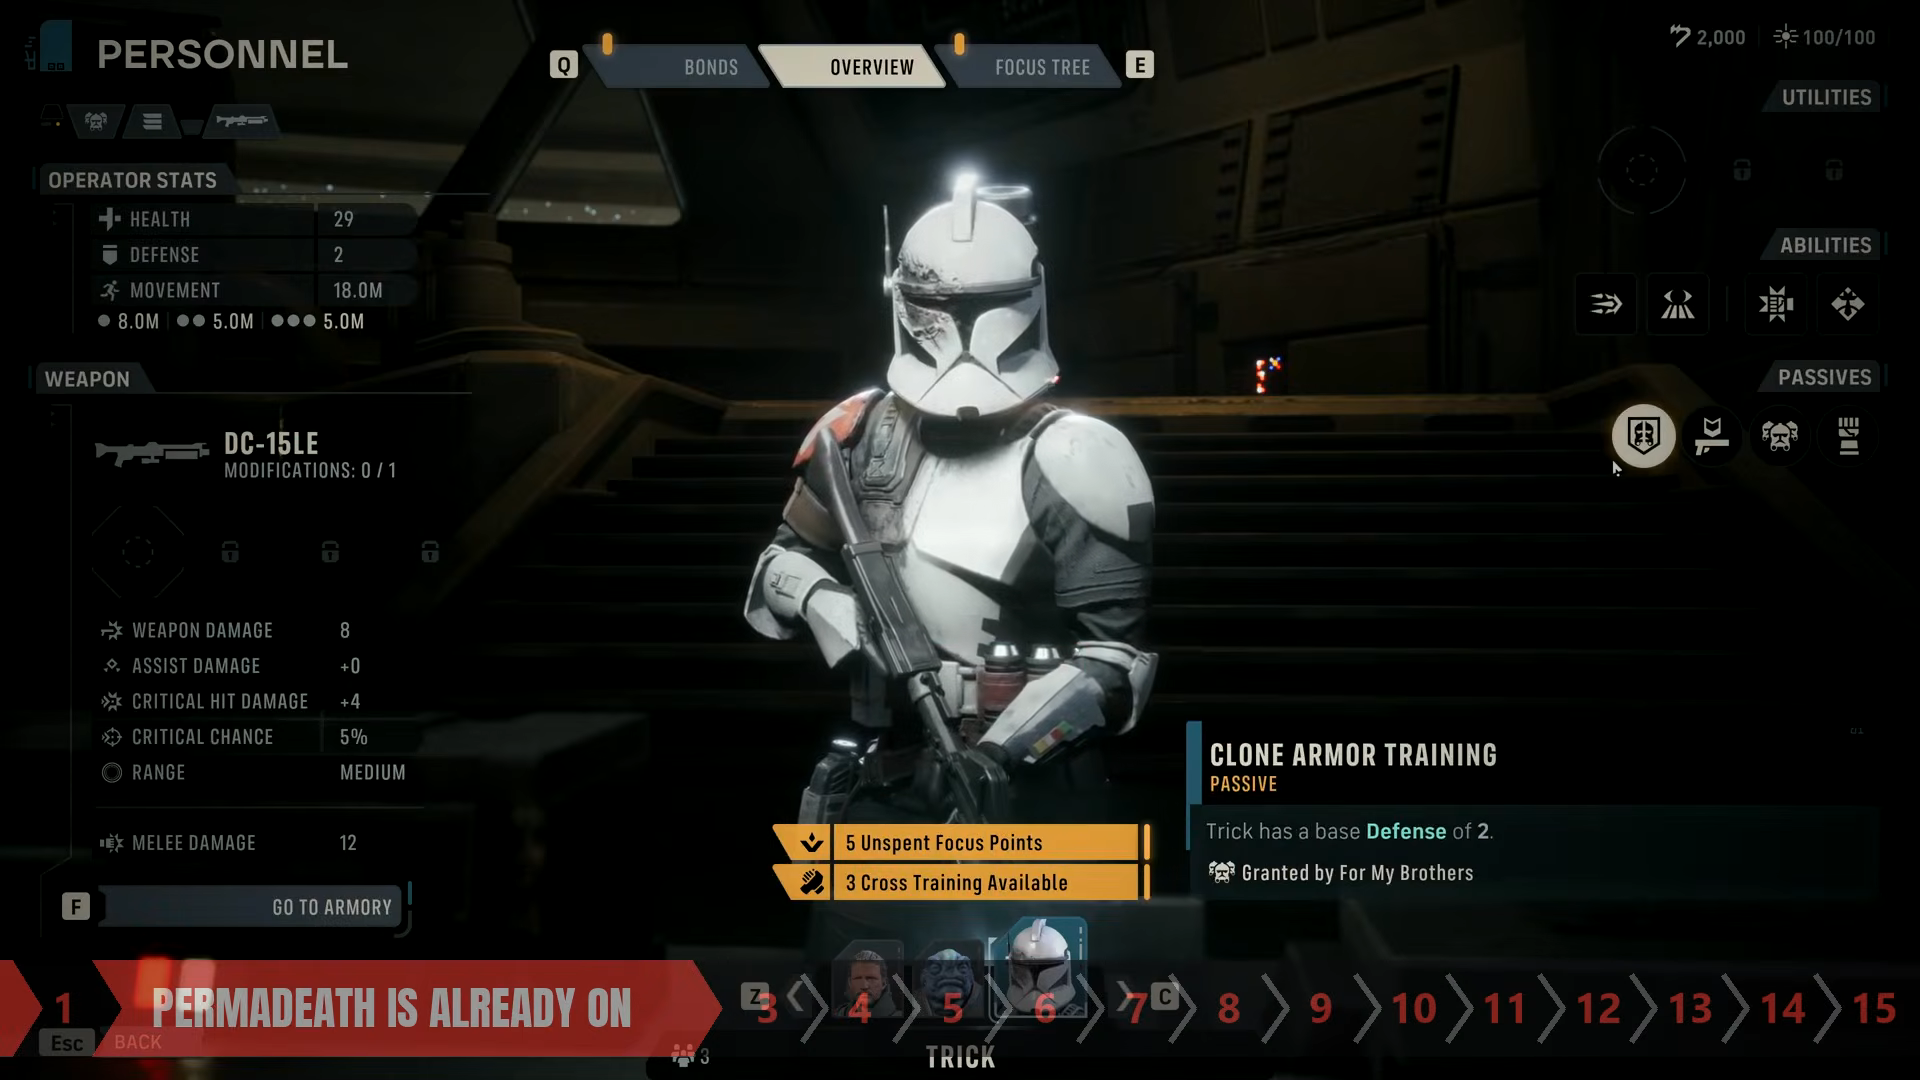
Permadeath is not an optional hardcore mode you opt into. It is switched on when you start a campaign, and a squad member who accumulates three injuries is gone permanently. The story keeps moving without them, which is exactly why losses are easy to underestimate on a first run.
The cost is not only tactical. Losing an operator permanently rewrites the relationships around them, removing dialogue and cutting off the squad bonds that character was building. Those bonds feed combat synergies, so a death early in the campaign quietly weakens the rest of your roster for the remainder of the game.
Weapon action point costs by class
Operators work from a cap of 3 AP per turn, and every weapon class spends that budget differently. Raw damage numbers in the armory do not tell you how many turns a weapon will cost you, so pick the class that matches the job the operator is supposed to do.
| Weapon class | AP cost per shot | What that means in practice |
|---|---|---|
| Blaster pistol | 1 AP | Up to three shots in a turn, or four if Hawks hands over an extra AP |
| Long arm blaster | 2 AP | High damage, but firing leaves almost no room to move |
| Repeater | All remaining AP | One commitment per turn; no follow-up action after firing |
Because long arm blasters eat two thirds of a turn, stacking snipers freezes your squad in place. One per squad is the practical ceiling. Everyone else benefits from the flexibility to reposition after shooting.
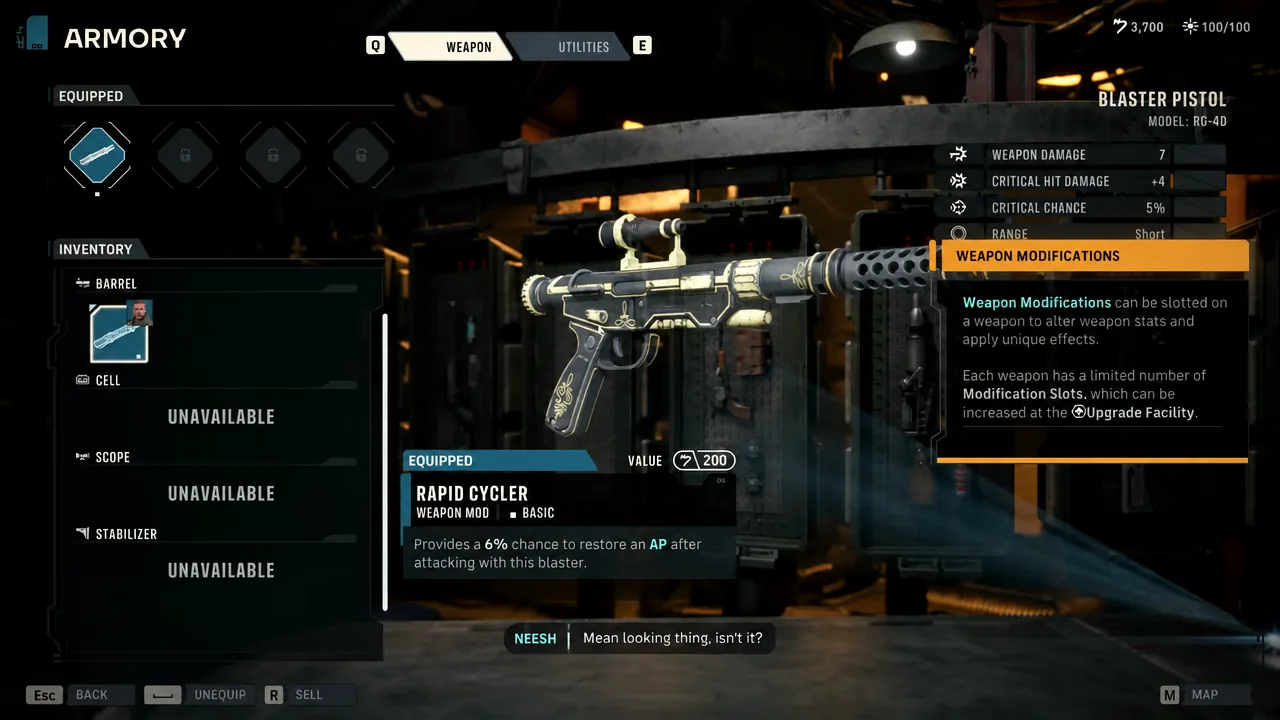
The blaster pistol is the most underrated weapon in the game for the same reason. Three cheap shots per turn clear out weak droids such as B1s, apply status effects, and build Advantage far faster than a single expensive shot from a long arm. Weapon modifications like the Rapid Cycler are applied in the armory’s weapon tab, alongside the mod slots each weapon carries.
Backup: A free assisted shot that also builds bonds
Backup is the single most skipped command in the game, and it is free. It costs 0 AP and 0 Advantage, links two operators together, and delivers an assisted shot that cannot miss as long as the supporting character has line of sight to the target.
It also pays 10 bond points each time it fires. Bonds are what unlock the cross-training and combat synergies that carry a squad through the back half of the campaign, so running Backup on every turn compounds well beyond the damage it adds. If an operator has nothing useful to do with their last AP, put them on Backup instead.
Pico Five: When Hawks’ extra AP does nothing
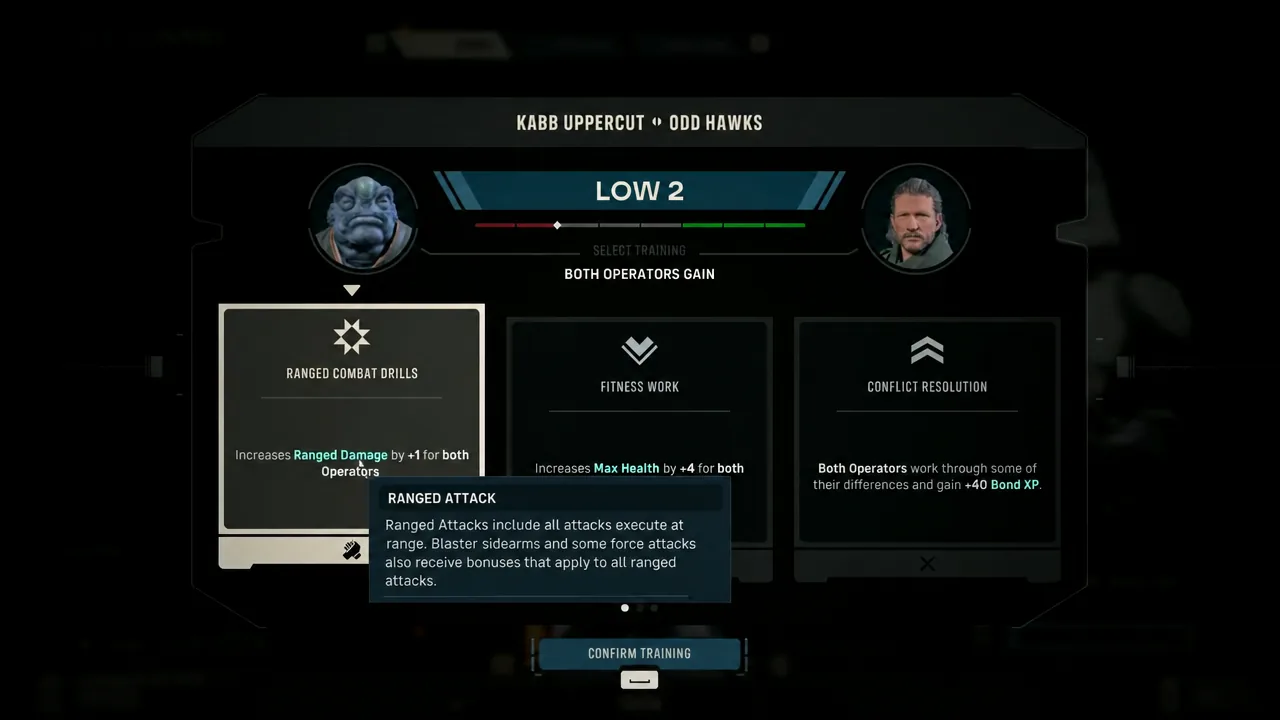
Hawks’ Pico Five ability hands an ally an extra action point, and it awards 4 bond points on use. The catch is the hard 3 AP cap. Firing it at an operator who is already at full AP wastes the ability entirely, because the extra point has nowhere to go.
It also does not buy an additional overwatch shot. Save it for an operator who has already spent AP and needs one more attack, one more reposition, or a pistol shot to finish a target.
Overwatch rules: Accuracy, stacking, and locked positions
Overwatch consumes every remaining action point and locks that operator in place until the enemy turn resolves. It is a full commitment, not a leftover action, so decide on it before you spend AP elsewhere.
The accuracy percentage shown when you place a zone applies evenly across the whole zone, not just to the ground closest to the shooter. Nudging the cone around before you confirm changes that number, and taking the best angle is worth the extra second of aiming.
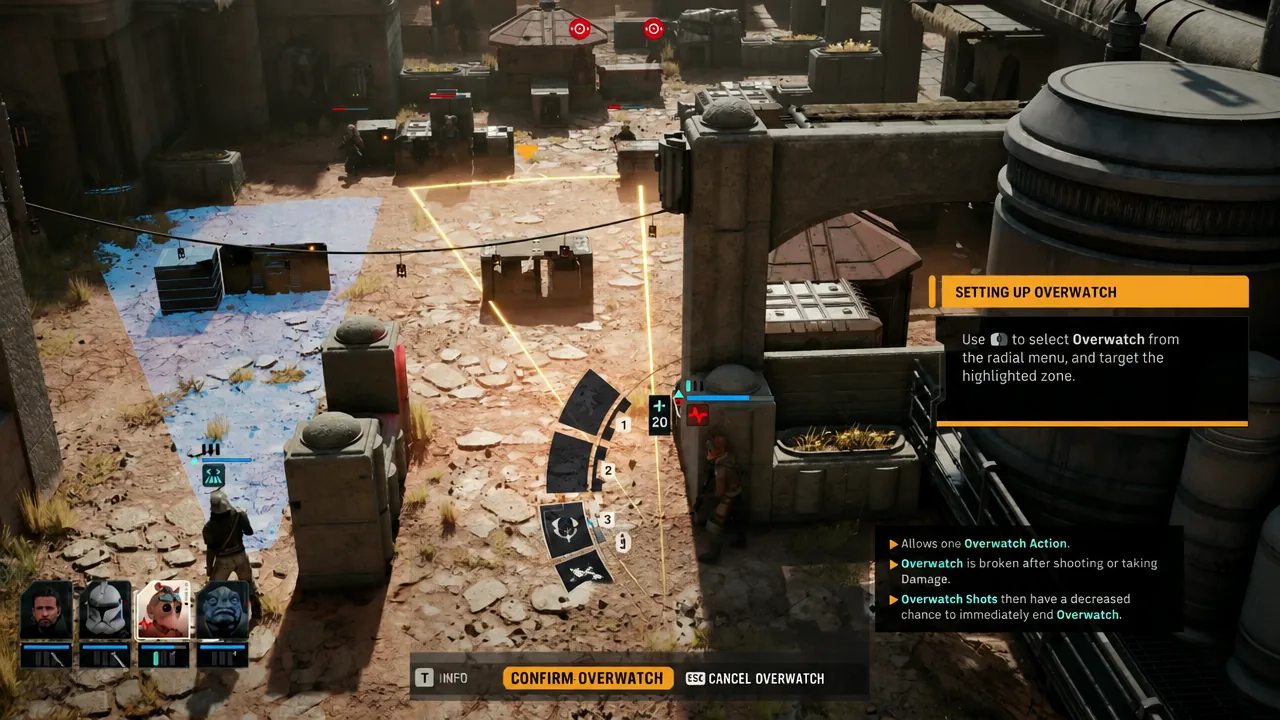
Piling several overwatch cones onto the exact same patch of ground looks like a kill box, but it backfires. Shots resolve one at a time in slow motion, and an enemy can walk clear of the zone partway through the sequence, wasting every shot that had not fired yet. Stagger the zones or overlap them only halfway so a moving target stays covered.
One more interaction to plan around. Backup assists do not trigger off overwatch shots, so pairing the two commands on the same operator gains you nothing.
Movement drift and silhouette colors
The movement line is a guide, not a guarantee. Push an operator to the absolute edge of their range and the final position can shift slightly when you confirm, which is enough to drop them out of cover. Leave a little slack rather than taking every last inch.
Movement is also front-loaded. The first movement point covers more ground than the ones that follow, so a single point of movement often gets you further than you expect and a second point adds less than you assume.
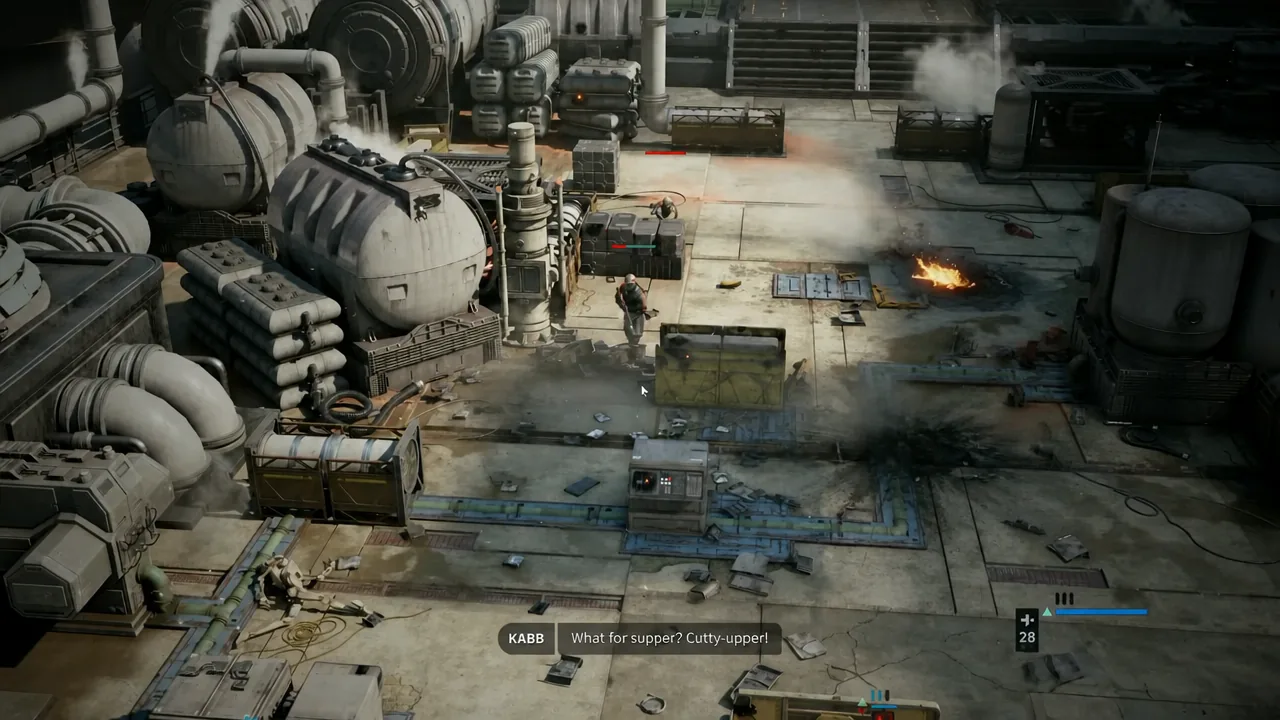
Before committing, read the target’s silhouette. Blue means the character is in cover; orange means they are exposed. That single color check tells you whether a flank has actually opened up or whether you are about to trade shots into hard cover for nothing.
The Underworld Intel slot unlock is permanent
The Underworld Intel operation asks you to choose between an extra utility slot and an extra weapon modification slot. The decision is locked in once made, so treat it as a build choice rather than a menu prompt to click through.
The utility slot carries consumables such as impact bombs and medpacs, and those refresh at the start of every battle. That makes it a recurring benefit across the whole campaign, while the weapon modification slot is a fixed statistical improvement to one weapon.
The 80,000-credit Hutt debt clears itself
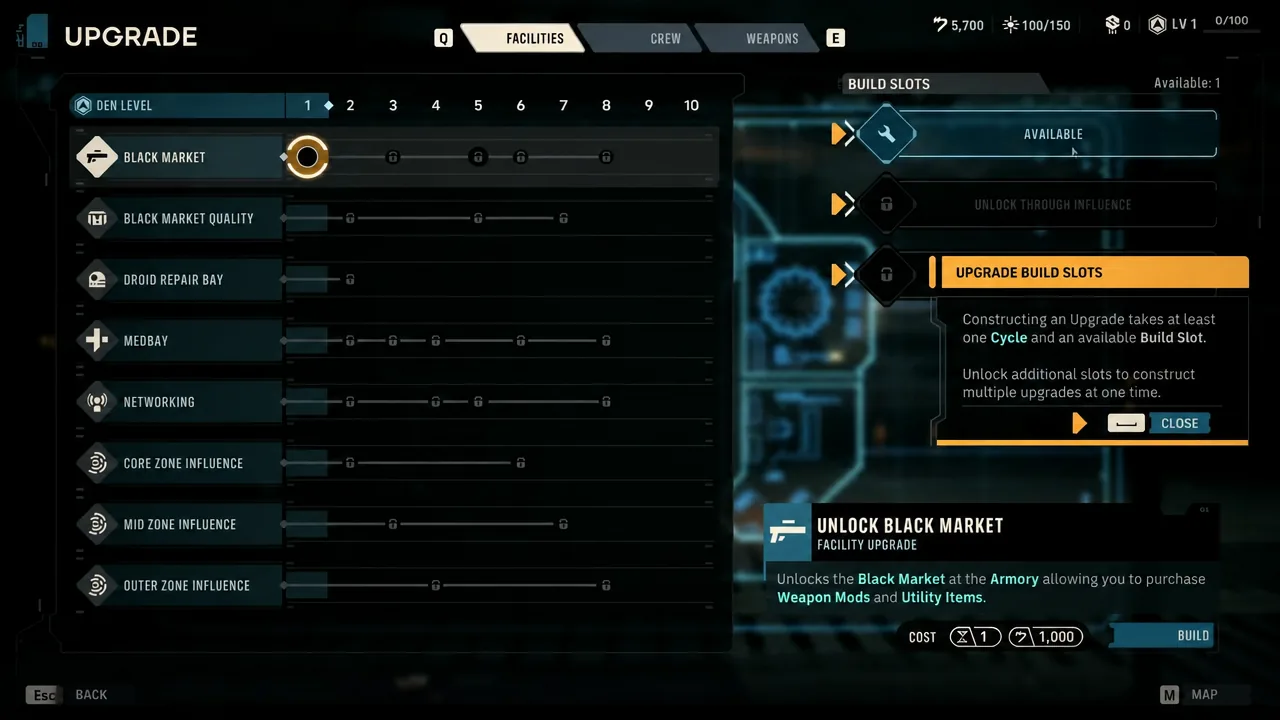
During the In Debt to the Hutts chapter, the campaign screen displays a debt owed of 80,000 credits. It reads like a grind wall, and players routinely burn hours replaying contracts trying to pay it down manually.
Do not do that. Push the critical path instead, working through the Bruckner and Lothal missions along with Gorga’s contracts. Doing so eventually triggers a Republic Intelligence contract that wipes the debt as part of the story, and the credits you would have farmed are better spent on gear and facility upgrades in the meantime.
If you only change two habits, make them the settings check and the Backup command. One protects the roster you spend the whole campaign building, and the other adds guaranteed damage and bond progress for a cost of nothing at all.