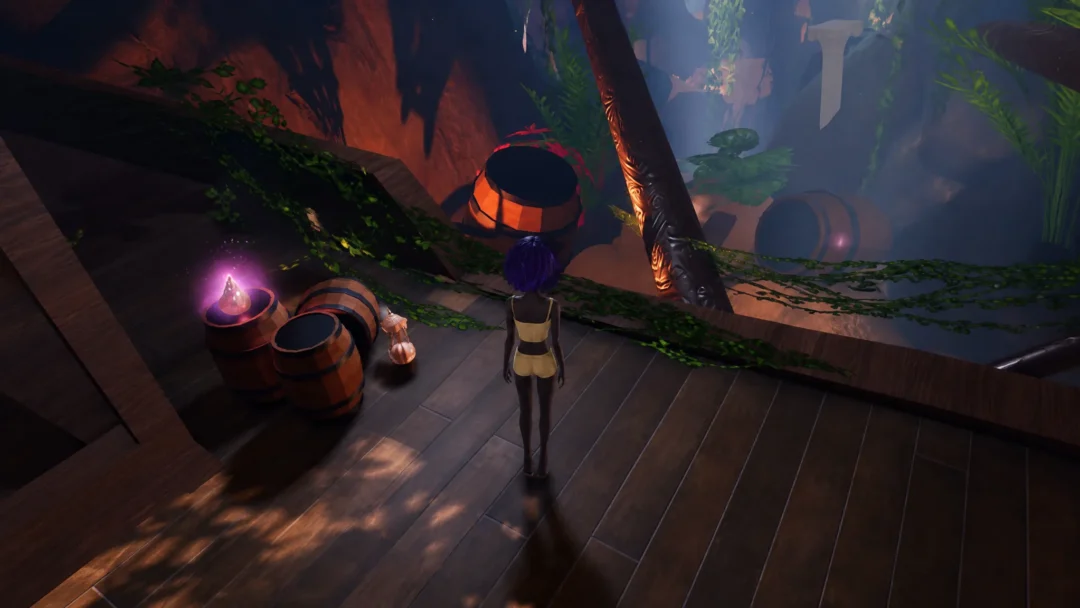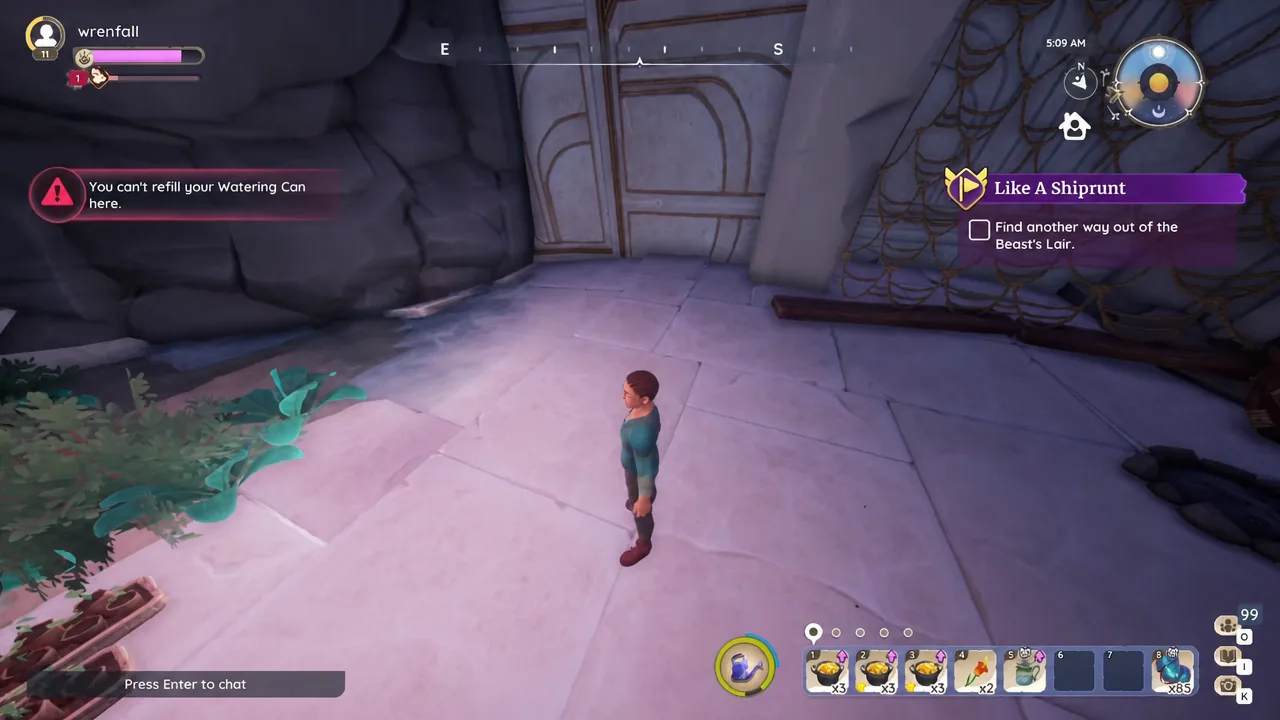
Tamala locks you inside the Beast’s Lair at the end of One Step Behind, and Like A Shiprunt starts the moment she walks out. Fast travel is blocked, the cave entrance is sealed, and the only route left runs through walls of infected essence vines that your axe cannot touch on its own. The trick is a short-lived Flow buff you pick up from the stone water basins scattered along the way.
Quick answer: Fill a stone water basin with your Watering Can to gain the 10-second Flow touched buff, then chop the purple vines with your axe before it expires. Dig the rummage piles with your Hoe for the Mysterious Key, drop through the trap door, and take the left path at the first fork inside the Hidden Cave.
How the Flow touched buff and the vines work
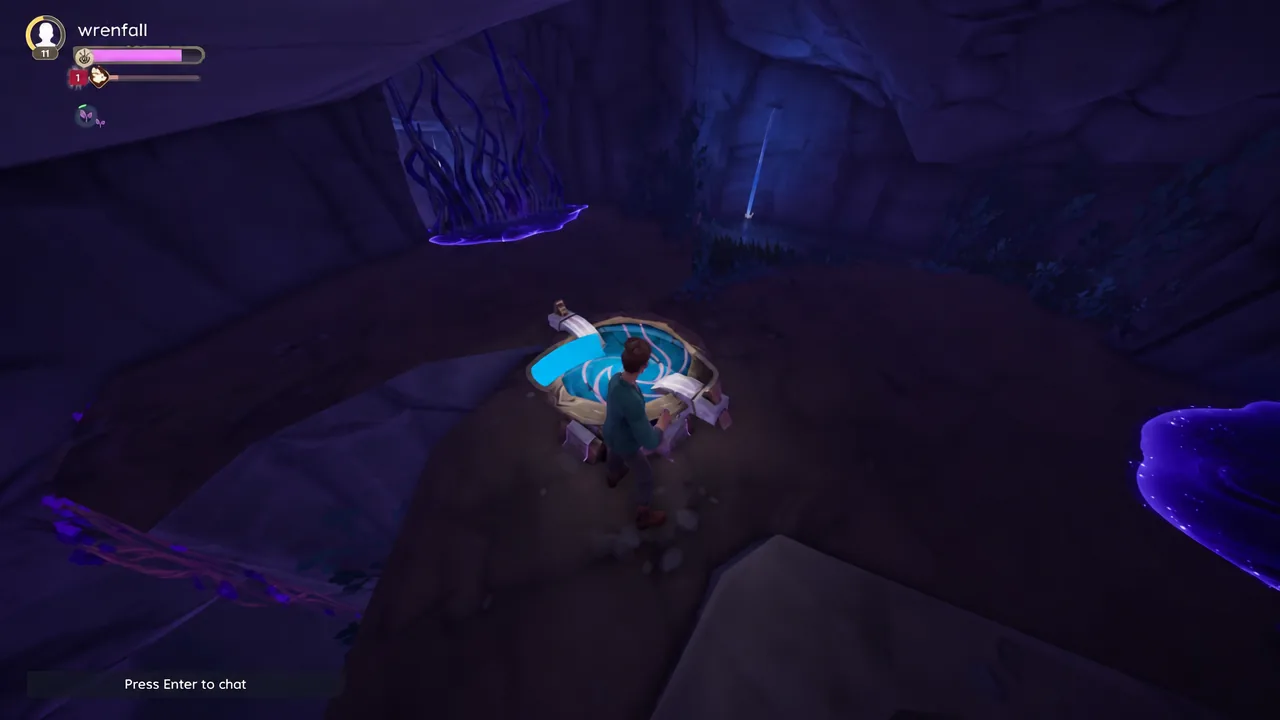
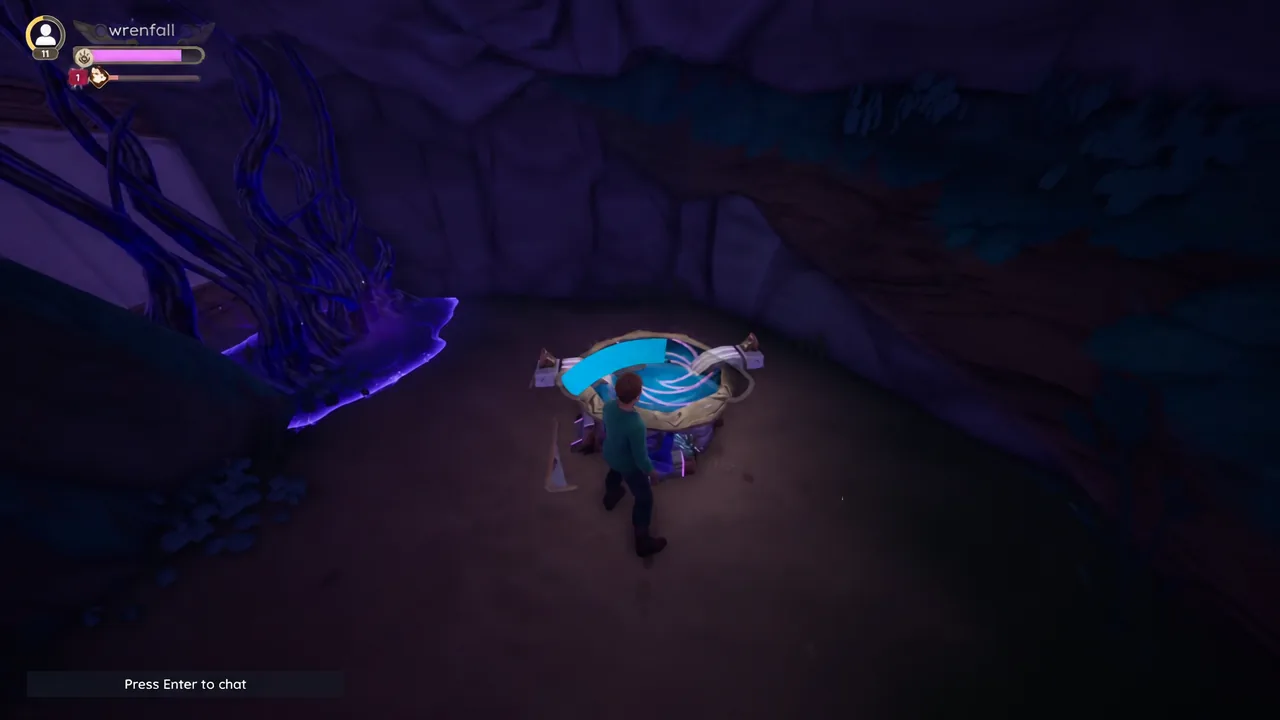
The glowing purple vines are not normal choppable clutter. Swinging at them without the buff does nothing, and the same aura is what pushes you away from the upper door when you first try to leave. Pouring water into one of the ancient stone basins infuses you with Flow and applies Flow touched, described in the buff tooltip as “Your touch repels Echo.”
The buff lasts 10 seconds and shows as a timer under your name and Focus bar. That is enough to clear one or two vine walls if you move immediately, so line yourself up before you water the basin. If the timer runs out mid-route, walk back to the nearest basin and refill it — every basin can be reused as many times as you need.
Note: keep your Watering Can topped up. There is a water puddle on the left side of the first room in the lair, and you will get a “You can’t refill your Watering Can here” message if you try to draw from a spot the game does not count as a water source.
Requirements and rewards
| Detail | What you need to know |
|---|---|
| Prerequisite quests | The Elderwood, The Nature of Shadows, and One Step Behind |
| How it starts | Automatically, once Tamala traps you in the Beast’s Lair |
| Tools required | Watering Can, Axe, Hoe |
| Objective chain | Find another way out → break the vines → reach the trapped boy → talk to Subira |
| Rewards | +20 Renown, +1 Enchanting Runestone |
| Unlocks next | Something Wicked |
The Enchanting Runestone matters later — it is a crafting component for Relics, so do not sell it.
Getting out of the Beast’s Lair
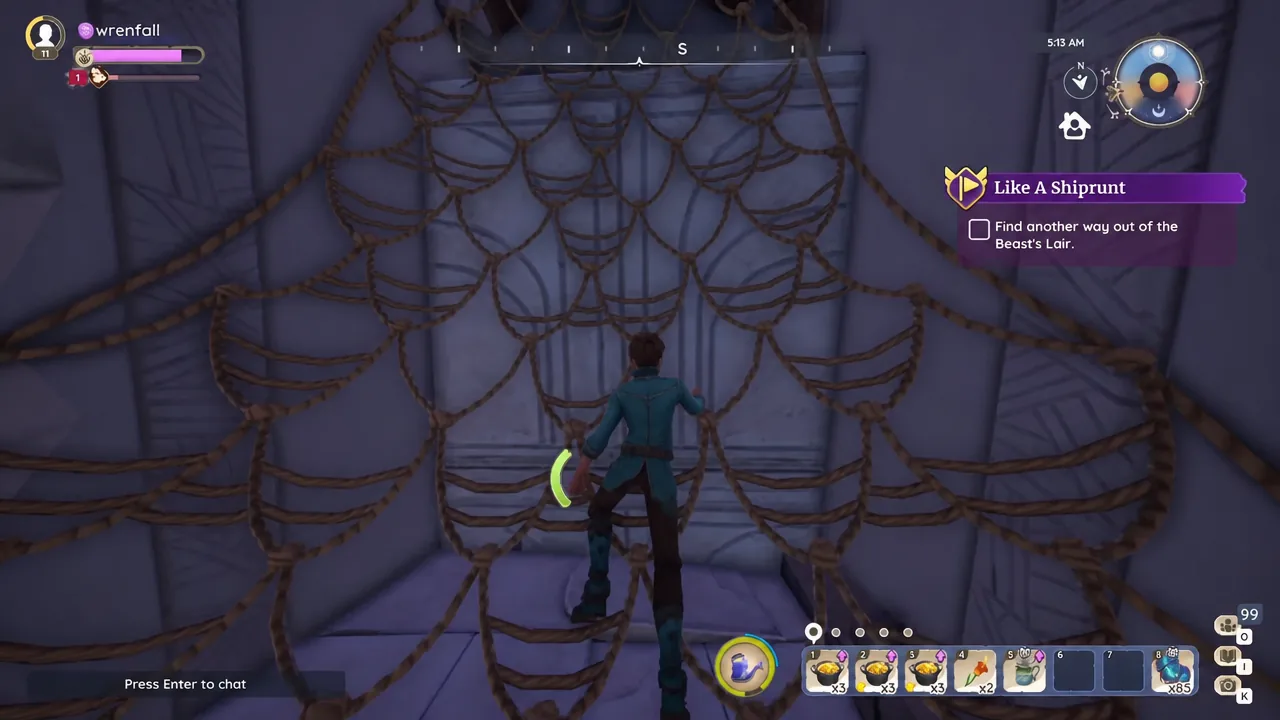
Mysterious Key location and the trap door
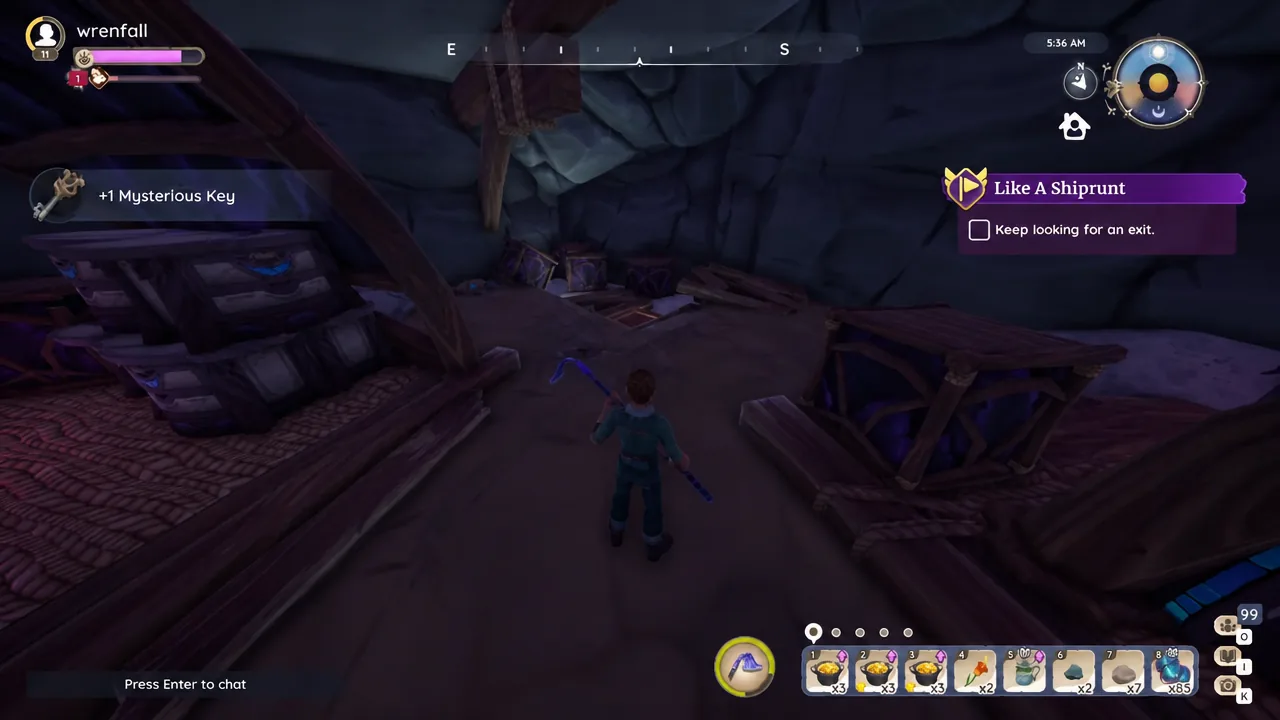
Hidden Cave route to the trapped boy
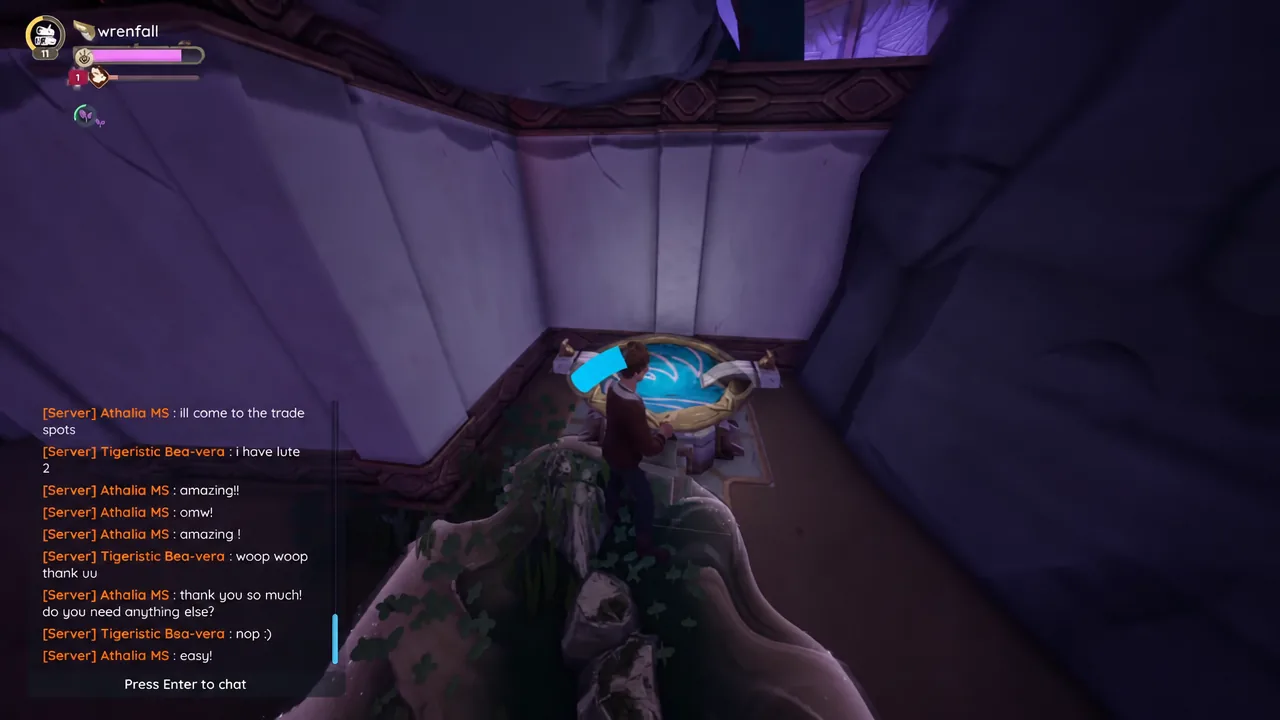
You get a first look at the boy from above as soon as you land — he is sealed behind vines with no exit. The cave below is built as a loop-heavy maze, and the wrong branches send you back to where you started or into a dead end with a climbing wall as the only way out. Nothing here can kill you, so a wrong turn only costs time.
Dead ends and loops to skip
| Fork | Correct choice | What the wrong branch does |
|---|---|---|
| First basin after the drop | Left vines | Right vines open a loop back to the start |
| Bottom of the first slope | Turn right immediately | Second slope returns you to the entry area |
| Basin after the climb | Left vines | Right vines end in a loop with a climbing wall |
| Following basin | Right vines | Left opening leads to a dead end and climbing wall |
| Maze section | Follow the red flower lighting | Unlit branches circle back on themselves |
Finishing the quest with Subira
Speaking to the freed boy starts the dialogue portion, and he gives his name as Ulfe — the missing kid Nai’o was worried about. Subira turns up mid-conversation, at which point Ulfe bolts, confirming how skittish Nai’o said he was. You are then moved out of the cave.
Talk to Subira outside on the cliff edge and run through the dialogue to close the quest. You will see the Quest Completed banner with +20 Renown and +1 Enchanting Runestone, and Something Wicked drops straight into your log with the objective to meet Subira back at the Elderwood Stables. There is no rush to start it, though completing it opens a new store and a unique reward.
If the vines will not break
- The Flow touched timer has already expired — walk back to the nearest basin and water it again.
- Your Watering Can is empty, so the basin never fills. Refill at the puddle in the lair’s first room.
- You are swinging the wrong tool. Vines need the axe, rummage piles need the Hoe.
- You are at the door instead of the vines. The door itself is not the obstacle — the vines behind it are what push you back.
Once the maze pattern clicks, the whole run takes only a few minutes, and the fountains make the route forgiving enough that you can afford to test a fork and back out. The real payoff is narrative — Ulfe is the thread that carries the Elderwood story into Something Wicked, and the Runestone in your bag is the first piece you will need for Relic crafting.