

The back half of “Slice the Lucrehulk Databank” turns into a footrace. Once the escape phase starts, the platform you are standing on begins disintegrating from the rear, and the mission counter switches to ESCAPE! 0/4. There is no version of this fight where you clear the map first and leave at your own pace — the map leaves without you.
Quick answer: Move two to three operators forward every single turn, use Tel-Rea Vokoss’s PUSH III and PULL to throw blocking droids off the platform edges, spend PICO-5 and COMBAT STIM III on extra AP for movement rather than shooting, and get all four squad members into the yellow escape zone at the far end.
The escape objective and what fails it
The success condition is simple and absolute. All four operators — Tesh Hawks, Tel-Rea Vokoss, Jae Mordant, and Typhon — have to reach the marked escape zone. Killing droids does nothing for the objective counter. It only matters when a droid is physically standing between you and the next stretch of platform, or when its Overwatch cone would eat an operator mid-sprint.
The failure condition is the strafing. Anyone left inside a targeted zone when the Vulture droids open up takes lethal damage regardless of how many injuries that operator is currently carrying. This is not chip damage you can heal through with MORALE BOOST IV afterwards. It ignores your health cushion entirely.
How the Vulture strafing runs work
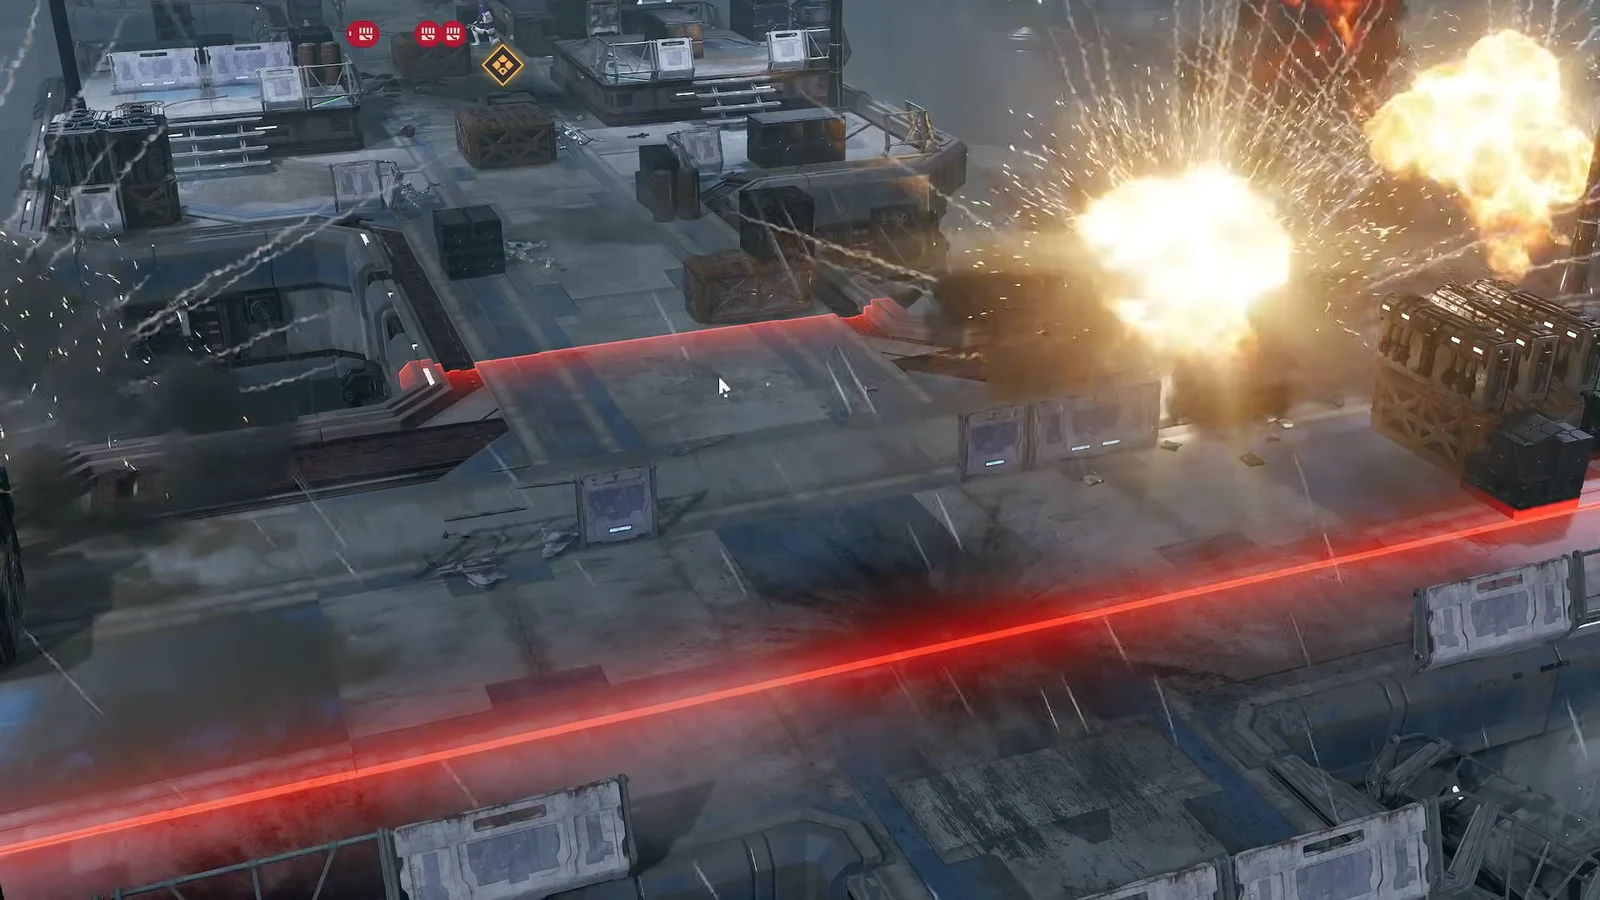
The mission spells the rule out on screen under the banner VULTURES IN THE SKIES: Vulture droids strafe the battlefield with heavy lasers, and the game tells you to keep the squad moving to the exit before it is too late. In practice, the flight comes around on a fixed rhythm, marks the rearmost band of the platform in red, and then deletes it. Across a full run you should expect roughly eleven of these passes before the exit is in reach.
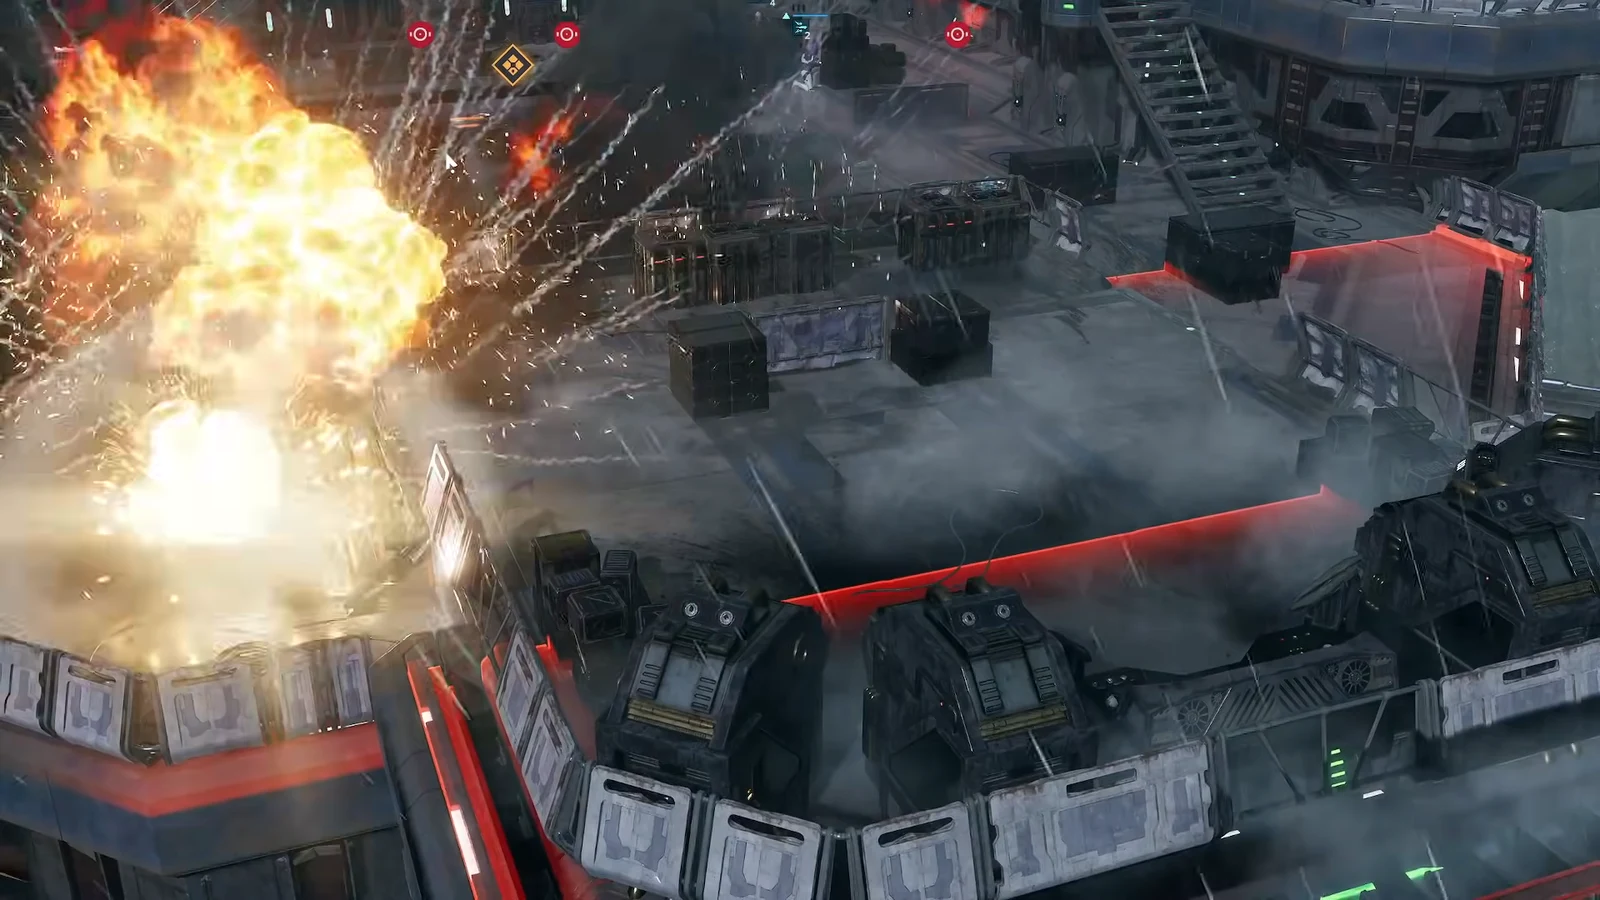
Because the destroyed ground never comes back, every turn you spend holding position is ground you permanently lose. The safe interpretation is that the red band is already gone. Treat the tile behind you as deleted the moment it lights up, and plan your movement from the front of the squad rather than the back.
Use Push III and Pull to clear the lane
Tel-Rea Vokoss is the reason this mission is survivable at a sprint. The platform is narrow with open edges on both sides, which means PUSH III and PULL are not repositioning tools here — they are instant kills. A droid shoved off the side is removed immediately, at no ammo cost and without the accuracy roll a blaster shot would need.
Lead with Tel-Rea nearly every turn. Push the unit that is physically blocking your route, not the one with the lowest health. On turns where the lane is already clear, PULL is the better option for dragging a COIL BX DROID SNIPER out of its perch and over the edge, since snipers are the units most likely to punish you for running in the open.
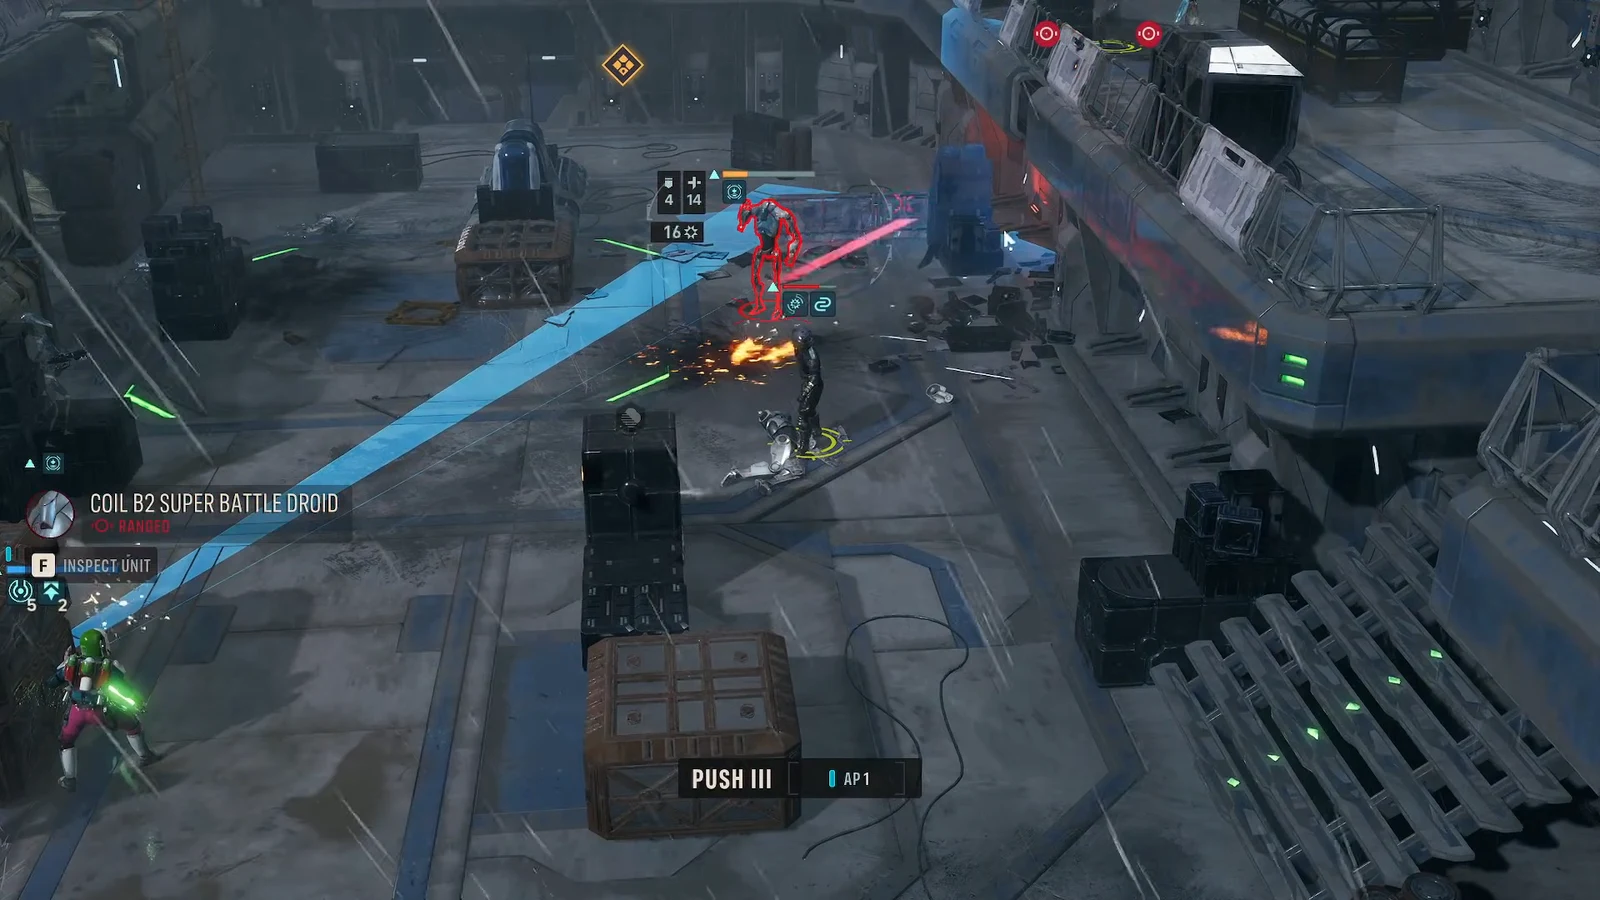
Tip: when two enemies are stacked near the same edge, Tel-Rea can chain pushes in consecutive actions on the same turn, which clears a choke point in one go instead of two.
Enemies on the platform and how to handle them
| Enemy | Fastest answer |
|---|---|
| COIL B1 BATTLE DROID | Push or pull off the edge; otherwise a single blaster volley clears it. |
| COIL B2 SUPER BATTLE DROID | Push off the edge. Shooting it down costs more AP than you can spare. |
| COIL BX DROID SNIPER | Highest priority. Pull it off the platform, or push it back out of firing position. |
| COIL SEER | Push over a ledge, or focus it with AMBUSH II plus blaster fire. |
| COIL SCOURGE | Push off the edge, usually alongside a Seer at the same choke point. |
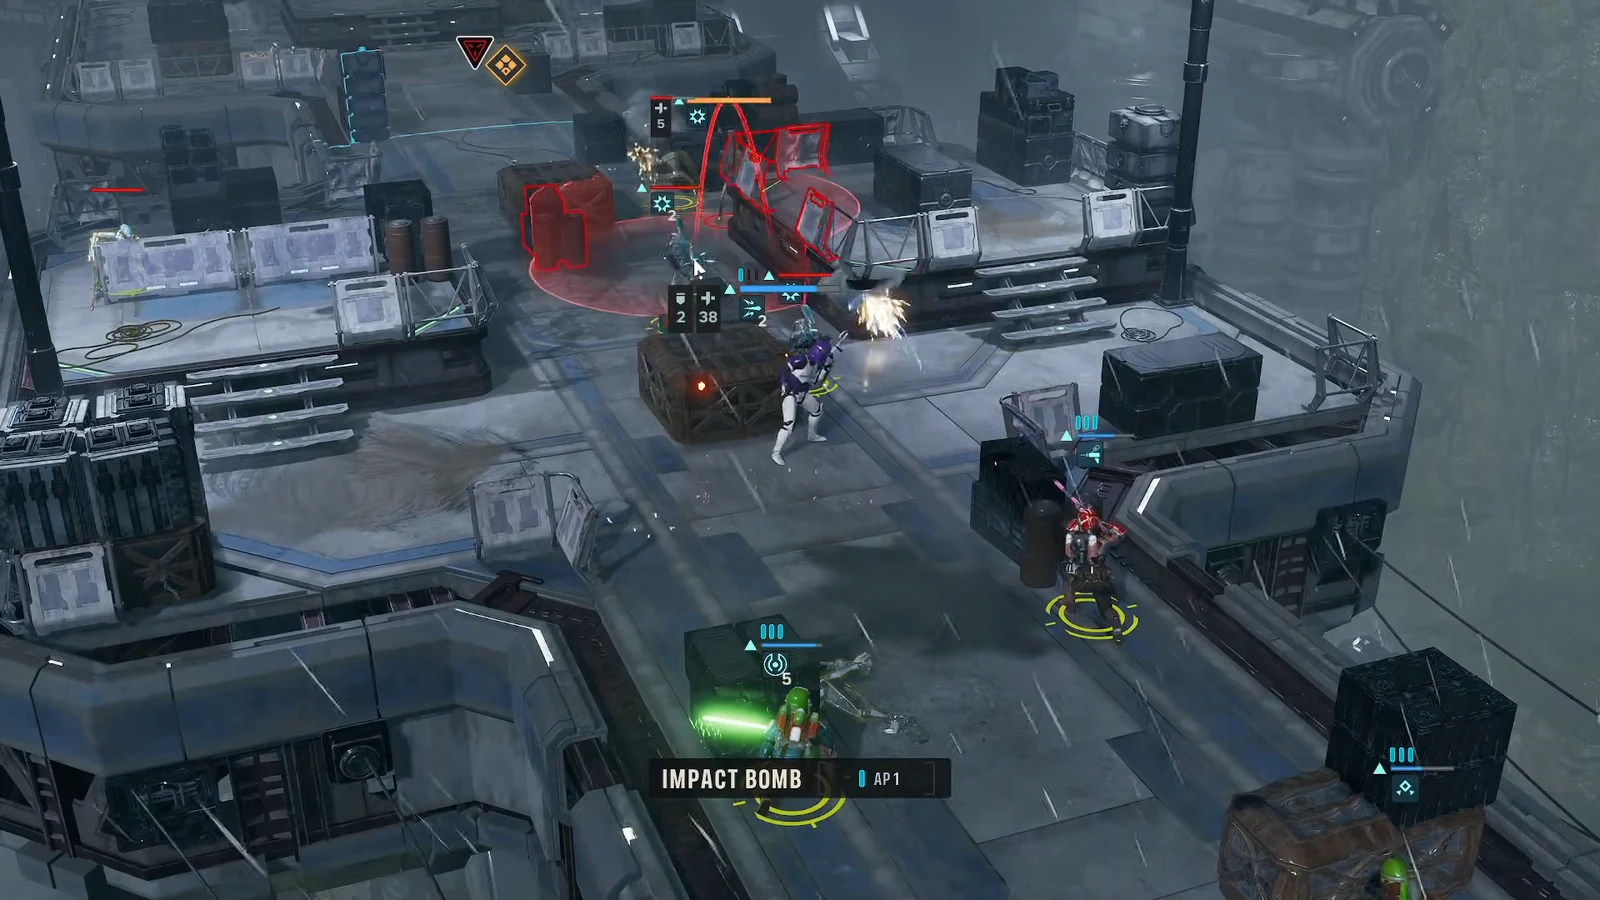
Groups are the exception to the “don’t fight” rule. When three or more droids are bunched behind cover, an area attack is cheaper than pushing them one at a time. Jae Mordant’s IMPACT BOMB can take out a pair in one throw, and ROCKET STRIKE II covers a wider cluster. Red explosive barrels scattered along the route do the same job for the cost of a single shot.
Turn loop for staying ahead of the collapse
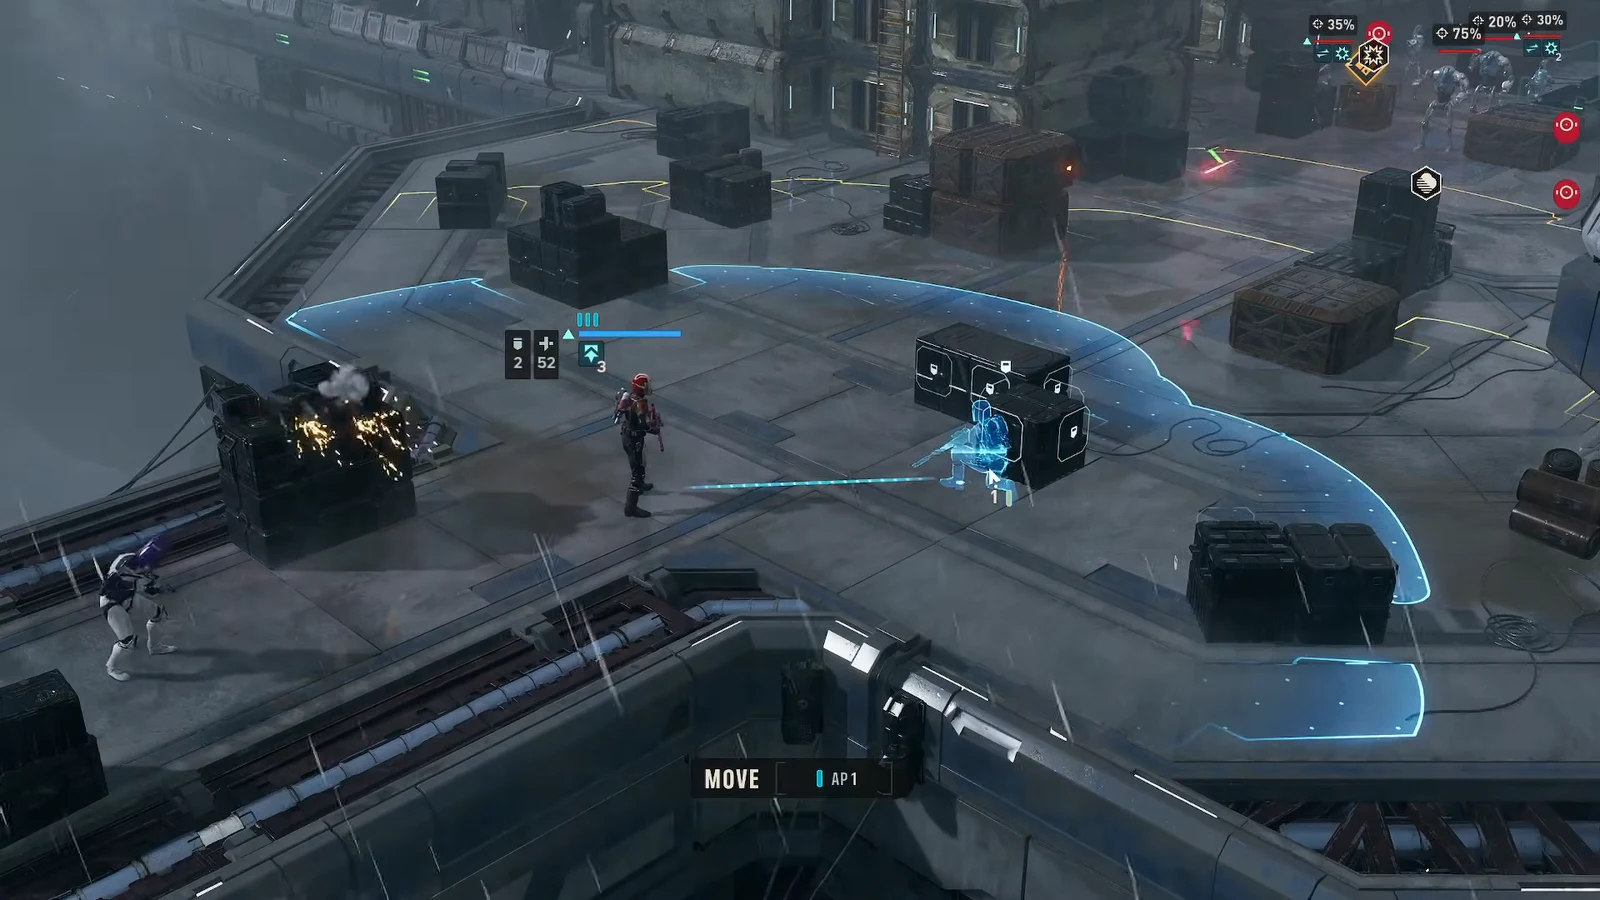
How to confirm the escape completed
The counter in the objective panel is the confirmation. It starts at ESCAPE! 0/4 and ticks up as each operator enters the zone. When it reads 4/4, the mission resolves immediately — you do not need to end another turn or clear the remaining droids.
If it stalls, there are only two realistic causes. Either an operator is standing next to the zone rather than inside it, in which case the counter simply has not registered them, or someone is short on AP because it went into attacks earlier in the turn. Check the movement range on each remaining unit before you hit END TURN, since ending a turn with a straggler still in the rear band is how squads get caught by the next strafing pass.
The wider lesson carries into the rest of the campaign. Extraction objectives in Star Wars Zero Company punish the Overwatch-heavy, hold-the-line habits that work so well on supply run missions. Here, momentum is the whole strategy, and Force abilities that remove enemies without a fight are worth more than any amount of damage output.





