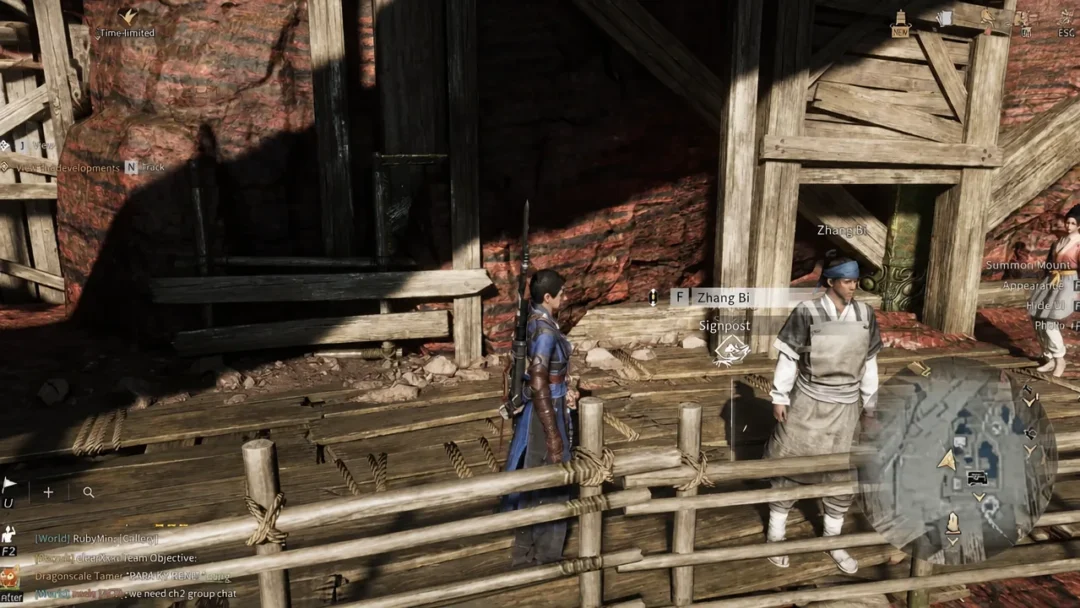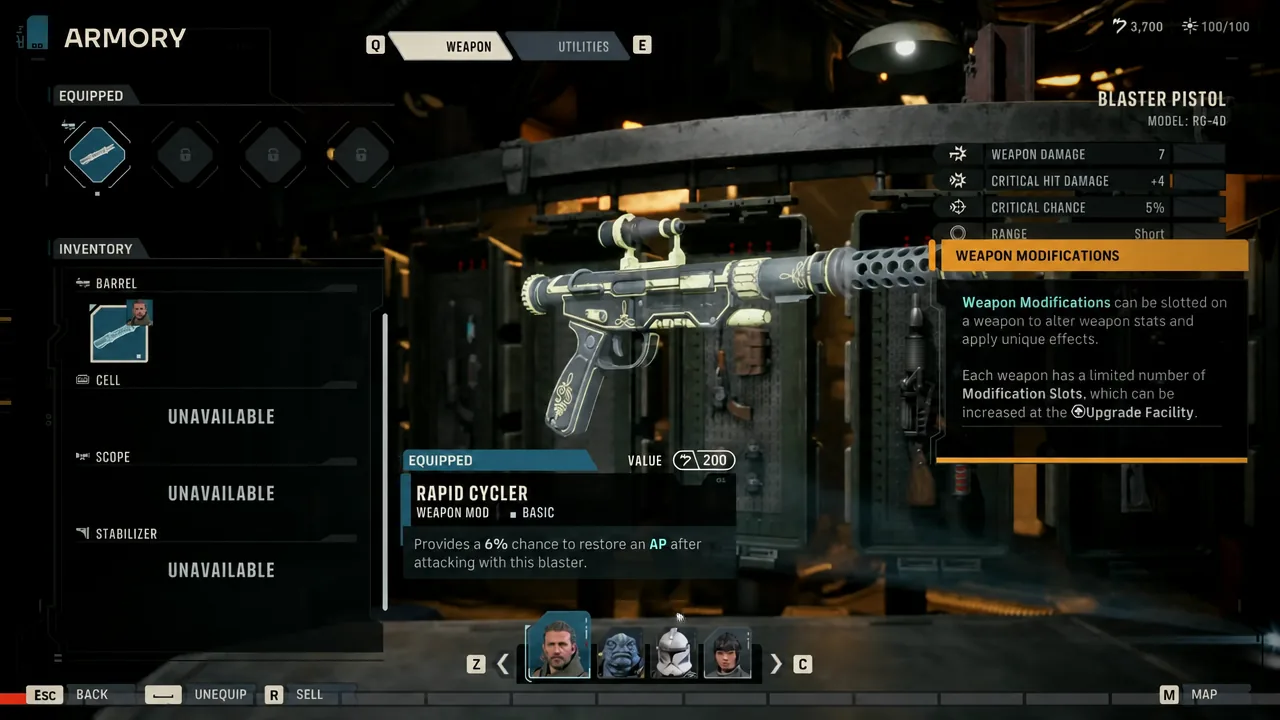
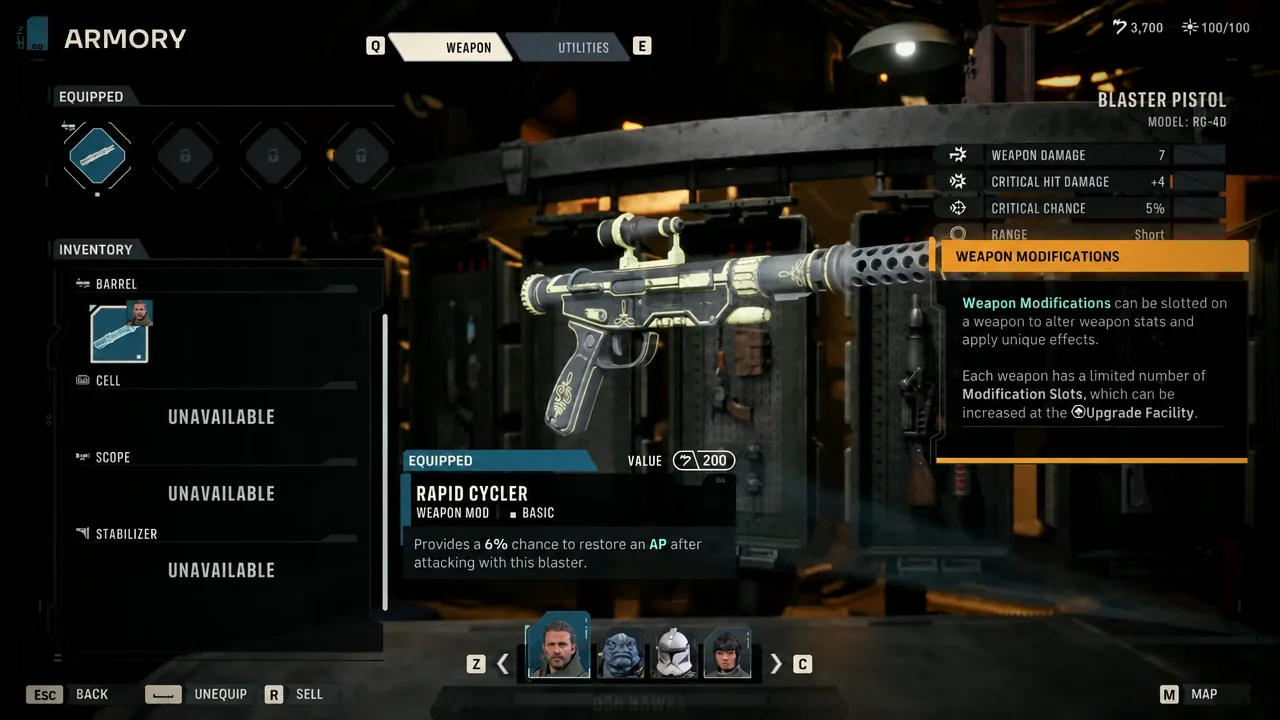
Every fight in Star Wars Zero Company comes down to fixed numbers behind each status effect. Cover, injuries, crowd control, and droid rules all follow set values that never change mid-mission, so once you know them you can predict whether a shot lands, how much damage gets through, and when an enemy is safe to ignore. What follows are the exact rules for each combat state and how to use or counter them.
Quick answer: Cover subtracts 35% hit chance and is fully negated by flanking; each injury subtracts another 10% and the third injury kills an Operator permanently; Burning and Ray Shields ignore normal defense math entirely.
Cover, flanking, and Exposed targets
Cover applies a flat -35% penalty to the attacker’s hit chance. It is not a partial dodge or a random block. Flanking removes that penalty completely, so moving a unit to a firing angle where cover no longer counts restores your full hit chance in one action.
Targets standing in the open are Exposed. Exposed units take bonus flanking damage, which makes forcing enemies out of cover, or catching them before they reach it, one of the strongest opening moves you have.
Injuries and permadeath
Injuries stack against an Operator’s accuracy. Each injury a unit carries subtracts 10% from its hit chance, and the penalty is cumulative, so a wounded Operator hits far less reliably than a fresh one.
The third injury is fatal. An Operator who takes a third injury dies permanently for the rest of that campaign, which is why pulling a twice-injured unit out of the line of fire matters more than squeezing out one extra attack.
Accuracy and movement debuffs
Two of the most common negative states reduce either accuracy or mobility. Disoriented cuts a unit’s hit chance by 20%. Shocked cuts its movement speed by 50%, which limits how far the affected unit can reposition on its turn.
How defense works and how Scanned breaks it
Defense is flat damage reduction, not a chance to avoid a hit. Every point of defense removes damage from an incoming attack, so lowering it directly raises the damage you deal.
Scanned is the tool for that. A Scanned target loses 4 defense and grants attackers a +20% hit chance. Defense penetration works the same way, cutting through the flat reduction so your damage lands closer to its base value.
Burning ignores defense entirely
Burning bypasses defense completely. Each stack deals 1 damage every time the affected unit takes any action, and none of that damage is reduced by defense. Because it triggers on actions rather than only on turn start, stacking Burning punishes enemies that keep moving and attacking.
Two ways to force a critical hit
You can guarantee a crit from either side of the attack. Vulnerable is a debuff placed on an enemy that guarantees a critical hit on the next attack against them. Vicious is a self buff that guarantees a critical hit on the buffed unit’s next attack. Both reach the same result, so pick whichever fits the unit you have ready to act.
Crowd control limits: Dazed, Stunned, and Stun Resistance
Control effects cannot be chained indefinitely. Dazed and Stunned differ in how much they lock down, and both trigger a resistance once they wear off.
| Effect | What it blocks |
|---|---|
| Dazed | Cannot attack, but can still move and use non-offensive actions |
| Stunned | Locked out of all actions |
| Stun Resistance | Applied when Dazed or Stunned ends; blocks further daze or stun for the rest of the battle |
Because Stun Resistance kicks in the moment the control expires, you cannot keep an enemy locked forever. Plan to finish or heavily damage a target during its single window of control.
Stacks you lose by moving
Some buffs vanish the instant a unit moves or is knocked back. Lethal and Smoke are both in this group, so hold position to keep them active.
| Buff | Effect per stack | Lost on move/knockback |
|---|---|---|
| Lethal | +5% hit chance, +3% crit chance | Yes |
| Smoke | -10% ranged hit chance for attackers targeting you | Yes |
Note: A knockback from an enemy strips these stacks just as surely as your own movement, so consider positioning and enemy push effects before committing.
Taunt and target control
Taunt forces enemies to attack the unit that applied it. A taunted enemy cannot pick a softer target, so a durable Operator can pull fire away from wounded allies and control where the damage goes.
Buffs worth tracking
A handful of positive effects change the math on health and damage over time.
| Buff | Effect |
|---|---|
| Morale | Restores 2 health per stack at the start of each turn, using up 1 stack per turn |
| Stimulant | +2 range and melee damage, +8 maximum health |
| Retaliation | Strikes back at attackers |
| Sharpened Senses | Improves the unit’s combat awareness |
| Machine Learning | Droid-focused improvement over time |
Droid rules: repair, not healing
Droids do not follow the same recovery rules as organic Operators. Medpacs and medics cannot heal them, since a Medpac heals 30% of an ally’s health but explicitly cannot be used on droids. Droids must be repaired instead, and they take heavy extra damage from Ion attacks. Save your Ion sources for droid-heavy fights and keep repair options ready for your own astromechs.
Your defensive stack
Several defensive states each answer a specific type of threat. Knowing which one is active tells you exactly what the next incoming attack will do.
| State | What it does |
|---|---|
| Evasion | Automatically evades the next incoming attack |
| Invulnerable | Blocks all damage from the next attack |
| Impervious | Temporary immunity to all negative status effects |
| Immovable | Immunity to push and pull effects |
| Deflection | Deflects incoming fire |
Enemy traits that break your rules
Some enemies carry traits that ignore the systems you rely on. Recognize these before you commit a plan built around cover, flanking, or raw damage.
| Trait | Effect |
|---|---|
| Relentless | Ignores cover entirely and cannot be Exposed |
| Ray Shield | Blocks all damage until depleted, then recharges 50% of its lost strength each turn |
| Plague Armor | Reduces all incoming damage by 50% |
Ray Shield in particular resets your progress if you stop hitting it, since it recovers half of what it lost each turn. Concentrate fire to drop the shield in one sustained push rather than chipping at it across several turns.
Keep the three most decisive rules front of mind during every mission. Flanking erases cover, the third injury is permanent, and Burning plus Ray Shields sidestep normal defense math. Once those are second nature, the rest of the status effects slot into a predictable system you can plan around turn by turn.