Stalker 2: Cost of Hope – How to Get the Water Drop Artifact in Dangerous Way
The exact route to rescue Barque's trapped squad and grab the artifact that lets you cross Mercury anomalies.
The exact route to rescue Barque’s trapped squad and grab the artifact that lets you cross Mercury anomalies.
by AllThingsHow Staff · Edited by Pallav Pathak
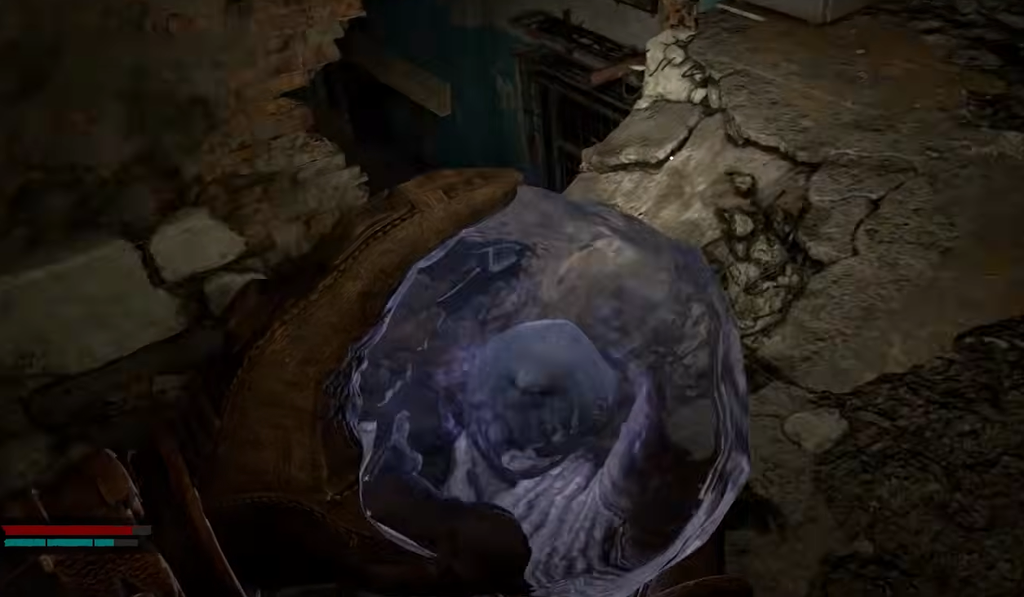
The Water Drop artifact is the key item in the Dangerous Way mission of Stalker 2: Cost of Hope. Without it, Skif cannot cross the silver Mercury anomaly that seals off the trapped Freedom squad, the C-4 charge, and the path to the monorail. The artifact lets you walk straight through Mercury walls, opening rooms that are otherwise blocked.
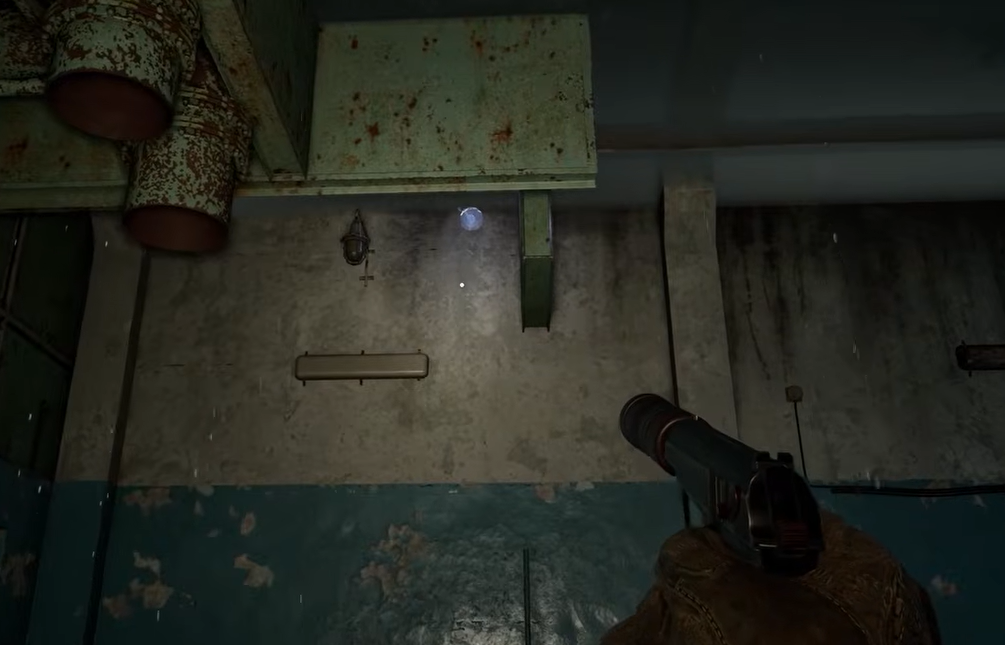
Quick answer: Reach the missing group behind the cracked wall to get the storeroom key, unlock the barred door in the shooting range, climb the ladder and cross the pipes, then shoot the floating Water Drop like a pinball until it lands near the stacked equipment cases. Climb the cases, grab it, and equip it from your backpack.
Image credit: GSC Game World
Mission requirement: You must have sided with Mavka
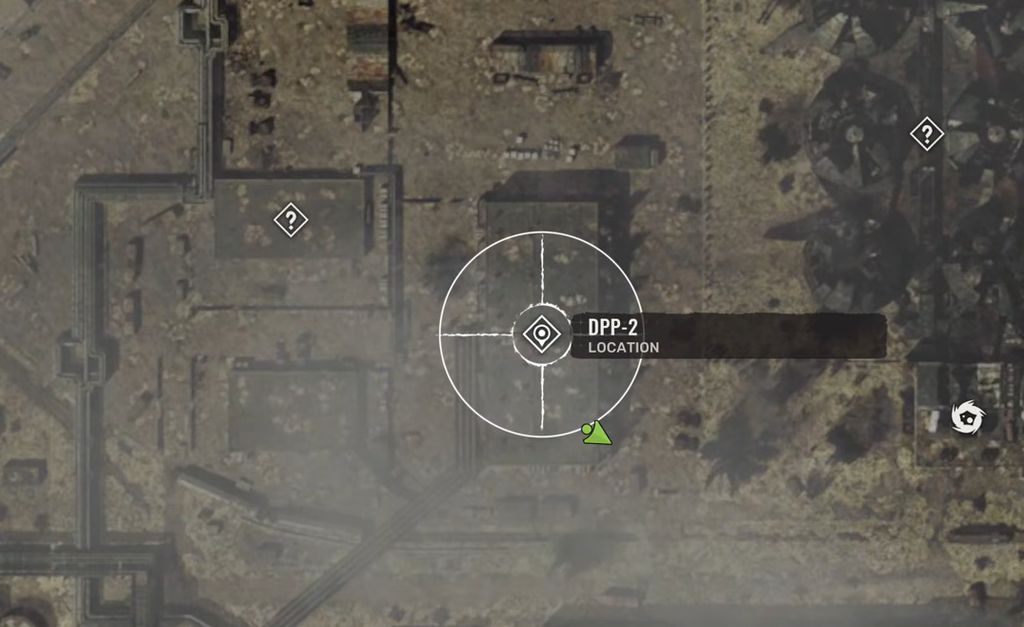
Dangerous Way is a Freedom Route main mission, and it only becomes available if you chose Mavka during “The Destructive Power of the Mind.” That choice is locked in by answering “Zulu, you’re wrong” during that mission. If you took the Duty route instead, Dangerous Way never appears, and the Water Drop is found separately in the DPP-2 building in the CNPP region, west of the Water Treatment Plant.
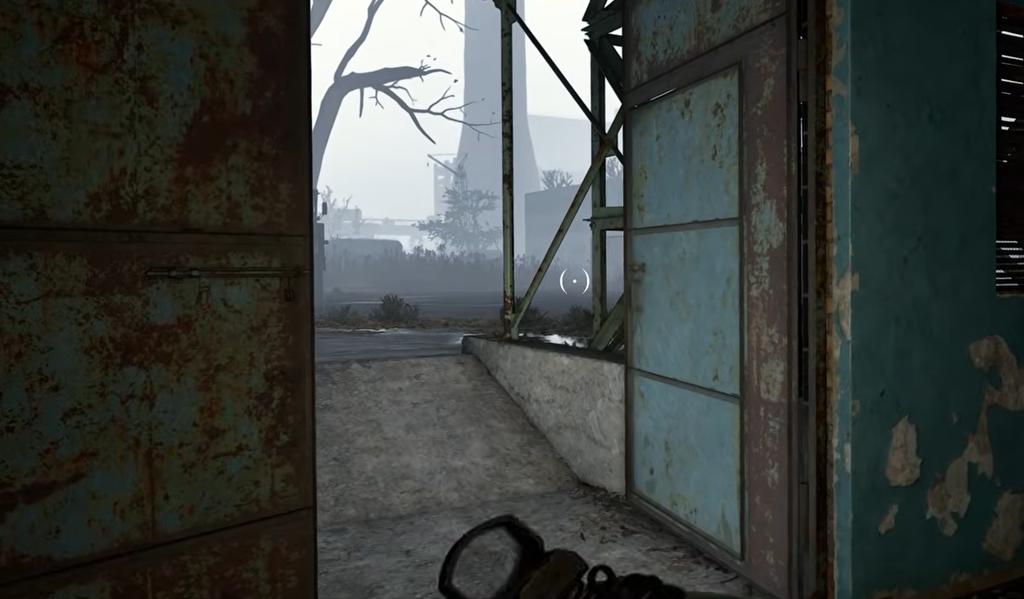
The mission begins after you leave Rostok at the end of Status Quo, when Mavka calls you. Head to the Abandoned Tunnel near the Underpass Exit to start.
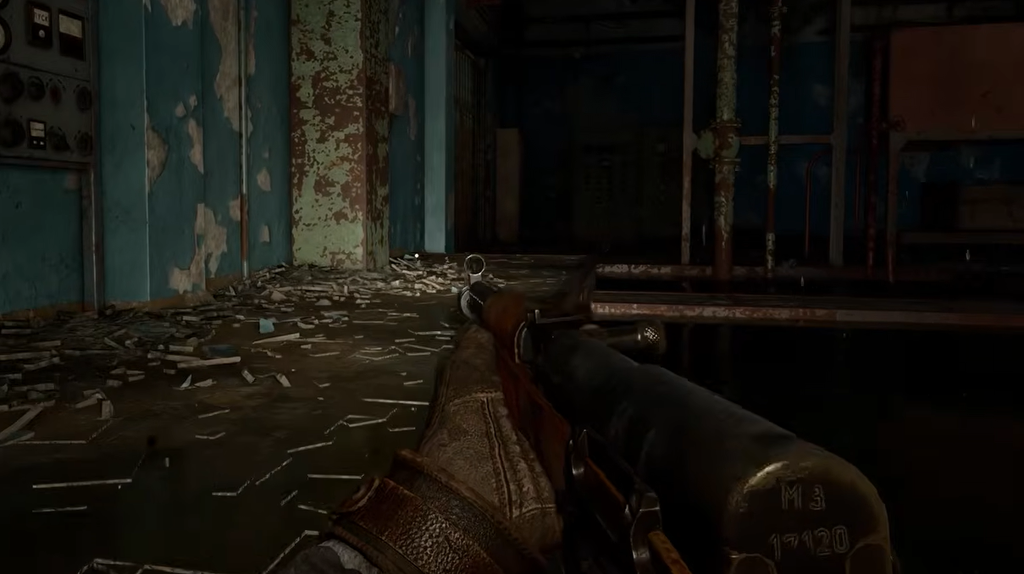
Head north to the utility room and enter the vent. Disarm the tripwire inside the passage to safely reach the far side, where a corpse holds a lootable Kora-1911.
After dropping out of the vent, you land in an area full of fuel tanks and tripwires. Disarm the tripwires and clear the swarm of rodents, then climb the wooden pallet and crate by the blocked door. Watch for another tripwire hidden behind the crate.
Cross the pallets to reach two horizontal wooden planks. Shoot both to break them, disarm the tripwires they were hiding, then climb through the window.
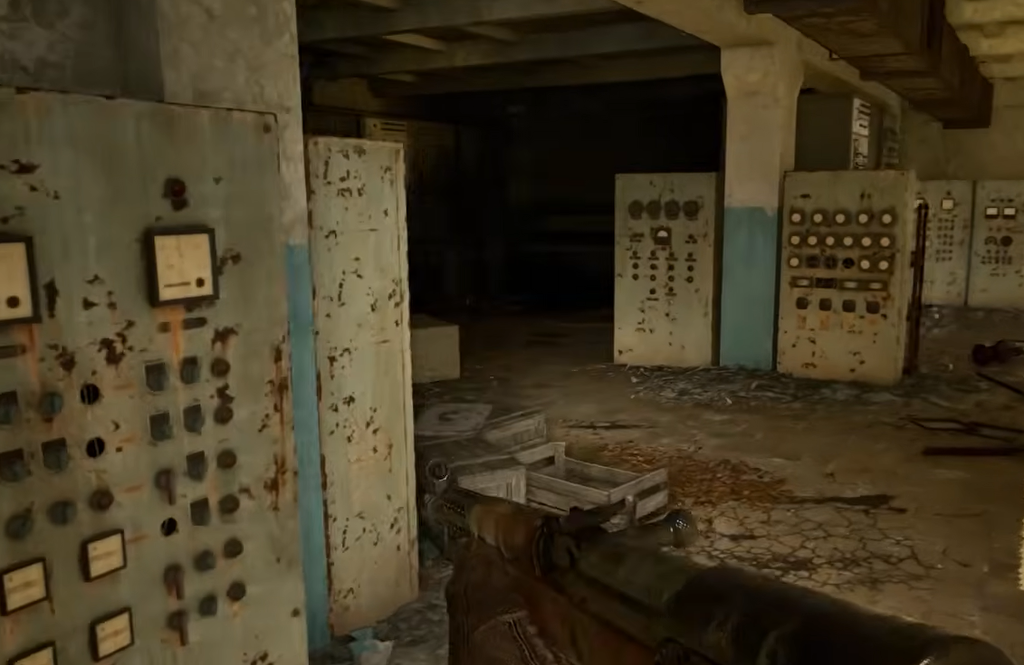
You reach an electrified section. The EMP effect kills your flashlight and NVGs, so you move in the dark. Throw a Bolt at the electric currents to clear a safe path, then continue to the lit area.
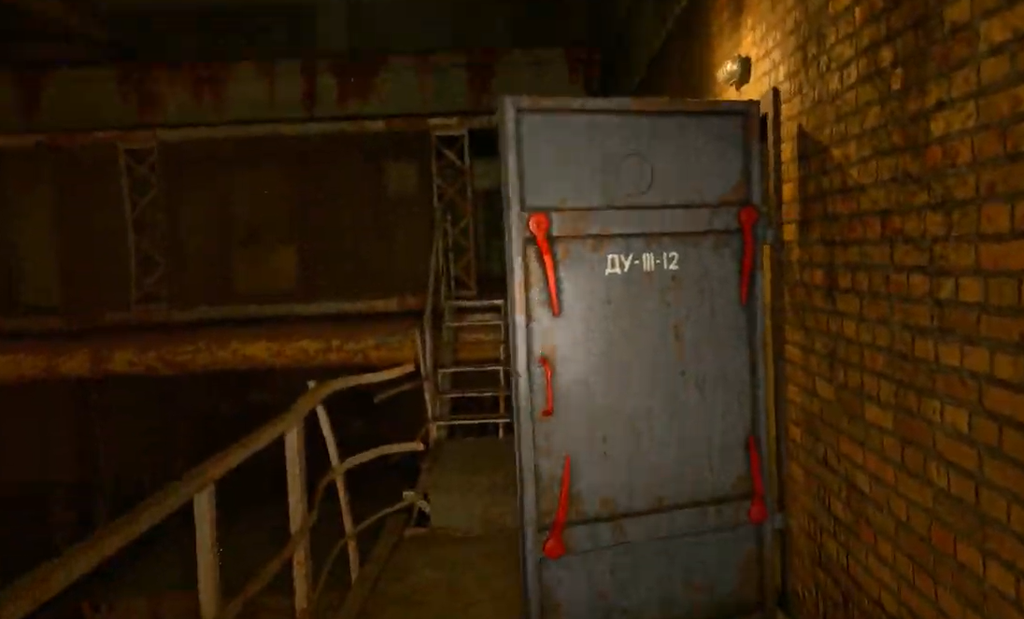
Exit south past the bulkhead door into a Mercury-filled area. The Mercury pulls you toward it. If it latches on with tendrils, shoot the base of each tendril to break free, and avoid stepping in Mercury puddles on the floor. Move toward the southwestern part of the area.
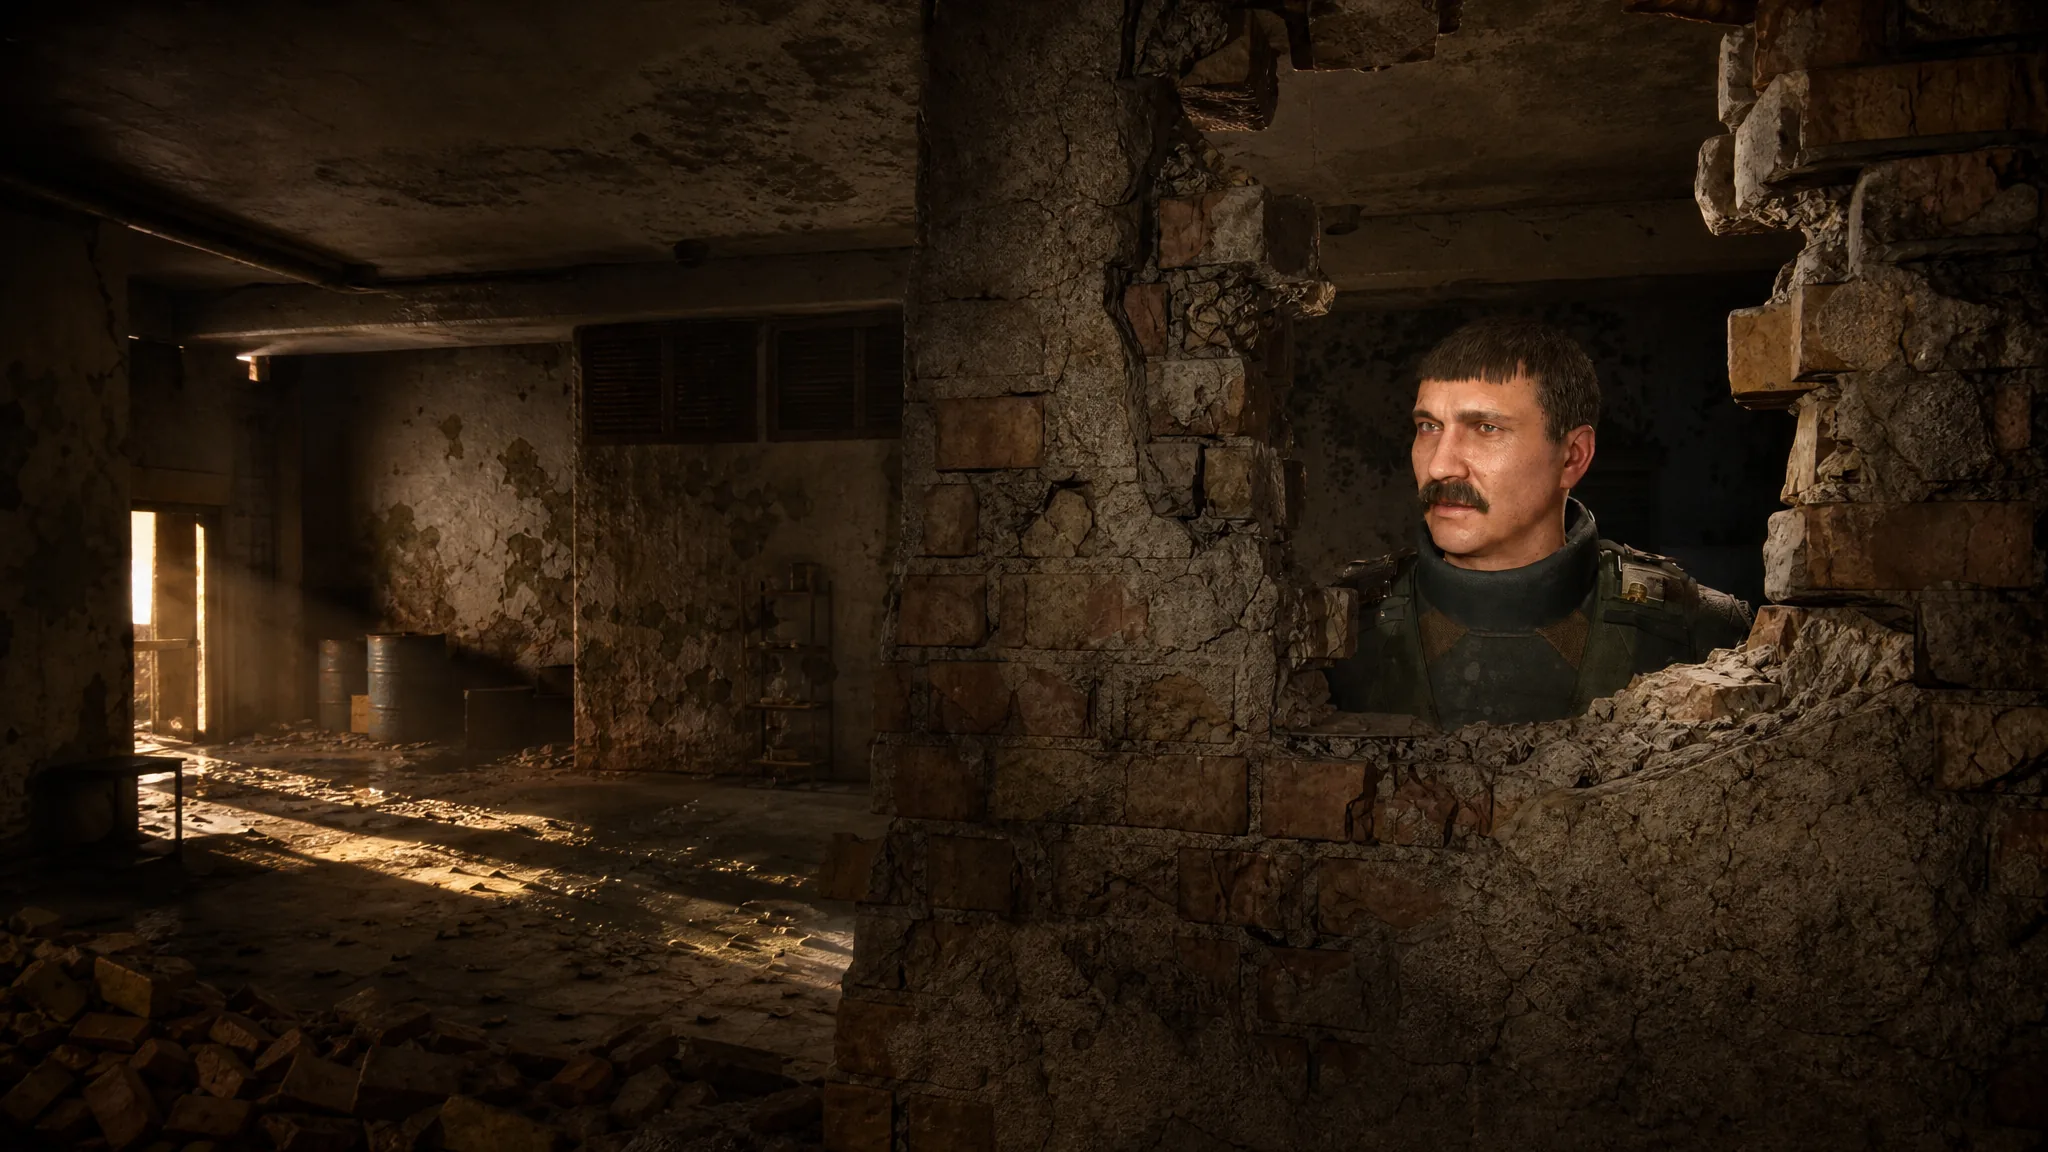
Follow the voice calling for help to a cracked wall. Interact with it to meet Keel and Vanko. They explain that you need an artifact to cross the Mercury and reach the explosives, and they hand you the storeroom key.
Climb the ladder to the upper floor. At the end of the corridor, climb the stacked boxes and get onto the pipes running along the ceiling. Walk across the pipes, jump the gap, and enter the open door on the left.
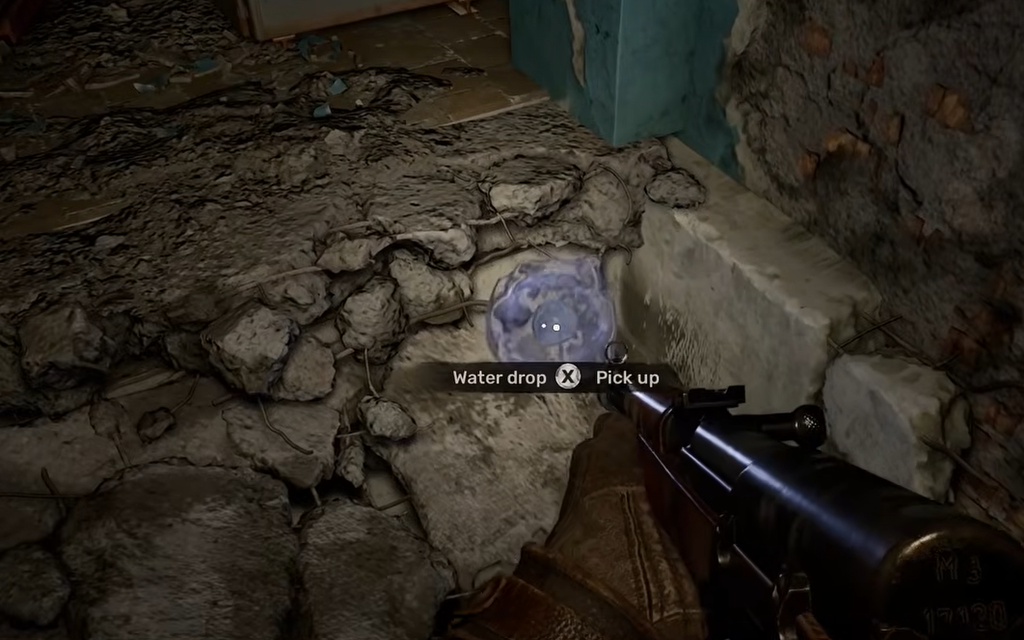
Inside, the Water Drop floats near the ceiling by the wall. You cannot reach it by jumping. Shoot it to knock it around the room, bouncing it off the vents like a pinball.
Open your backpack (inventory) menu and equip the Water Drop. You will know it worked when you can walk through Mercury walls without being pulled in or damaged.
With the artifact equipped, you can backtrack to the shooting range to reach a locker room. The code found in the lockers opens a room containing a Liberty Exoskeleton.
In the same room, pass through the Mercury wall on the left to enter a back office. Climb the boxes against the wall to reach the open ventilation duct above.
Follow the vent until you drop into the warehouse, another room flooded with Mercury. Move through the Mercury walls until you find the C-4 Charge resting on a crate next to a PSZ-12V Bulat armor. Grab the charge.
Return to the cracked wall where the group is trapped. Plant the C-4 on the wall and shoot it to blow an opening. Enter and talk to Keel, who can also repair your gear.
Image credit: GSC Game World
Activating the monorail and escaping
To get the monorail activation key, you can either fight Keel and Vanko or tell them you will all escape together. Sparing them is the better choice, since they will fight alongside you afterward.
Head to Myklukha’s Office, passing through the Mercury near the truck. Clear the enemies in the next area, go upstairs, and enter the door to confront Hundo. During the conversation, Barque shoots Hundo and turns on you. Kill Barque, then choose to spare Keel and Vanko again so they help in the firefight.
Use the laptop on the nearby desk to activate the monorail. Exit through the south, fight through the remaining Mercury blockades and enemies, and reach the monorail area where Mavka is waiting. Interact with the driver’s cab door to trigger the ending cutscene and complete the mission. Completing it awards 18,000 Coupons on Stalker difficulty.
Image credit: GSC Game World / Gaming Tornedo
Water Drop artifact stats
Beyond letting you cross Mercury, the Water Drop is a movement and carry-weight artifact rather than a defensive one. It carries a radiation penalty, so pair it with radiation protection if you keep it equipped.
Effect
Value
Weight Effect
3
Endurance
3
Radiation
3
Inventory Value
42,000 Coupon K
Selling Price
15,122 Coupon K
Prices match Rookie and Stalker difficulties. On Veteran difficulty, the selling price drops by 50 percent.