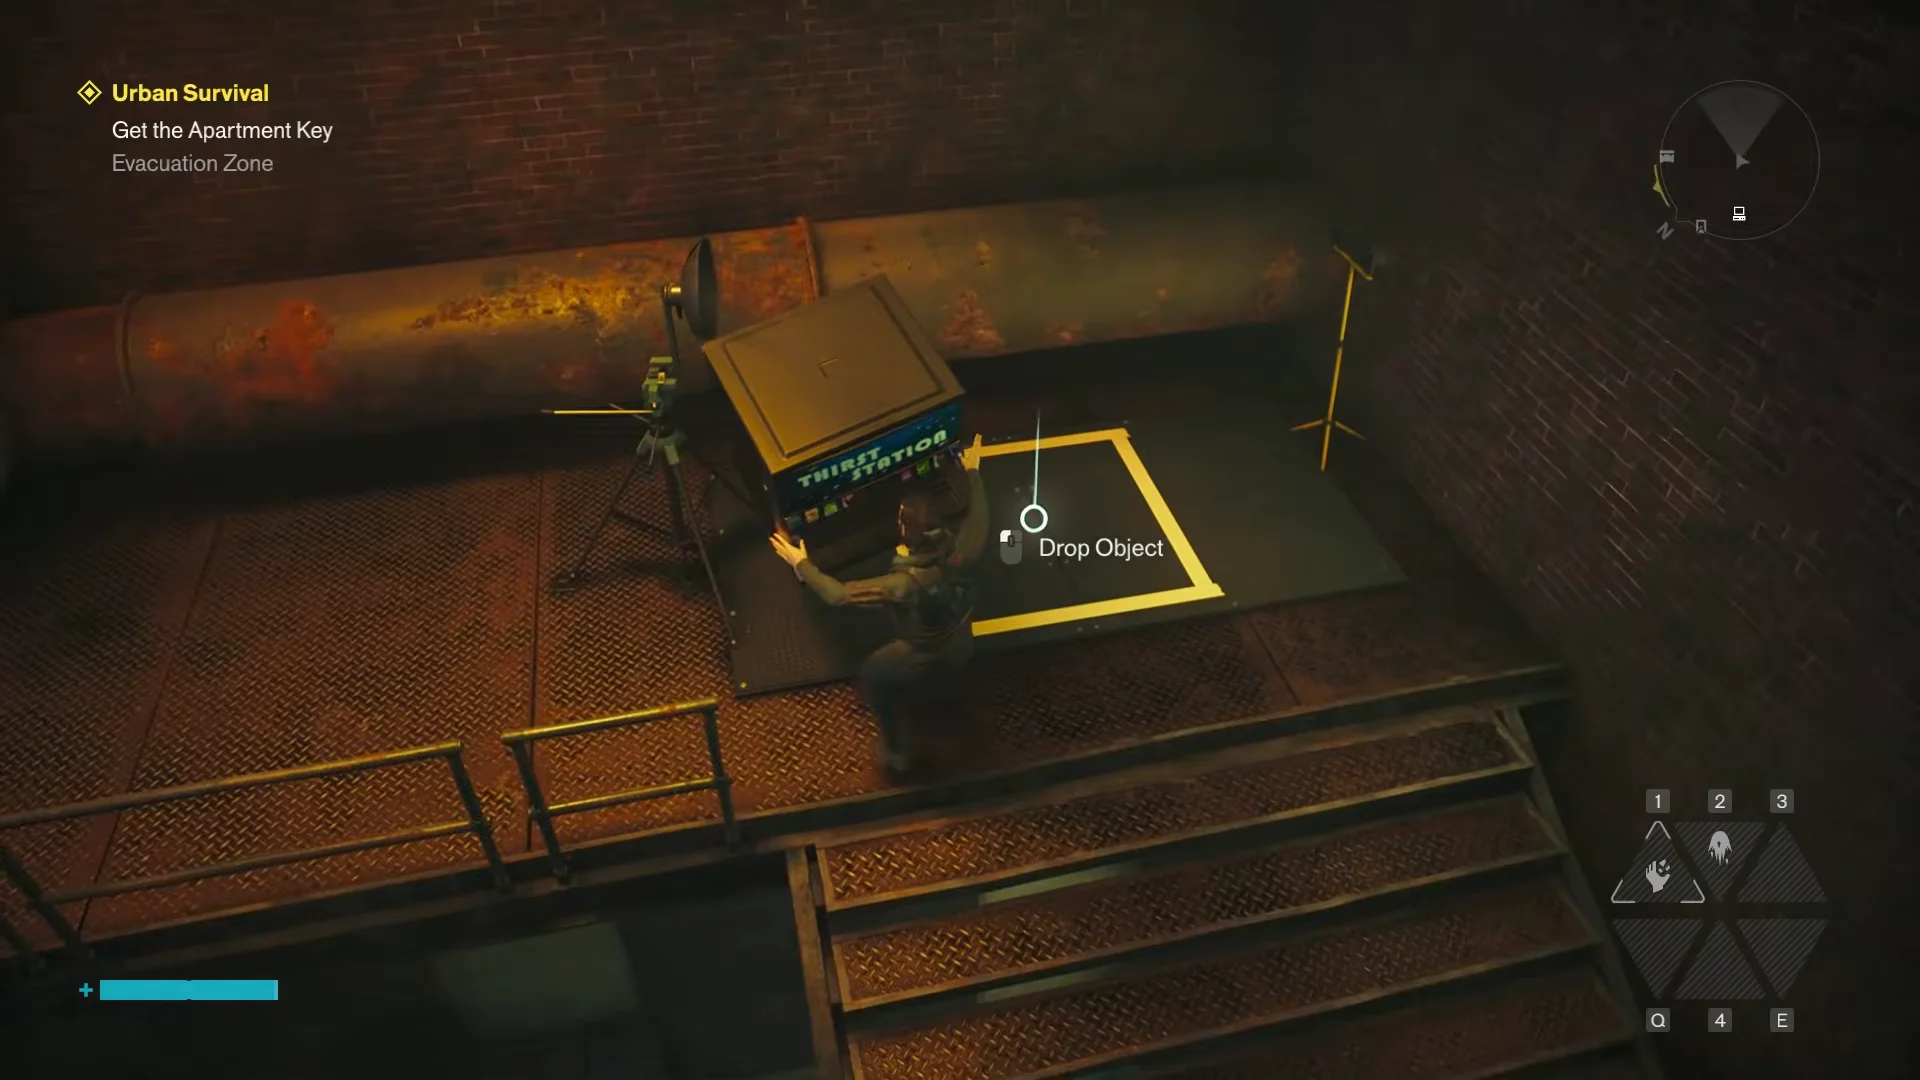
Testing Facility Pearl hides an underground puzzle room that blocks progress on the Unsupervised Science side quest until you reset the room to its default state. The catch is simple to describe and fiddly to execute. Every object scattered around the room is in the wrong shape, and the control lever will not respond until each designated zone holds a soda dispenser.
Quick answer: Turn each of the five shifting objects into a Thirst Station soda dispenser, put one on every yellow square, then pull the control-console lever to begin the shutdown.
Reach Testing Facility Pearl in the Evacuation Zone
In the south of the Evacuation Zone, the facility is immediately next to the Survivalist’s Bunker fast travel point. Warp there, descend through the nearby open hatch, then follow the large corrugated drainage pipe downward. It brings you directly into the testing facility.
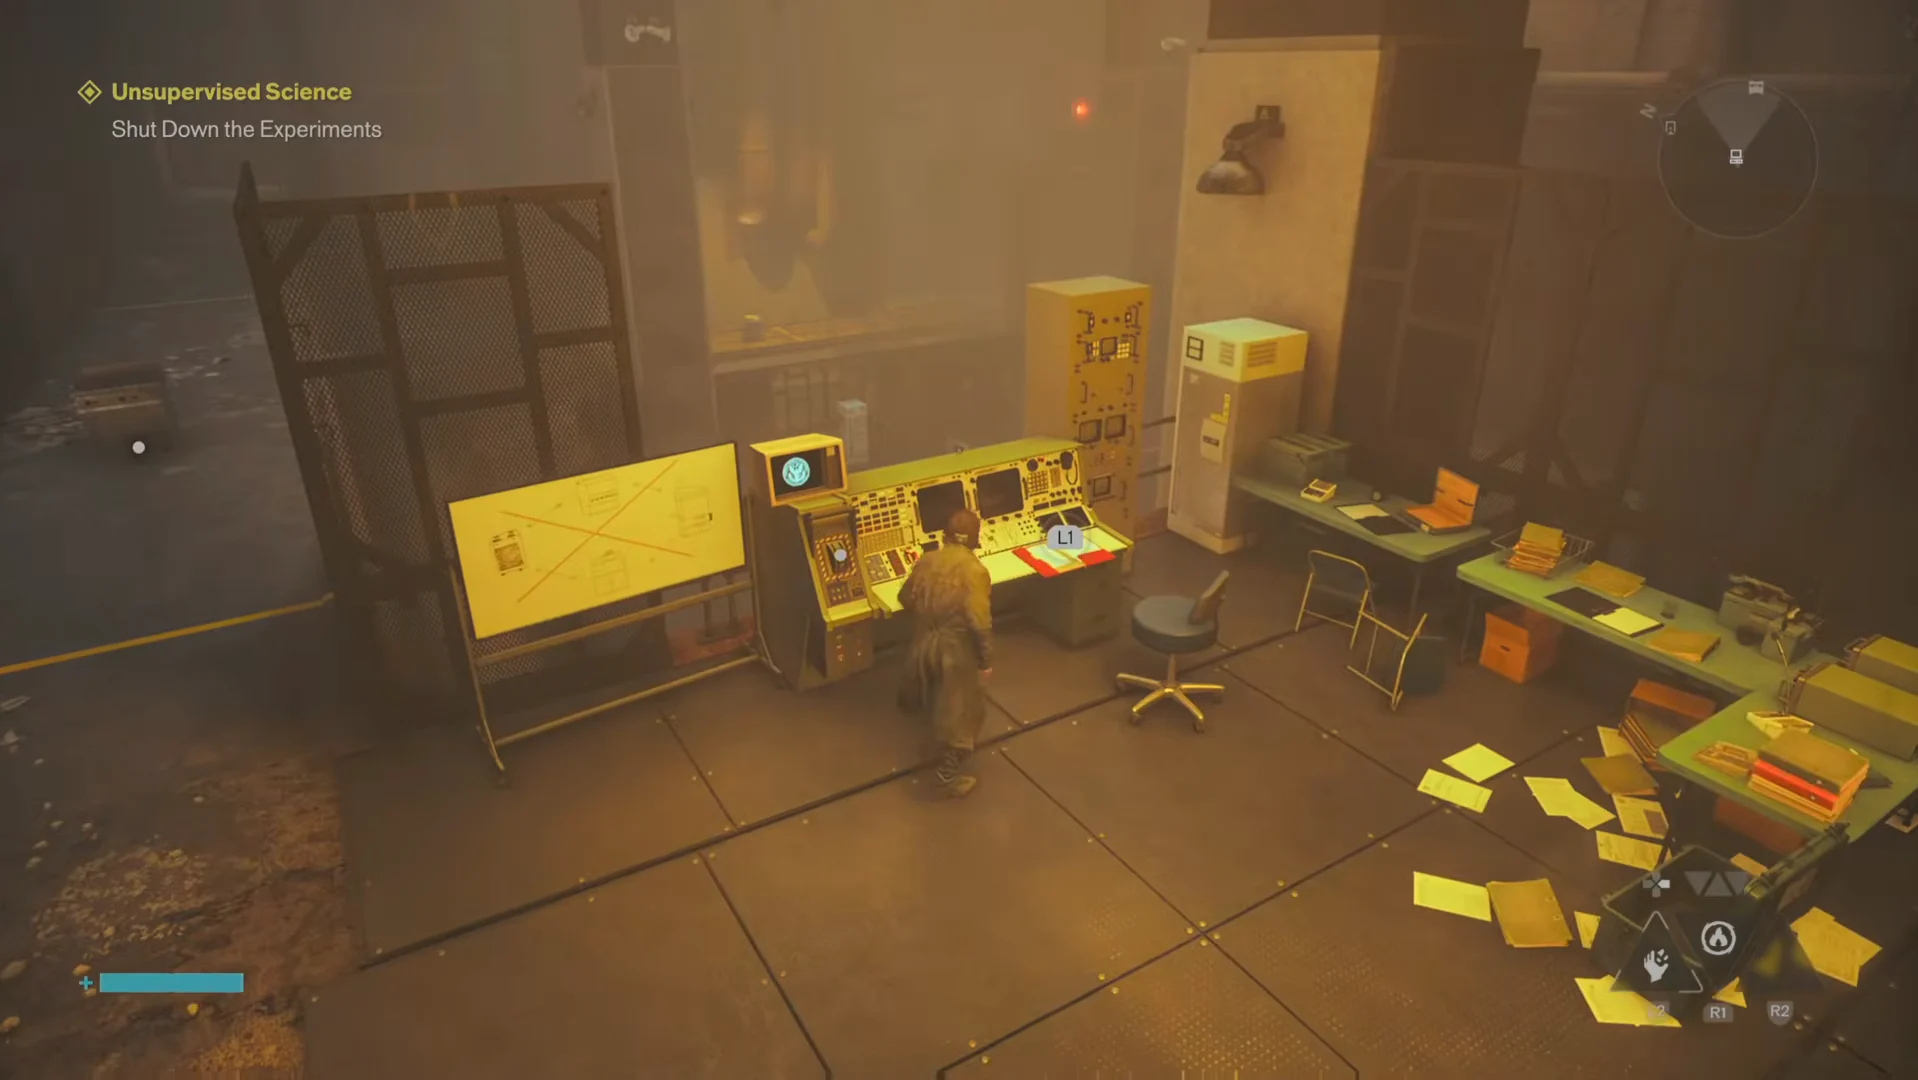
Take the metal path and descend the stairs into the offices below. The control console and desks are in this lower room, which you’ll revisit as you work through the puzzle.
Read the shutdown instructions first
Find the Shutdown Instructions document on the control-booth desk, beside the yellow monitor and the “Testing Facility Pearl” sign. Reading it starts the objective to shut down the experiments and confirms the rule you must follow.
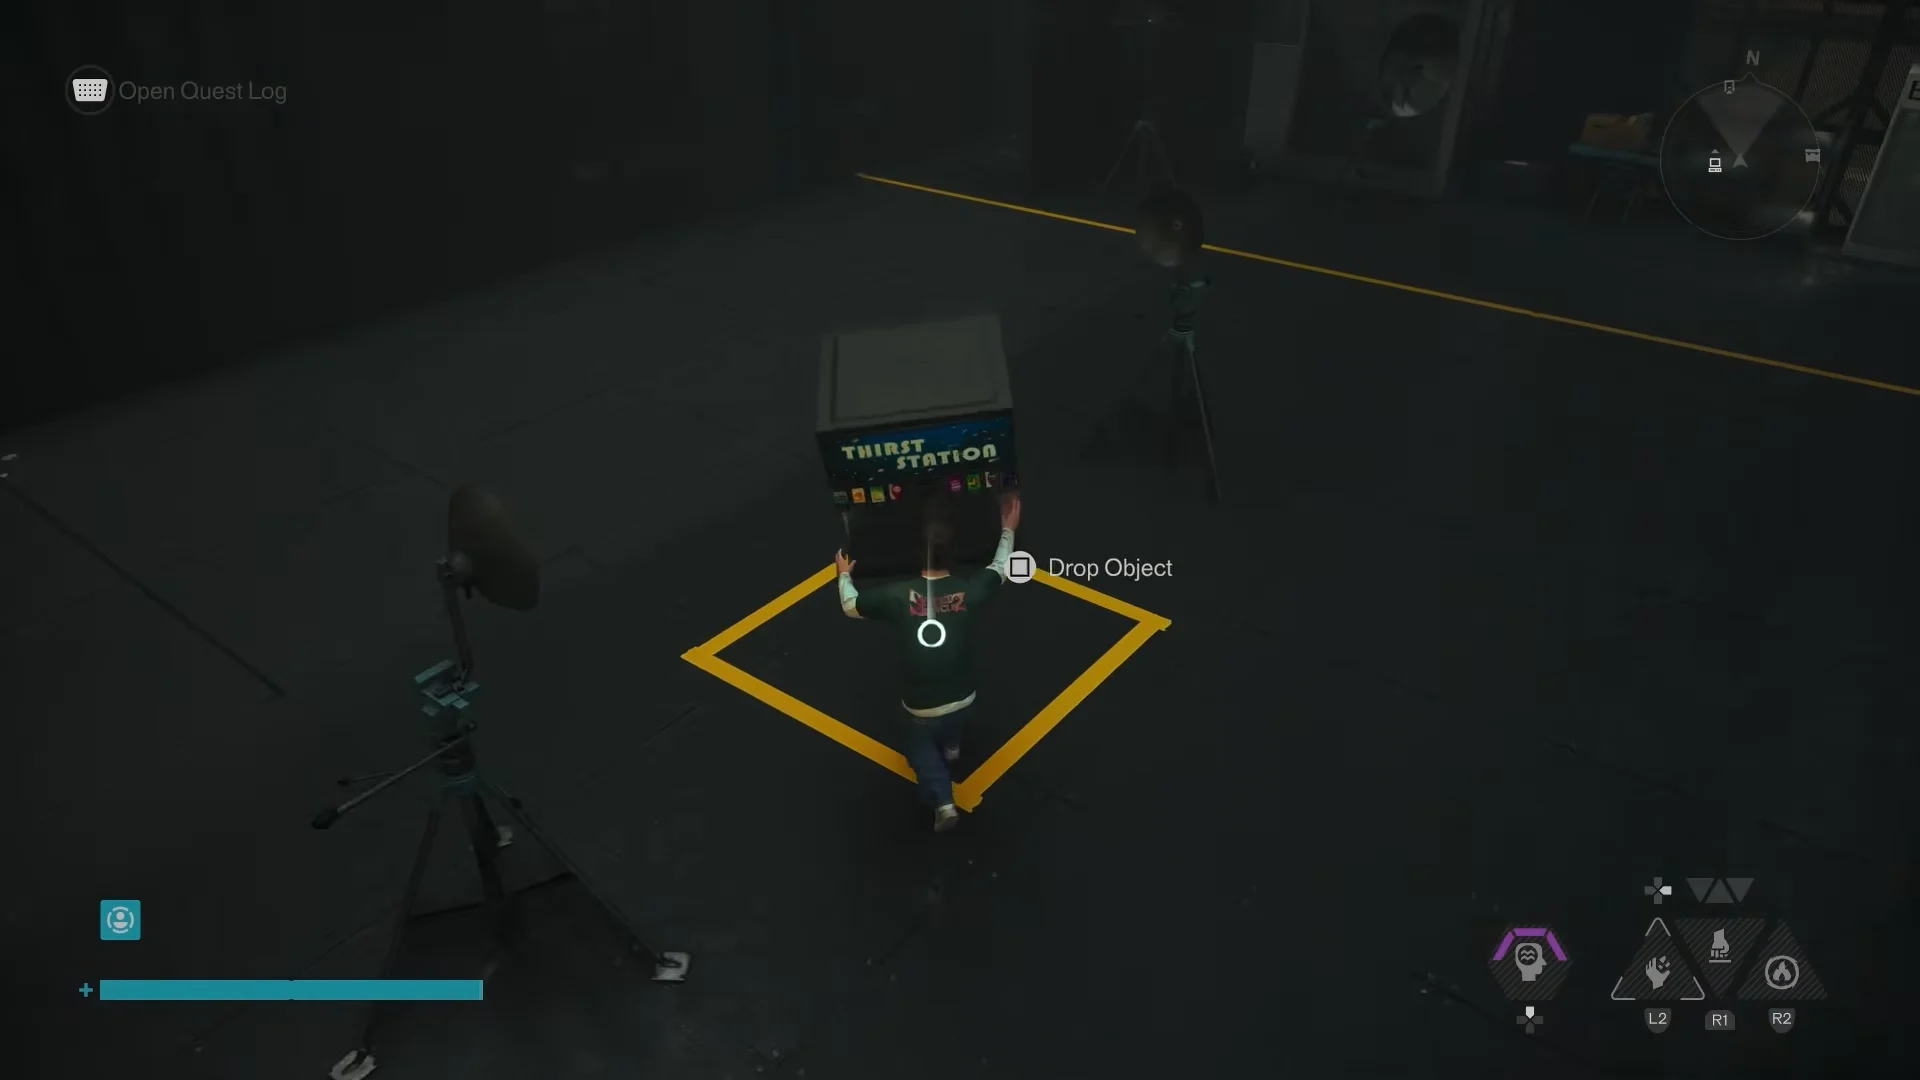
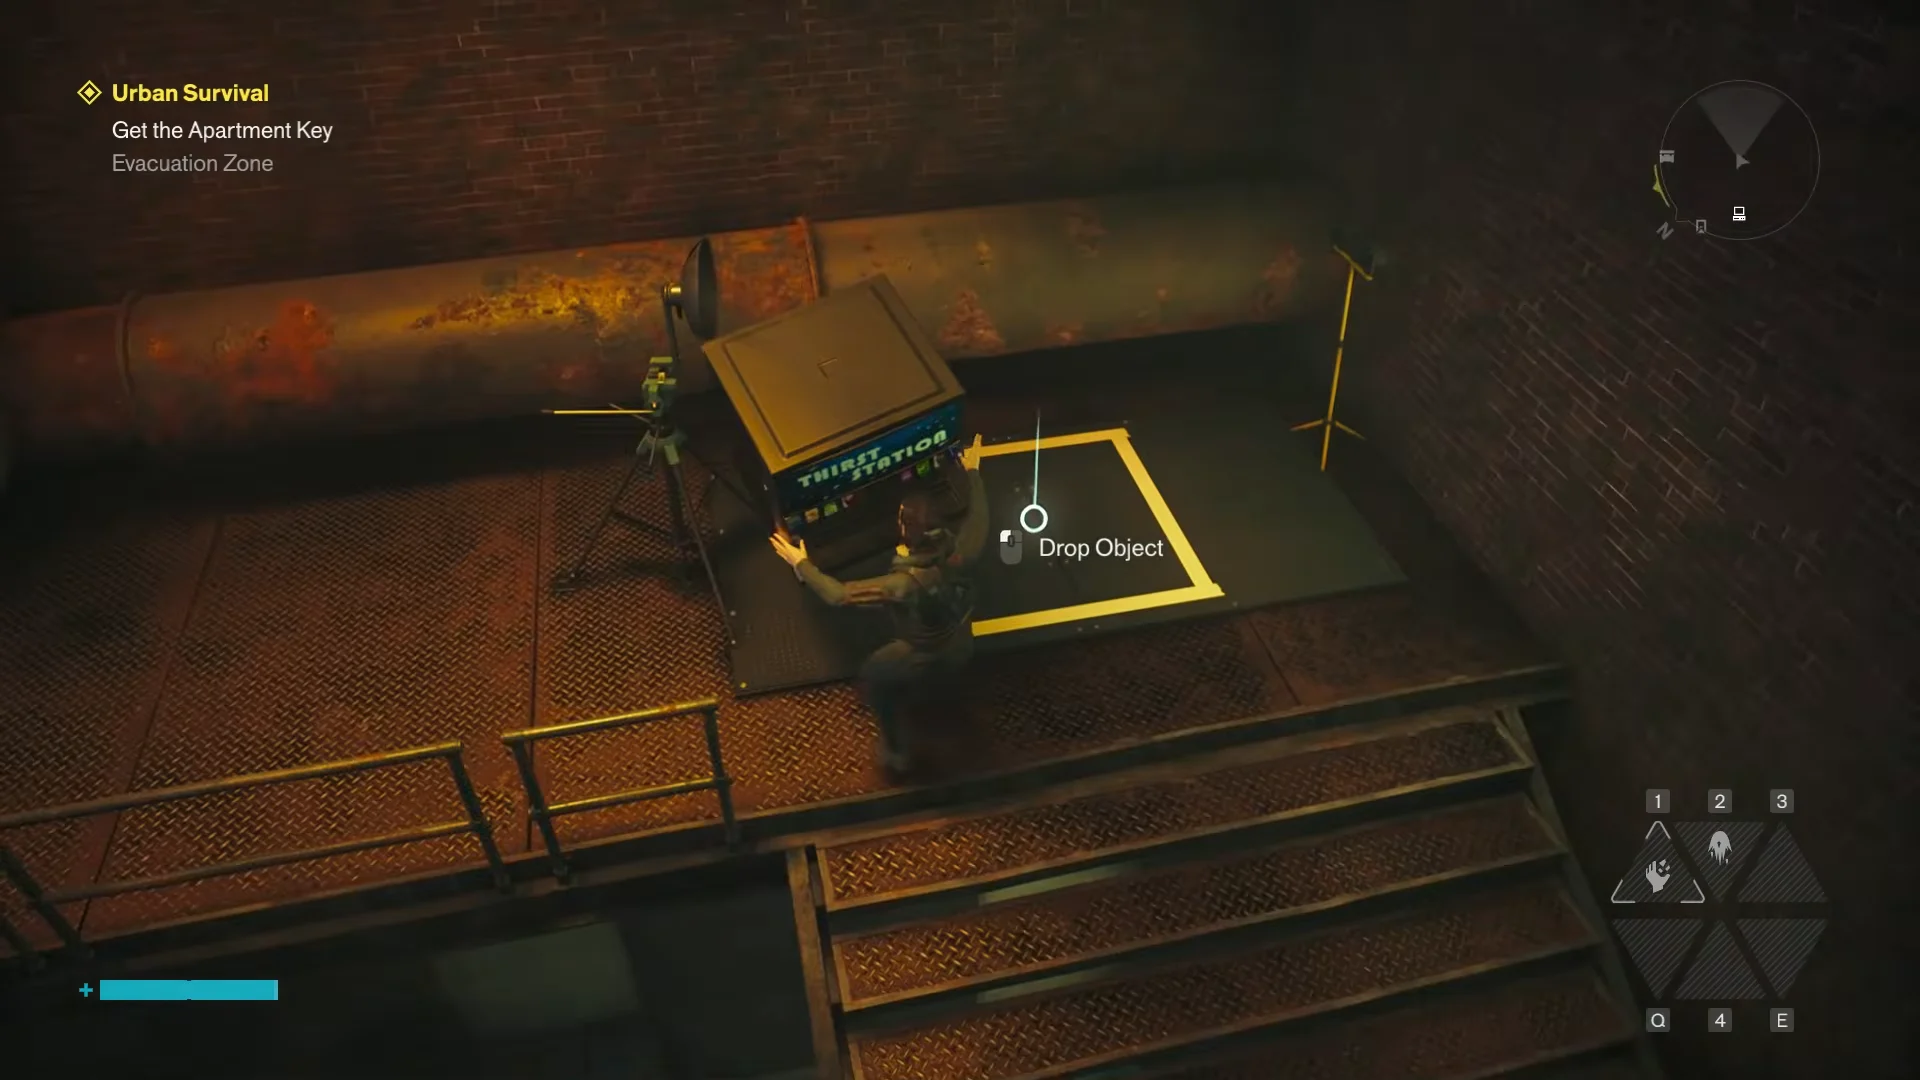
The note states that every designated Impermanence area must be returned to its default state, which is set as a Soda Dispenser (labeled “THIRST STATION”). Only after all designated areas match that default will the lever initiate the shutdown.
How shifting objects turn into soda dispensers
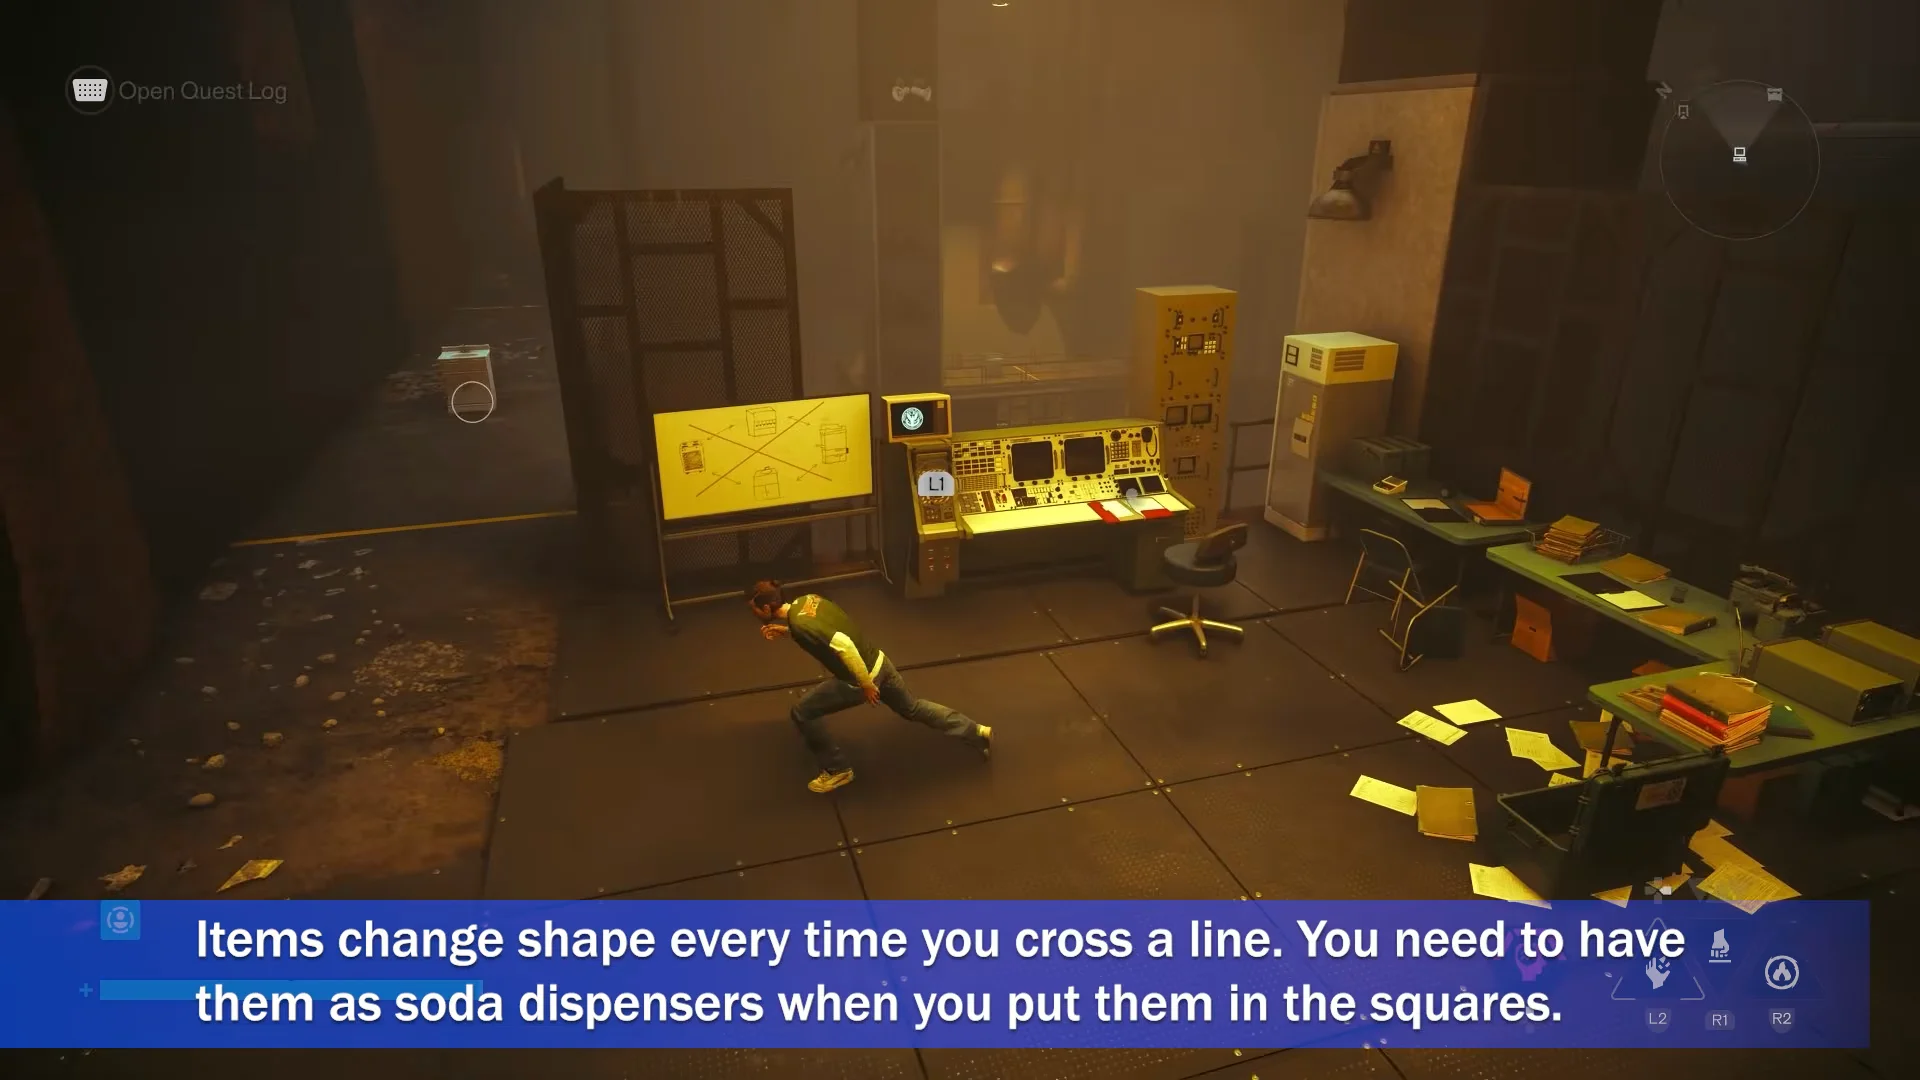
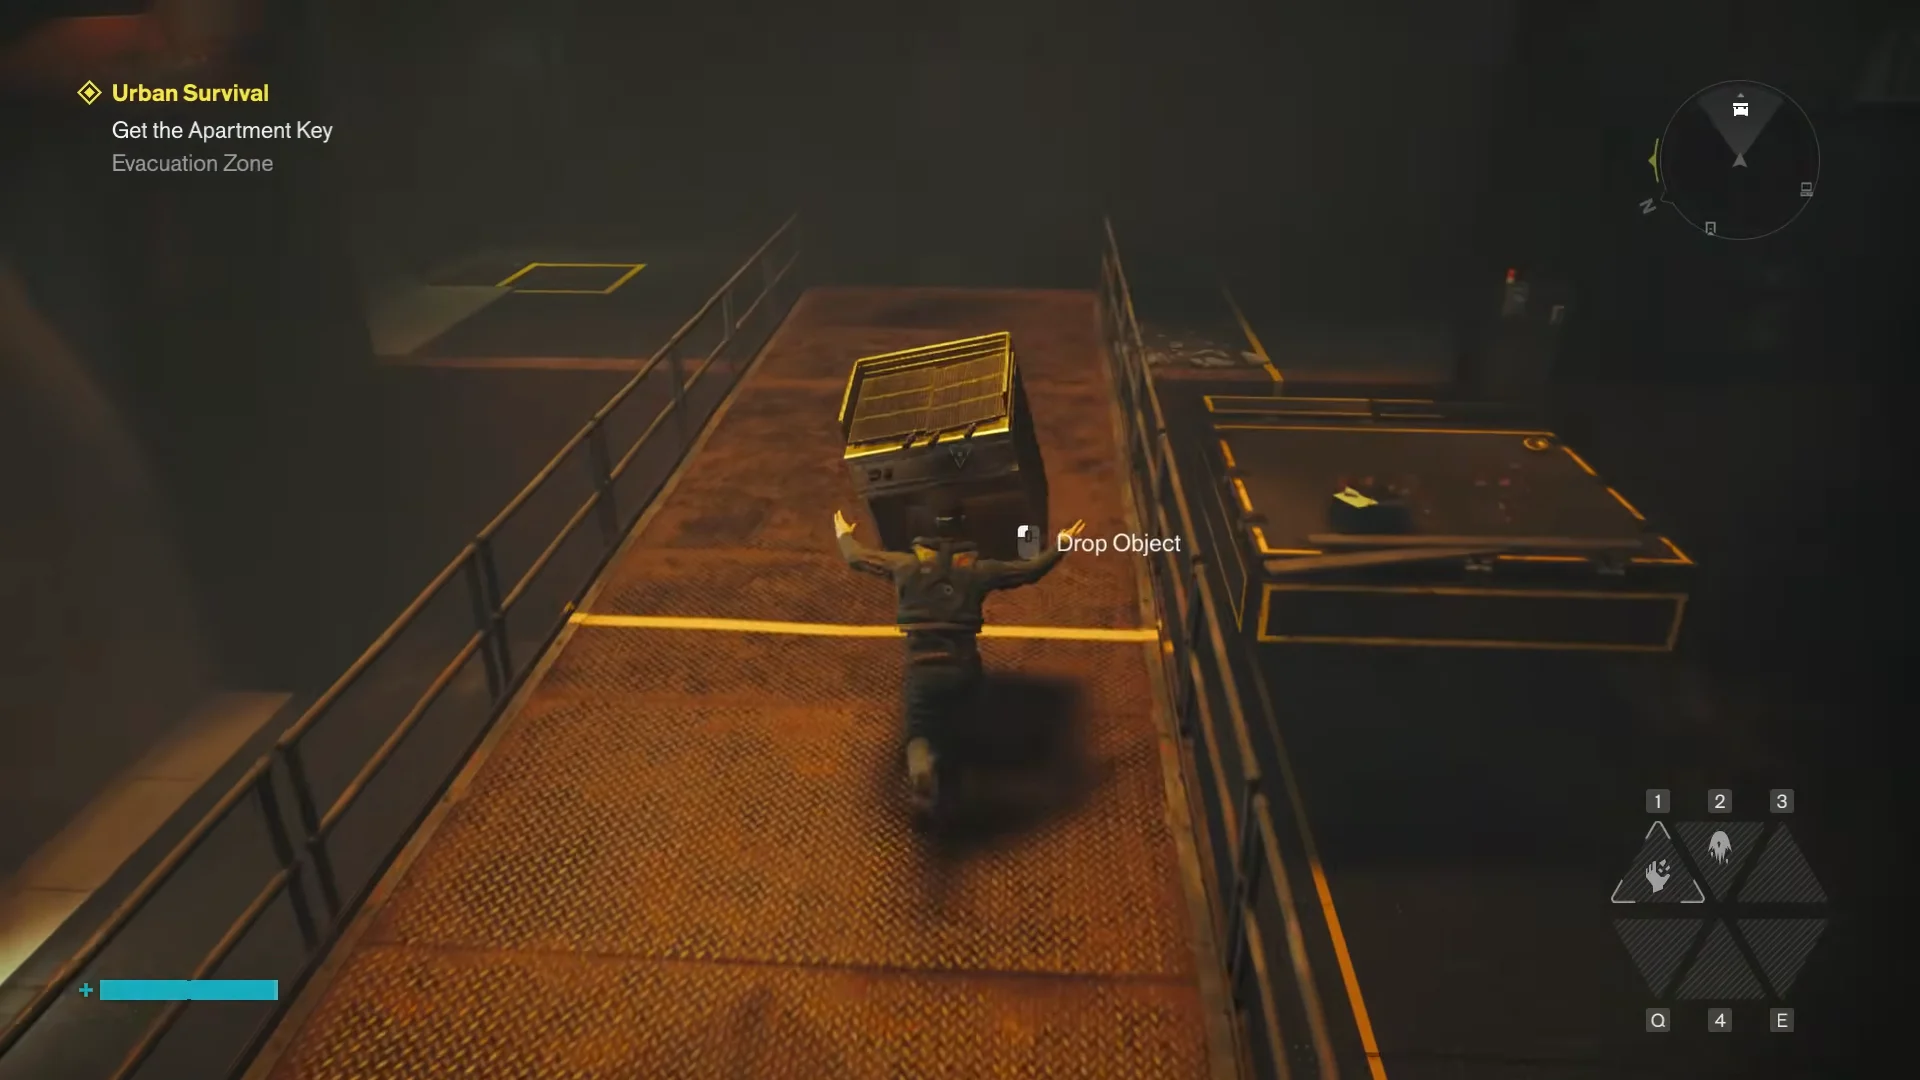
None of the scattered items start as a dispenser. Each one is a shifting object that changes shape when it takes a hit. Crossing a yellow floor line, or throwing and dropping an object, moves it one position along a fixed sequence of forms.
The order always runs the same way:
- Printer
- Sink
- Stove / oven
- Soda Dispenser (Thirst Station)
You can’t transform an object directly into a dispenser; it must reach the oven stage first. Carry it across the lines or slam it until the Thirst Station label appears. Crossing a line and then going back over it restores the object’s previous form, which lets you fix an overshoot.
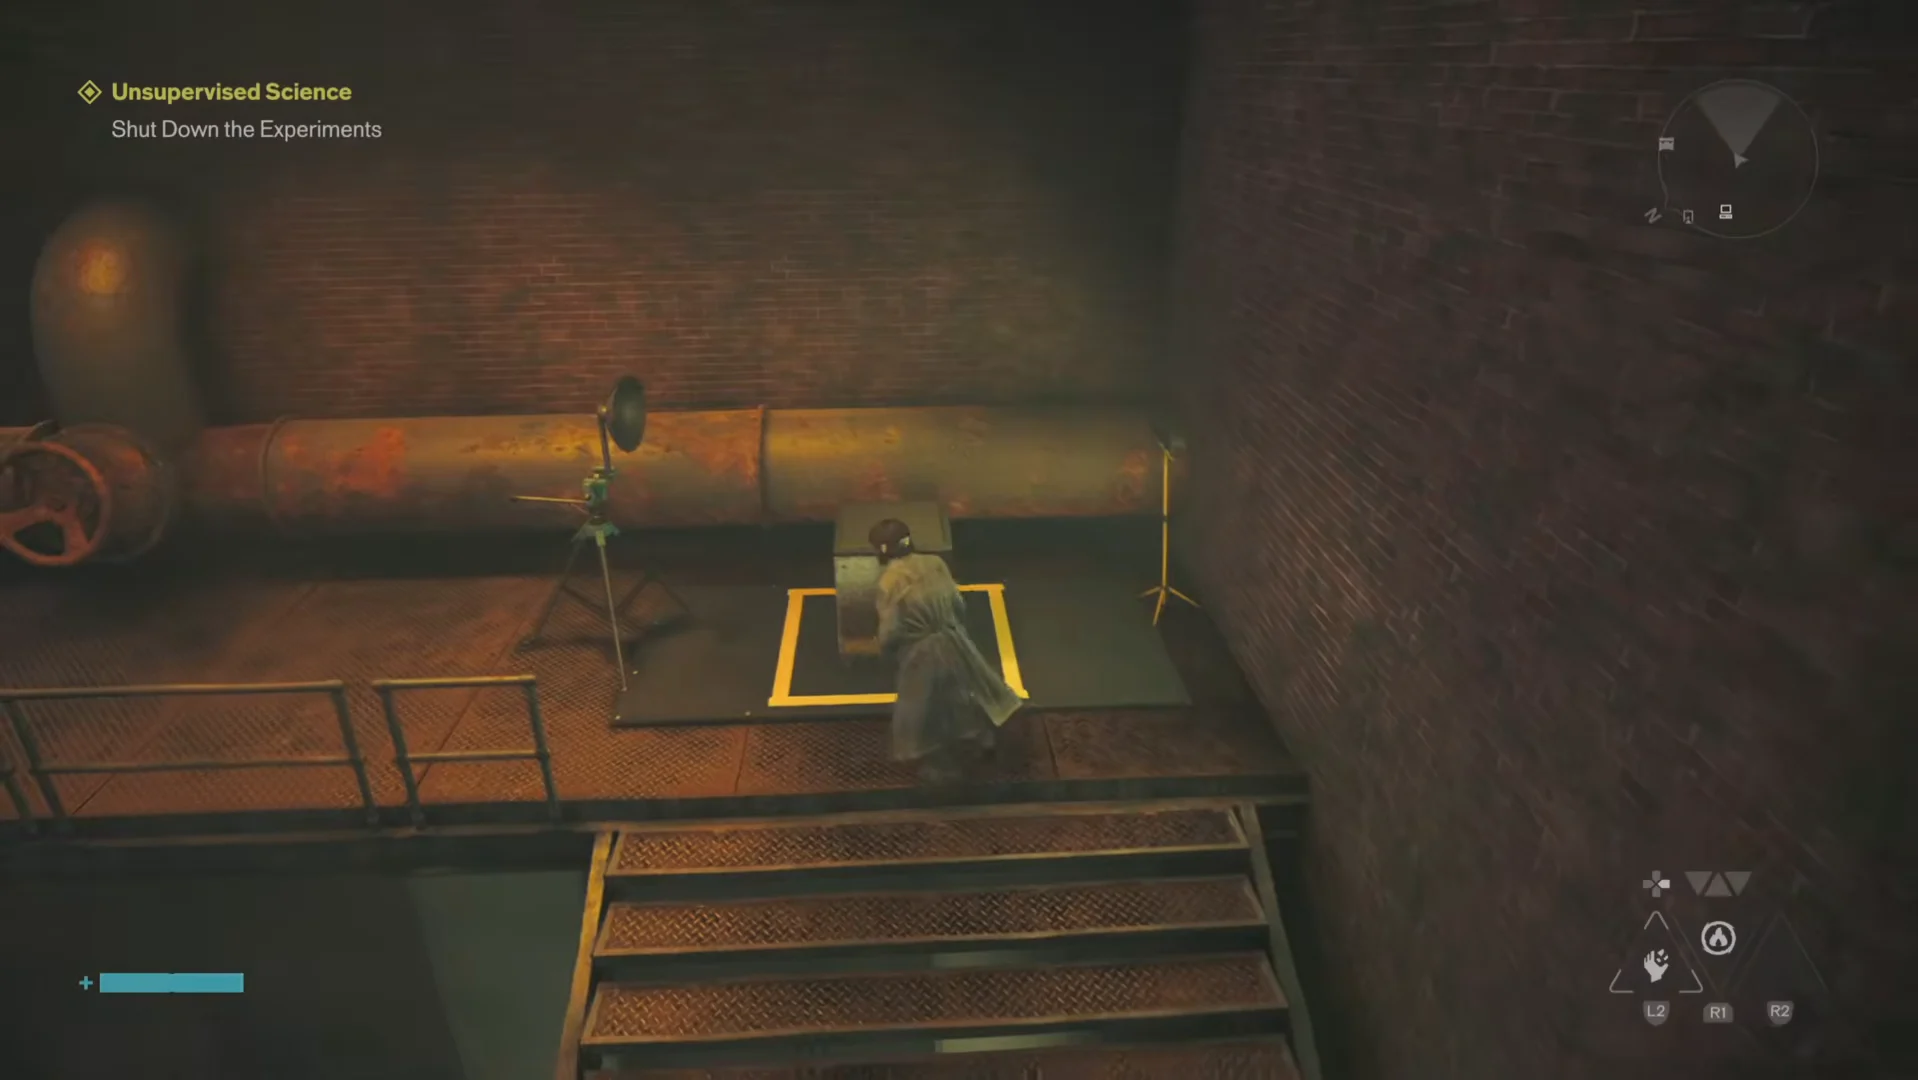
If an object in the wrong shape is already on a square, take it out, cycle it until the label reads Thirst Station, then put it back.
Where the five yellow squares are
There are five designated yellow squares spread across the facility, and each needs exactly one Thirst Station dispenser. The markers sit on the metal floor and on the raised platforms.
| # | Location |
|---|---|
| 1 | At the upper stair landing, beside the pipe running along the wall |
| 2 | Main lower floor area |
| 3 | Walkway platform past the small bridge |
| 4 | Upper gantry corner near the back wall |
| 5 | Ground-level marker on the lower floor, close to the central pillars |
Solve the Testing Facility Pearl puzzle
Pull the lever and confirm the shutdown
With all five yellow squares holding a Thirst Station dispenser, return to the control booth and interact with the lever on the console. The quest log updates and the sealed metal gate beside the console opens. If the lever does nothing, a square is empty or holds the wrong item, so check the room and re-cycle that object.
Go through the open door into the neighboring room and deal with the corrupt red source before collecting anything inside.
Rewards for shutting down Testing Facility Pearl
| Reward | Detail |
|---|---|
| Experience | +120 EXP |
| Undefined Reading | +1 |
| Health Elements Boost | Applied on completion |
| Talent Point | +1 |
| Power Upgrade Point | One of three collected across the mission |
| Notes From Technician Washland | Collectible research document |
| Testing Facility Coordinates | Lists the Reade, Platt, Vesey, Pearl, Broadway, and Dutch facility locations |
Pick up both notes and the Power Upgrade Point before you leave. The upgrade points only strengthen your Power once you collect all three across the different testing facilities, and the coordinates note points you toward the rest of them.