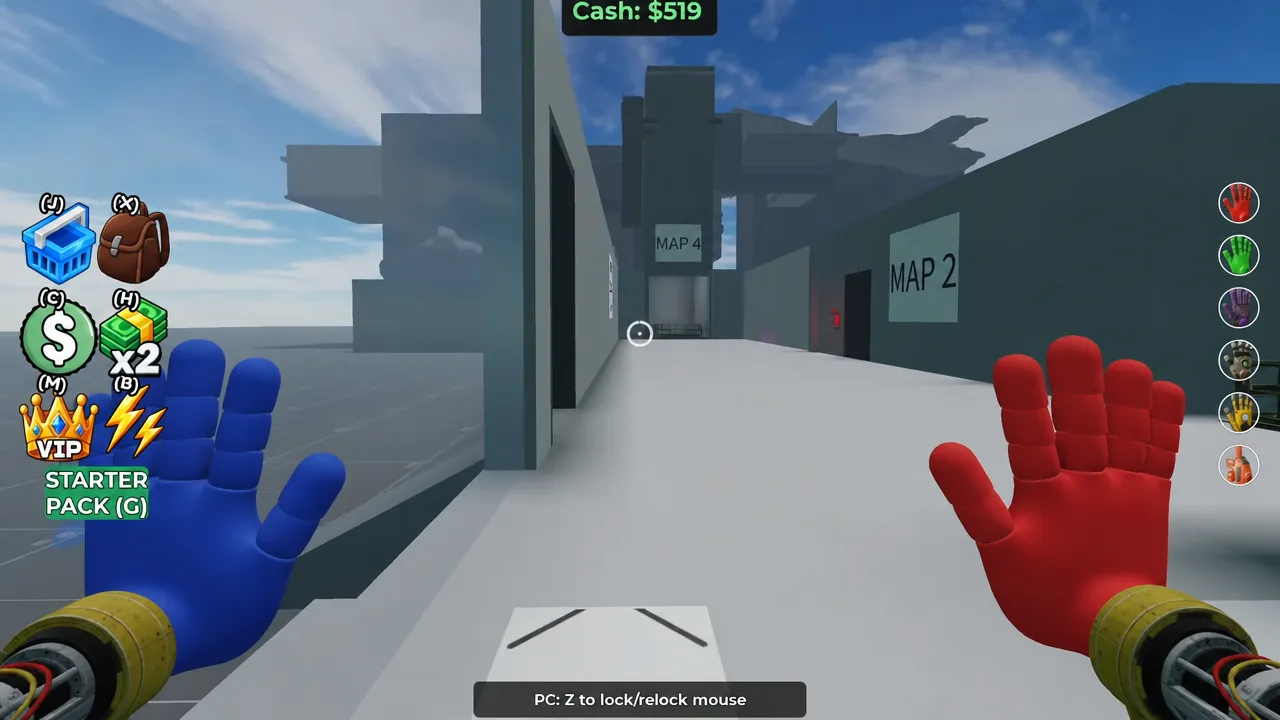
Grabpack System Roblox: Full Walkthrough for Maps 1 Through 4
Every hand type, battery route, and puzzle solution needed to clear all four maps and cash out.
Every hand type, battery route, and puzzle solution needed to clear all four maps and cash out.
by AllThingsHow Staff
The Grabpack System puzzle experience on Roblox hands you a set of interchangeable colored hands and asks you to route power, break barriers, and swing across gaps to reach each exit. Four maps are playable right now, and clearing each one teleports you back to the lobby with a cash payout you can spend on cosmetic hand upgrades.
Quick answer: Start with Map 1 to learn the basics, then work through Maps 2, 3, and 4 in order. Each map is solved by carrying batteries to their sockets, activating triangle power receivers within their 10-second window, and using the correct hand to clear the obstacle in front of you. Touching the exit teleport block returns you to the hub and adds cash to your total.
Grabpack hand types and what each one does
Every puzzle comes down to picking the right hand for the obstacle. You aim with your mouse and fire a hand at the target. Two hands can pull the same object at once to make a drag stronger. On PC, press Z to lock or relock the mouse, and press J to drop a held item.
Hand
What it does
Red
Drags heavy objects like green blocks and presses entry buttons.
Blue
Presses buttons, pulls levers, and scans handprints.
Green
Shoots a Circle Power to stop electricity for a short time.
Pressure
Builds up pressure notches, then releases to shatter windows and ice.
Fire / Flare
Burns purple tape, rope, and other flammable objects on contact.
Purple
Aims at a gray pad to launch you into the air.
Laser / Conductor
Fires at electric panels to send power to machinery.
Two mechanics run on a timer. A triangle power receiver holds energy for only 10 seconds, so line up your next connection before you fire. Burning objects also runs on a 10-second limit, and green power transfers between nodes expire the same way. Move quickly once either clock starts.
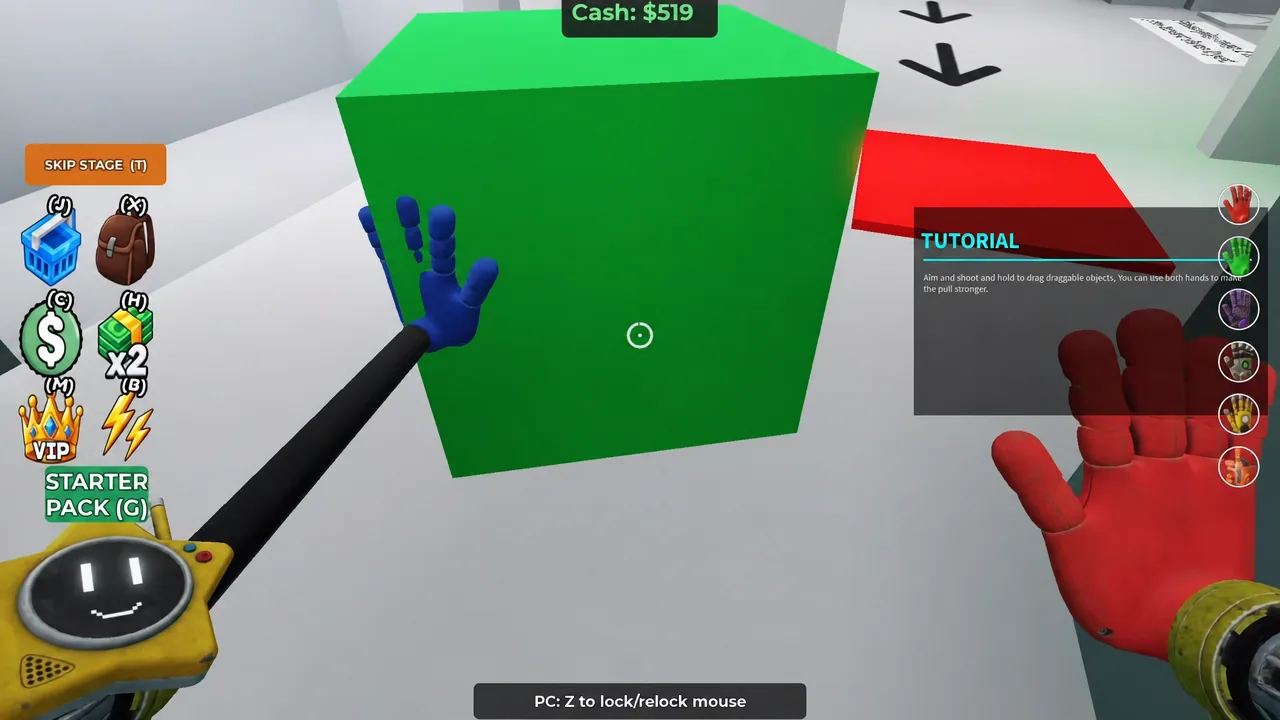
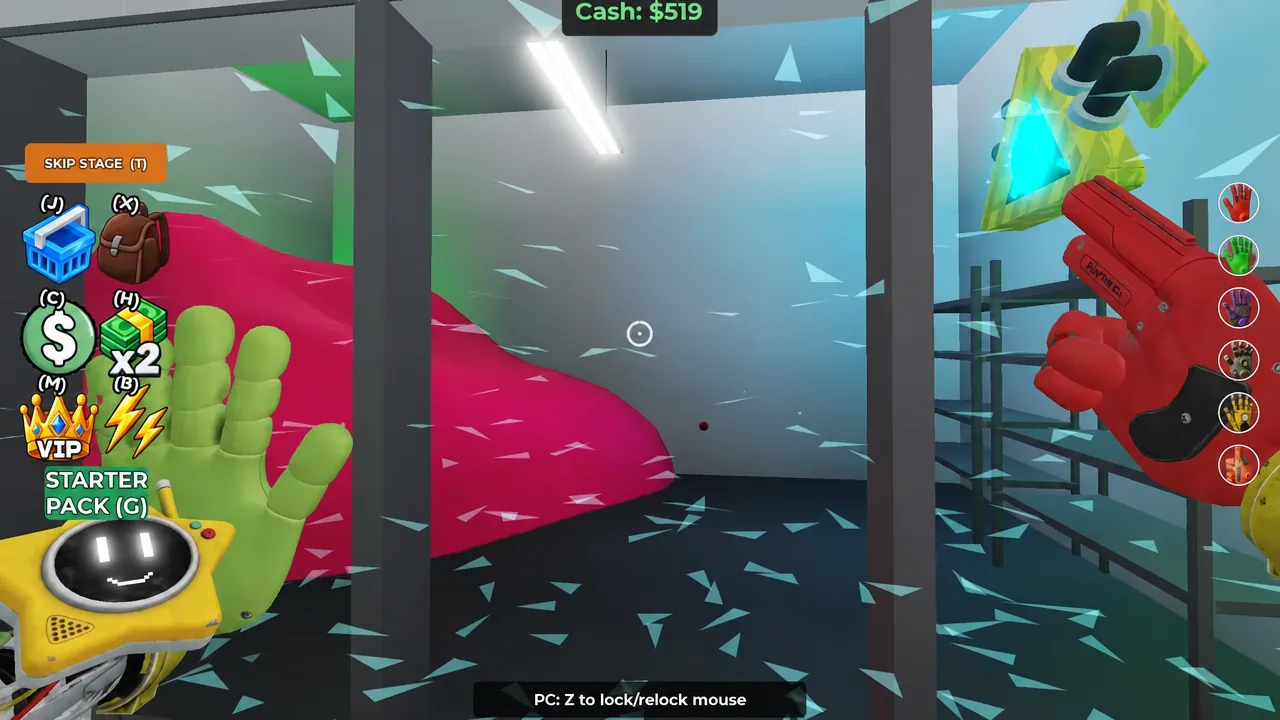
The opening tutorial shows how to grab and drag the green block, and how using both hands increases pulling strength. Image: Tactycl
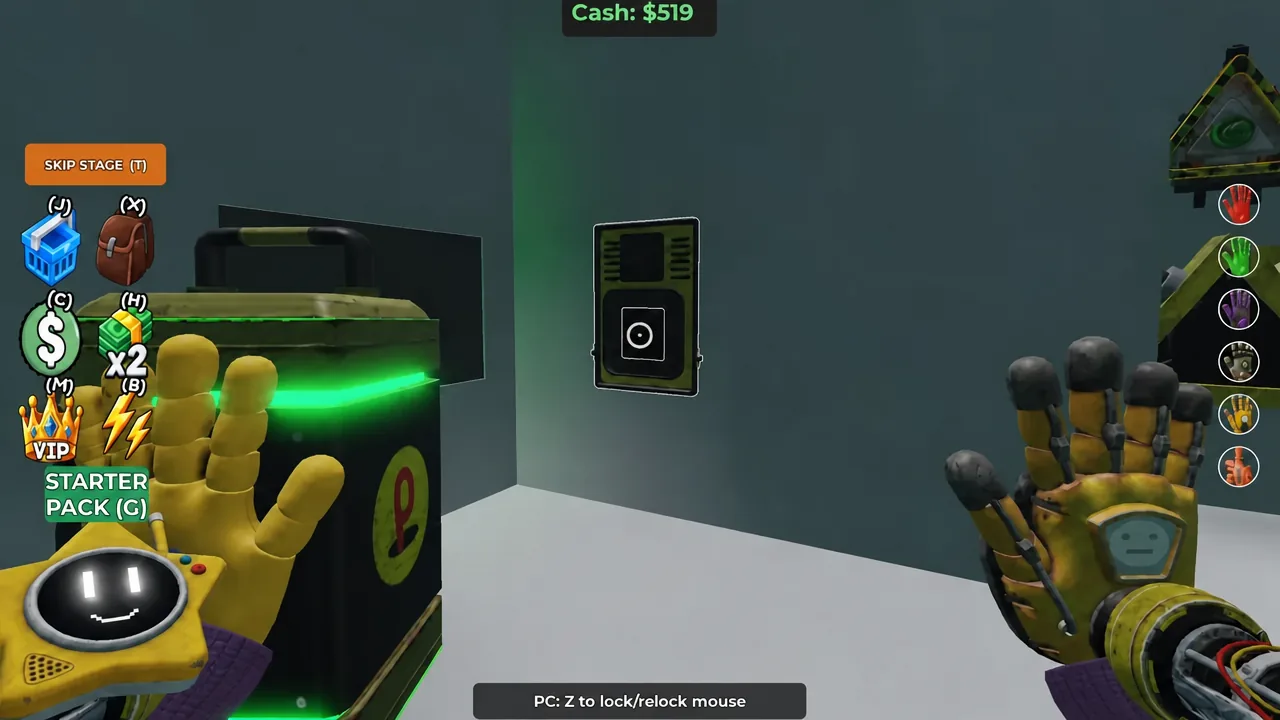
Activate the triangle power receiver, then switch to the pressure hand. Fire at the broken window to fill the pressure meter and release to shatter it.
Insert the final battery, activate the last triangle power receiver, burn the remaining purple tape, and swing to the exit. Touching the teleport block sends you back to spawn with your cash.
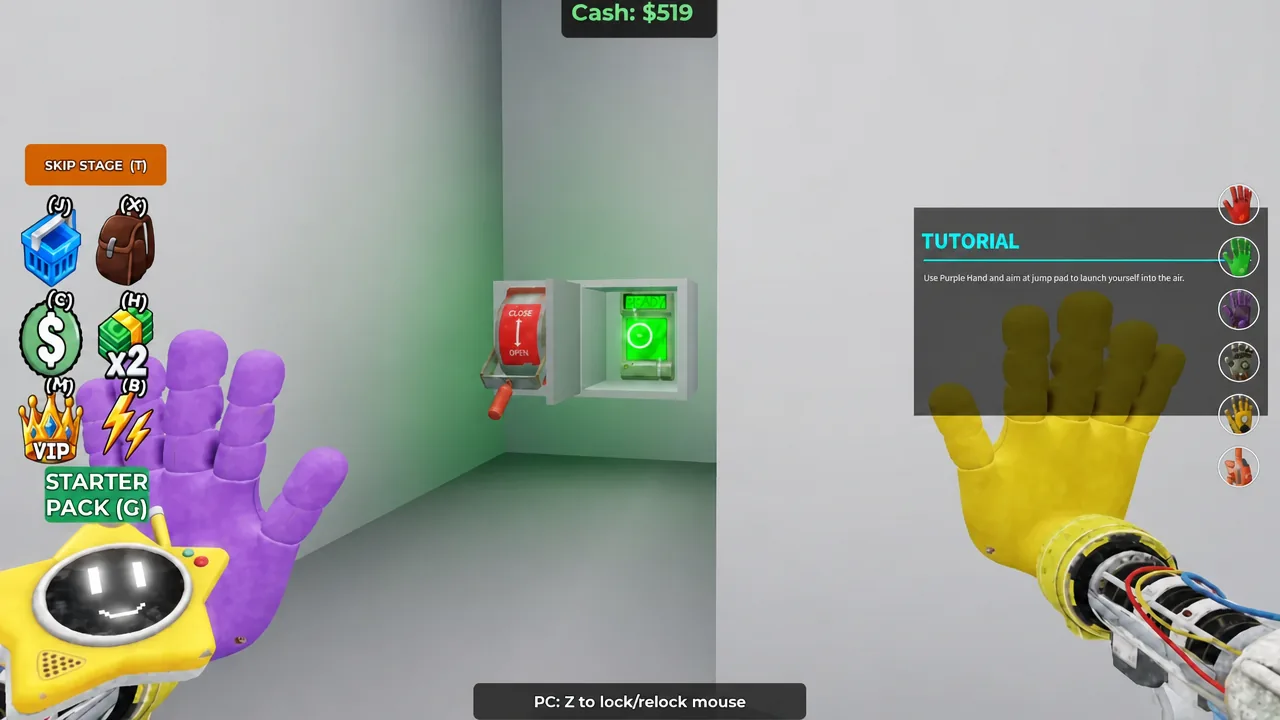
Aiming at a wall-mounted panel to route power during the final steps of Map 1. Image: Tactycl
Map 2 walkthrough
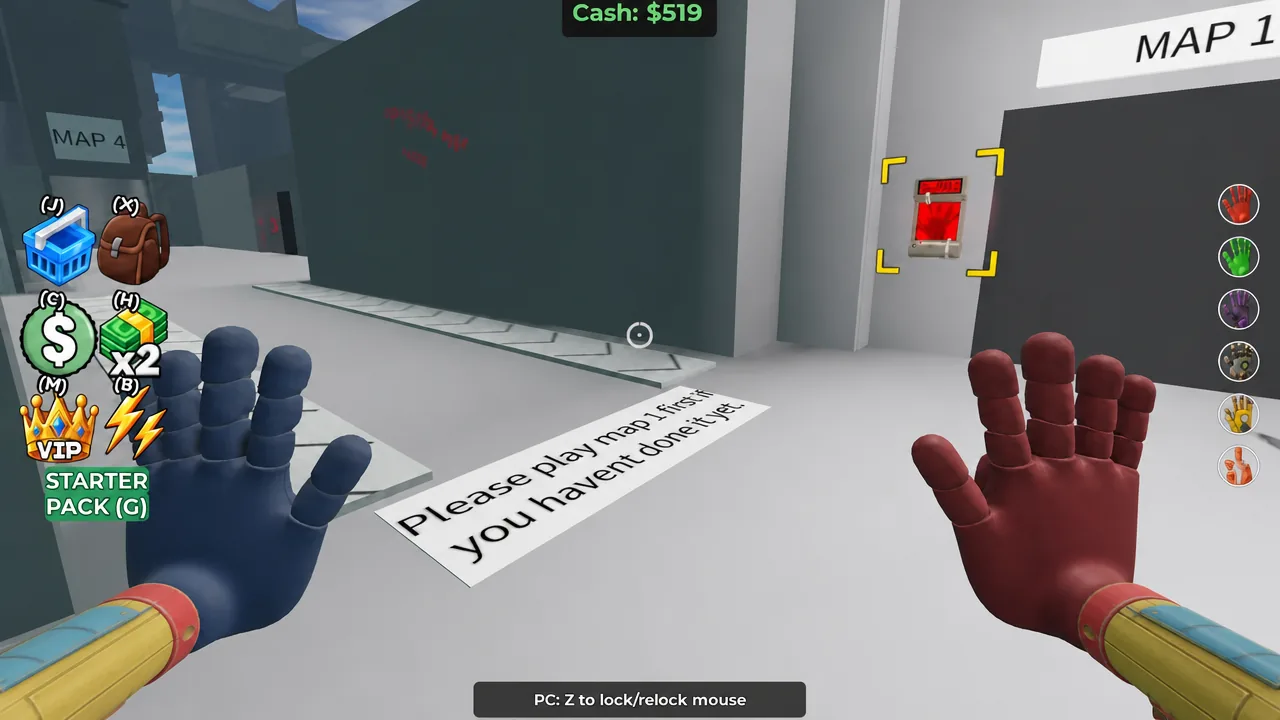
Map 2 must be started from spawn after you finish Map 1. If you try to jump ahead, the game prompts you to play Map 1 first. This map introduces the purple launch pads and a keycard.
Use the laser hand one more time, launch upward, burn the last purple tape, pull the lever, and reach the exit to finish Map 4.
How to know a map is complete
You clear a map when you touch its exit teleport block. That block sends you straight back to the lobby, and your cash total ticks up. From the hub you can start the next map in sequence. If you get stuck on a triangle power receiver, the usual cause is the 10-second timer running out before you reach the matching node, so activate it only when your next step is lined up.
Spending your cash on hand upgrades
The cash you earn from finishing maps goes toward cosmetic hand skins and a few extras sold in the lobby. These are appearance changes and boosts, not new puzzle abilities, so you can clear every map without buying anything.
Purchase
Cost
Toxic Hands
2,500 Cash
Diamond Arms / Diamond Hands
4,000 Cash
Neon Hands
10,000 Cash
Speed Boost
Prompted in lobby
Rusty Hands
Prompted in lobby
VIP
Prompted in lobby
Maps 5, 6, and 7 are marked as coming soon, with a note that they will be harder and pay out more cash. No confirmed release date for those maps is currently set, so the four maps above are the full clearable set for now.