Junk is currency in Breathedge 2. Foam padding, a rusty bucket, a knitted teddy bear — almost none of it is filler, because the DIY system turns loose scrap into bolt-on modules that change how your tools swing, how warm your suit is, and how much water your kettle holds. The Early Access build (version 0.7.100) already has a full upgrade loop running, and it works differently from the flat tier-by-tier progression of the first game.
Quick answer: Upgrades are physical parts you install at four stations — the Workbench for tools, the Wardrobe for your spacesuit, Kettle Bobby for water, and the Nutri-Pack-O-Mat for food. Every part belongs to one of five categories (Heft, Edge, Handle, Protection, Container), and the stat line on the item card updates the moment a part is slotted in.
How the DIY upgrade system works
A base tool crafted from raw resources is deliberately mediocre. The stats come from the modules you strap onto it, and those modules are found out in the world rather than crafted on demand. You cannot attach them on the fly either — upgrading requires a dedicated workspace, which in practice means walking back to the train.
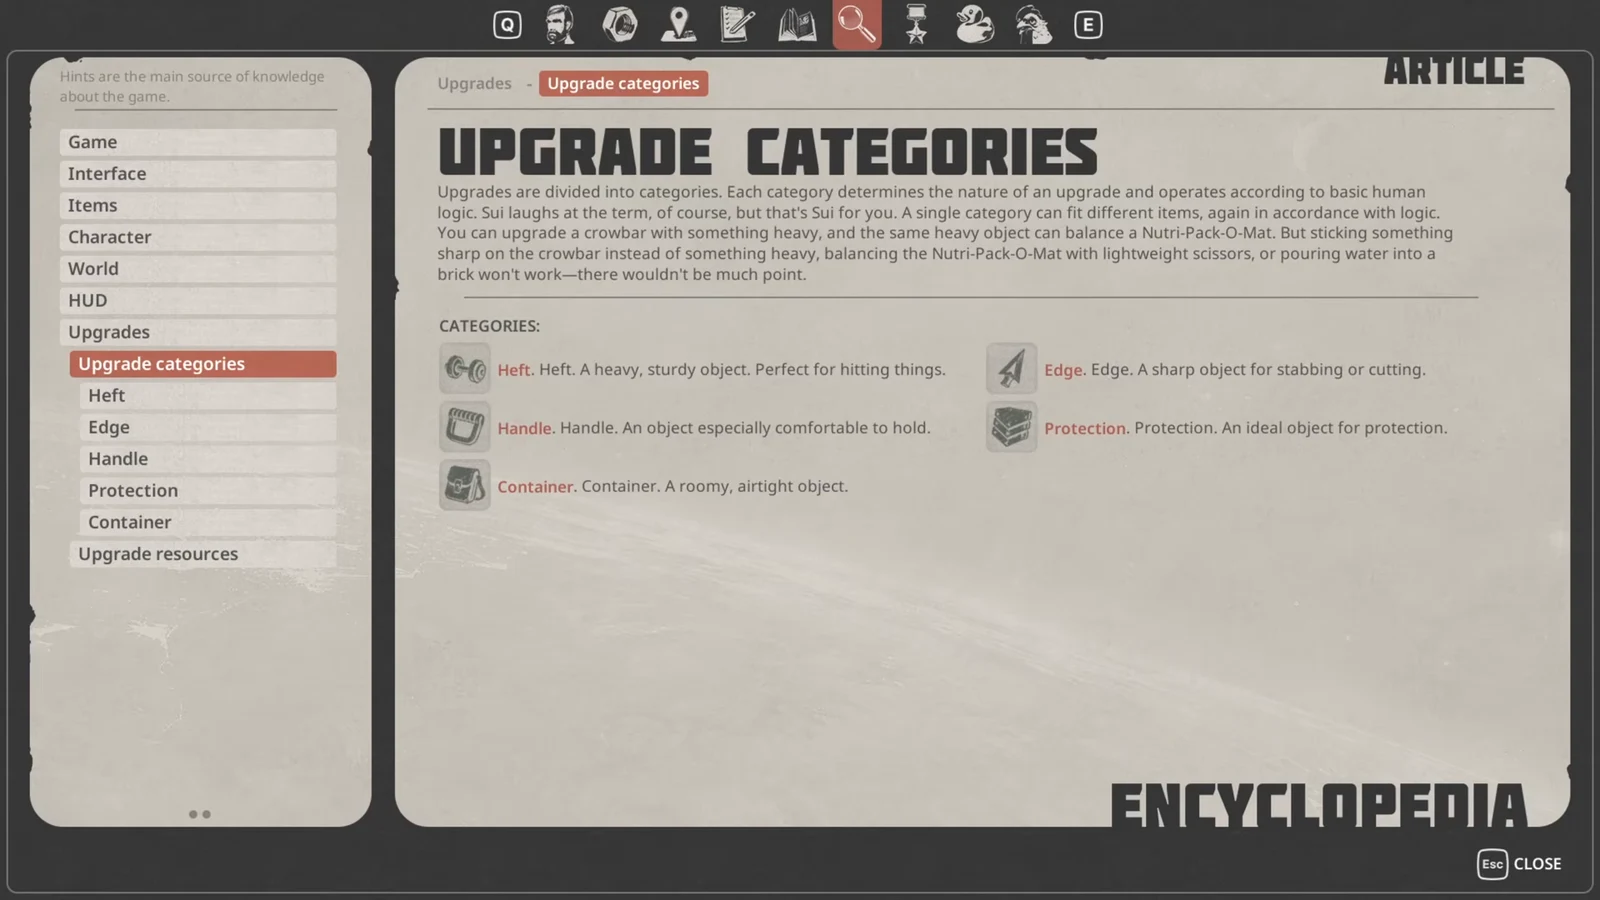
Every part falls into one of five categories, and the category determines which slot it can fill. Heft parts add weight and impact, Edge parts sharpen a cutting tool, Handle parts change the grip, Protection parts cover armor and environmental resistance, and Container parts govern capacity.
Durability lives in the module, not the tool. When a module wears out it is destroyed for good, though it can be rebuilt from raw resources; the base tool itself survives and never breaks. As long as a module is still intact you can pull it off and move it to another tool, so a single good part can be shuffled around instead of duplicated. Protection pieces work the same way on the suit, and wearing a complete set of the same protective type grants an extra bonus on top of the individual stats.
The four upgrade stations and what each one accepts
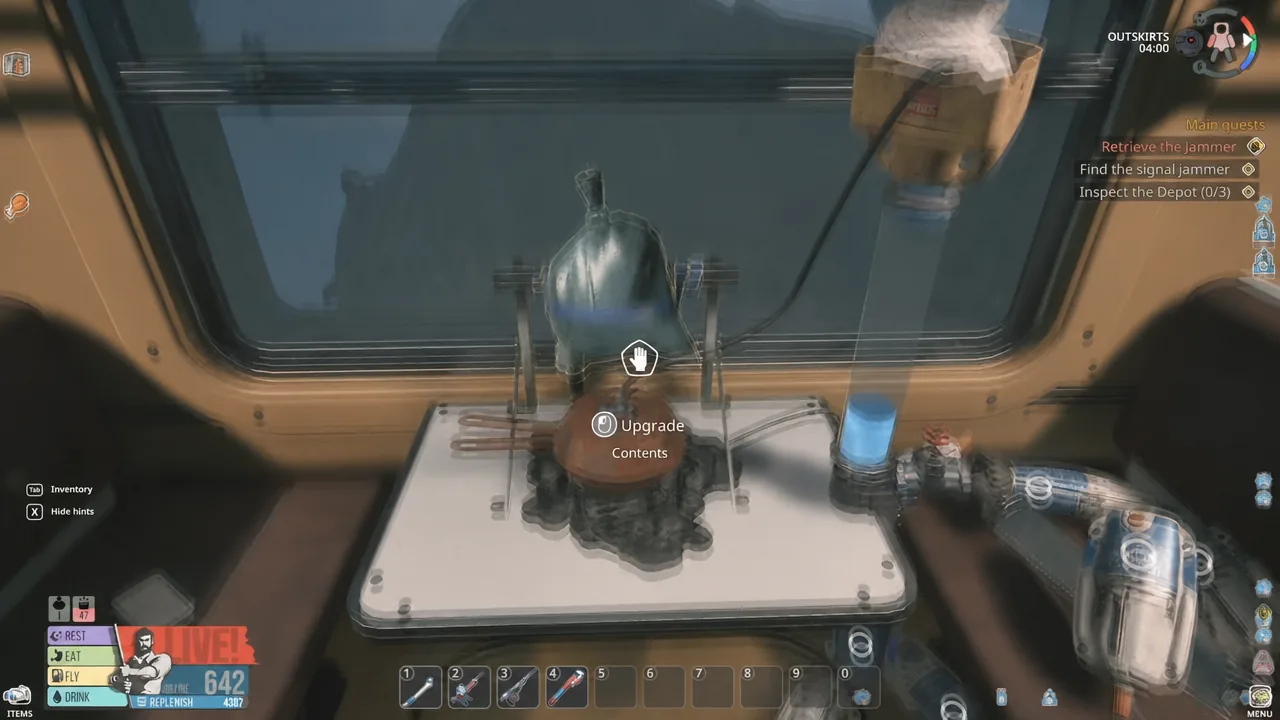
Upgrades are administered either at the Workstation inside the train or directly on the crafting stations themselves. Each station only takes parts relevant to what it does.
| Station | What it upgrades | Typical parts |
|---|---|---|
| Workbench | Tools | Heft, Edge, Handle |
| Wardrobe | Spacesuit | Protection |
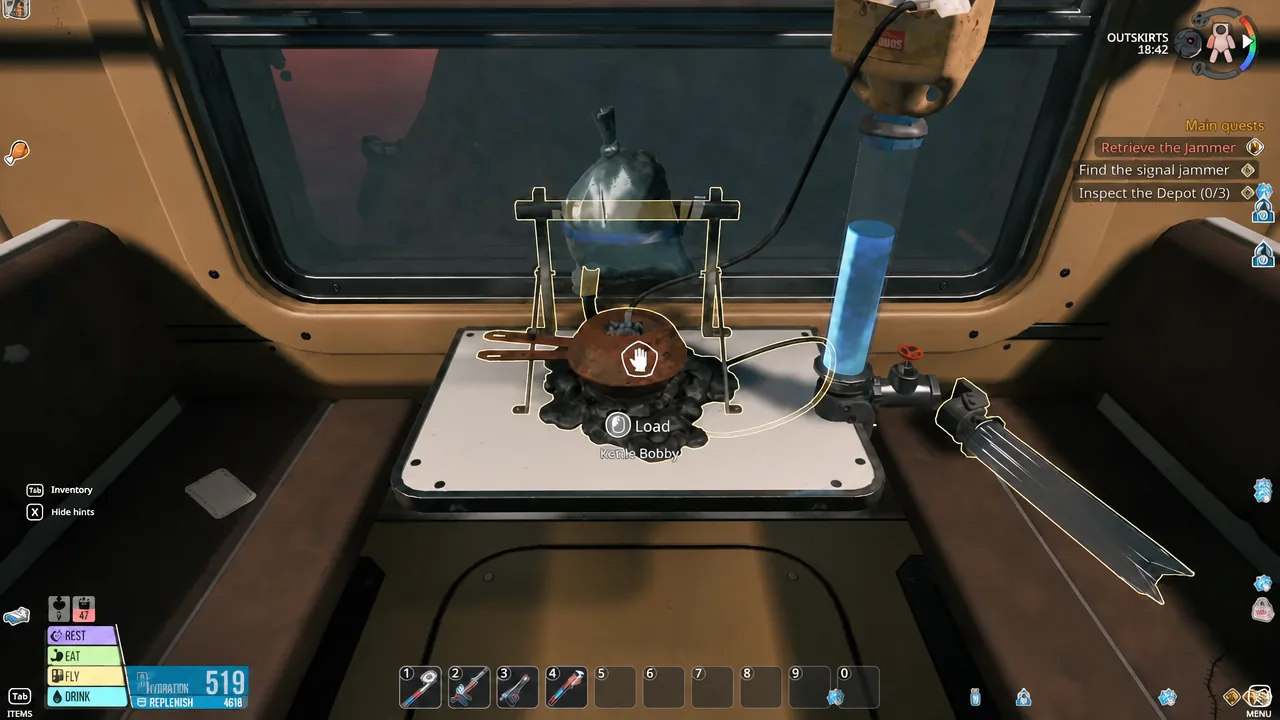
| Kettle Bobby | Water processing and storage | Protection (as filters), Container |
| Nutri-Pack-O-Mat | Food processing and storage | Heft (knob), Container |
Devices you find in the world use the same Upgrade prompt, so the interaction is identical whether you are tuning a tool at the bench or opening up a station to swap its guts.
Tool upgrades: Scrap, Thumper, and Cutter
Chapter 1 gives you five tools — Scrap, Cutter, Thumper, Twister, and Spraytron — but only the first three currently accept upgrades. The Twister and Spraytron have no modules yet in this build.
| Tool | Upgrade part | Effect |
|---|---|---|
| Scrap | Gear (Heft) | Damage +10 |
| Scrap | Barbell plate (Heft) | Damage +20 |
| Thumper | Scissors (Edge) | Damage +12 |
| Thumper | Jaws (Edge) | Damage +15 |
| Cutter | Scissors (Edge) | Damage +5 |
| Cutter | Jaws (Edge) | Damage +10 |
The Scrap also has a Handle slot, where parts such as Bone, Dielectric, and Flange show up as options. Pairing a Bone handle with a Barbell plate is the strongest configuration available for it right now.
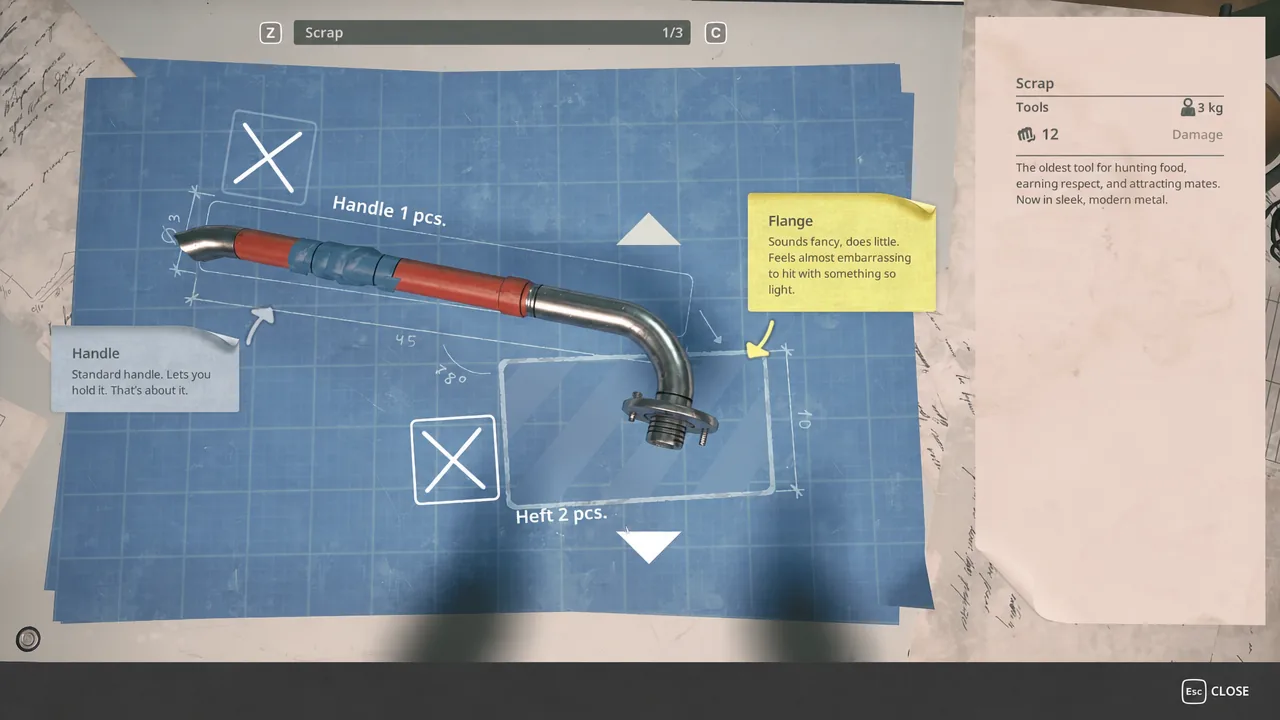
Note: the Jaws upgrade beats Scissors on both the Thumper and the Cutter, so if you only have one set of Jaws, put it on the tool you use for the harder nodes.
Spacesuit protection upgrades and their trade-offs
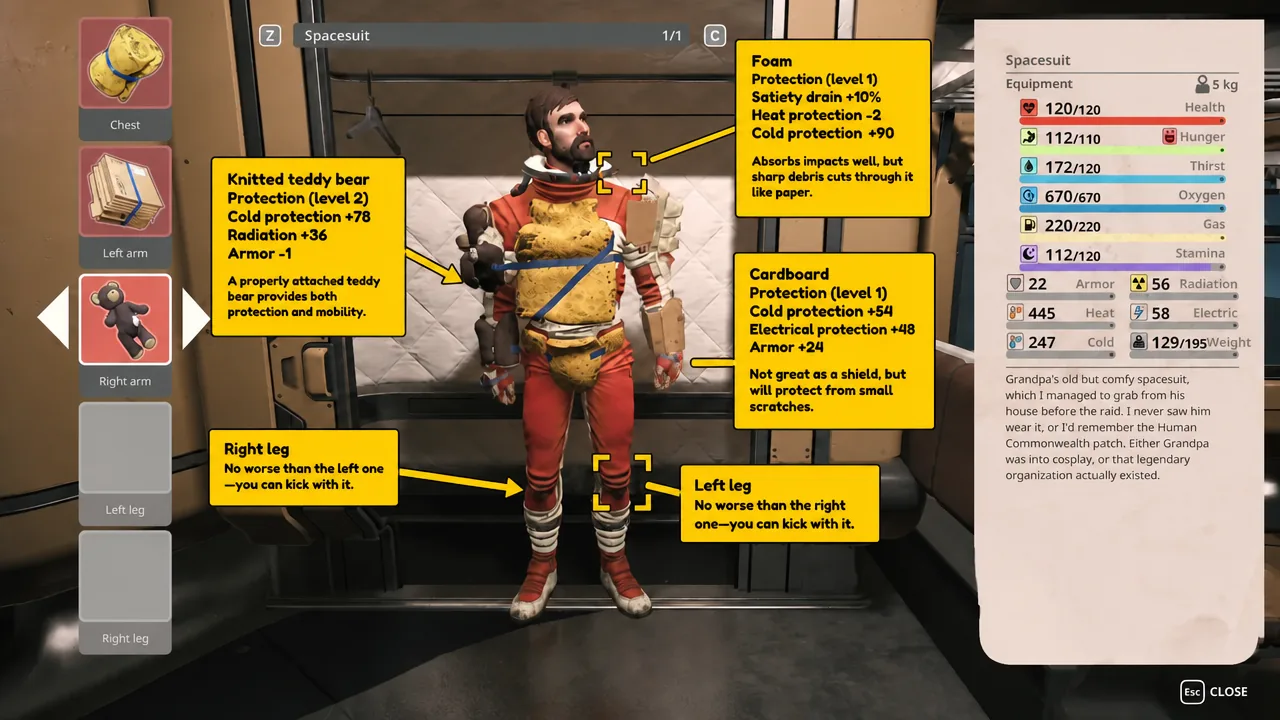
Suit upgrades go on at the Wardrobe, and none of them are pure gains. Each protective piece buys resistance in one area at the cost of something else, so you dress for the hazard you are about to walk into rather than building one all-purpose loadout.
| Protection part | Stat changes |
|---|---|
| Foam | Cold protection +90, Heat protection -2, Satiety drain +10% |
| Cardboard | Cold protection +54, Electrical protection +48, Armor +24 |
| Knitted teddy bear | Cold protection +78, Radiation +36, Armor -1 |
Foam is the best raw cold protection in the set, but the extra satiety drain means you eat more while wearing it. Cardboard is the only one of the three that meaningfully raises Armor, and the teddy bear is the only source of radiation resistance here.
Kettle Bobby and Nutri-Pack-O-Mat station upgrades
The food and water stations each take two kinds of module. A Container part sets how much they hold, and a second slot controls processing speed — a knob on the Nutri-Pack-O-Mat, a filter on Kettle Bobby. The same protective junk that goes on your suit doubles as filter material.
| Part | Slot | Effect |
|---|---|---|
| Knob | Nutri-Pack-O-Mat processing | Processing +0.2 |
| Gear | Nutri-Pack-O-Mat processing | Processing +0.5 |
| Paper | Filter | Processing +0.1 |
| Cardboard | Filter | Processing +0.3 |
| Foam | Filter | Processing +0.5 |
| Knitted teddy bear | Filter | Processing +0.6 |
| Damaged container | Container | Capacity -10, Leak 0.5 |
| Bag | Container | Capacity -20 |
| Rusty bucket | Container | Capacity +10 |
| Backpack | Container | Capacity +30 |
| Plastic barrel | Container | Capacity +50 |
Swapping the default Knob for a Gear more than doubles food processing speed. On the container side, the Plastic barrel is the clear winner at +50, and anything with a Leak value is worth replacing as soon as you find a bucket. Since the teddy bear is both the best filter and a decent suit piece, you will have to decide which job it does.
Where to find upgrade parts
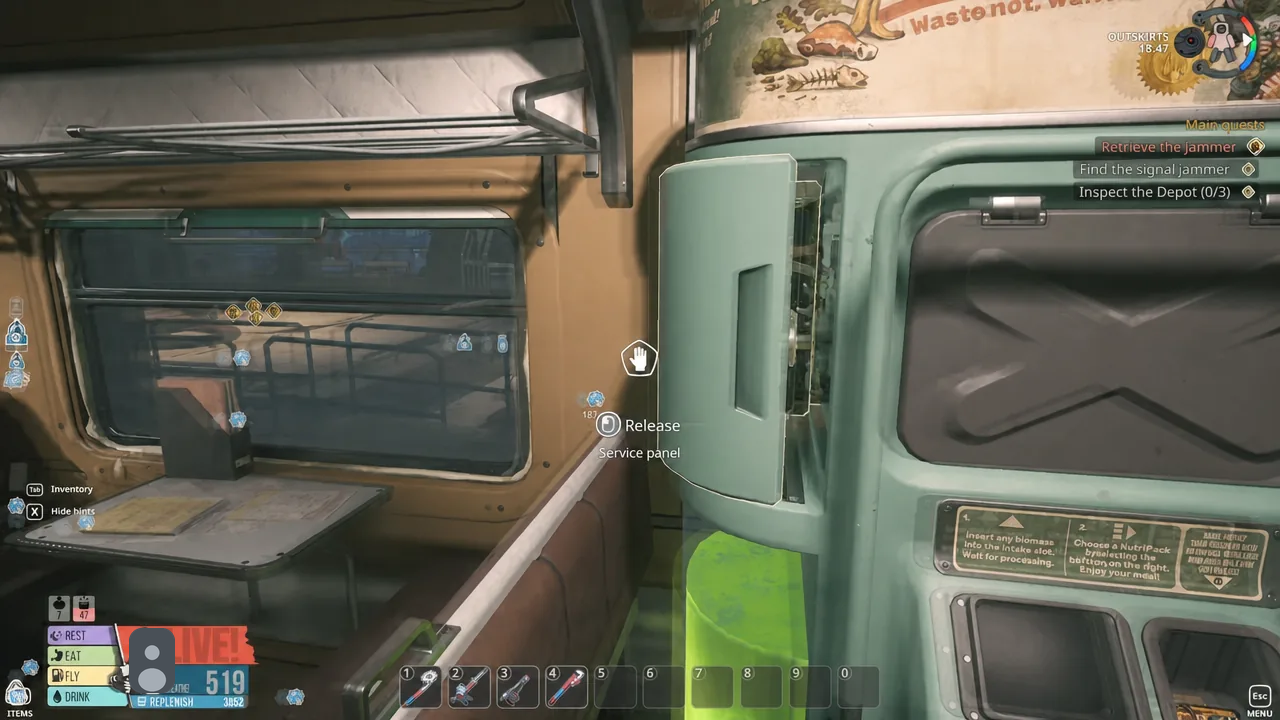
Modules are scavenged, not crafted, so knowing which piece of scenery hides which part saves a lot of aimless drifting. Interactive world objects are worth checking too — panels and fixtures often carry a Release prompt that hands over components.
| Part | Where to get it |
|---|---|
| Foam | Yellow mats |
| Cardboard | Cardboard stacks |
| Knitted teddy bear | Hidden chests |
| Bone (handle) | The gym |
Confirming an upgrade actually applied
An upgrade has taken effect when the part appears in its slot on the item’s upgrade screen and the stat line changes to match — Damage on a tool, Capacity or Processing on a station, protection values on the suit. If a part will not go in, it is almost always the wrong category for that slot, since Edge parts will not sit in a Heft slot and vice versa. The other common blocker is that the module is already fitted to a different tool; remove it there first, then reinstall it, because a module cannot exist in two places at once.
All of this is still moving. The Early Access build on the Breathedge 2 Steam page is being patched regularly, tools like the Twister and Spraytron have empty upgrade lists for now, and stat values on individual parts can shift between versions. Treat your current loadout as temporary and keep a spare Gear or bucket in storage — modules break, and the replacement always costs less than the walk back.