Tools in Breathedge 2 do not level up on their own. To make the Scrap crowbar hit harder or the Cutter pull more materials from a wreck, you need to find physical upgrade parts floating in the Outskirts and slot them in at the blueprint bench inside your cabin.
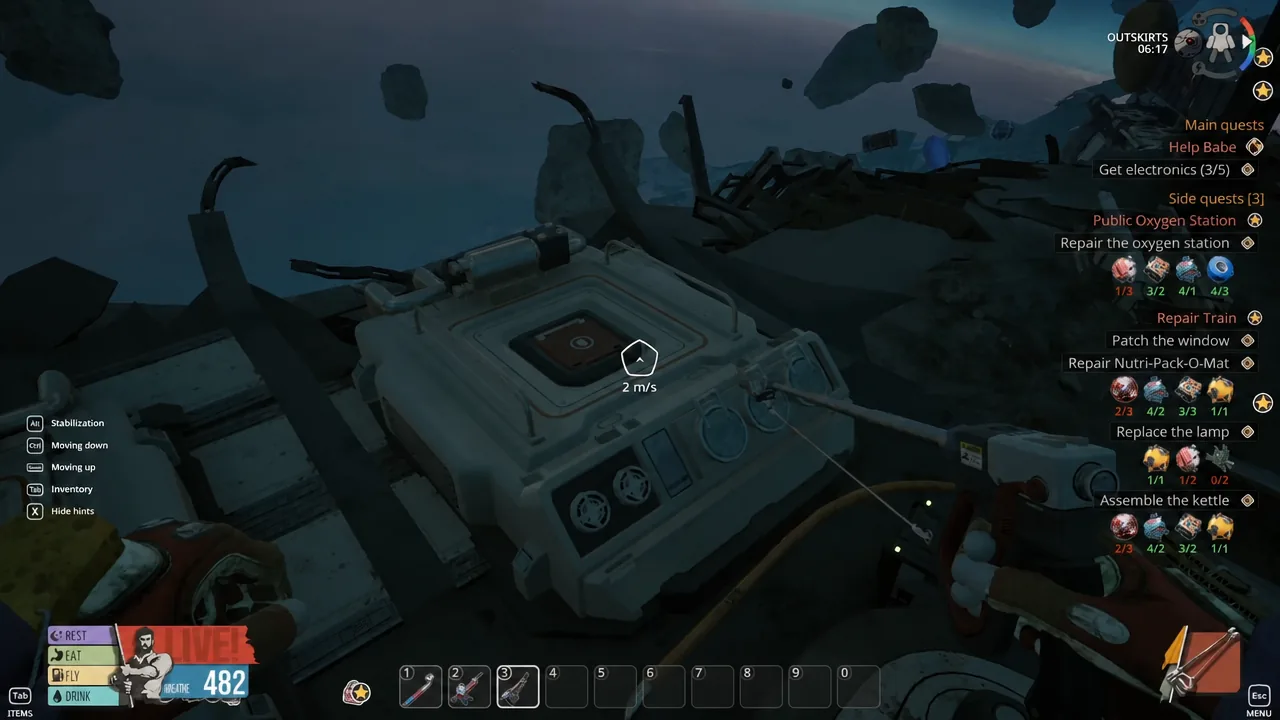
Quick answer: Grapple open the red hatch panels on white wreckage in the Outskirts to collect a Gear and Scissors, return to the cabin, open the blueprint bench, pick the tool, and apply the matching part. The Gear adds +10 damage to the Scrap crowbar; the Scissors add +5 to the Cutter.
What each upgrade does
Upgrades are tied to specific parts, and each part changes one number on the tool’s card. Level 1 upgrades are the ones you can reach early in the Outskirts. The table below covers the confirmed tool upgrades and their effects.
| Tool | Upgrade part | Effect |
|---|---|---|
| Scrap (crowbar) | Gear (Heft level 1) | Damage +10 |
| Cutter | Scissors (Sharp level 1) | Damage +5 / extraction boost |
| Thumper | Scissors (Sharp level 1) | Damage +12 |
The Scrap crowbar starts at 12 damage and weighs 3 kg, so the Gear’s Flange slot brings it up noticeably for prying doors and dealing with early threats. The Cutter starts around 9 extraction, and the Scissors go into its Blades slot to improve how much you pull from salvage.
Note: the same Gear part is also used to repair the Nutri-Pack-O-Mat snack machine, so decide whether you want the crowbar boost or the working snack station first. Other upgrade parts exist too, including a gym weight for the crowbar and chattering teeth for the drill.
Find the upgrade parts in the Outskirts
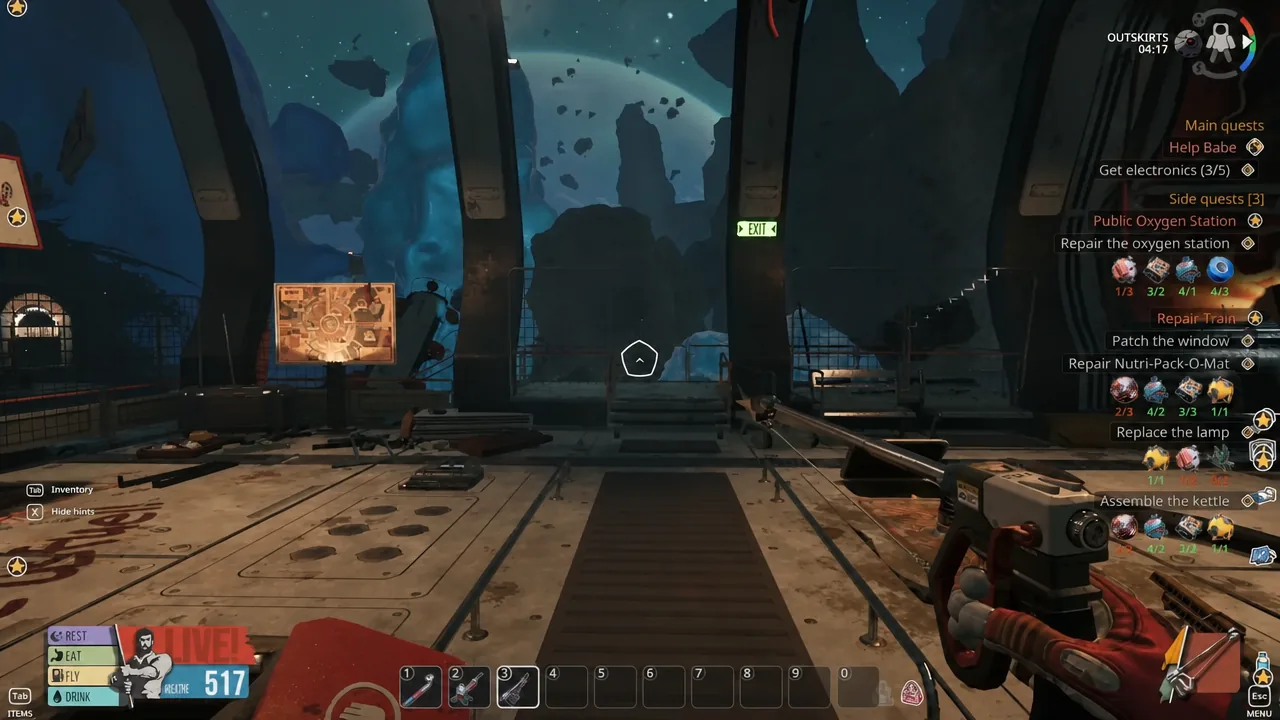
The parts you need are not sold or crafted. They sit inside red hatch panels on the white wreckage structures drifting in the Outskirts, the space area right outside your train cabin.
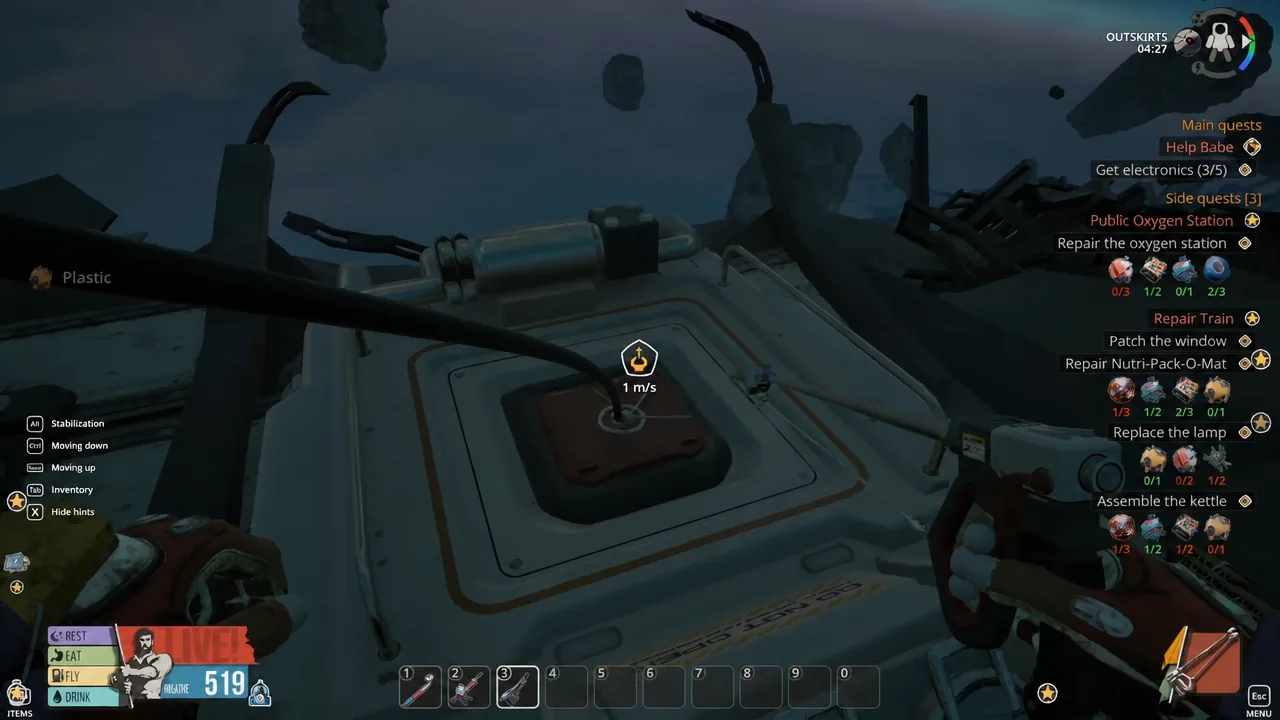
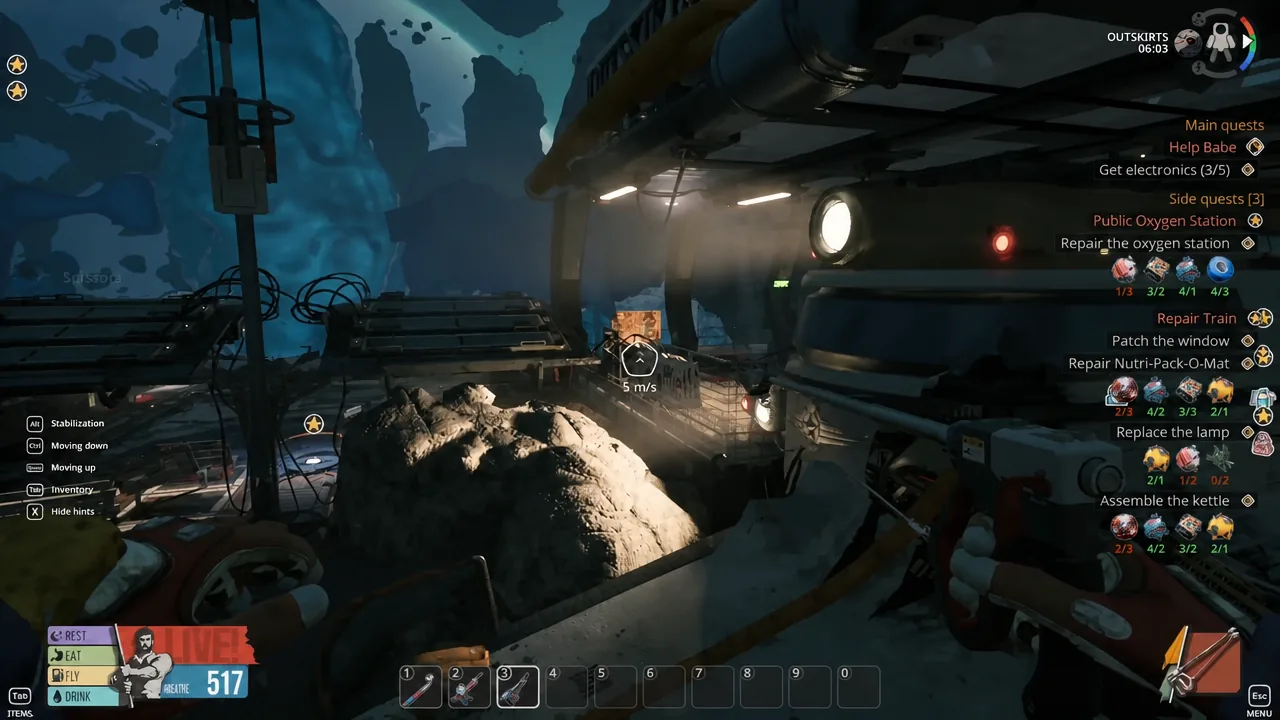
Apply the upgrades at the blueprint bench
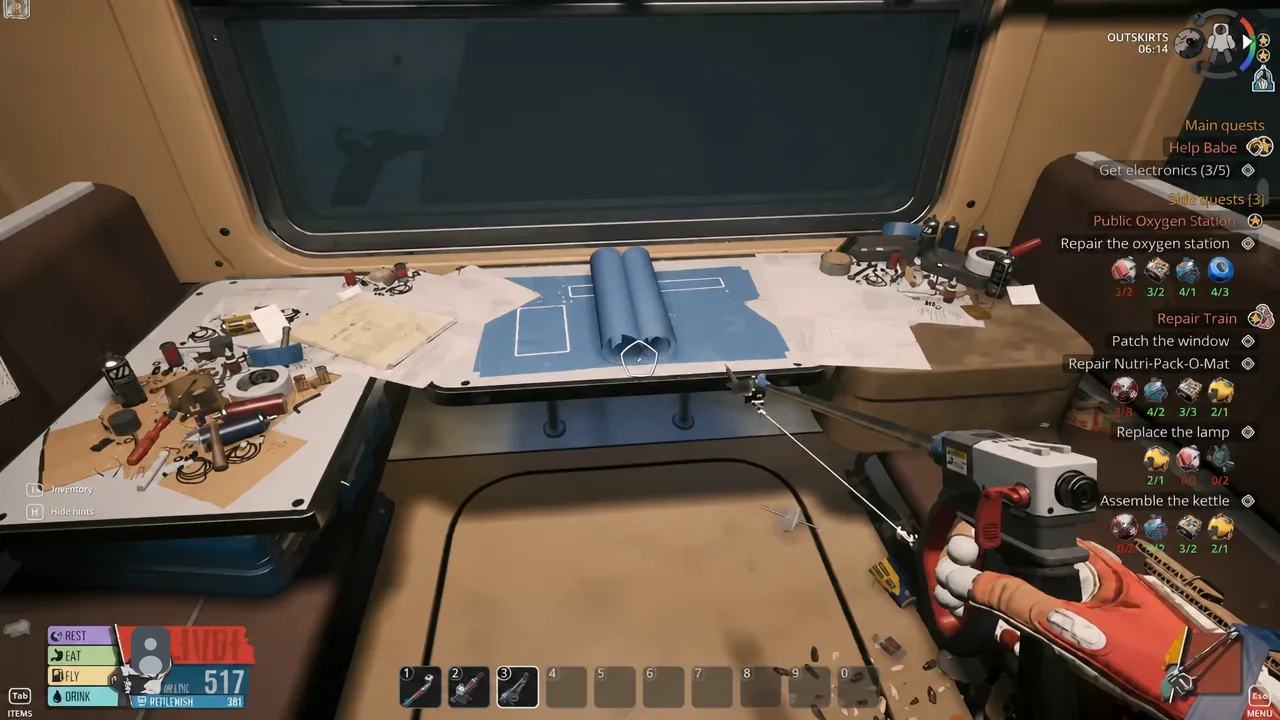
All upgrades are installed at the blueprint bench inside the cabin. You can also apply upgrades at the crafting stations directly, but for the crowbar and Cutter the bench is where you slot the parts.
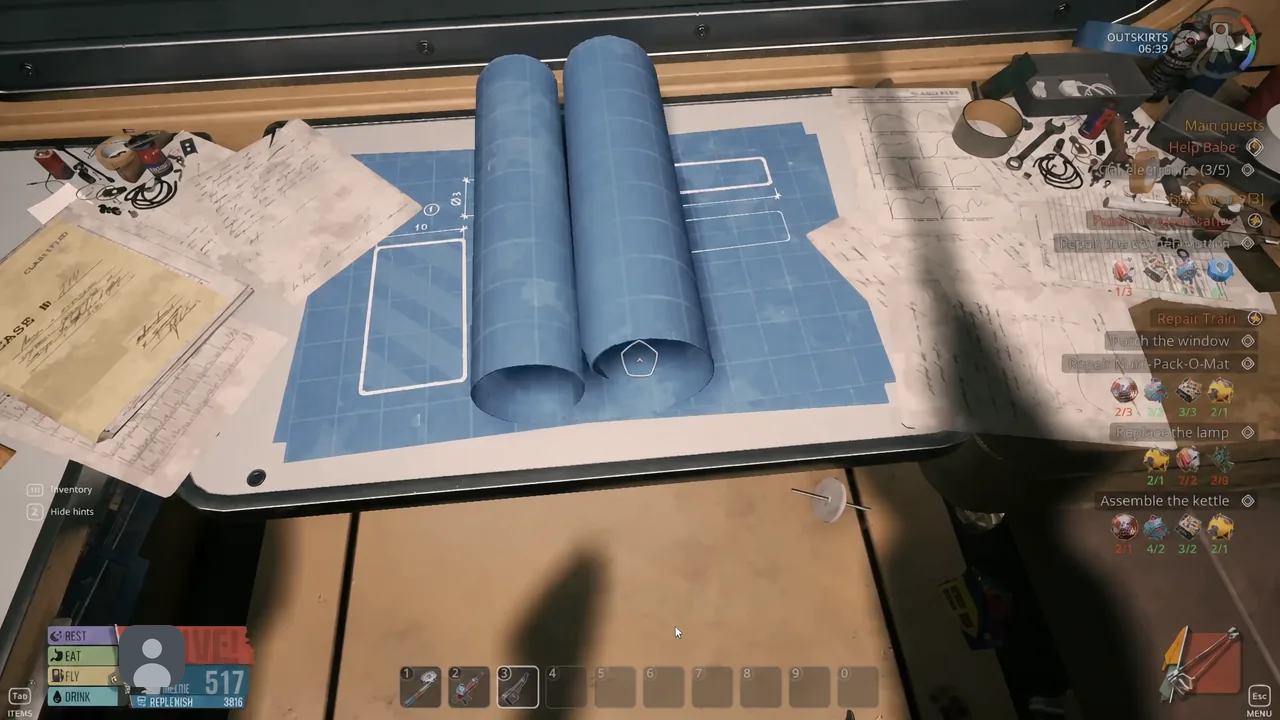
You know the upgrade worked when the tool’s stat card shows the new part in its slot and the damage or extraction value has gone up. If the option to apply is greyed out, you are either missing the matching part or trying to put it in the wrong slot.
With the Gear and Scissors installed, your two starter tools carry you much further into early salvage runs. Keep an eye on other red hatches as you explore, since the same panel system holds the remaining parts for tools like the drill, and hold on to any Gear you find if the Nutri-Pack-O-Mat still needs repairing.