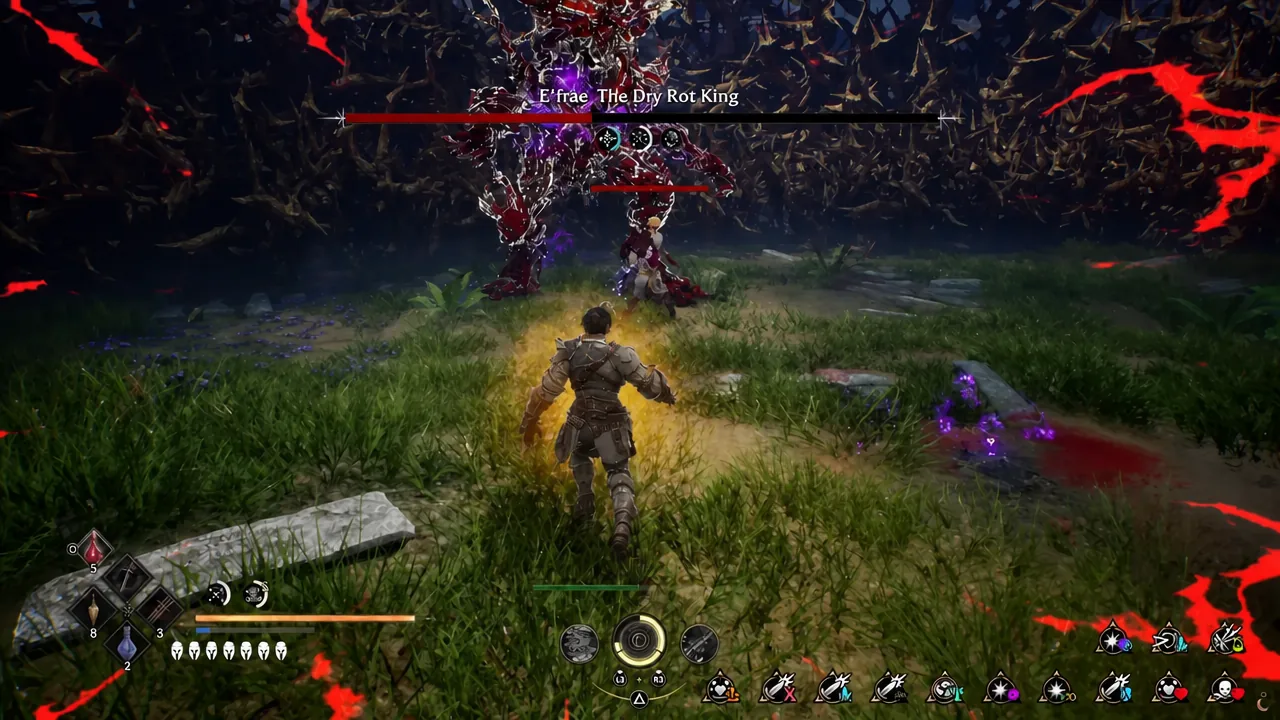
Poison and bleed do the heavy lifting in Crimson Moon because damage over time keeps ticking while you back off, block, or reposition. The build below leans entirely on that idea, using a shield that drops a poison trail behind you, a sword that throws bleed onto enemies from range, and a boon that makes every status effect hit harder. It is durable enough to survive the learning curve and strong enough to take down E’frae, The Dry Rot King.
Quick answer: Run the Rotkin Shield for its Poison Trail alongside the Recantation sword’s Gouging Throw bleed, then take every Sanguine boon plus Scourge of the Unfaithful so Sunderance makes both status effects hit for extra damage.
Full gear loadout for the Poison Bleed build
Every piece here is picked at Rare rarity, and every slot has a job. Two pieces keep you alive through mistakes, two pieces apply the status effects, and the rest pad out stamina and health so you can keep swinging.
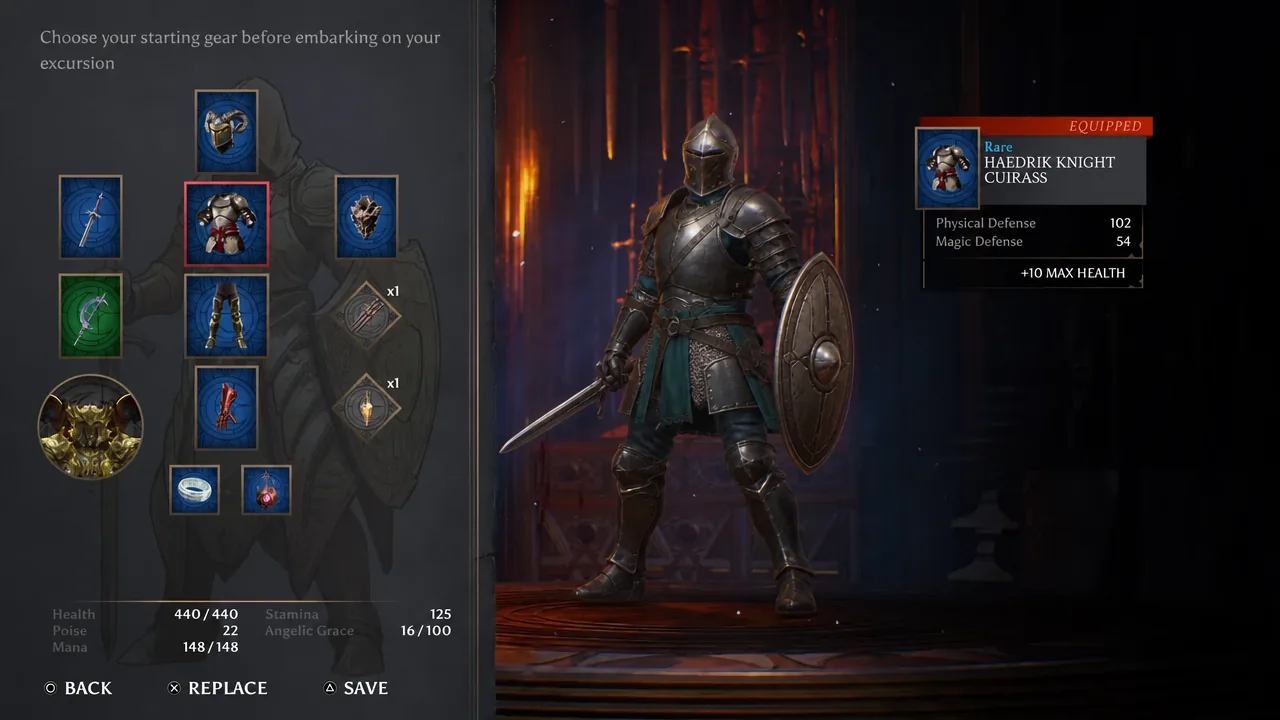
| Slot | Pick | Why it earns the slot |
|---|---|---|
| Head | Ram Helmet | Solid defense plus +25% Enduring Rage duration, which stretches your damage window. |
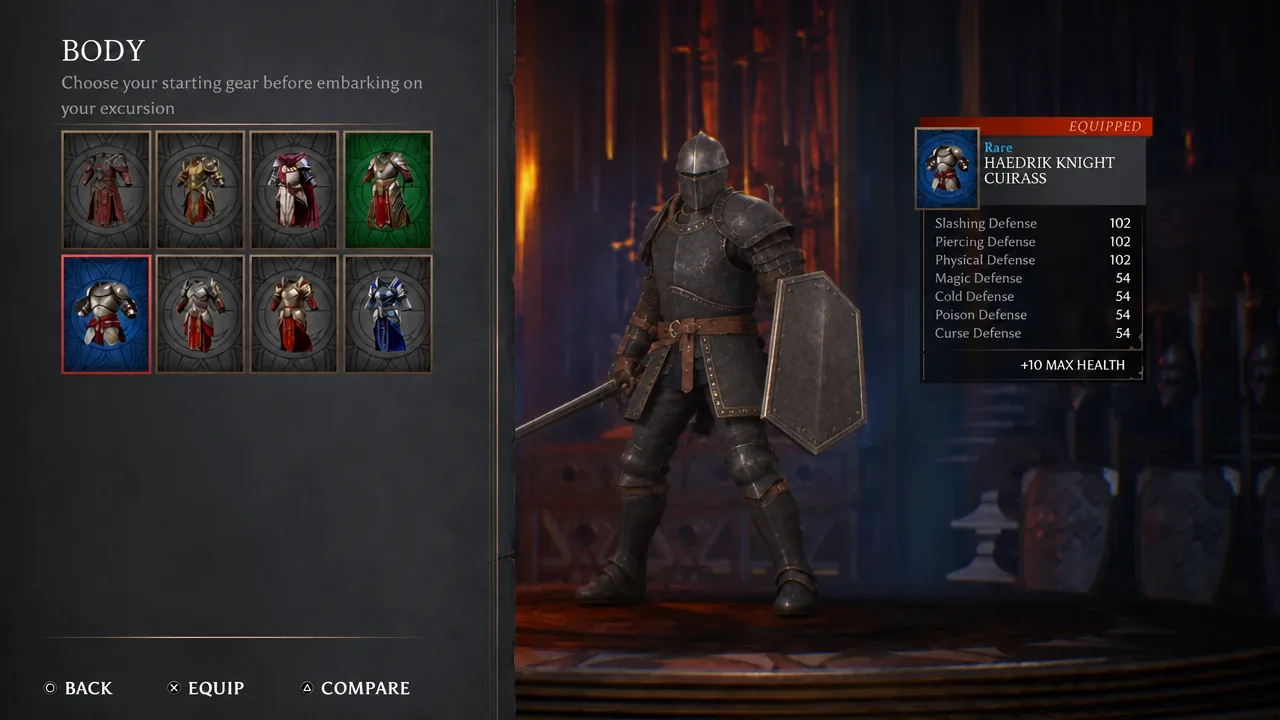
| Body | Haedrik Knight Cuirass | High physical defense and +10 Max Health. |
| Legs | Belwayne Knight Greaves | Defense and +7 Max Stamina for extra weapon art usage. |
| Arms | Telvaught Gauntlets | Status defenses and Reaper’s Respite, which returns 20 Health per kill. |
| Off-hand | Rotkin Shield | Poison Trail leaves poison behind you as you move, ticking down anything that follows. |
| Main hand | Recantation | Gouging Throw applies bleed; Chalice of Conquest refills a health flask. |
| Amulet | Medallion of Last Light | Restores 1% health per second whenever you sit at or below 40% health. |
The Haedrik Knight Cuirass is the safe body pick, but the Apostate Cuirass is the greedy one. It grants a +25% attack bonus while you are suffering a status effect yourself, including burn, frost, poison, or bleed. That means deliberately staying afflicted, which is a bad trade until you trust your parry timing.
How the weapon arts apply poison and bleed
Recantation carries two weapon arts, and they cover different problems. Gouging Throw hurls the blade at a target and applies bleed, which is your opener against anything with a large health pool. Chalice of Conquest is the safety net. When you are down to zero health flasks, landing eight hits on enemies restores one, so aggressive play refills your own healing.
The Rotkin Shield works passively. Poison Trail drops poison on the ground while you move, so kiting a group through a corridor stacks tick damage on anything chasing you. Circling an elite instead of standing still is the correct way to hold the block button in this build.
Tip: Enemy attacks that glow red cannot be blocked or parried. Dodge those, and remember the dodge roll does not grant invincibility frames, so roll out of the path rather than through it.
Boons to grab at Nexus Gates
Boons are chosen mid-run at Nexus Gates and disappear when the run ends, so you are picking from whatever the gate offers. Prioritize in this order.
- Scourge of the Unfaithful — applies Sunderance, which makes enemies take extra damage from status effects like bleed and poison. This is the single largest damage boost in the build.
- Sanguine Charge, Sanguine Slam, Sanguine Slice, Sanguine Strike — each one attaches bleed to a different attack type. Take as many as the gates offer.
- Flow of Combat and Blessed Momentum — general uptime boons that keep your offense rolling between status ticks.
Boon effects stack with the bonuses already baked into your trinkets and gear, so a bleed boon layered on top of a bleed weapon art is not wasted. Resist the urge to collect frost, burn, and bleed at once. Spreading across three status effects means none of them build up fast enough to matter.
The three-boon Angelic Grace loop
Angelic Grace normally fills slowly through combat, gating how often you can enter your Angel transformation. Three boons together turn that gauge into something you refill on demand, which is why this combo is worth building a whole run around.
| Boon | Effect |
|---|---|
| Hunter’s Strike | Light attacks have a 25% chance to mark an enemy. |
| Graceful Strike | Hitting a marked enemy with a light attack recovers 1 Angelic Grace. |
| Edict of Condemnation | Executing an enemy marks every enemy within 7 meters. |
You will know the loop is working because the Angelic Grace counter climbs during normal light attack strings instead of only on kills. A typical mid-run stat line for this setup reads 440 Health, 22 Poise, 148 Mana, and 125 Stamina, with Angelic Grace filling toward 100.
Alternative gear for frost runs and boss fights
If the run does not hand you the right drops, a few swaps keep the build functional without breaking its identity.
| Swap | When to use it |
|---|---|
| Obsidian Shard | Replaces Recantation if you would rather commit to a frost damage route. |
| Crescent Moon Halberd | Two-handed option for boss fights; its Winter Solstice art summons an ice wedge for crowd control. |
| Castlefall | Amulet alternative when Medallion of Last Light has not dropped. |
| Amulet of Cleansing Pestilence | Amulet option built around Cleansing Pestilence rather than low-health regeneration. |
Keeping the build between runs
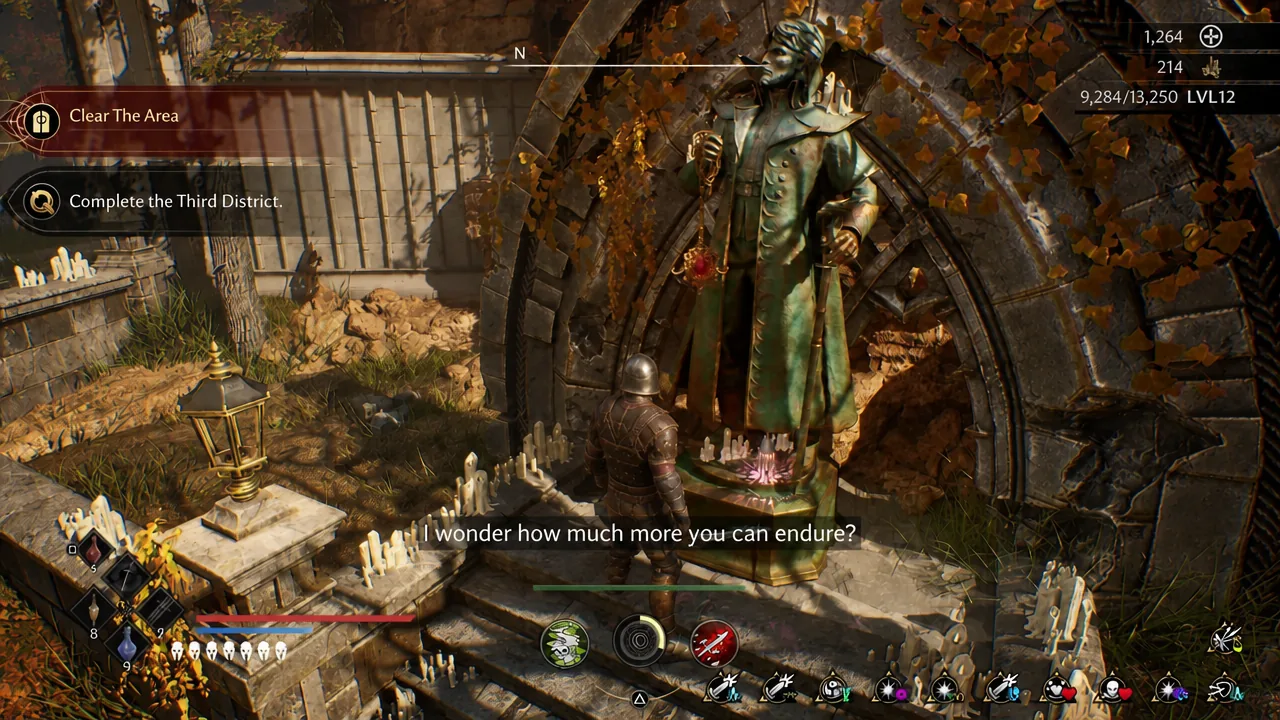
None of this gear is yours until you finish the hunt. Equipment picked up in the field only becomes permanent once you clear the district and purify it back at Sanctus Clypeus, at which point it appears in your loadout for every future run. Fail the hunt and anything unpurified is gone, though you keep the experience and gold you earned.
That makes the first few attempts at this build a deliberate errand. Wear the Rotkin Shield and Recantation the moment they drop, then play conservatively and extract rather than pushing deeper for more loot. The blacksmith at the hub can raise the rarity of what you already own, which is usually faster than waiting for a Rare version to drop on its own.
Why the build stalls
There are only a few reasons this setup underperforms, and all of them are fixable.
- No Sunderance. Without Scourge of the Unfaithful, your poison and bleed ticks land at base value and boss health bars barely move.
- Standing still with the shield up. Poison Trail only lays down poison while you are moving.
- Leading with heavy attacks. Both Hunter’s Strike and Graceful Strike are tied to light attacks, so the Angelic Grace loop never starts.
- Skipping executions. Edict of Condemnation does nothing until an enemy dies to a finisher.
- Running dry on stamina. Every dodge, block, and swing draws from the same pool, which is exactly what the Belwayne Knight Greaves are there to pad out.
Played properly, the rhythm is repetitive in the best way. Throw Recantation for bleed, circle the pack to lay poison, chip in light attacks to farm Angelic Grace, then execute something to re-mark the room and start again. Sunderance quietly doubles down on all of it, and Reaper’s Respite plus the Medallion of Last Light cover the damage you inevitably take while learning the parry window.