

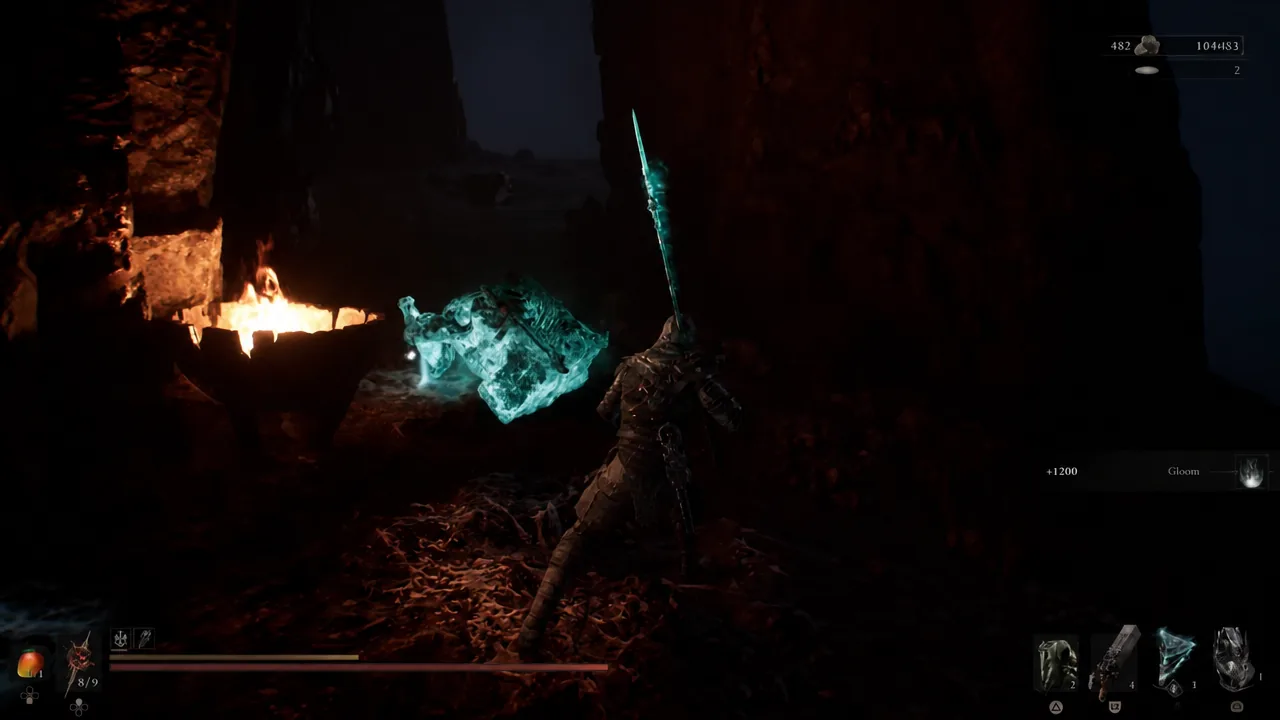
Glimpses are the currency behind Shell Bonding in Mortal Shell II, and a normal playthrough simply does not hand out enough of them. Cleansing Beacons, clearing Corrupted Gates, and Gloom siphoning Ova in Marrow Keep will comfortably max about three Shells. The rest have to come from Glimpse Stones, and those only drop in the endgame.
Quick answer: Rest at the Chamber of the Forsaken mini beacon in The Unfound Path, run out of the cave, and use the Forgotten Crossbow with the Shuddering Tarstone to knock the three Lithopods off the ledge. Rest again to reset them. A loop takes roughly 15 seconds and averages one Glimpse Stone.
How the Glimpse Stone works
The Glimpse Stone is a Fragile Tarstone. Equip it, defeat 20 enemies, and it shatters with a “Fragile Tarstone Broken” prompt and a reward of 3 Glimpses. It does not matter which enemies you kill or where you kill them, so the 20 kills can be as easy as you can make them.
Fragile Tarstones do not stack for this purpose, so only one Glimpse Stone counts down at a time. Stockpiling twenty of them does not speed anything up on its own; each stone still needs its own 20 kills.
Only the Lithopods in The Unfound Path drop them. The stone crabs you meet in the main game are a different pool and give Egon’s Stone, Justiciar’s Stone, and Gloombound Stone instead. Merrick also stocks Glimpse Stones, but his supply is limited and runs out quickly.
Unlocking The Unfound Path
The Unfound Path opens after you gather 167 Ova from Corrupted Gates and cleansed Beacons and feed them into the Gloom Siphon in Marrow Keep. An underground route appears inside the Keep and leads into the area. Until that is done, there is no Glimpse Stone farm available.
Fastest Glimpse Stone farm at the Chamber of the Forsaken
The tightest loop sits just outside the cave that holds the Chamber of the Forsaken mini beacon. Three Lithopods sit on open ground near a drop, and all three can roll a Glimpse Stone. Because there is a ledge right there, you never have to fight them properly.
| Slot | Pick | Why |
|---|---|---|
| Sidearm | Forgotten Crossbow | Fast, accurate shots at range |
| Tarstone | Shuddering Tarstone | Adds heavy knockback to each bolt |
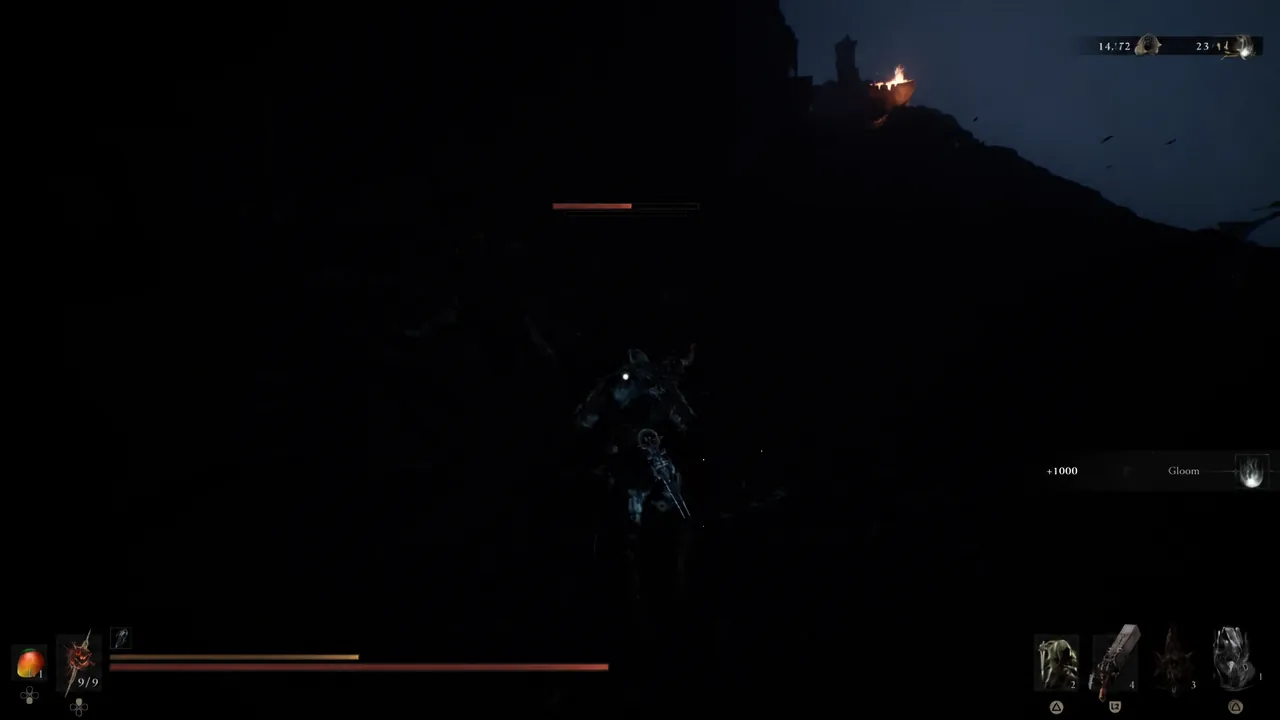
Averaged out, this returns about one Glimpse Stone per run. Fifteen minutes of looping is usually enough to cover a full Shell roster, though drops are random and individual runs can come up empty.
The Hidden Nave run as a second Lithopod route
If you would rather clear enemies than kite them off a cliff, The Hidden Nave gives you a short, linear stretch of Lithopods. Open the fast travel menu at Mother’s Breath and select The Hidden Nave under The Unfound Path.
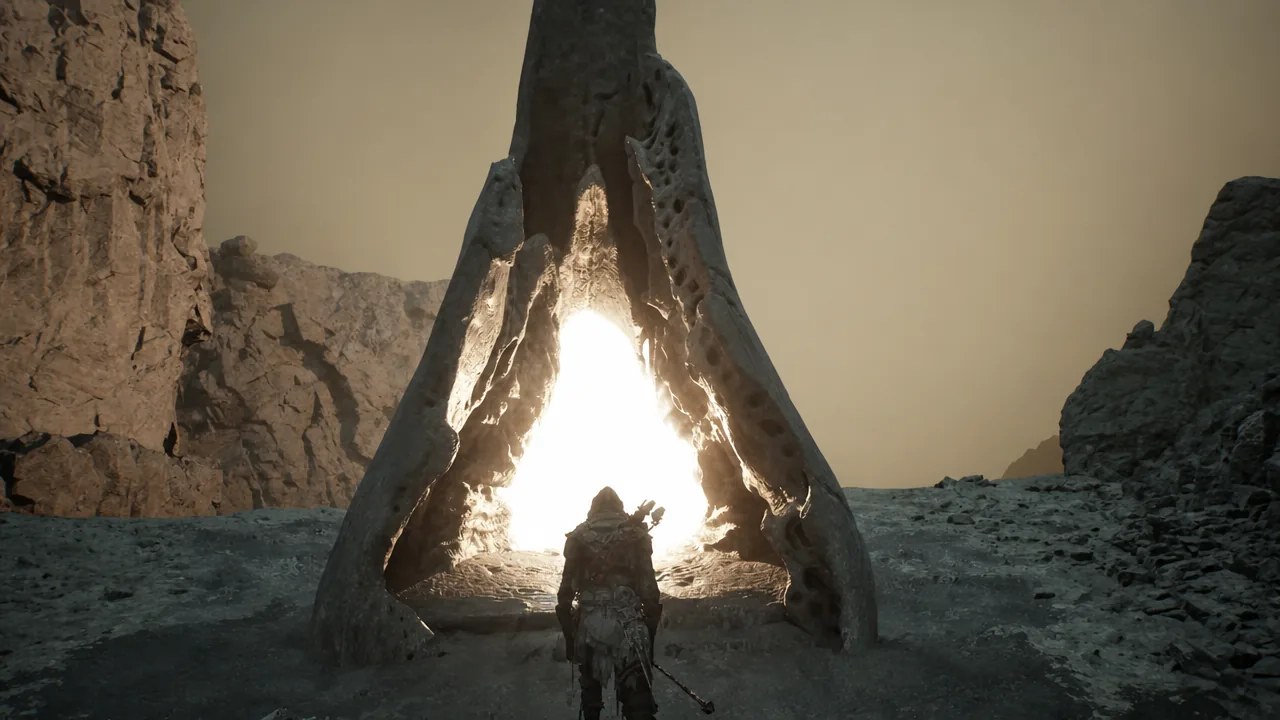
Step through the portal and stick to the main path into the dark cavern. Only a handful of Lithopods sit along it, so you can wipe them out, grab the Glimpse Stones and Gloom, then loop back to the start to reset the spawns and go again.
Fastest way to break Glimpse Stones at Blackridge Pass
Collecting stones is the quick half. Each one still needs 20 kills, and the Blackridge Pass Beacon makes those kills trivial. Two bats hang from a tree across the bridge, both die to a single ranged shot, and resting brings them straight back.
| Slot | Pick | Why |
|---|---|---|
| Sidearm | Ballistazooka | Easiest targeting on the hanging bats |
| Tarstone | Charged Stone | Keeps the Sidearm firing between rests |
That pace works out to roughly two kills every five seconds, so a single Glimpse Stone breaks in about 50 seconds.
How many Glimpse Stones you need for every Shell
One Shell costs 27 Glimpses to fully bond. If a standard playthrough already covered three Shells, the remaining five are the target, and the arithmetic is fixed.
| Requirement | Amount |
|---|---|
| Glimpses per maxed Shell | 27 |
| Glimpses for five remaining Shells | 135 |
| Glimpses per Glimpse Stone | 3 |
| Glimpse Stones needed | 45 |
| Kills per Glimpse Stone | 20 |
| Total kills required | 900 |
Split across the two loops, the time cost lands at roughly an hour. Gathering 45 stones takes around 15 minutes of Lithopod runs, and breaking all 45 at Blackridge Pass runs about 40 to 50 minutes once you allow for resting and swapping stones.
Confirming the farm is working
A successful Lithopod kill shows a “+1 Glimpse Stone” pickup alongside the Gloom it drops. When a stone finishes its count, you get the “Fragile Tarstone Broken” message followed by “+3 Glimpse”. Spend the Glimpses on Shell Bonding through Zhirelle in the Shellkeeper’s Vault.
If the count is not moving, check the three usual causes. No Glimpse Stone equipped means no kills register. A second stone in another slot contributes nothing, since Fragile Tarstones do not stack for this. And killing stone crabs outside The Unfound Path will never produce Glimpse Stones, no matter how many you clear.
Note: keep the two stages separate. Stockpile stones first at the Chamber of the Forsaken, then move to Blackridge Pass and burn through them in one sitting. Mixing the loops wastes time travelling between areas.





