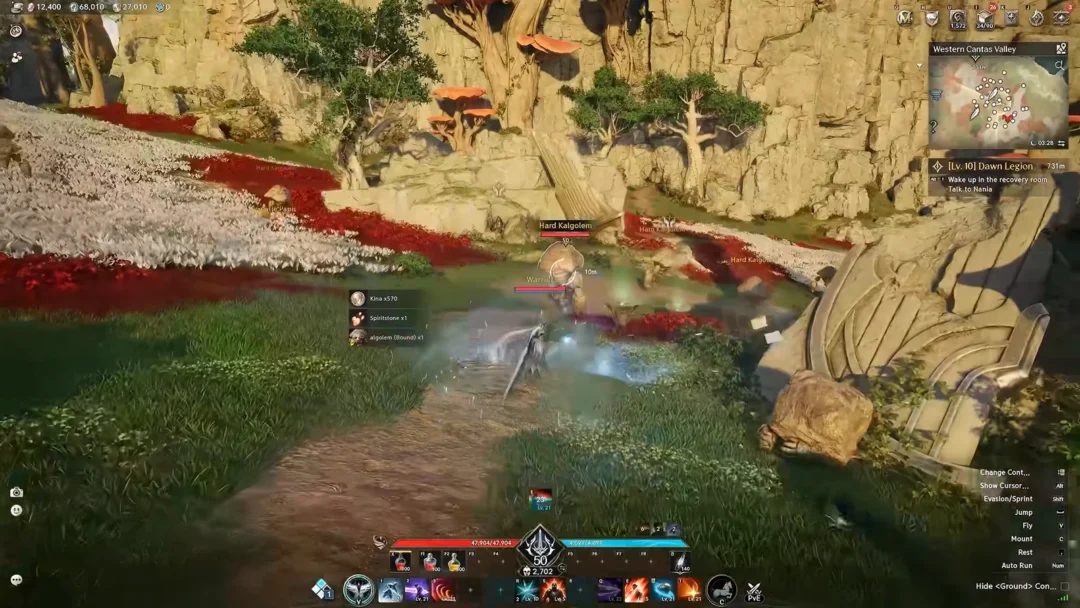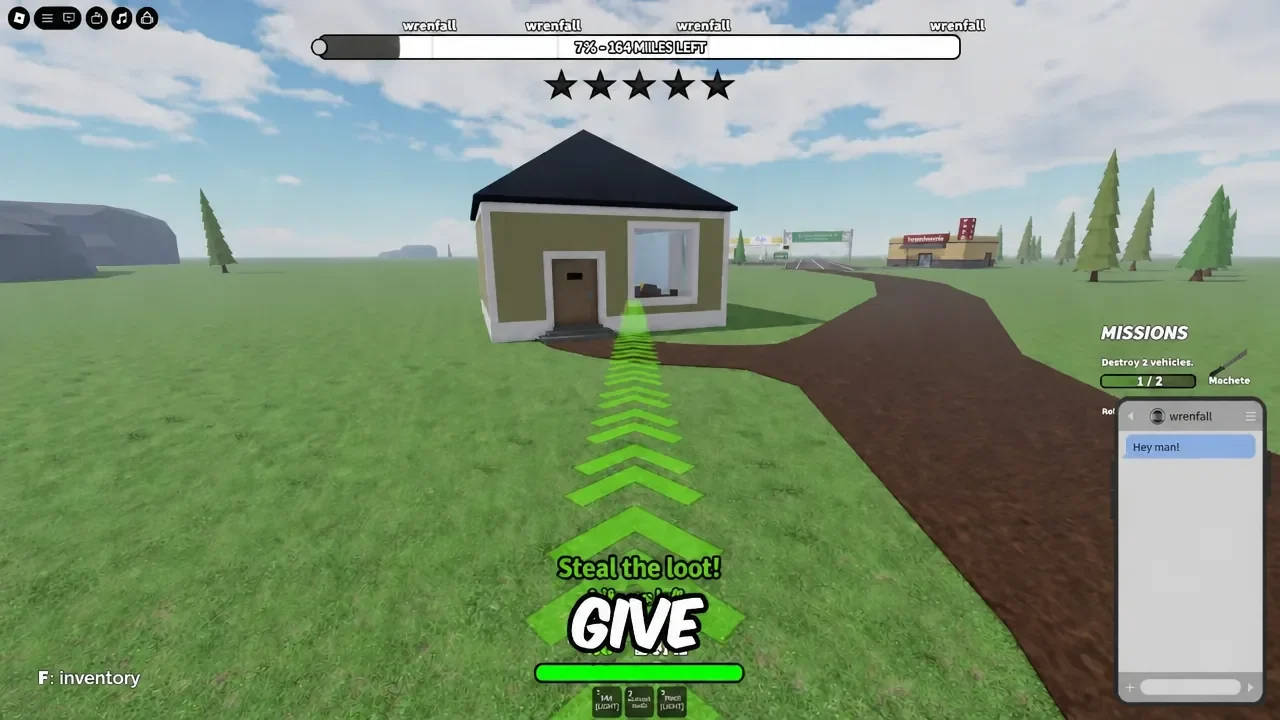
A solo run in RUNAWAYS lives or dies on two things: fuel and restraint. You have one pair of hands to loot, fight, drag items, and drive, so every minute spent clearing a low-value house is a minute the police timer keeps ticking. The players who finish runs consistently are not fighting more, they are stopping less.
Quick answer: Loot the opening gas station before committing any crimes, sell at the pawn shop, buy two melee weapons plus a backpack, then at every new town refuel first, grab only high-ticket loot and cash sources, and drive south with at least four full jerry cans for the Mexico border.
The solo run loop that finishes
Every profitable run follows the same rhythm. Arrive in a town, refuel immediately, hit the richest buildings near your parking spot, sell, then leave before backup lands. Repeat until the border. Treating fuel as the first action rather than the last is what keeps a run alive, because a full tank means you can abandon any situation the moment it turns bad.
| Phase | What you do | Risk |
|---|---|---|
| Opening | Tutorial house loot, pawn shop sale, free gas station items | Low |
| First upgrade | Buy melee weapons and a backpack before overextending | Low |
| Expansion | Houses, banks, ATMs, registers, large items on the car roof | Moderate |
| Transit | Refuel, fill jerry cans, repair the car between towns | Moderate |
| Border | Clear guards, open the gate, drive through | High |
Lobby prep: class, vehicle, and free starting cash
Classes and cars are permanent lobby purchases, so they carry into every future attempt. Among the non-premium options, Gang Member is the strongest all-round pick for solo play thanks to extra speed, extra storage, a ranged weapon, and ammo. Medic works if you want the health cushion instead. Smuggler and Juggernaut are the paid picks people gravitate toward, with Smuggler handing you a speed boost and a backpack from the start.
For vehicles, the starter Claptima runs out of fuel fast. Charged is the speed option, while the T-1000 matches it and adds armor, which matters more when police start shooting at your car. There is also a Jeep-style vehicle with heavier armor and a larger fuel reserve for players who would rather survive contact than win a drag race. Prices shift between updates, so check the in-game shop before saving toward a specific target.
Before you queue up, claim the lobby chest reward for joining the group and liking the game. It adds $100 to your starting cash, which is enough to matter during the first purchase decision.
The opening town: free gas station loot before any stars
The starter house gives you a handful of tutorial items like a watch and a trophy. Sell those at the pawn shop first, then drive to the gas pump. The important detail is that the first gas station can be stripped without earning wanted stars, so you can walk out with medkits, food, drinks, cash, and planks for free.
Note: in later towns, gas station stores are worth much less. Once you are past the opening area, refuel and move on rather than fighting off ramming NPCs for cheap shelf items.
Pawn shop purchase order for solo runs
Money is tight early and fuel prices climb the further south you get, so buy in a fixed order instead of grabbing whatever looks strong. Two melee weapons come first because they cover both combat and breaking objects without burning ammo you have not bought yet.
| Order | Purchase | Why it comes here |
|---|---|---|
| 1 | Two melee weapons (Mace, Crowbar) | Fighting and breaking safes with zero ammo cost |
| 2 | Light Armor | Cheap survivability once NPCs turn hostile |
| 3 | Backpack | Room for medkits and repair drills |
| 4 | Heavy Armor | Prep for the guarded border |
| 5 | Larger backpacks | More slots per trip in late towns |
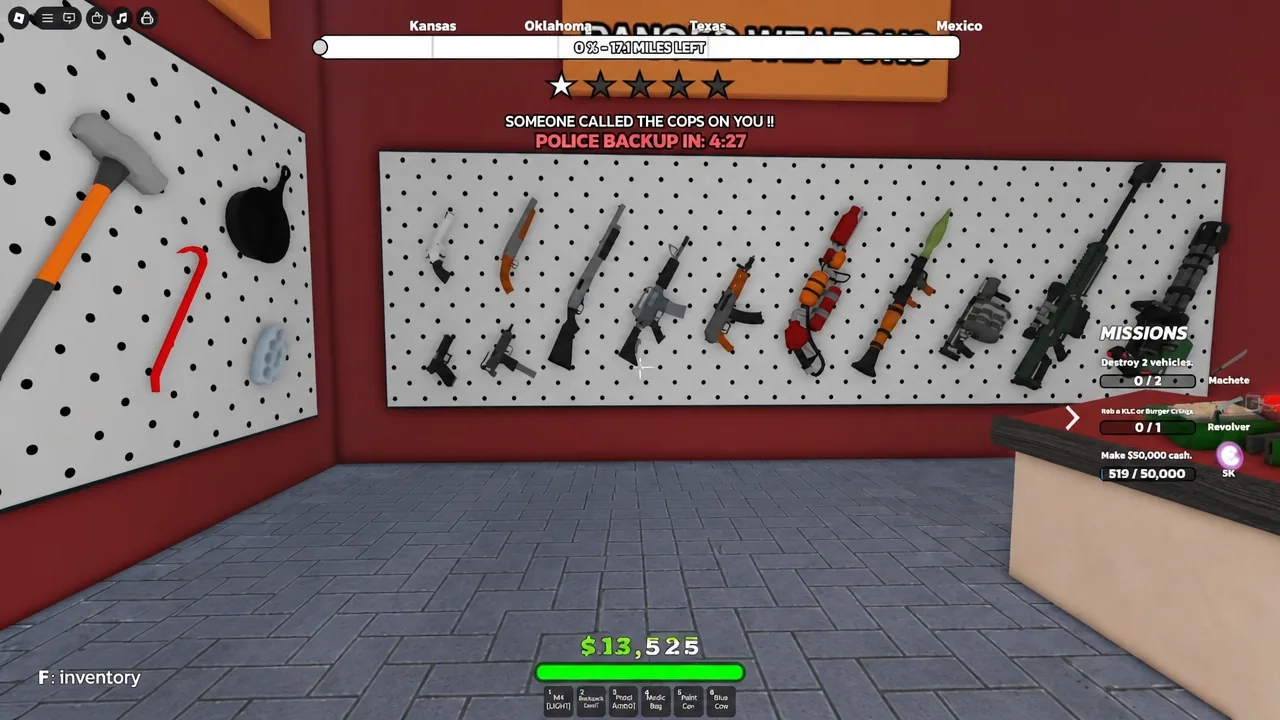
Skip healing items on the shelf when you can. Gas stations exist in every town and hand them over for free. For weapon value, the Machete and Axe give the best melee damage per dollar, and the Minigun is the ranged pick worth saving for. Around Kansas, C4 is worth picking up if you plan to open bank vaults.
Loot worth carrying and what to leave behind
Large items cannot go in your inventory and there is no trunk, so they attach to the outside of the car with the pickup prompt. Paintings, TVs, guitars, boomboxes, and gramophones all ride on the roof. Keep the windshield clear when you stack them, because you cannot drive well through a wall of stolen furniture.
| Item | Rough value | Verdict |
|---|---|---|
| Cat Statue | Up to $1,800 | Top priority |
| Guitar | Around $1,300 | Grab on sight |
| Penguin plushie | Roughly $500–$567 | Worth a detour indoors |
| Paintings, electronics, instruments | High | Attach to the car |
| Tire rim (spawn area) | $225 | Free early cash |
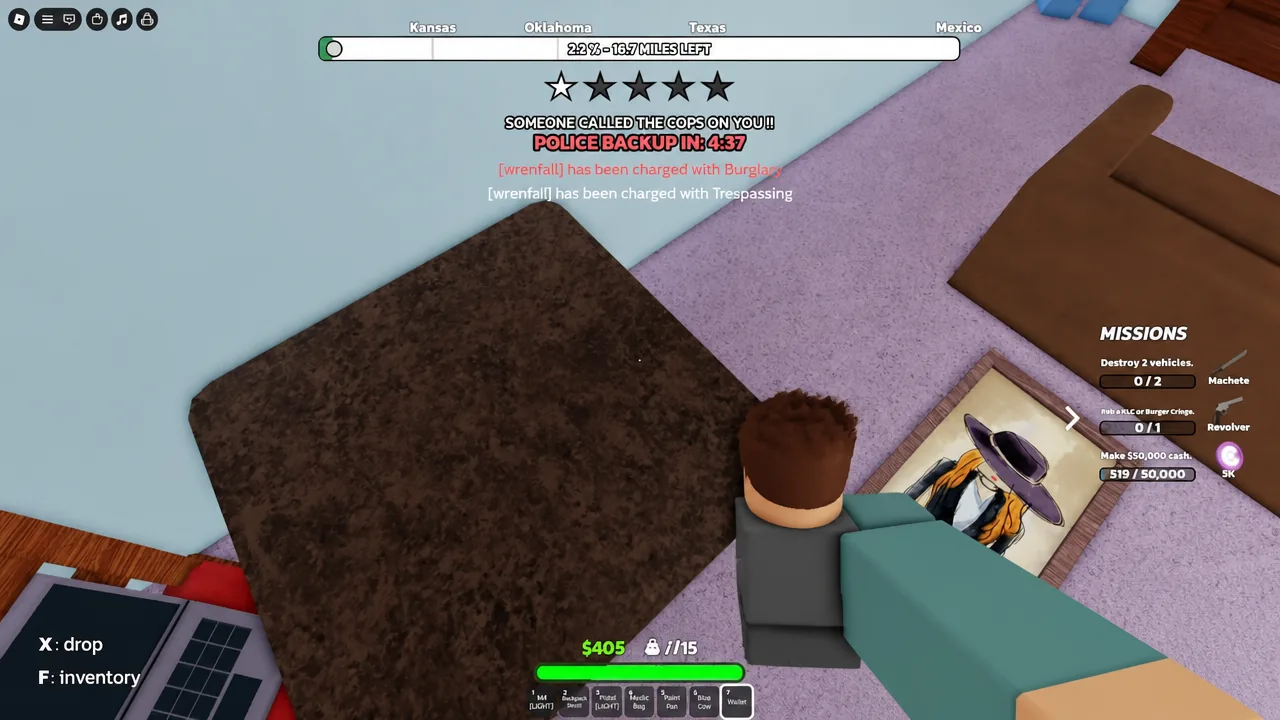
| Wallet | $100 | Take if it is on your path |
| Toasters, dumbbells, basketballs, planks | Low | Leave them |
| Trash cans, mailboxes, dumpsters, drawers | Low | Not worth the search time |
Gold, silver, and diamond-encrusted valuables are easy to spot by color and are always worth an inventory slot. In bank vaults, take the gold tier and ignore the bottom-end silver clutter. Food, medkits, and paint cans should never be sold, since they cover healing during the border fight and car repairs on the highway.
Cracking safes, ATMs, and vaults without wasting ammo
Cash sources pay out directly, which saves you a pawn shop trip. Break ATMs, cash registers, and vaults with a heavy melee weapon rather than shooting them. A Mace or Sledgehammer does the job, and a Crowbar noticeably speeds up registers and ATMs compared to your fists. ATM payouts have landed anywhere from about 150 cash to 420 cash depending on the update’s economy balance.
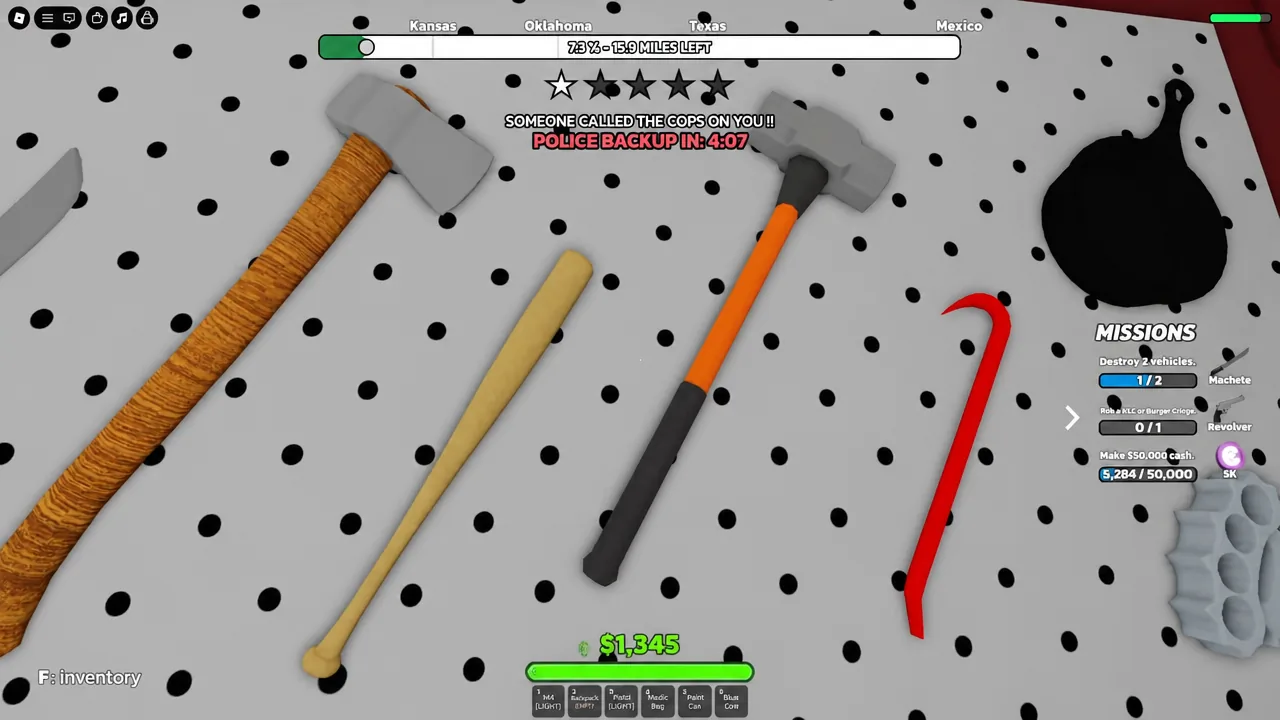
Two positioning tricks make this safe. At Shay D. Bank you can damage the vault through the exterior wall, which keeps you out of the room while it opens. Indoors, jumping onto shelves or a counter puts you above hostile NPCs, whose melee cannot reach you. You can also cycle melee weapons across hotbar slots mid-swing to skip the attack cooldown, which cuts vault and police fights short.
Only start a safe when your car is parked close, the area is clear, and the police timer has real time left on it. If you are already carrying high-value loot, sell first and come back only if the town is still calm.
Fuel management and car repairs
Fuel gets more expensive the further south you drive, so top off the tank and fill jerry cans at the cheap early stations. Each can holds 20 liters, and you want at least four of them strapped to the car before the final stretch, ideally putting you past 100 liters in total reserve. The starter tank tops out around 50 liters, which is not enough on its own.
Refueling is faster if you watch the number on the fuel gauge instead of fussing with the nozzle angle. Some stations use an Auto Pay pump that fills straight to capacity. Check the gauge after every sale and never start a long leg on a partial tank while carrying expensive loot.
For repairs, drills come from the American Tire shop and paint cans and toolboxes turn up around the map. Hold three or so spare tools so you can patch the car mid-fight. Save them until the dashboard defense gauge drops below 40 percent, otherwise you waste a charge on minor scratches. Bolting a turret to the roof handles police cars automatically while you drive.
Keeping your wanted level under control
The wanted level runs to five stars, and there is no button to clear it. More stars means tougher cop NPCs and a shorter backup timer, so the whole game is about not earning them in the first place. Loot stores without smashing windows or attacking civilians, sell and refuel before you start breaking laws, and avoid running people over on the highway.
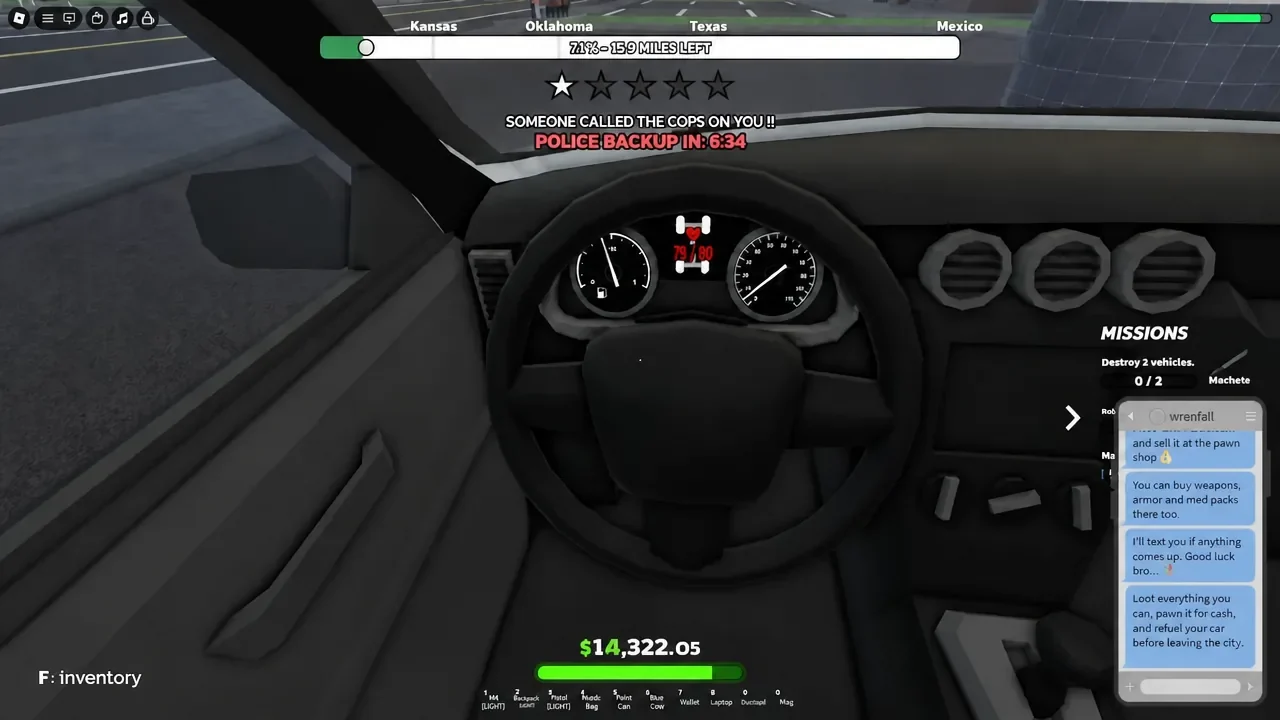
| Situation | What to do |
|---|---|
| No police warning yet | Search buildings properly and stage loot near the car |
| Backup timer with minutes left | Finish one high-value objective, nothing more |
| Timer nearly done | Load up and leave immediately |
| Cops out of their cars | Sit in the car until they dismount, then drive off; they cannot get back in |
| Speed camera ahead | Slow to roughly 45–50 mph to avoid a free star |
| Car heavily damaged | Shorten the route and repair before the next town |
Leaving the marked area triggers the “YOU’VE LEFT THE SEARCH AREA” prompt and calms pursuit. Backtracking does not help, though. Returning to a town you already burned will not reset its police timers, so keep an eye on the route progress bar and keep heading south. State border checkpoints like the one into Kansas are best taken at full speed rather than slowing down into border patrol fire.
Movement tricks that save time
Blue Cow energy drinks give a speed boost that pays for itself when you are hauling loot across a town. Crouch jumping, done by jumping and tapping the crouch key repeatedly on PC, moves you faster while carrying a large item. Firing a Sawed-Off Shotgun at the ground launches you upward when you need height in a hurry.
To stop the car instantly at speed, jump out instead of braking. It parks the vehicle on the spot and skips the slow deceleration when you are trying to reach a building before backup arrives.
The Mexico border and confirming the escape
The border is the hardest fight in the run, so arrive stocked. Before the final leg you want heavy armor, a rifle or minigun with spare ammunition, several healing items, repair tools, and those full jerry cans.
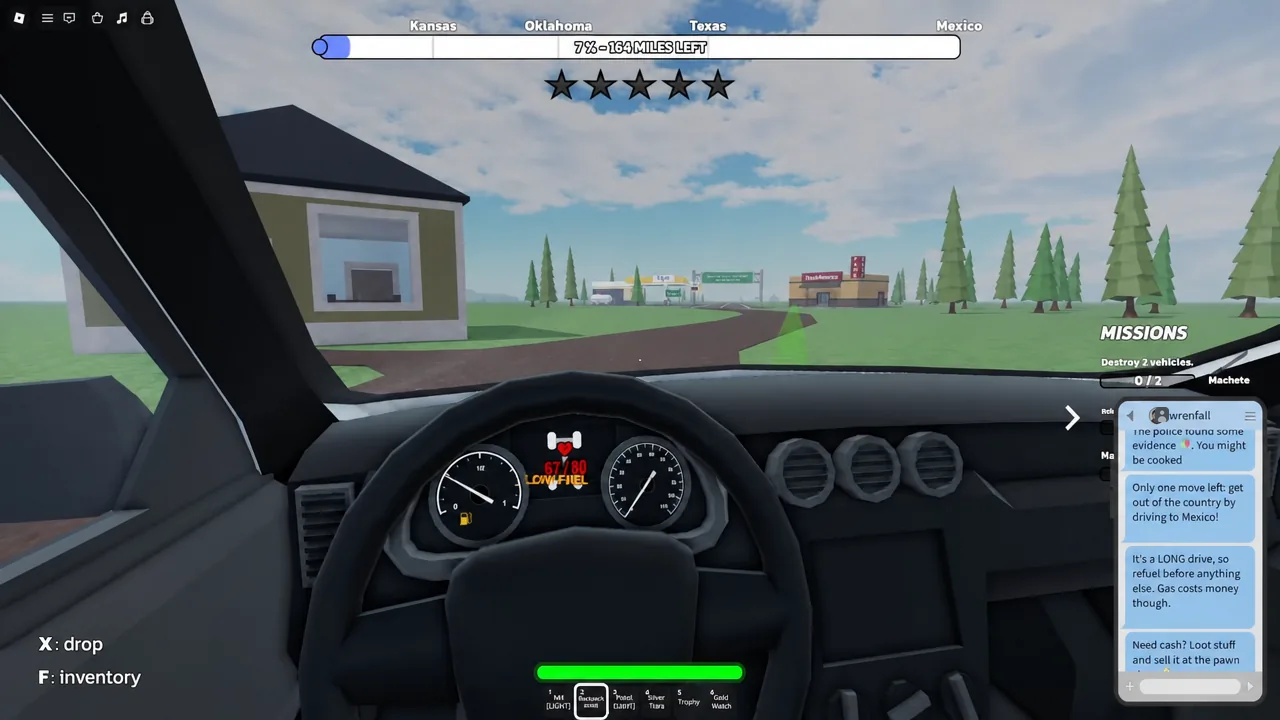
If the run ends early, the cause is usually one of a short list: an empty tank on open highway, a car destroyed because repairs were skipped, stars earned from running over civilians or speeding past a camera, or a last-minute detour for one more item while the backup timer expired.
What actually raises your Credz payout
Finishing an escape is by far the biggest Credz source, but the final payout scales with what you did on the way. Distance covered, total cash earned, wanted level reached, and borders crossed all feed into the end screen, which is why ending a run early to bank a small haul is usually a losing trade.
Check daily quests and the daily reward before you queue. Objectives that reward earning cash overlap naturally with ATM looting and pawn shop sales, so you rarely need to change your route for them. Two codes are also live: entering RUN gives 1,000 Credz and SUPERCAT gives a free Pistol, both redeemed through Shop, then More, then Codes.
The game is still in beta and the economy has been rebalanced more than once, with some expensive items dropped in price and earnings nudged up. Shortcuts based on glitches get patched, so build your routine around the normal loot, sell, refuel, escape loop. That loop keeps working after every update, and it is the version of solo play that reliably ends with the escape screen instead of a capture screen.