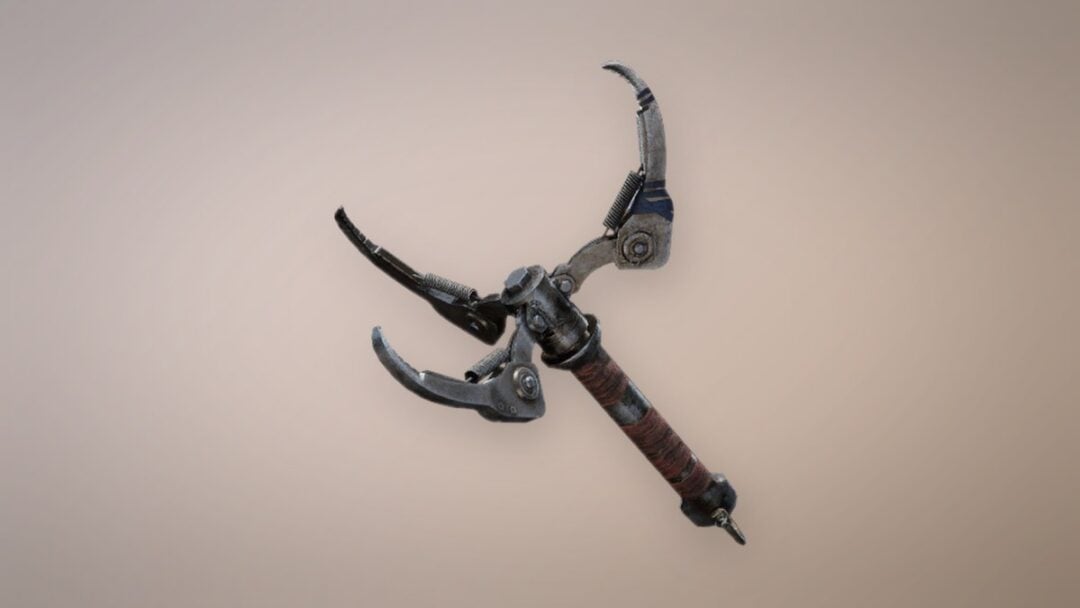
Seven Firstlight weapons exist in Slayers 2, and each one is locked behind its own schematic hidden somewhere in the world. A schematic only unlocks the recipe. You still have to gather materials and craft the finished weapon afterward. Some schematics sit inside underwater caves, others drop from a fight, and two sit at the end of long NPC errands.
Quick answer: Collect all seven schematics across Iceveil Valley, Mistfall Harbor, and Windy Peak, then craft each weapon at Blacksmith Togane in Hidden Mist Village with its matching base weapon and materials.
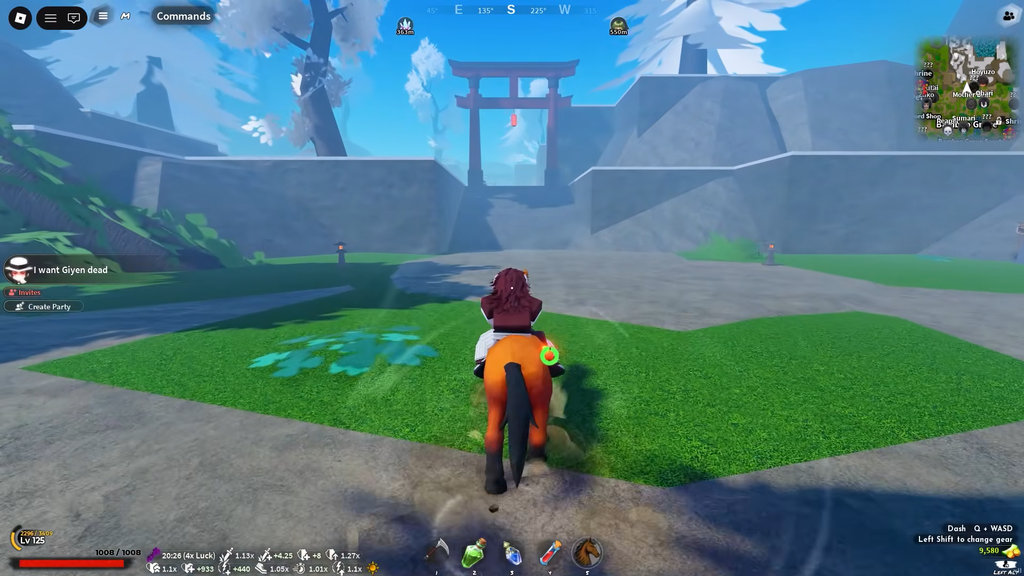
All seven Firstlight schematic locations
Every Firstlight weapon is Mythic rarity. Use the table to pick your next target, then jump to the matching route below for the exact path.
| Weapon | Area | How to get it |
|---|---|---|
| Firstlight Katana | Iceveil Valley | Underwater maze, Katana branch |
| Firstlight Spear | Iceveil Valley | Underwater maze, Spear branch |
| Firstlight Insect Katana | Mistfall Harbor | Cave below the tree-log bridge |
| Firstlight Sound Cleavers | Iceveil Valley | Defeat Duelist Hibiki |
| Firstlight Tanto | Iceveil Valley | Old Trapper Retsu lantern trail |
| Firstlight War Fans | Iceveil Settlement | Supply quest, then dig the snow mound |
| Firstlight Bladed Wagasa | Windy Peak | Boulder challenge, then Wagasa Maker Genzo |
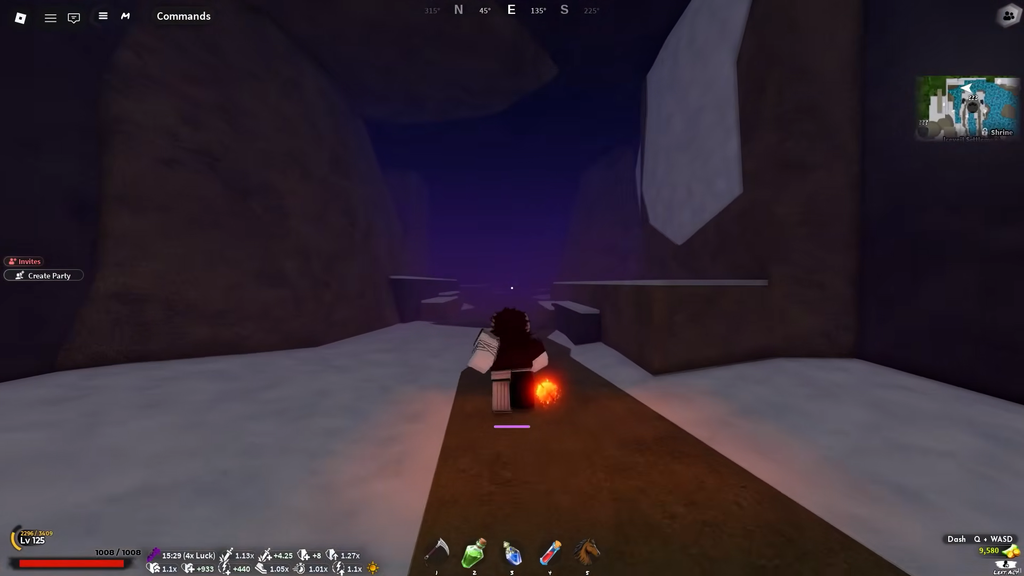
Firstlight Katana and Spear in the Iceveil underwater maze
Both schematics sit in the same flooded maze, so grab them together to avoid a second trip. In Iceveil Valley, head to the water below the Wind Trainer’s platform, dive down to the statue, and swim behind it to find the opening that drops you into the snow maze.
Firstlight Katana route
- Leave the drop point by moving forward, then make the earliest left turn.
- Take the next left, then continue and take the first right.
- At the brown rock, turn left.
- Go straight to reach the Firstlight Katana schematic.
Firstlight Spear route
- Head directly ahead from where you land; turn left at the first opportunity.
- Keep going until you reach the brown rock.
- At the rock, bear right and continue down the corridor without turning.
- Collect the Firstlight Spear schematic at the end.
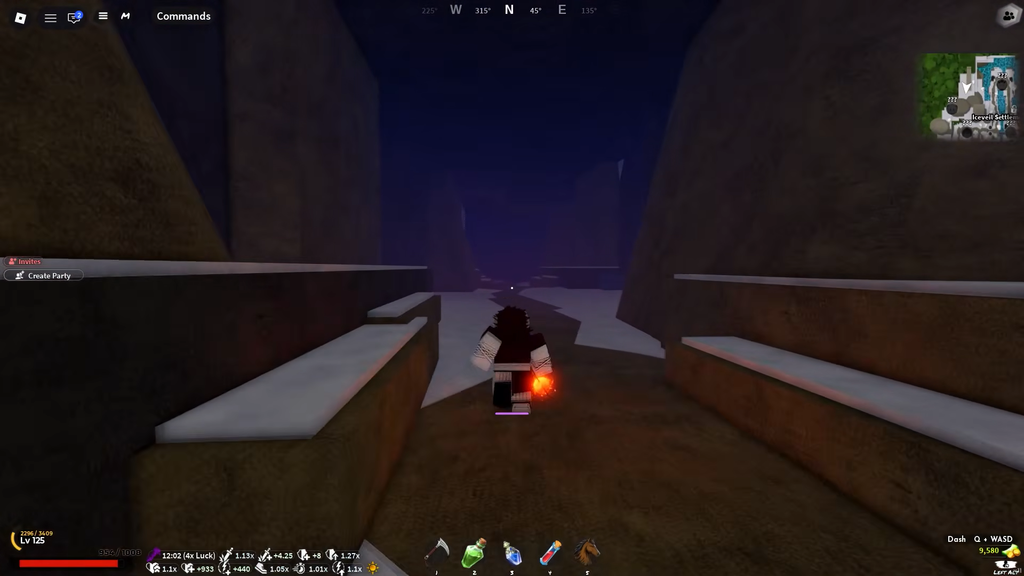
Firstlight Insect Katana in Mistfall Harbor
Make your way to Mistfall Harbor, using the Insect Boss spawn to orient yourself. Locate the broad tree trunk spanning the lake; step onto it and fall into the water below. Dive beneath the surface to find a little opening into a concealed cave.
Follow the passage until you reach the Firstlight Insect Katana schematic frozen in ice. The finished weapon carries movement-speed and stamina-regeneration bonuses, which makes it worth picking up even if you prefer another main weapon.
Firstlight Sound Cleavers from Duelist Hibiki
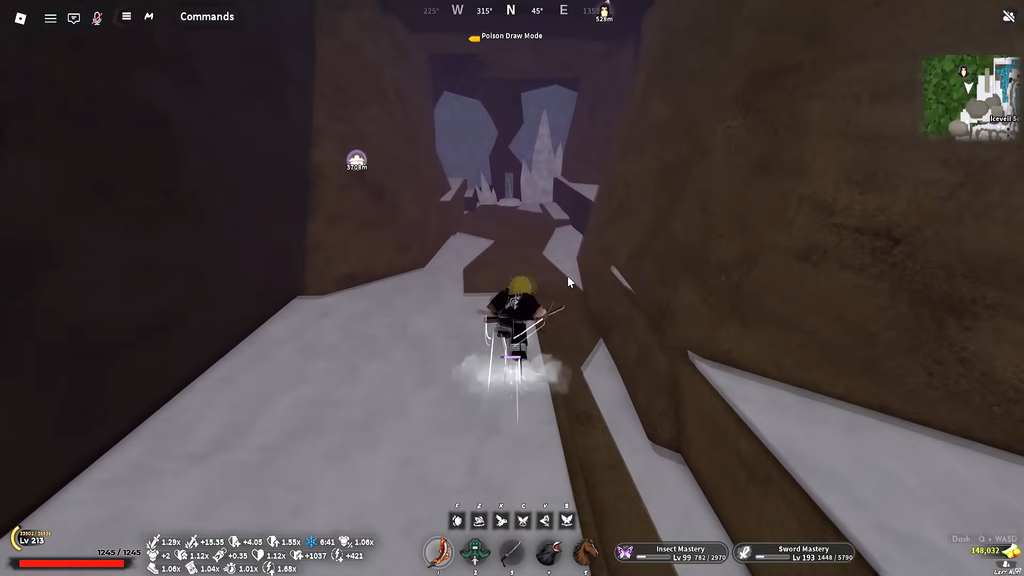
This schematic drops only after you beat Duelist Hibiki deep inside the Iceveil Valley cave where the Reaper Trainer Kuzan mini-boss appears. The route runs through a spike-lined parkour section, so take the jumps carefully.
The snowy cave drains health over time. Bring an Emberheart Lantern so the cold does not kill you before you reach Hibiki.
- Starting at Kuzan’s spawn, go around to the back and take the route on your left.
- At the split, take the left route, then the next left, a right, and another left.
- Cross the parkour section on your right. Falling onto the spikes is fatal.
- Once the parkour is complete, make a right, turn left at the following junction, and take another right.
- Keep moving forward; Duelist Hibiki is ahead.
Talk to him to start the fight. Beating him hands over the Firstlight Sound Cleavers schematic. If you die on the parkour, return to the left fork and run the route again rather than searching other caves.
Firstlight Tanto from Retsu’s lantern trail
The Shovel is used on the Tanto path, which has two conditions that are easy to overlook. Visit Old Trapper Retsu at night and unequip your Lantern first; otherwise, his needed dialogue option won’t show. He is seated by the torii gate at Iceveil Valley’s main entrance.
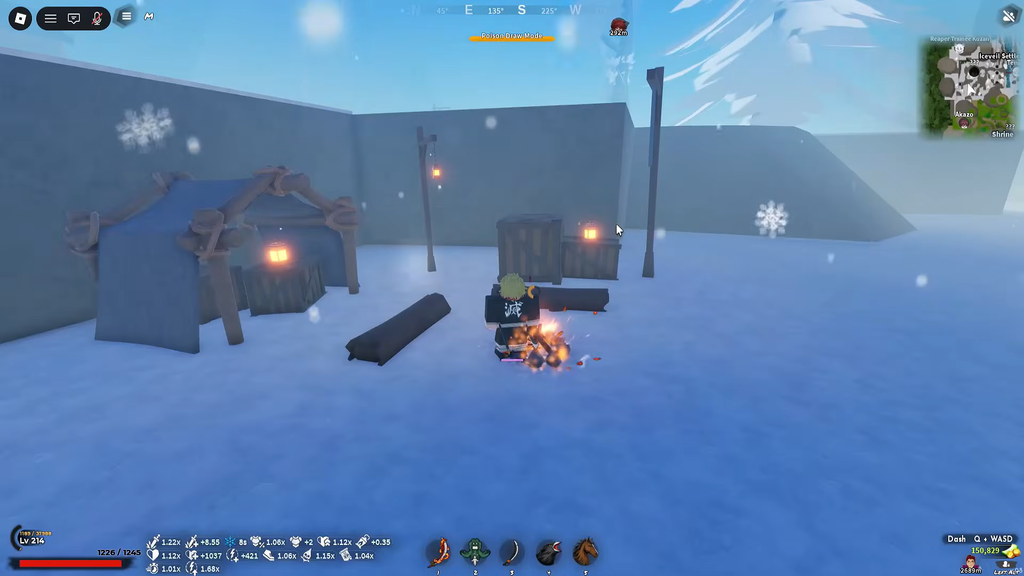
Firstlight War Fans at Iceveil Settlement
This is the longest route and the one with the most prerequisites. You need to be Level 100 or higher and have nine Cooked Bear Meat, 25 Health Elixirs, and a Shovel before the chain can finish.
Prepare the supplies
At Bamboo Grove, defeat Bear Cubs and Mama Bear to collect Raw Meat, then bring it to Lucy at Windy Peak for cooking. Continue this cycle until your total reaches nine Cooked Bear Meat. If you need cooking quest progress, speak with Tom near the Mother Bear spawn.
Visit Alchemist Meku at the Mistfall Harbor docks and buy 25 Health Elixirs. These cost 50 Demon Horns and 8,750 Wen, so farm the Demon Horns first if you are short.
Deliver the supplies and buy the Shovel
Follow the NPC clue chain
See the NPCs one by one in the sequence below, completing the dialogue or task for each before proceeding.
- Shiori is located beside Butterfly Estate’s largest house. If one of her quests is still undone, finish at least one.
- Dockmaster Sofen, near the elixir shop at the Mistfall Harbor docks. Finish all his quests, then talk to him again so he points you back to Iceveil Valley.
- Old Trapper Retsu at the Iceveil torii gate. Choose the lantern dialogue and pay to continue the story.
- Winter Store Rep Lynx again, to hear her clue about the hidden schematic.
Once Lynx shares her last clue, go to the residential upper section of Iceveil Settlement. Use your Shovel on the prominent snow pile there to obtain the Firstlight War Fans schematic.
Firstlight Bladed Wagasa from Wagasa Maker Genzo
Genzo only appears, and only hands over the schematic, once you arrive with the right equipment. You need the Firstlight Mask equipped and a Damascus Bladed Wagasa in your inventory, plus a cleared boulder challenge at Windy Peak.
Crafting Firstlight weapons at Blacksmith Togane
A studied schematic unlocks the recipe but not the finished weapon. Take each schematic to Blacksmith Togane in Hidden Mist Village and select the matching recipe. You must reach Level 65 and complete The Forge quest before any Firstlight craft is available.
Every Firstlight weapon needs its matching Mythic or V2 base weapon in your inventory before the craft can finish. For the shared Firstlight recipe, plan on 500 Metal Scraps, 500 Silk Thread, and 500,000 Wen, and confirm the amounts on Togane’s live recipe panel before you spend anything. The Bladed Wagasa route specifically requires the Damascus version, not the regular weapon.
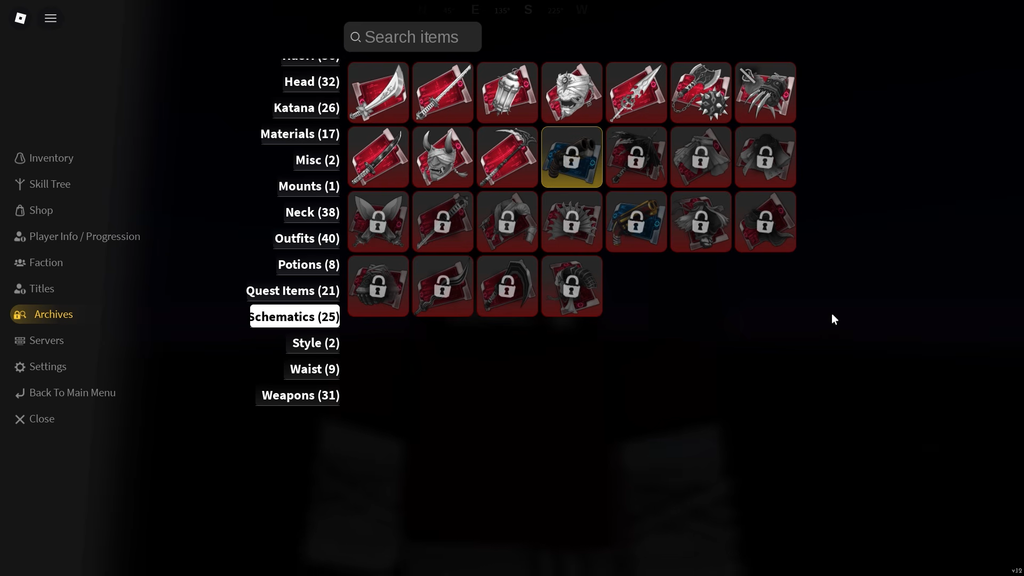
You know a pickup worked when the schematic appears in your Archives. Check the Archives after each interaction, especially in the underwater maze where both branches are easy to confuse.
Firstlight weapon stats compared
All seven weapons share the same +4 Additional DMG and +5 Max Stamina, and every one except the Katana, Insect Katana, and Sound Cleavers uses a 1.148x DMG Factor (those three use 1.15x). The real differences are in block performance and bonuses.
| Weapon | Block Points | Block Regen | Bonus |
|---|---|---|---|
| Firstlight War Fans | +9.15 | 2.98x | — |
| Firstlight Tanto | +9 | 2.96x | — |
| Firstlight Spear | +8.8 | 2.93x | — |
| Firstlight Bladed Wagasa | +7.95 | 2.8x | Sun Immunity |
| Firstlight Sound Cleavers | +6.9 | 2.7x | — |
| Firstlight Katana | +6.9 | 2.66x | — |
| Firstlight Insect Katana | +3.95 | 2.13x | 1.12x Movement Speed, 1.1x Stamina Regen |
The War Fans excel at blocking, whereas the Bladed Wagasa sacrifices some block strength for Sun Immunity; the Insect Katana forgoes blocking in favor of mobility. To clear the full set fastest, collect the Katana and Spear during a single maze run. Then do the War Fans supply tasks to get the Shovel, use it again on the Tanto route, and leave the Wagasa requirements until the end.