

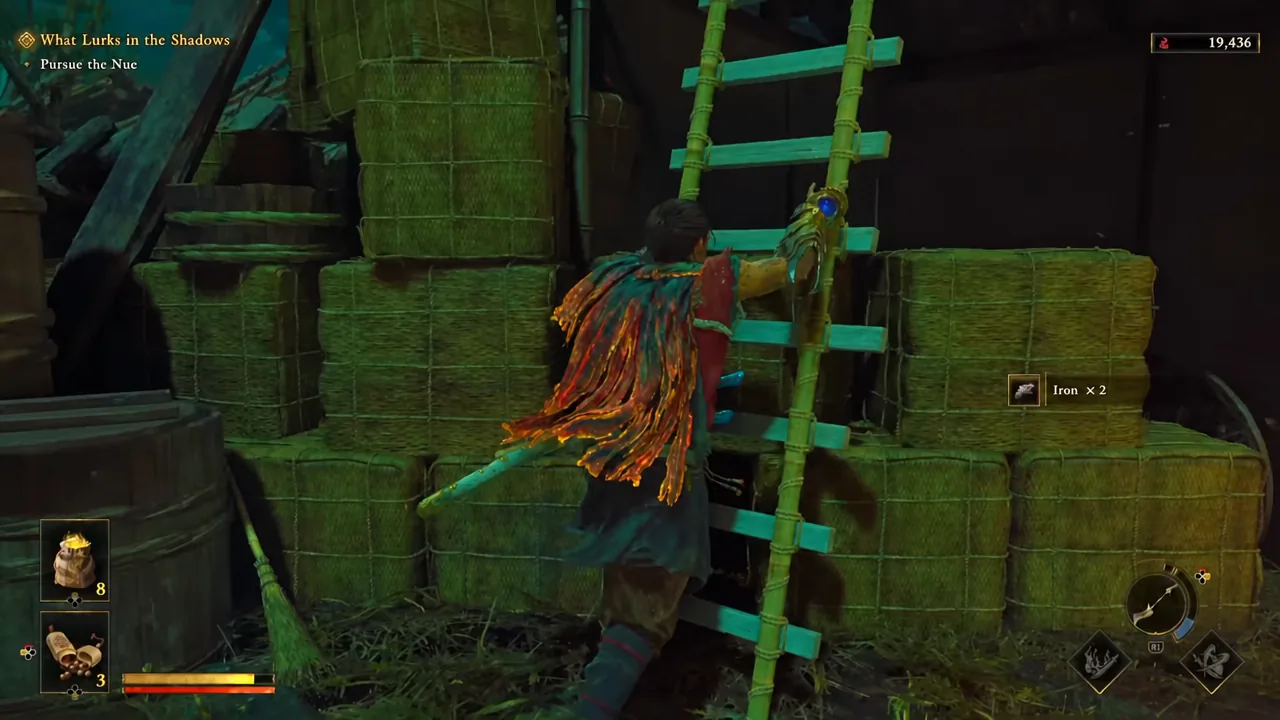
Iron is the bottleneck on Musashi’s sword. Every attack power increase runs through it, and the game hands it out in small amounts — two at a time from a chest, a few from a cleared quest — so the difference between a sharp blade and a dull one is mostly how thoroughly you sweep each area of Kyoto before moving on.
Quick answer: Kill every Genma, mini-boss and boss you run into instead of running past them, open every chest, and re-walk areas you have already cleared — loose Iron lying in the world respawns, while chests only pay out once. Then spend it at a Spirit Mirror under “Enhance Equipment/Abilities.”
What Iron and Tempered Iron are used for
Iron is the sword material, full stop. Sword upgrades raise your general attack power along with Issen and Oni Armament power, and they consume Iron early on before shifting to Tempered Iron as the better-quality version shows up later. Your clothing runs on silk and leather instead, and your gauntlet runs on Genma-derived materials, so Iron never competes with those two.
The level system is why demand is so high. Each of the three equipment slots caps at level 5, but you do not jump a level in one purchase. The sword needs ten individual upgrades to climb a single level, the same as clothing, while the gauntlet only needs five. That is a lot of small Iron payments for one visible tier.
Every Iron source, and which ones repeat
The single most important distinction is chest versus loose pickup. A chest is a one-time payout — once you have opened it, that container is finished for the rest of the run. Materials sitting out in the open world are not, which makes cleared areas worth revisiting.
| Source | Repeatable? | Notes |
|---|---|---|
| Chests | No | One payout each, often small amounts such as Iron x 2 |
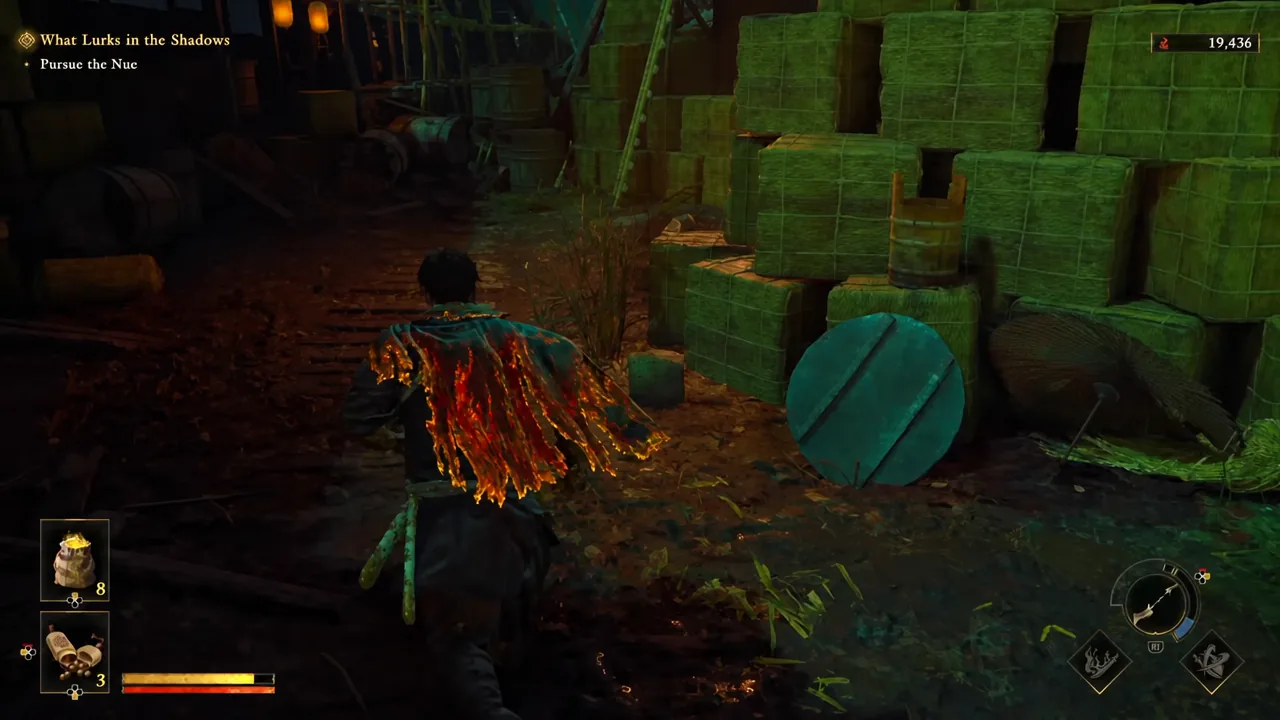
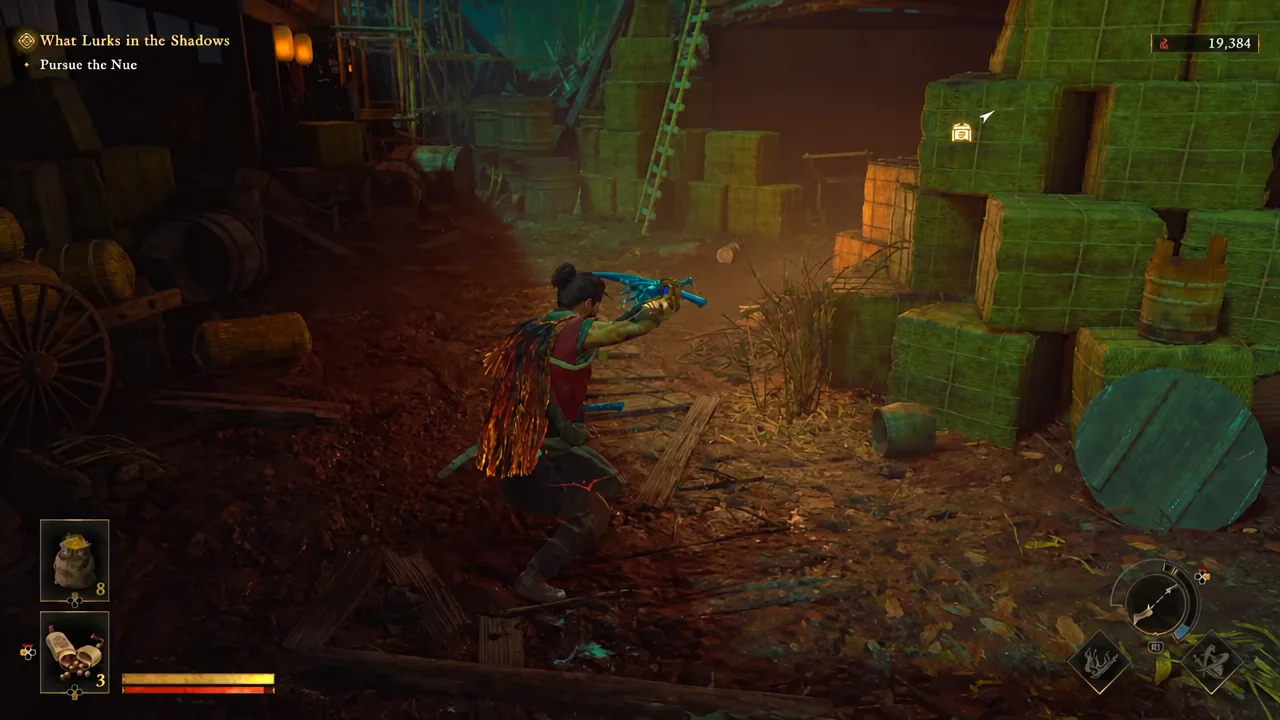
| Loose materials in the world | Yes | Respawn, so re-lap areas you have already finished |
| Regular Genma and mini-bosses | Yes, per encounter | Drop materials when defeated; skipping them costs you Iron |
| Bosses | No | Award materials on defeat |
| Quest rewards | No | Rewards can be previewed before you commit |
| Yorimasa’s Monument | Yes | Sells items you may need for upgrading |
How to farm Iron fast
Spending Iron at the Spirit Mirror
Equipment upgrading is not available from the start. It unlocks as you progress, like most of the game’s systems, and then lives inside the Spirit Mirror — the same rest point you use for saving, fast travel and appearance changes.
Order does not matter across the three slots. If you have the materials, upgrade all three.
Why your Iron count is not going up
If a farming lap comes back empty, the reason is usually one of a small handful of things rather than bad luck.
- You are re-clearing an area where the pickups were all chest-based. Those never refill; only loose world materials come back.
- You are collecting silk, leather or Genma materials. Those feed clothing and the gauntlet, not the sword.
- You are running past mini-bosses to reach the objective marker, which cuts out one of the more reliable drop sources.
- You have not bought the Oni Vision skills yet, so pickups outside your immediate path are not being flagged.
The confirmation that everything worked is straightforward. Open “Enhance Equipment/Abilities,” pick the sword, and the upgrade counter moves — ten of those and the sword’s level number itself ticks up, all the way to a maximum of 5.





