Musashi’s skill tree looks generous for about an hour, and then the math catches up with you. There simply are not enough points and stones in a single story run to max everything, so the players who feel strong at the halfway mark are the ones who picked a lane early and stayed in it.
Quick answer: Pour your points into counter-attack skills first, commit to one or two Oni Armaments that suit how you fight, and hold your Oni Stones until you can buy Oni Vision: Treasures, Oni Vision: Treasures 2, and Oni Vision: Search Range.
Why you cannot unlock every skill in one playthrough
Progression runs on separate currencies. Red souls act as the general upgrade currency for stats and tree nodes, while Oni Stones and Power Stones come from chests and side content and gate the more interesting Special Skills. Blue souls are not spendable at a menu at all — they fuel the Oni Power gauge that powers your Oni Armaments.
The practical effect is that a first run gives you enough to fully develop a narrow build, or to half-develop a wide one. Half-developed is the trap. A partially upgraded armament costs the same blue souls as a finished one and does noticeably less work in the fights where you actually need it.
Note: side content is not optional if you care about your build. Cleared side objectives hand over enhancement materials and charms, which is the cheapest way to widen your options without draining your stone reserve.
Best first investment: counter-attack skills
Everything in Musashi’s kit routes through defense. Blocking costs stamina and eventually breaks your stance and spills souls you were saving. Parrying, deflecting, and Issen all turn an incoming attack into damage, which means any point spent on those lines pays out in every single encounter rather than in situational ones.
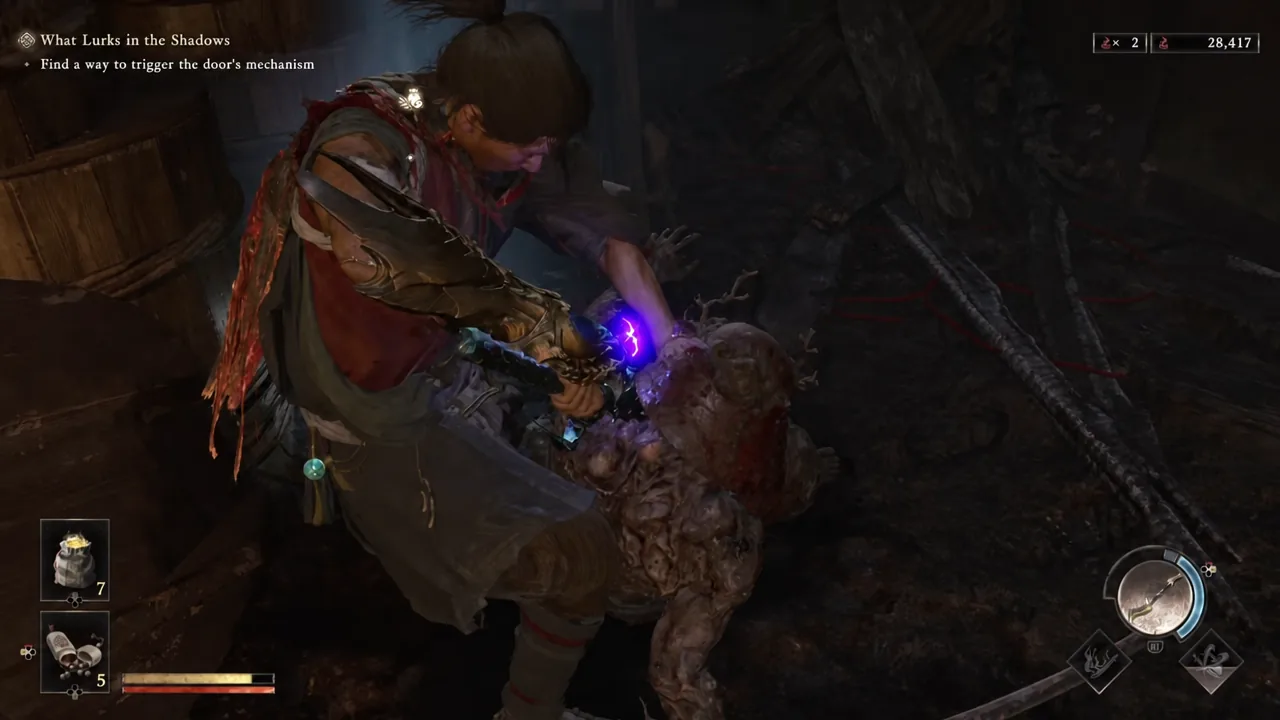
Deflect is the workhorse. Holding guard and hitting attack right at impact drains a huge chunk of enemy stamina and sets up a Break Issen, which deletes most standard Genma and takes real chunks off bosses. Issen itself, timed into the instant before an enemy connects, is the higher-risk version with a much tighter window and a bigger payoff.
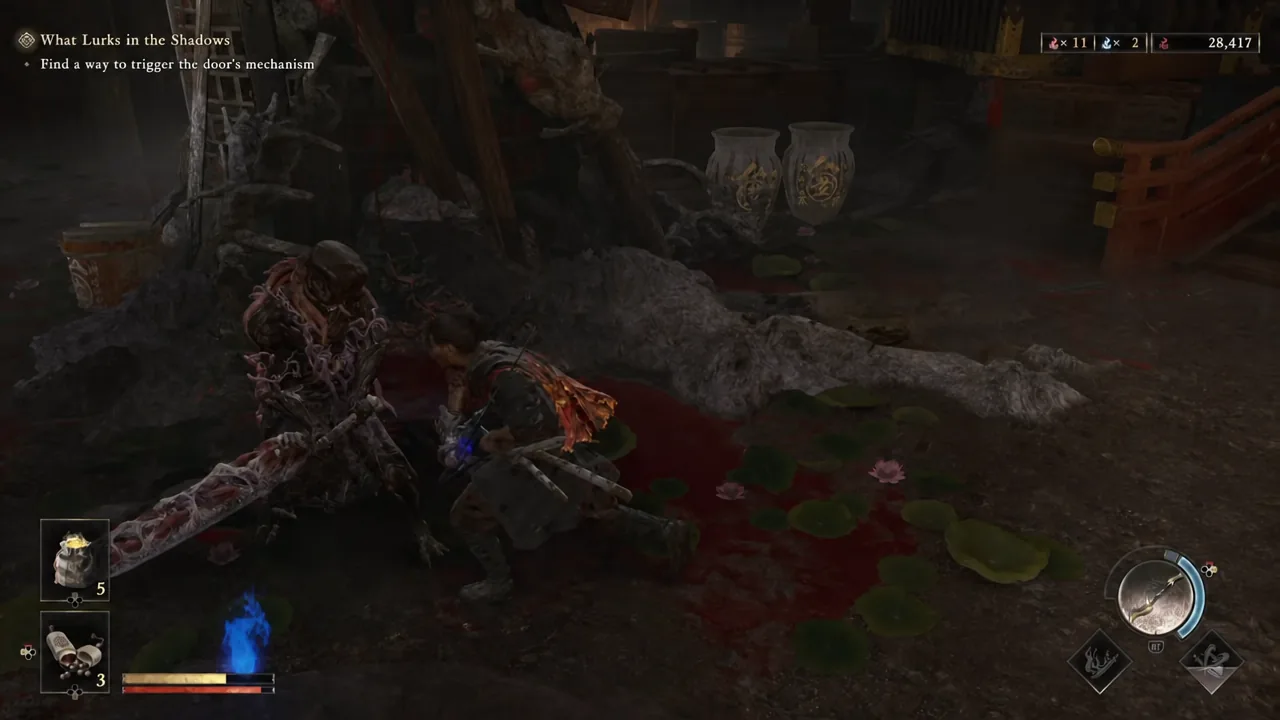
Two early picks are worth prioritising above cosmetic damage bumps. Quick Step sharpens your evasion, which matters because punches, kicks, and some grabs cannot be parried or deflected at all. Blaze Retention slows how fast your Blaze gauge drains between exchanges, so the Blazing State you earned in one fight is not gone by the time the next group arrives.
Pick one or two Oni Armaments and fully upgrade them
Oni Armaments are the elemental weapons you unleash by spending blue souls, and they are where most players quietly waste their progression. Upgrading all of them at once leaves you with a shelf of mediocre options. Choose based on the problem you keep losing to, not on which one looks best in a cutscene.
| Armament | What it solves |
|---|---|
| Earthshakers | Heavy strikes that smash through guarding enemies and bypass shields |
| Celestials | Twin blades whose hits force yellow soul drops, effectively healing while you attack |
| Wind Weeper | Sweeping crowd control against packed groups of Genma |
One defensive-leaning pick plus one problem-solver is a sensible pairing. If you keep dying to attrition between checkpoints, Celestials plus Earthshakers covers both sustain and stubborn guards. If crowds are what kill you, swap in Wind Weeper and leave the third armament untouched for the rest of the run.
Spend Oni Stones on Oni Vision before anything else
This is the one exception to “buy combat first.” Oni Vision: Treasures, Oni Vision: Treasures 2, and Oni Vision: Search Range are Special Skills that surface collectibles as you move through Kyoto, including enhancement materials and the chests holding more Power and Oni Stones. Buying them early means every later purchase is funded faster.
Once they are unlocked, make the scan a habit rather than something you remember after clearing a room. Hold the left trigger and tap the right trigger repeatedly while you explore so nothing gets left behind a wall you have already walked past.
How the skill loop feeds itself once Oni Awakening is unlocked
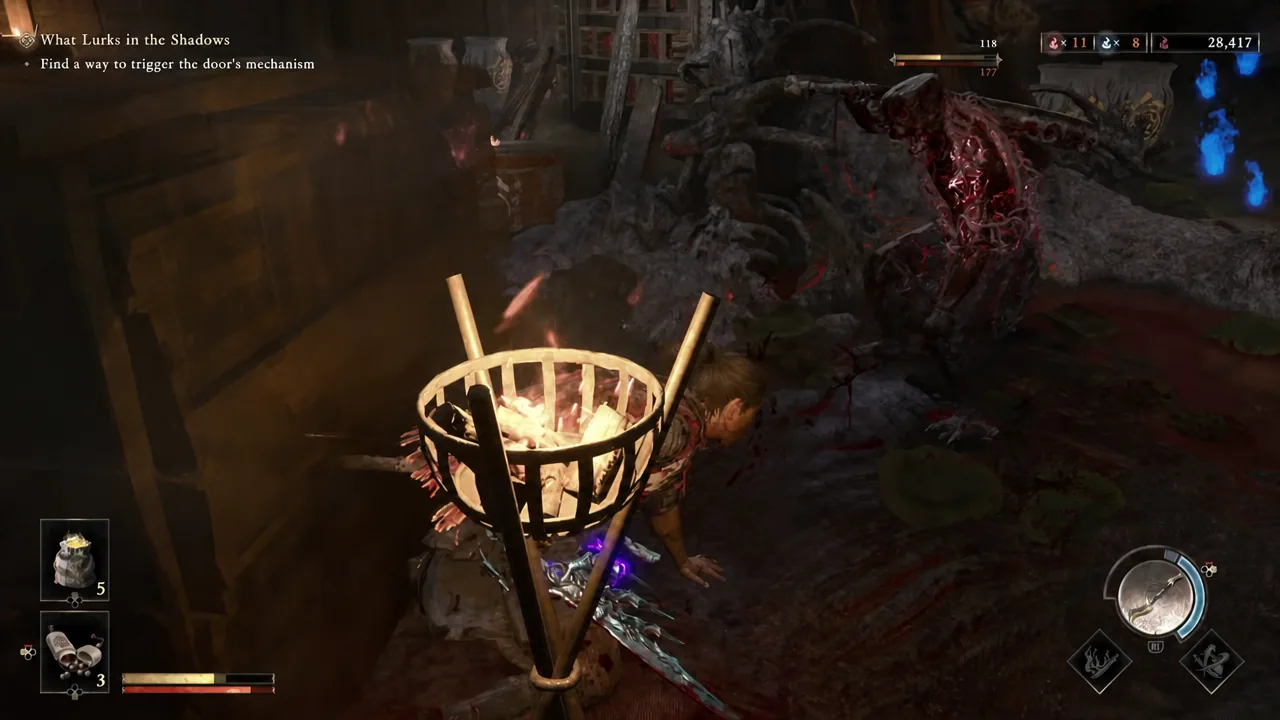
After Oni Awakening comes online, ordinary parries stop being a fallback and become part of the engine. Each parry fills the Blazing Gauge in the corner of the screen. When it fills and Blazing State kicks in, your damage climbs and blue souls appear far more often. Those blue souls power your Oni Armaments, and using an armament generates purple souls, which build the Awakening gauge itself.
With the gauge maxed, press the left and right sticks in together to transform. Resist the urge to fire the finisher immediately. Issen timing becomes dramatically more forgiving while you are transformed, so land those first and save the finishing input for the moment the meter is nearly empty.
Break a stamina bar and you get a choice between red soul sparkles, which convert into direct damage, or purple ones, which release yellow, blue, and purple souls. Neither is wrong. Taking purple keeps the loop above spinning; taking red is a burst when a boss is nearly finished.
Charm loadouts that match a counter-focused build
Charms sit alongside the skill tree and are worth maxing rather than collecting. A first run through Action difficulty rewards survivability, while a Carnage run rewards feeding the gauges you now know how to exploit.
| Run | Maxed charms to slot |
|---|---|
| First playthrough (Action) | Charm of the Healer, Charm of Protection, Fencer’s Strength Charm, default Hozuki Pouch |
| Second playthrough (Carnage) | Charm of Awakening, Charm of Oni Power, Fencer’s Strength Charm, default Hozuki Pouch |
Tip: go easy on consumables during the first run. Amulets of Introspection, Sun-Dried Hozukis, and Stimulants are far more valuable saved for a Carnage attempt, especially in the final fight.
How to tell your build is working
The confirmation is visual and immediate. Musashi’s blade wreathes itself in blue flame when Blazing State triggers, standard Genma start dying outright to Break Issen instead of surviving on a sliver, and your Oni Power gauge refills fast enough that an armament is available for most boss openings rather than once per fight.
If none of that is happening, the cause is usually one of three things. Points are spread across armaments you rarely equip, Oni Stones went to combat nodes before the Oni Vision skills so your material income stalled, or you are still blocking on reflex and burning stamina instead of deflecting. Bosses also escalate dynamically, so taking heavy damage early pushes them into their enhanced state ahead of schedule and makes a workable build feel broken.
None of this locks you out of experimenting. The Practice Ground lets you rematch bosses, which is the safest place to test whether a new armament or charm combination actually changes the fight before you commit the rest of your stones to it.