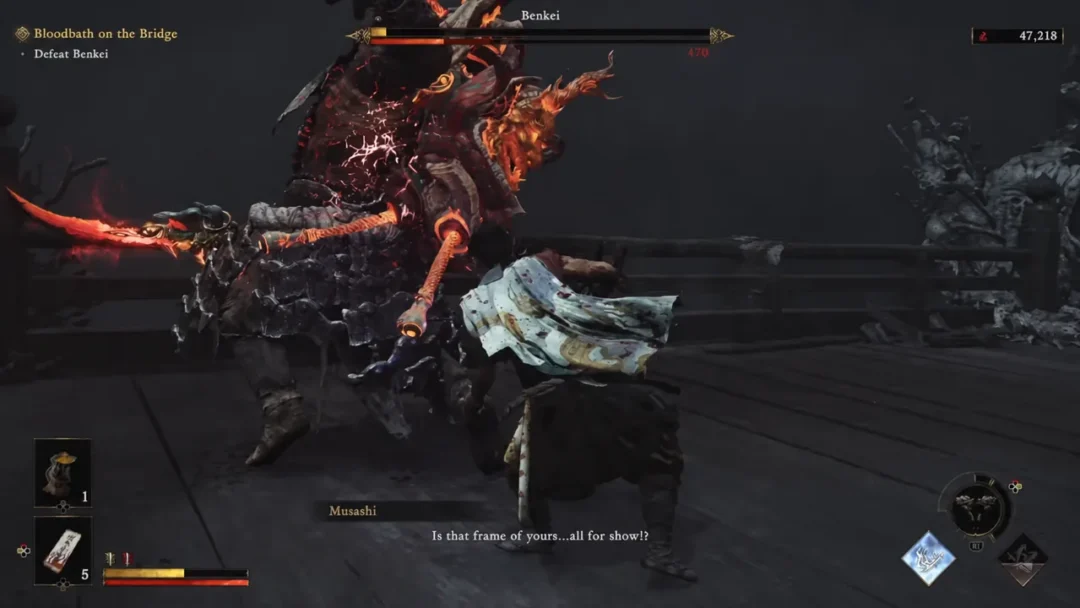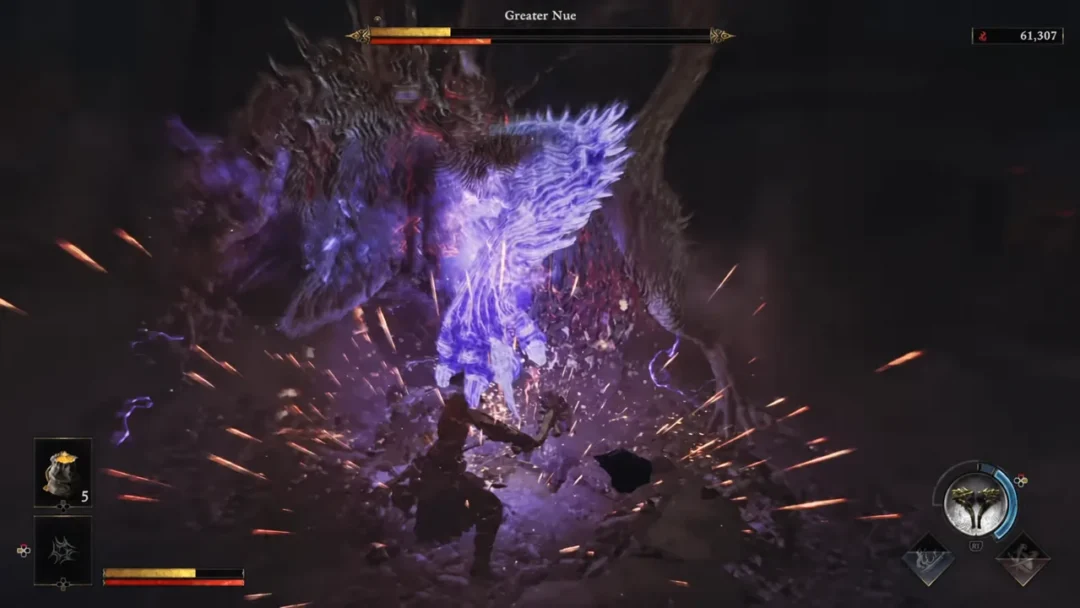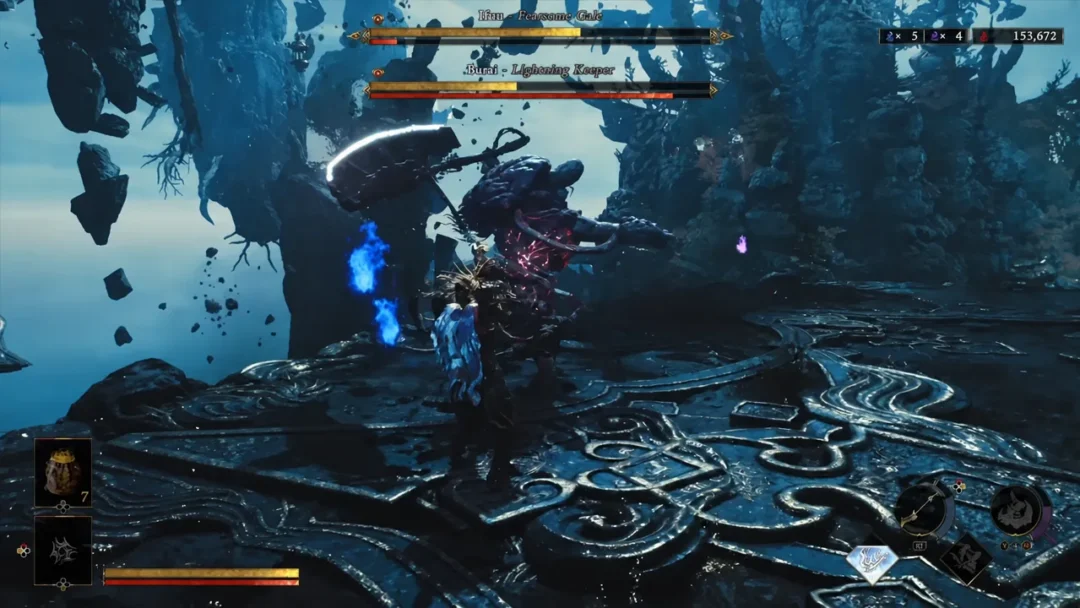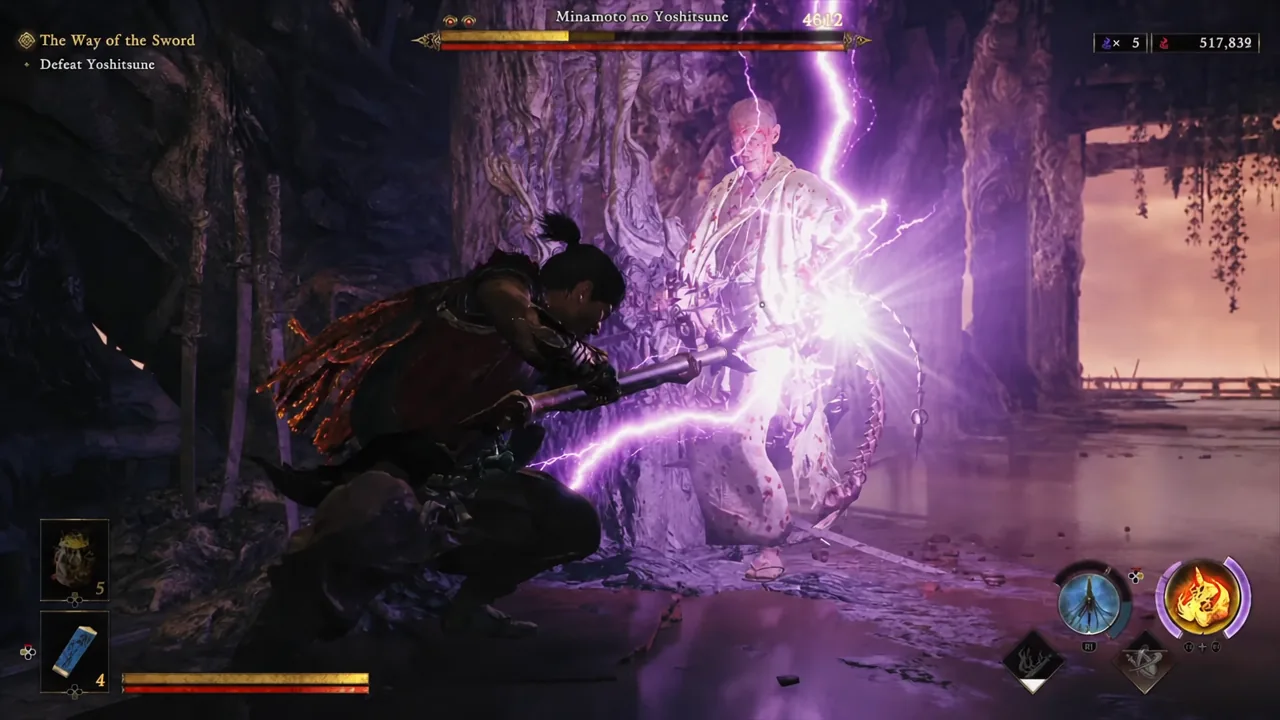
Minamoto no Yoshitsune is the hardest fight in Onimusha: Way of the Sword, and he is hard for a reason most players discover too late. The duel runs across three phases, and the last one flips the rules: your katana stops mattering. Everything you do in the first two phases is really preparation for a window that only opens when you transform.
Quick answer: Do not spend your Oni Awakening transformation in phases one or two. Yoshitsune shrugs off normal damage in phase three, so parry his melee strings, dodge his ranged attacks, bank purple souls, and press L3 and R3 the moment the final phase begins.
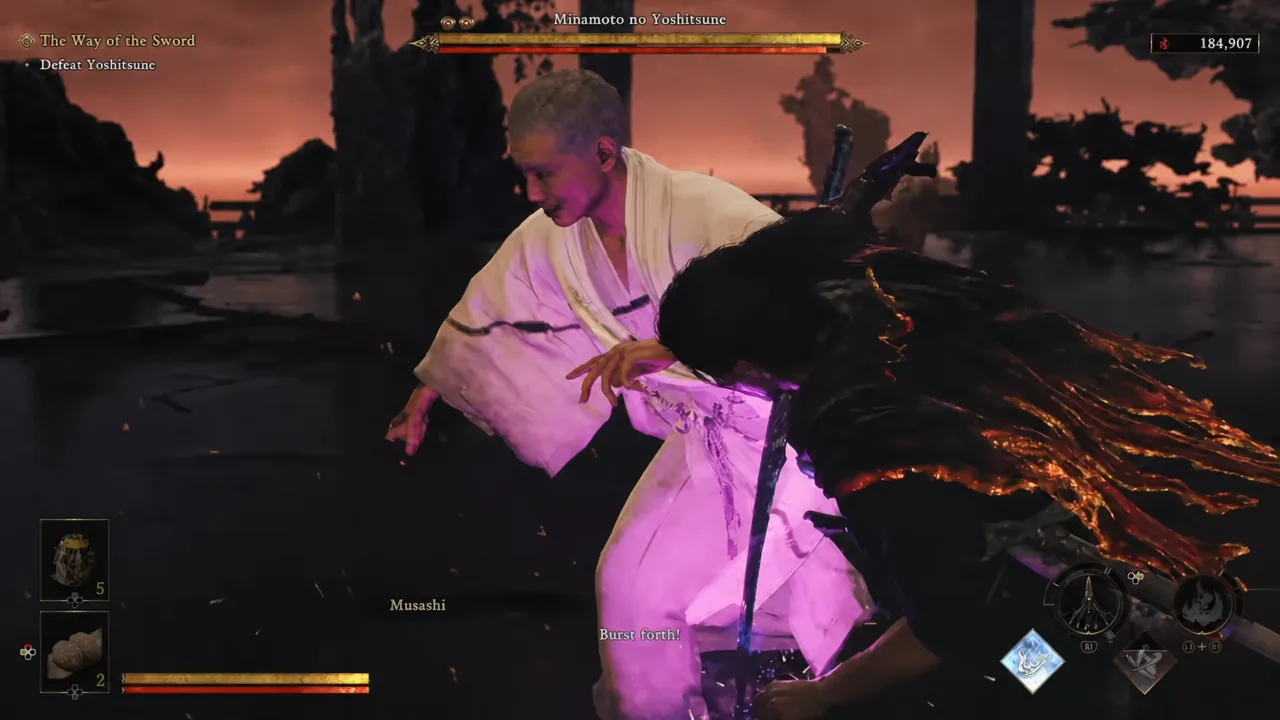
Loadout for the Yoshitsune fight on Carnage difficulty
Because the fight ends on a transformation check, your charm slots should feed the two gauges that get you there. Attack power still helps, but gauge fill rate is what decides whether phase three is a win or a stalemate.
| Slot | What it does |
|---|---|
| Charm of Awakening (maxed) | Increases how fast the Awakening gauge fills |
| Charm of Oni Power (maxed) | Increases how fast the Oni Power gauge fills |
| Fencer’s Strength Charm (maxed) | Raises regular attack power |
| Default Hozuki Pouch (maxed) | Carries more healing items into the fight |
Bring consumables you have been hoarding. Heavy Restoratives, Amulets of Introspection, Stimulants, Sun-Dried Hozukis, a Greater Defense Talisman and a Greater Might Talisman all earn their inventory space here. This is the fight they were saved for.
Tip: the Defense fighting style is the safer control scheme for this duel, since it maps closer to standard action-game inputs and keeps deflect timing simple under pressure.
How to charge Oni Awakening before phase three
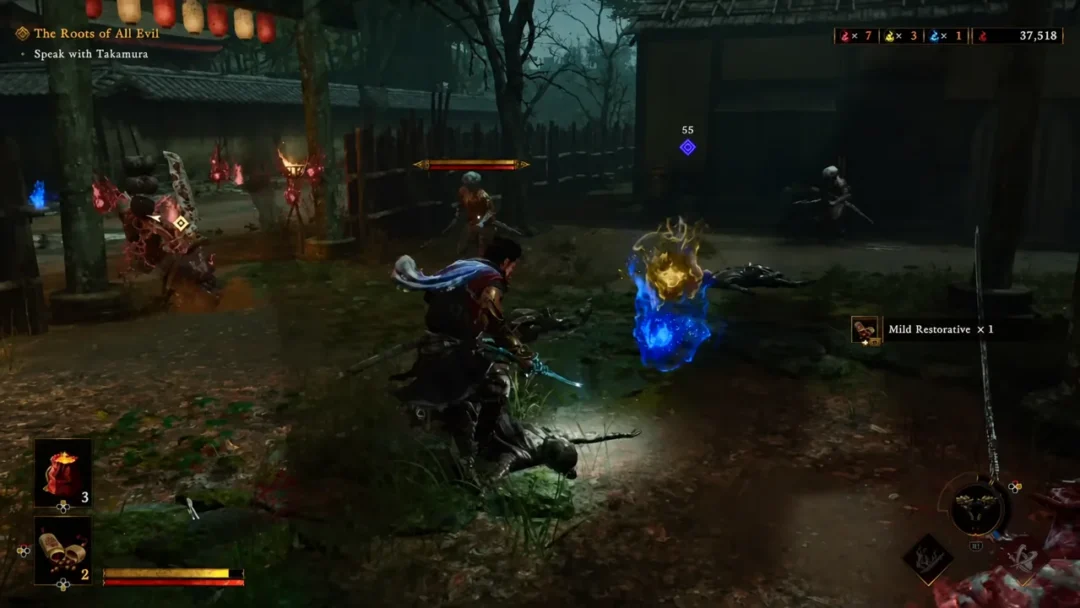
The transformation sits at the end of a chain, and skipping a link in that chain is why players arrive at phase three with an empty meter. Regular parries fill the Blazing Gauge in the corner of the screen. Once Blazing State activates, your damage goes up and blue souls appear more often. Blue souls fuel your Oni Armaments, and using an Armament generates purple souls, which are what actually fill the Oni Awakening gauge.
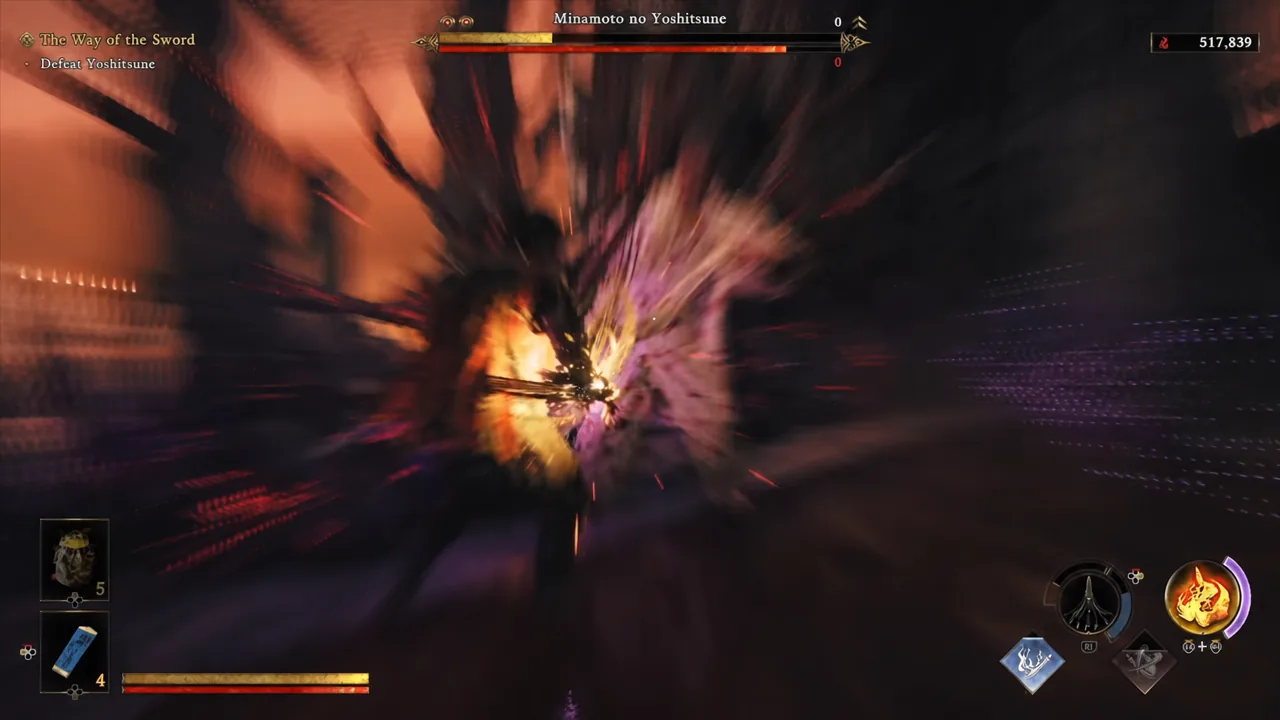
There is also a choice to make every time you break Yoshitsune’s stamina bar. Red soul sparkles let you deal direct damage. Purple ones release yellow souls for health, blue souls for Oni Power and purple souls for Awakening. Against Yoshitsune, purple is almost always the correct pick, because raw damage output is not what closes this fight.
Issen counters matter too. The cleaner your counters, the better the soul types you get to absorb, so going for Issen rather than a safe dodge pays compound interest across the whole duel.
Yoshitsune phase breakdown
| Phase | What changes | Your job |
|---|---|---|
| 1 | Standard melee combos plus ranged attacks | Parry the melee, dodge the ranged, build Blazing State |
| 2 | Higher speed, extra attacks appended to his combos | Hold your defense through longer strings, bank purple souls |
| 3 | Immune to normal damage | Transform and land Issen counters plus Awakening attacks |
Phase 1: Parry melee, dodge ranged
The opening phase is the most readable version of Yoshitsune you will see. His melee combos are the ones you want to meet head-on with a parry or deflect, since each successful defense chips his stamina and feeds your Blazing Gauge. His ranged attacks are the exception. Give those ground rather than trying to counter them.
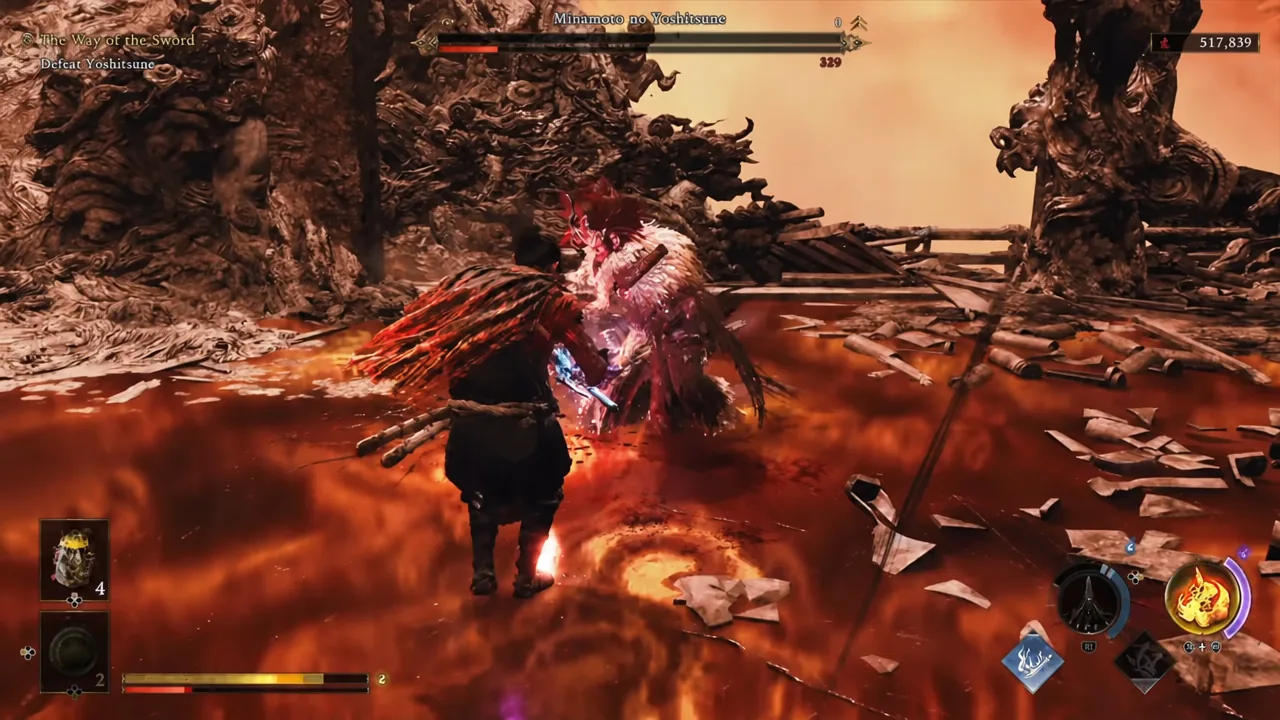
Resist the urge to trade. Yoshitsune’s damage on Carnage is severe, and bosses in this game escalate dynamically. Take too much punishment early and he shifts into his stronger behavior ahead of schedule, which cuts down the calm window you need for building meter.
Phase 2: Faster strings, same defensive plan
Phase two speeds him up and bolts new attacks onto the end of combos you already know. The strings you were comfortably parrying now run longer, so the failure mode is dropping your guard one hit too early. Count his swings rather than reacting to a rhythm you memorized in phase one.
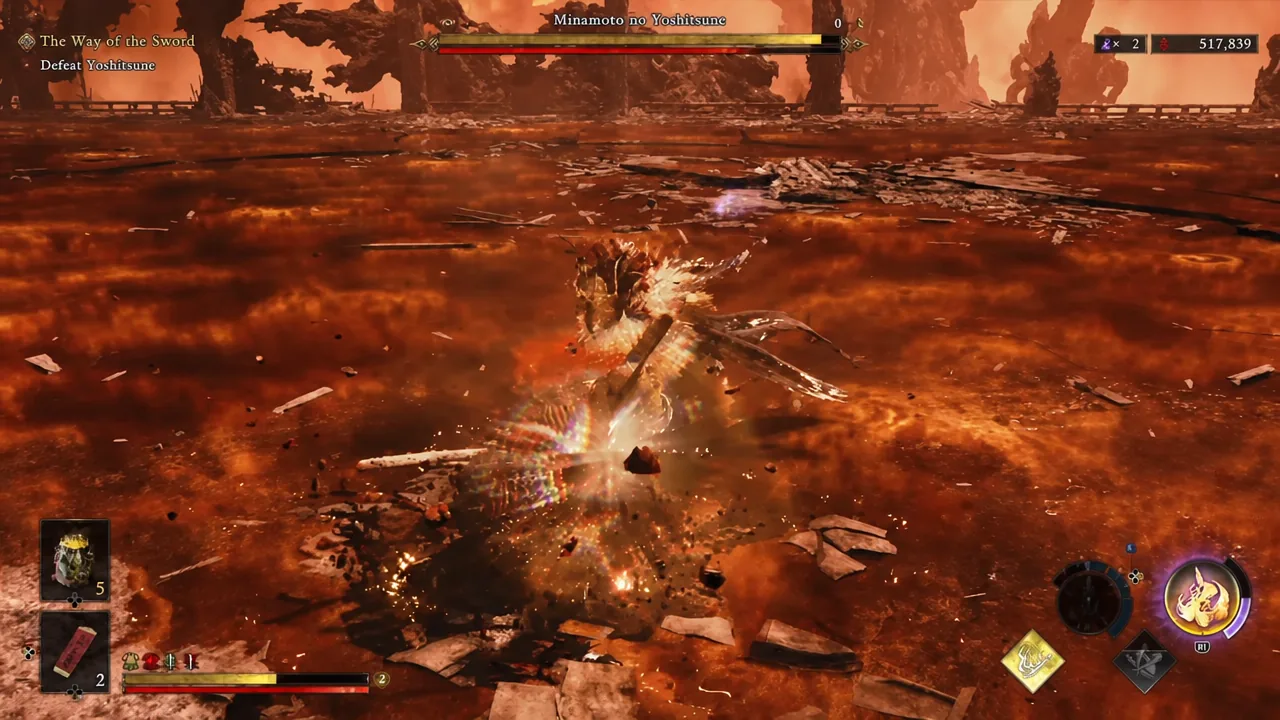
Keep converting stamina breaks into purple souls, and keep your Awakening gauge untouched. If it fills during this phase, sit on it. Spending it here is the single most common way this fight is lost.
Phase 3: Only Oni Awakening deals damage
The final phase is a hard gate. Normal sword damage does nothing to Yoshitsune here, so if your Awakening gauge is empty when the phase starts, you are not fighting him yet — you are farming him. Stop trying to score hits, stay defensive, absorb every soul you can, and fill the gauge.
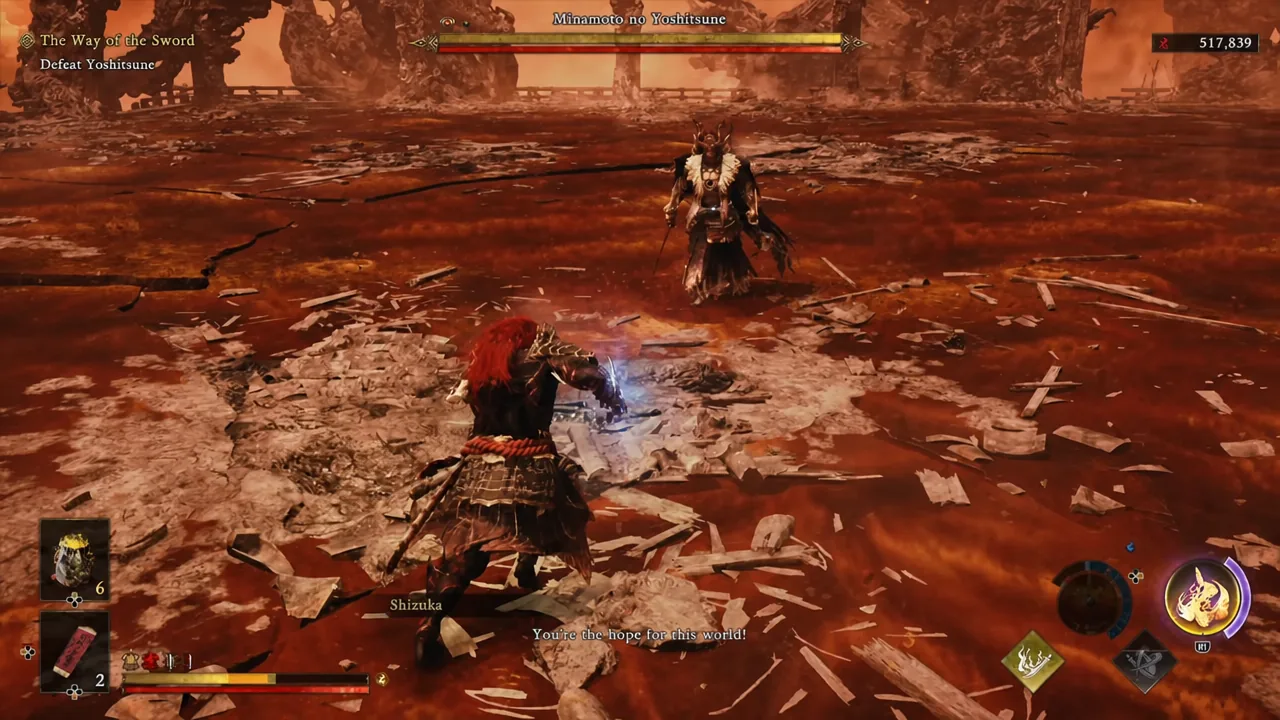
Once the meter is full, press L3 and R3 together to transform. Do not immediately mash R1 for the big finisher. Issen strikes are dramatically easier to land while transformed, so spend the bulk of the transformation hunting counters and hold R1 back until the meter is nearly drained.
How to tell it is working
The health bar is your confirmation. In phase three, it should only move while you are in Oni Awakening. If you are landing clean hits and the bar refuses to budge, the answer is not more aggression — you are simply not transformed, and every swing you take in that state is an opening for him.
These are the mistakes that reliably end the run:
- Transforming in phase one or two, leaving nothing for the phase that requires it.
- Taking heavy damage early, which pushes him into his stronger state sooner.
- Picking red souls at stamina breaks instead of purple, starving your Awakening gauge.
- Firing the R1 finisher the instant you transform, cutting your damage window short.
- Trying to parry his ranged attacks instead of dodging them.
Practising the duel in Boss Rematch
The Practice Ground’s Boss Rematch menu lets you replay Yoshitsune without another full story run, which is the cheapest way to drill his phase-two timings. It is also how you chase the Glutton for Punishment trophy, which asks for every boss cleared on every difficulty. Carnage itself only unlocks after a completed playthrough, so the Action difficulty run is your training window — turn Action Prompts off there, since Carnage disables them automatically.
Yoshitsune opens the duel by calling it a clash between two Onimusha, and the fight is built around that idea. He is not a damage sponge you grind down with good sword play; he is a check on whether you understand the gauntlet’s economy well enough to arrive at the last phase with power in the tank.