

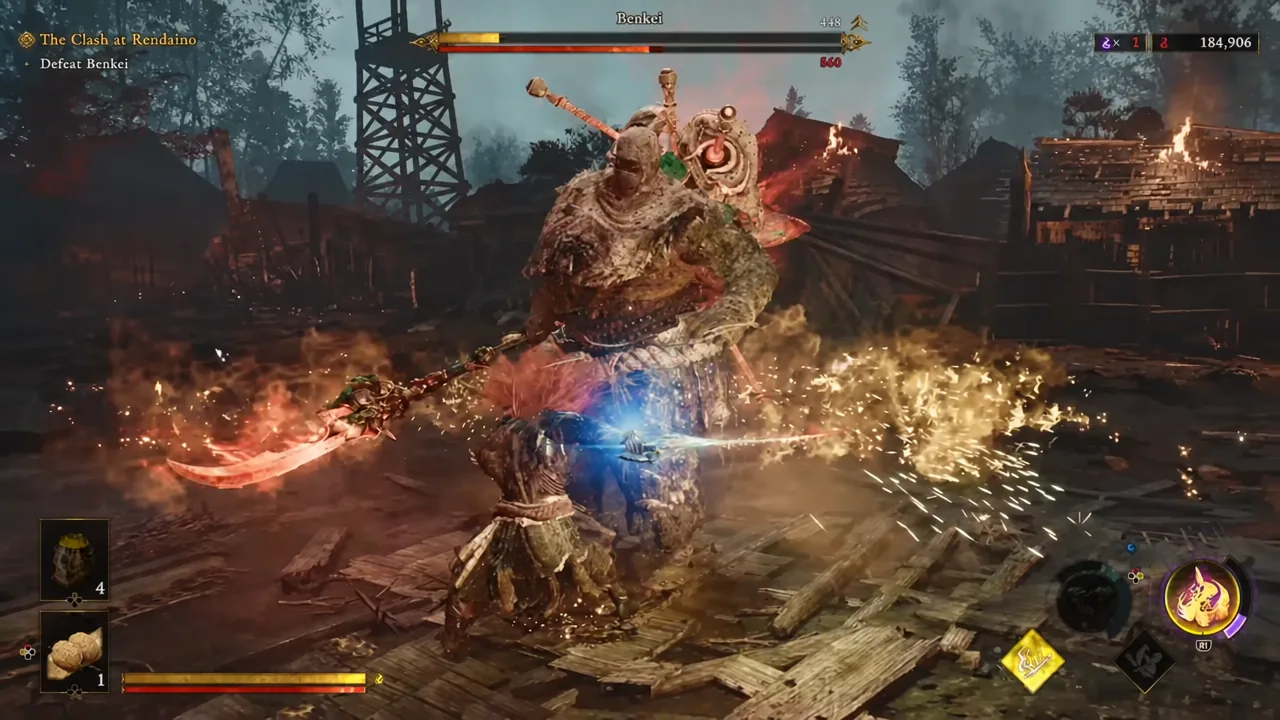
Glutton for Punishment is the trophy that keeps most players from the Platinum in Onimusha: Way of the Sword. It is not a collectible hunt or a hidden interaction. It is a pure endurance test tied to Boss Rematch, the arena mode tucked inside the Practice Ground, and it asks you to clear the entire roster on every difficulty the game offers.
Quick answer: Defeat every opponent in Boss Rematch on all three difficulty levels — Story, Action, and Carnage. Carnage only becomes selectable after you finish the campaign once, and drills or other Practice Ground challenges do not count toward the trophy.
Glutton for Punishment requirements
Two things gate the trophy. Your Boss Rematch list has to be complete, and all three difficulty settings have to be available to select. A boss only appears in the rematch menu once you have fought it in the main story, so an unfinished campaign means an unfinished roster.
| Condition | Detail |
|---|---|
| Roster complete | Every story boss must be encountered in the campaign to appear in Boss Rematch |
| Difficulties unlocked | Story, Action, and Carnage — Carnage unlocks only after one full playthrough |
| Wins needed | Every opponent beaten on each of the three difficulties |
| Not required | Drills and the other Practice Ground challenges |
| Related trophy | Second Helping pops on your very first Boss Rematch win |
The mode covers 18 main boss fights in total, and the rematch menu lists them in its own fixed order rather than story order. Expect the full campaign lineup to show up, including Daidara, Rasho-gan, Ifuu, Burai, the Greater Nue, Shuten Doji, Dokyo, Benkei, and Minamoto no Yoshitsune.
Unlock Carnage difficulty before you touch Boss Rematch
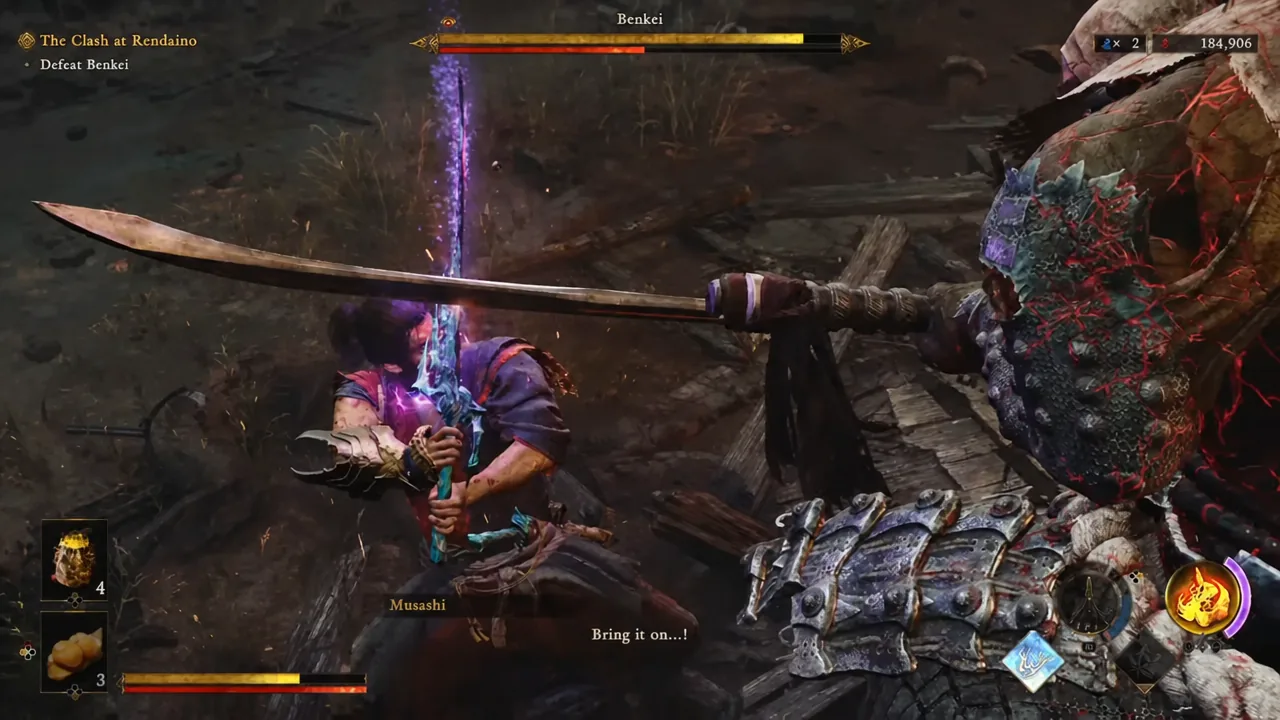
Note: skill upgrades carry into New Game+, so the Carnage run is the natural time to finish off remaining upgrade materials and settle on the build you want for the arena.
The Boss Rematch order and what you will face
The arena reuses the story movesets, including the enhanced variants, which is why several bosses effectively show up twice. The opening stretch of the list is the gentlest part of the run, and it is a good place to test whether your build can handle Carnage before you reach the harder entries.
| # | Opponent | Carnage difficulty rating |
|---|---|---|
| 1 | Byakue | 2.5/10 |
| 2 | Byakue (Enhanced) | 3/10 |
| 3 | Dohatsu-ten | 3.5/10 |
| 4 | Dohatsu-ten (Enhanced) | 3.5/10 |
| 5 | Nue (Blue) and Nue (Red) | 3/10 |
| 6 | Sasaki Ganryu | 3.5/10 |
| 7 | Sasaki Ganryu (Altered) | 7/10 |
Sasaki Ganryu (Altered) is the wall. He fights across two phases with separate health bars, backed by his Oni companion Gioh, and on Carnage he can end a run in two hits. When Gioh stretches her neck out to siphon the red flower plants and refill his stamina, draw the Oni bow and shoot her neck to break the channel.
Combat rules that carry the refights
Raw damage barely dents a boss health bar. Nearly every fight resolves the same way: deflect or counter with Issen, drain the stamina bar, siphon the souls, then repeat. Issen has a razor-thin window, but almost everything in the game can be countered with it apart from a small set of dodge-only moves and any white-glowing attack.
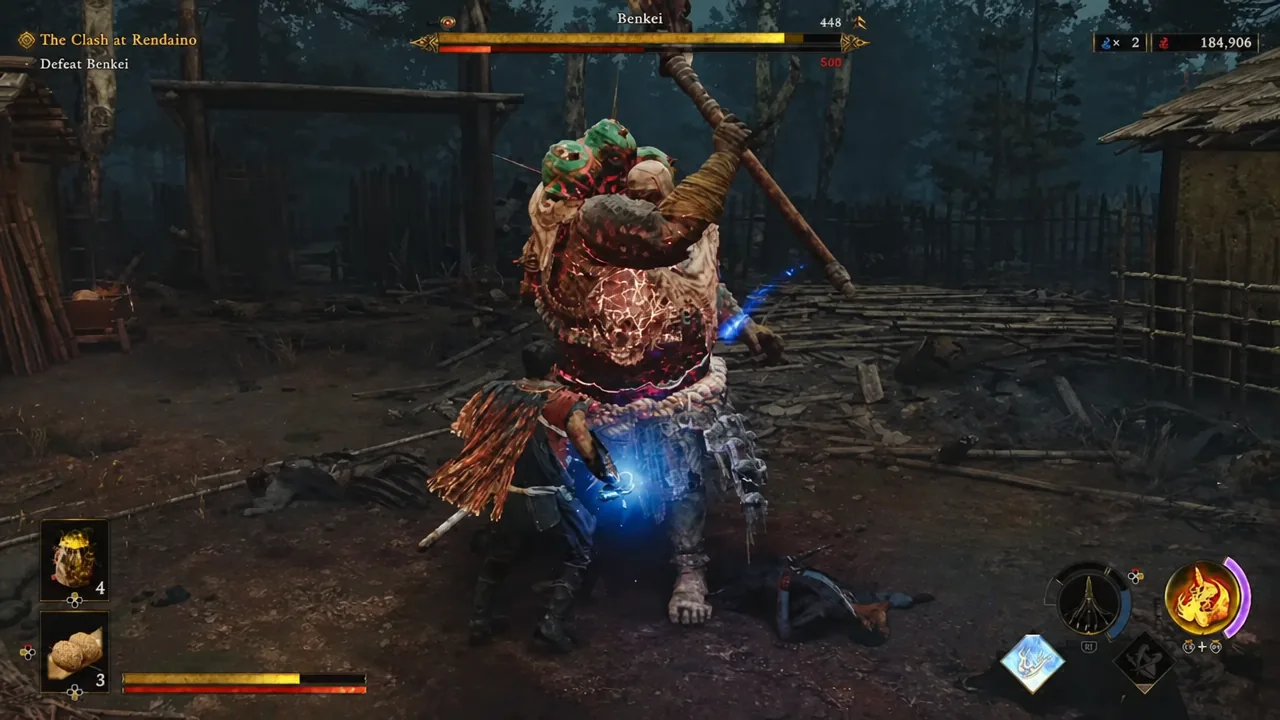
Once the stamina bar empties, you pick between red soul sparkles for direct damage or purple ones that release health, Oni Power, and Oni Awakening souls. Purple is usually the safer read during a long rematch run, because it feeds the transformation. When the Awakening gauge is full, press L3 and R3 together, land Issen strikes while they are easier to hit, and save R1 for the finisher just before the meter empties.
Regular parries matter too. Each one fills the Blazing Gauge in the bottom corner of the screen, and Blazing State raises your damage while improving the odds of blue souls appearing — the fuel for Oni Armaments, which in turn generate purple souls.
One thing to plan around: bosses in this game are dynamic. Take too much damage too early and they slip into their enhanced state ahead of schedule, which turns an already tight fight into a much longer one.
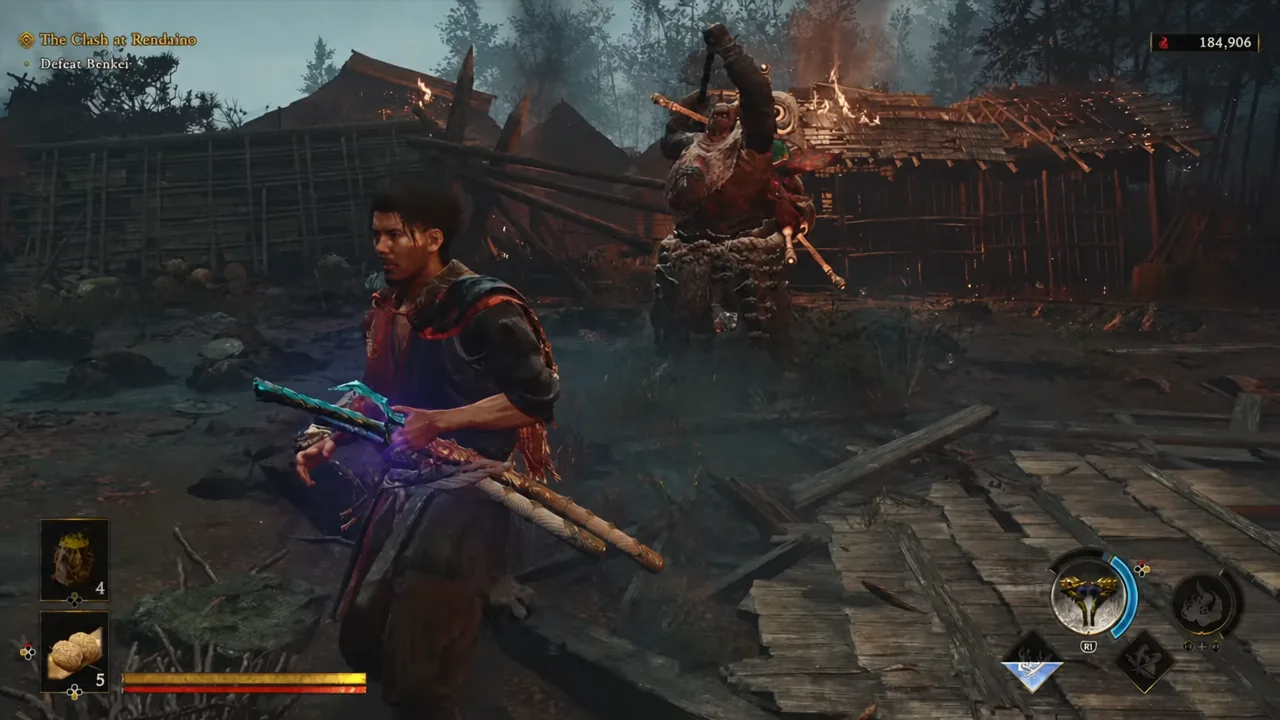
Recommended loadout for the rematch run
| Slot | Pick | Effect |
|---|---|---|
| Charm | Charm of Awakening (maxed) | Faster Awakening gauge fill |
| Charm | Charm of Oni Power (maxed) | Faster Oni Power gauge fill |
| Charm | Fencer’s Strength Charm (maxed) | Higher regular attack power |
| Pouch | Default Hozuki Pouch (maxed) | Larger healing reserve |
Set your controller to the Defense fighting style if you have not already. It is the more forgiving scheme and lines up with how most modern action games handle guarding. Hold back consumables such as Amulets of Introspection, Sun-Dried Hozukis, and Stimulants during your first playthrough — they are worth far more here than they are on Action.
How to confirm the trophy unlocked and why it might not
Glutton for Punishment pops the moment you finish the final outstanding fight, so the last win on your last difficulty is the trigger. Before that, use the Boss Rematch menu itself as the checklist — every entry needs a clear on Story, Action, and Carnage, and any gap is a fight you still owe.
If it has not unlocked, the cause is almost always one of three things. A boss is missing from the list because you have not reached that fight in the campaign yet. A cleared boss is still missing one of the three difficulty entries. Or you have been clearing drills and assuming they count — they do not.
Glutton for Punishment sits alongside True Onimusha as the toughest ask in a 52-trophy list, and it is the one standing between most players and Peerless. Budget the time, come in after the Carnage clear with the reward weapon in hand, and treat the arena as a rhythm exercise rather than a damage race.





