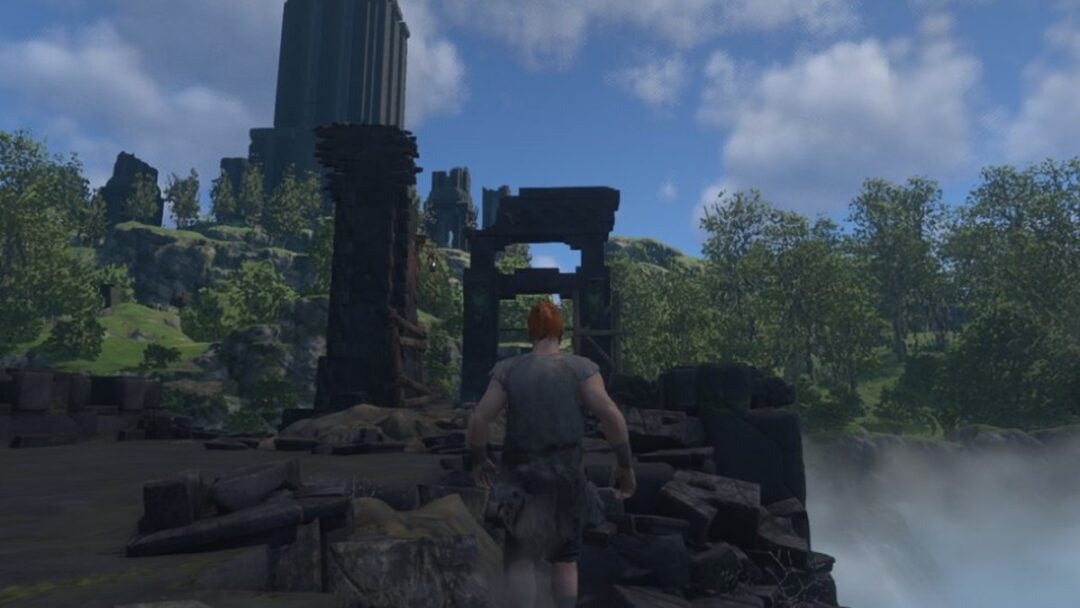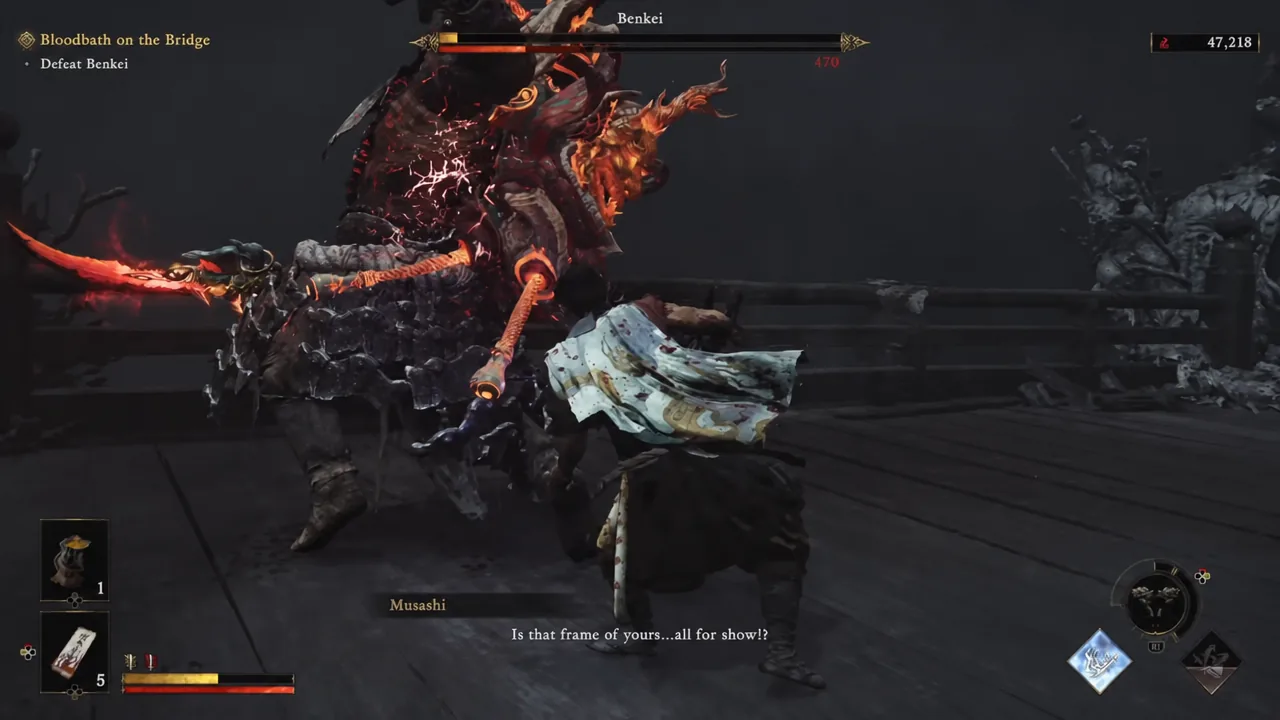
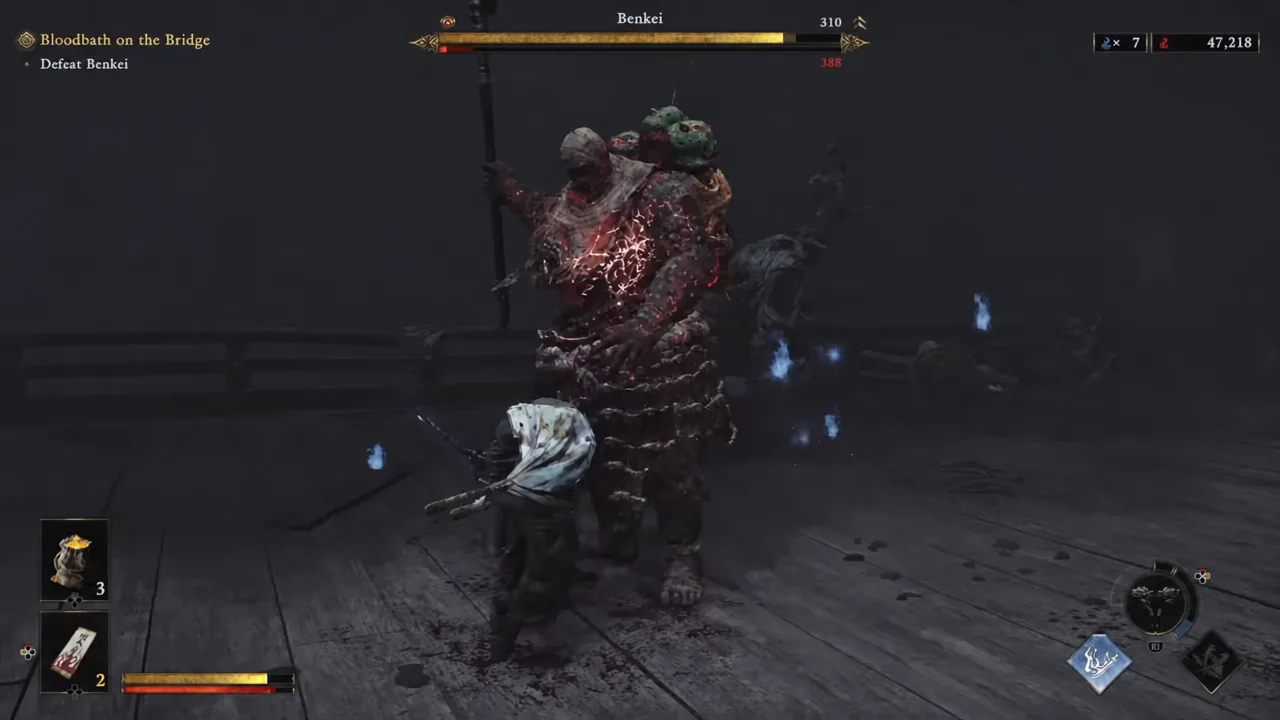
Benkei is the point where Onimusha: Way of the Sword stops being polite. The Bloodbath on the Bridge encounter puts Musashi on a narrow stage against the hardest-hitting boss you have faced to that point, and it is split into two very different fights stacked on top of each other. Phase one is a close-range grind. Phase two is a multi-armed form that attacks from range as well as up close, and it is where most attempts fall apart.
Quick answer: Survive phase one by backing off to heal only when you have real space, and finish it with your healing items mostly intact — then spend phase two parrying Benkei’s attacks to create the openings you damage him through.
Phase 1: Close-range pressure and safe healing windows
Benkei opens the fight almost entirely at melee range. That is good news, because it means the threat comes from one direction and you can control the spacing yourself. Stay close enough to punish, but treat every heal as a movement decision first. Do not drink standing in front of him.
The single most important habit here is restraint with consumables. Phase one is survivable on defensive play alone, and every item you spend on chip damage now is one you will not have when the fight gets genuinely dangerous. If you finish this phase with a healthy stock, you have already done most of the work.
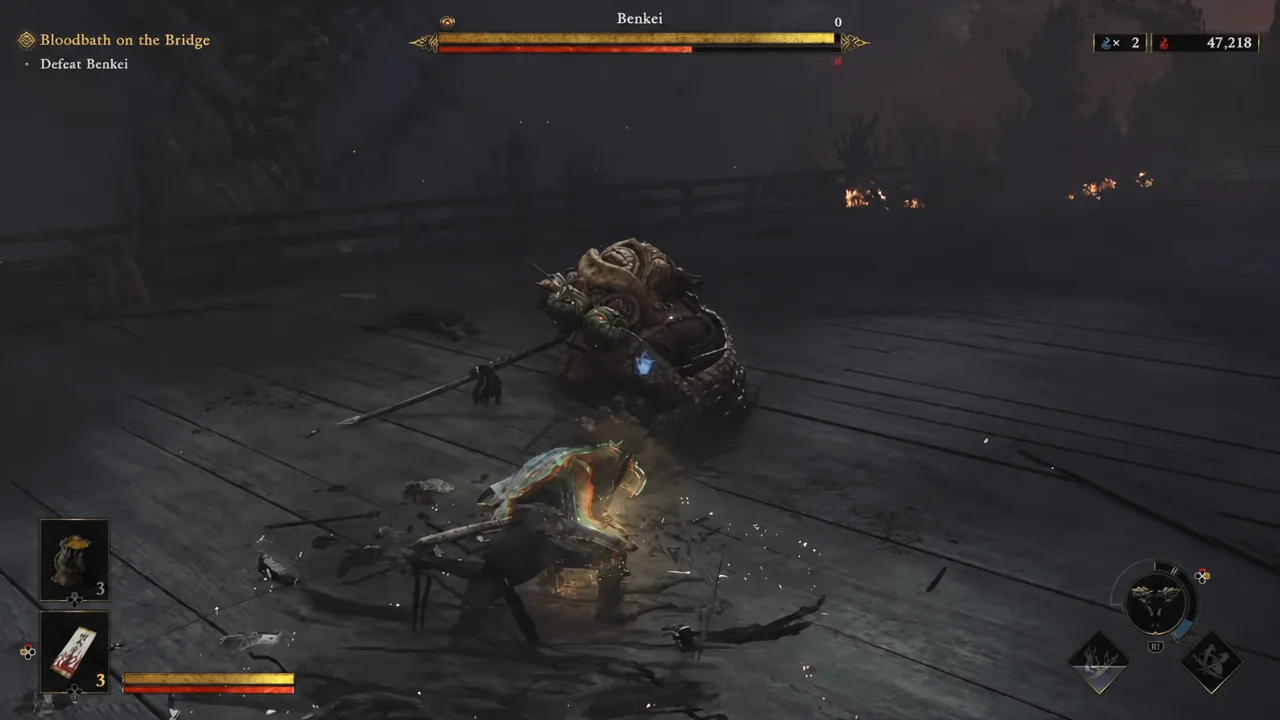
Note: buff talismans burn down on a timer, not on hits taken. If a Lesser Might Talisman effect expires mid-phase, treat that as a cue to reset spacing rather than to immediately reapply while he is swinging.
Phase 2: The multi-armed form and parry openings
When Benkei shifts into his multi-armed form, the fight changes shape. He keeps the heavy close-range swings and adds long-range attacks on top of them, so backing away is no longer a reliable escape. Distance buys you less here than it did a minute ago.
Parrying is the engine of this phase. Every attack you parry is both damage you did not take and a window you can attack into, and stringing those windows together is how you make progress against a boss who otherwise shrugs off casual pressure. Musashi’s own dialogue points at the same problem, muttering that he needs to break that armor — the answer is defensive counters, not longer combos.
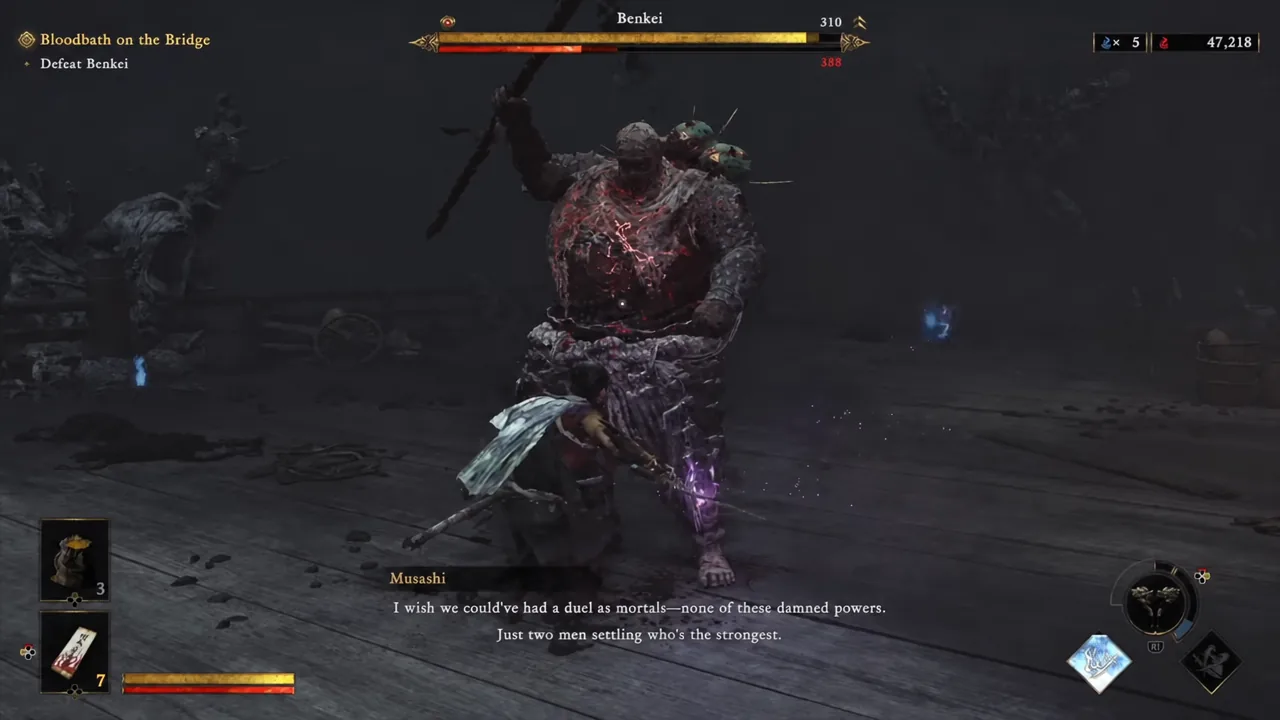
This is also where the healing items you protected earlier come out. Use them, but use them off the back of a parry or after he commits to a long attack, not in the middle of a string. Concentration matters more than reflexes here, because the mixed ranges mean you are reading two attack sets at once.
Benkei phase reference
| Phase | Benkei’s behavior | Your priority |
|---|---|---|
| Phase 1 | Close-range attacks only | Create space before healing; save consumables for later |
| Phase 2 | Multi-armed form, close and long-range attacks | Parry to open him up; spend saved healing items as needed |
Defensive tools that create damage windows
Raw attack power does very little against bosses in this game. Deflecting drains an enemy’s stamina bar, and once that bar empties you get a real damage opportunity instead of chipping at a health pool. Issen is the higher-risk version of the same idea, with a much tighter timing window and a much larger payoff.
Regular parries feed the Blazing Gauge in the corner of the screen. Filling it triggers Blazing State, which raises your damage and improves your odds of blue souls appearing, and blue souls are what let you fire off Oni Armaments. Those in turn generate purple souls, which build the Oni Awakening gauge.
When you break stamina, you get a choice of soul sparkles. Red souls deal direct damage to the boss. Purple souls release yellow (health), blue (Oni Power) and purple (Oni Awakening) souls instead. Neither pick is wrong, but against a boss that hits this hard, taking the sustain and gauge fill is usually the safer read.
Why the Benkei fight goes wrong
- Healing items burned in phase one, leaving nothing for the multi-armed form.
- Healing while still inside his close-range attack arc instead of stepping away first.
- Trading hits. Bosses here are dynamic and can enter their enhanced state early if you take too much damage too quickly, which makes the rest of the fight noticeably harder.
- Playing phase two like phase one. Retreating no longer works once he has long-range options, so parries replace spacing as your main defense.
How to confirm the fight is over
The Defeat Benkei objective sits on screen for the duration of Bloodbath on the Bridge. When it clears, the encounter is done and the mission moves on — there is no second wind or hidden third stage waiting after the multi-armed form goes down.
Benkei is less a wall than a checkpoint on your defensive habits. If you are still trying to out-damage him, the fight will keep punishing you. Slow it down, bank your items through the first phase, and let the parries do the work in the second.