

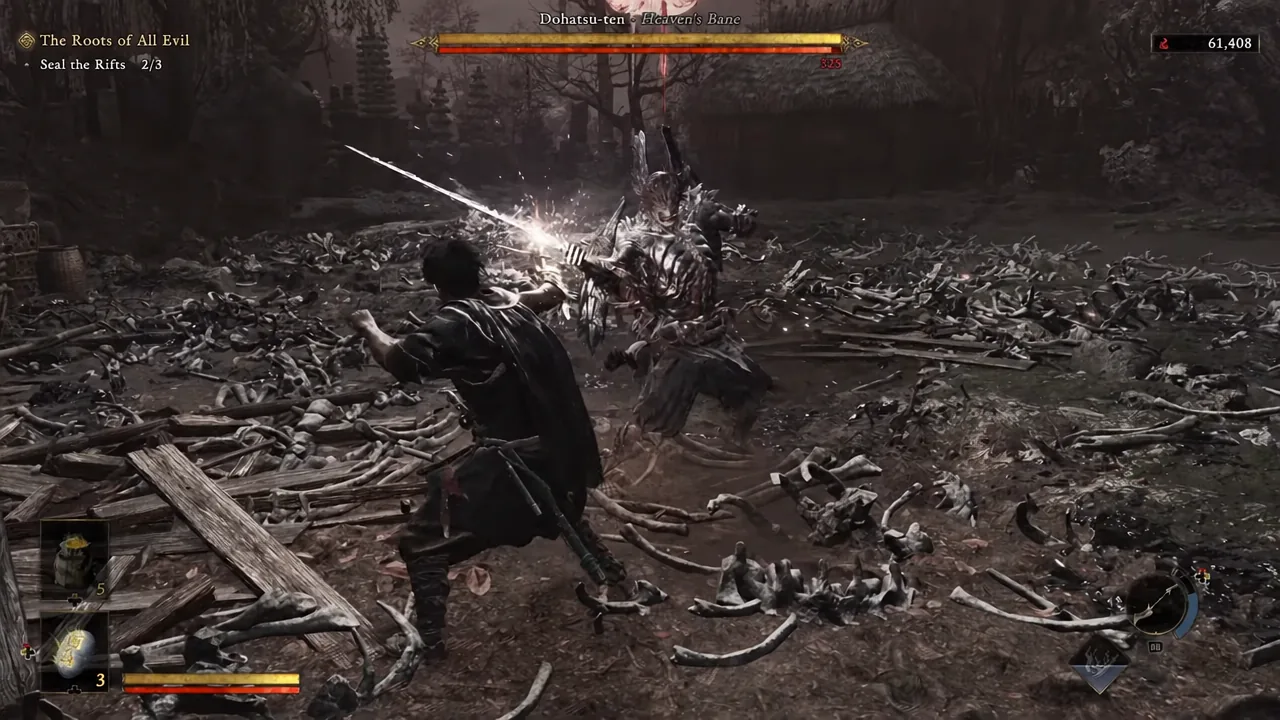
Dohatsu-ten, also called Heaven’s Bane, is the winged Genma who steps out of a red rift during the quest The Roots of All Evil. He is technically a minor encounter, but he hits like a story boss: fast, aggressive, and built around punishing anyone who trades blows with him. Every clean hit he lands feeds his sword, so the fight gets harder the sloppier you play.
Quick answer: Guard or deflect almost everything, dodge the launcher kick instead of parrying it, and break his block with the stance-breaking command (triangle and circle together) when your hits stop registering. Drain his stamina bar, take the riposte, and seal the rift with Absorb Rift once he drops.
Where Dohatsu-ten spawns in The Roots of All Evil
He materializes out of a rift, the same way Byakue does earlier. You will already be tracking the Seal the Rifts objective when he appears, with the counter sitting at 2/3. The rift he guards is the last one on the list, so the fight is mandatory before the quest moves on.
Why getting hit makes Dohatsu-ten stronger
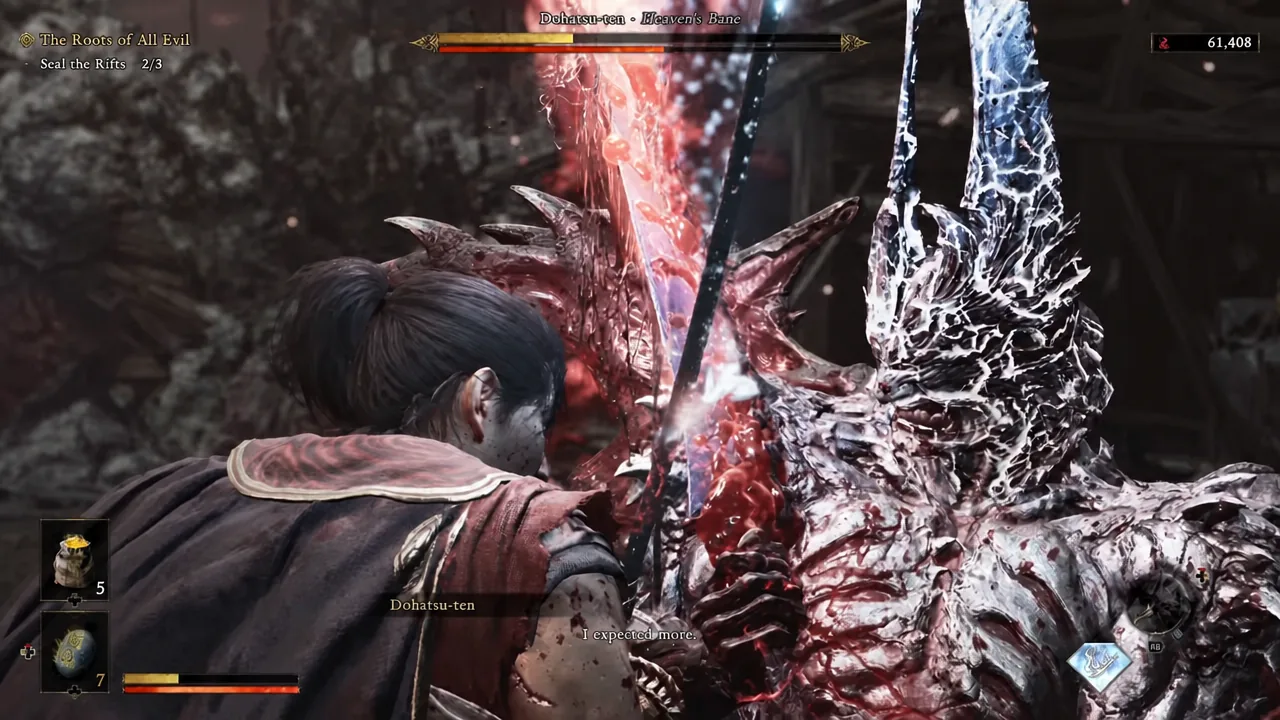
When Dohatsu-ten connects, he absorbs some of the souls you drop and grows more dangerous. His blade feeds on your blood, which means a fight where you eat six early hits is meaningfully harder than one where you eat two. Damage output matters far less here than staying clean.
The winning loop is the same one that carries most of the game’s bosses. Deflect or counter his strings to chew through his stamina bar, cash in the opening when it breaks, then reset to neutral instead of chasing him. Souls you claim after a stamina break can be spent as red sparkles for direct damage or purple ones that release health, Oni Power, and Awakening energy, so pick based on how much punishment you have taken.
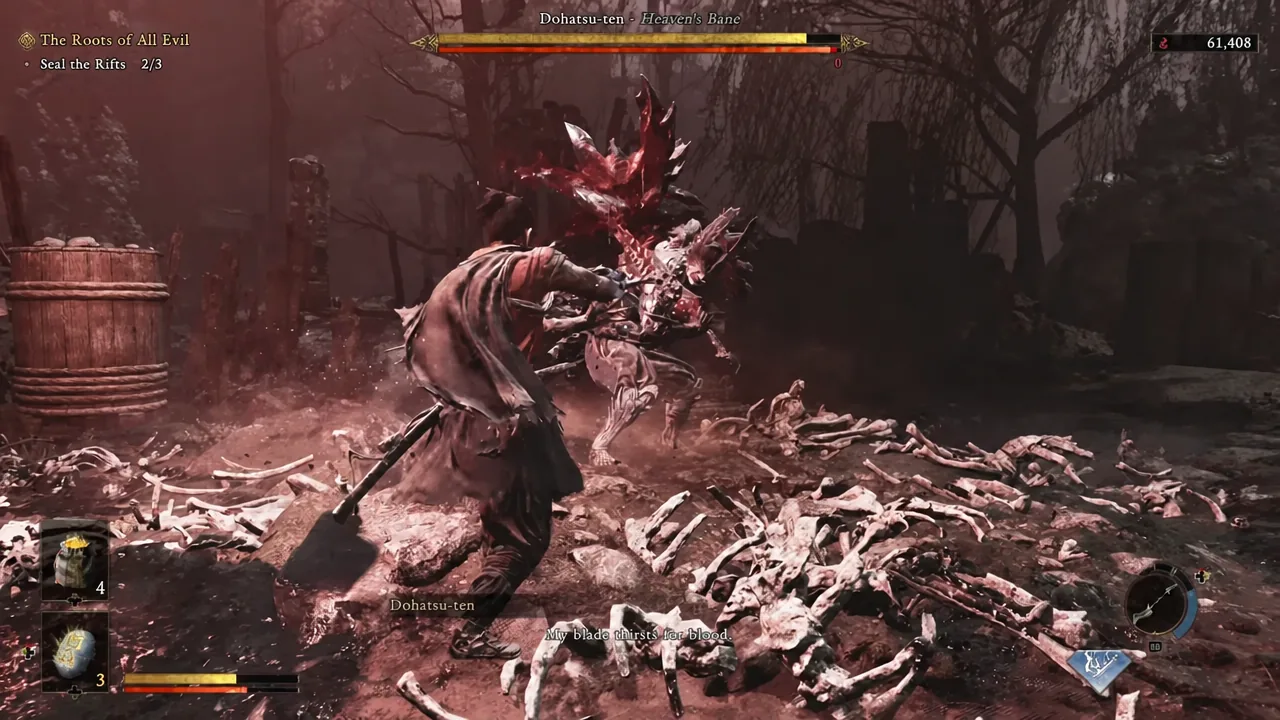
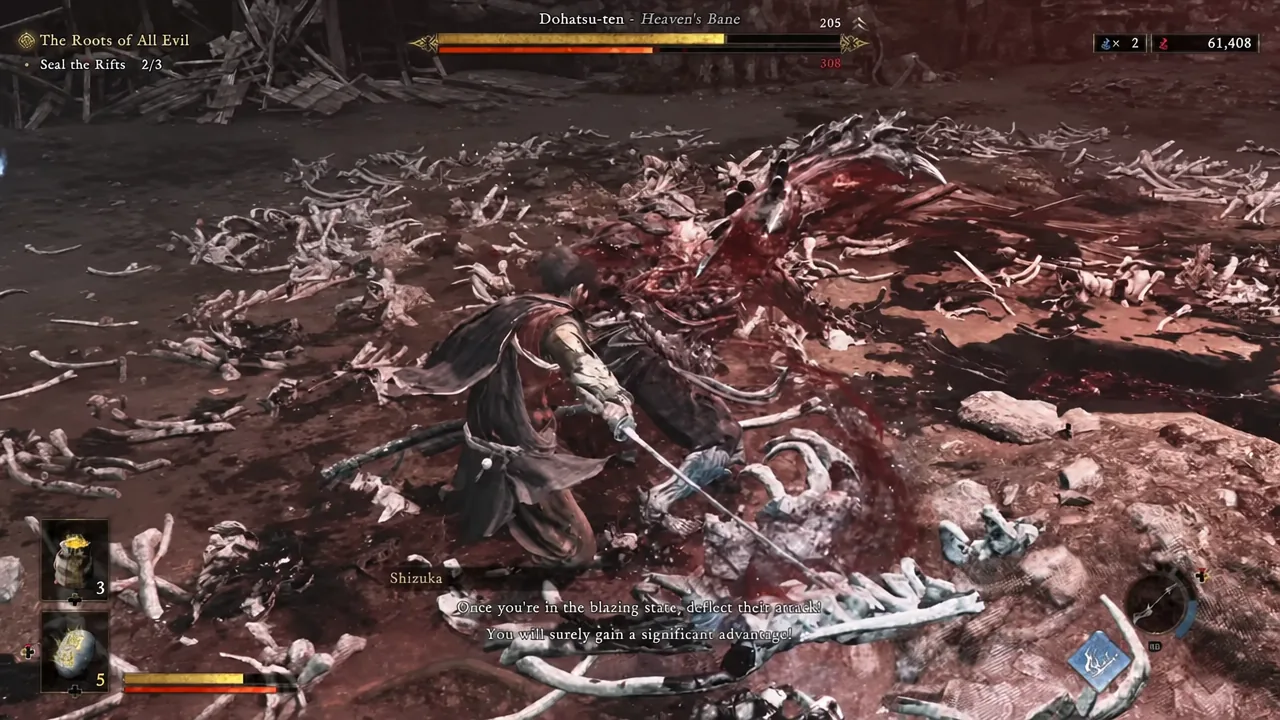
Deflecting during the blazing state is where the fight tips in your favor, and the game flags this mid-encounter through Shizuka. Time the deflect on his incoming swing rather than backing off, and you convert his pressure into your own opening.
Dohatsu-ten moveset and the correct response
Almost everything in his kit is deflectable. The exceptions are the kick that launches you into the air and his white-glowing attacks, which can only be parried or deflected and never dodged.
| Attack | Tell | Response |
|---|---|---|
| Kick combo | Three-hit string, ending in a back kick or a blade slash | Guard through it, then parry only if the finisher is a thrust |
| Charged kick combo | He dashes in after powering up | Guard the kicks; the thrusting follow-up is parryable |
| Launcher kick | Single heavy boot, often chained off the kick combo | Guard or dodge. Never try to parry it, or the aerial follow-up is unavoidable |
| Ranged slash | He postures down at distance and shouts “Shatter,” “Prepare,” or “Perish” | Deflect to send the slash back at him |
| Triple slash | His sword is empowered before firing three waves | Dodge toward him through the first two, parry the third |
| 360-degree swing | Fast roundhouse cut with a very short delay | Parry as he passes the halfway point of the spin |
| Flank | He teleports to your side | Parry the instant he vanishes; the slash is near-instant |
| Jump back into leap | He hops away, then dives back in | Parry, it is one of his most forgiving attacks |
| Thrust | Straight poke, often paired with the jump back | Parry |
| White-glowing attack | He calls out “No escape” | Parry or deflect only |
| Guard | He blocks and your hits stop landing | Use the stance-breaking attack (triangle and circle) to open him up |
Note: if you keep swinging into his guard, he breaks your stance and counterattacks. Read the block and switch to the stance-breaker instead of forcing damage through.
The three attacks that cause most deaths
The 360-degree swing is unavoidable and comes out quickly, but the timing is consistent. Watch his body rather than the blade and press the parry as he reaches the halfway point of the rotation. Missing it usually costs a large chunk of health.
The flank looks unfair because there is no windup at your position. The teleport itself is the tell, so parry the moment he disappears rather than waiting to see the sword.
The launcher kick is the one attack you should never gamble on. Guard it or dodge it. If it connects, you get thrown into the air and he follows with a heavy hit you cannot avoid, which is often the difference between a clean run and a restart.
What changes in his enhanced state
Once he shifts into his enhanced form, he starts teleporting rapidly around the arena. Each teleport ends in an attack, and each of those attacks can be deflected, sometimes with the blade wrapped in Malice. If you drift too far away, he closes the distance with a dash into a heavy slash, which is also deflectable.
Boss states in this game are dynamic. Take a lot of damage early and he can enter that enhanced state well before you expect it, and he can pull some of those moves out in the opening stretch. That is another reason avoidance beats aggression here.
Dohatsu-ten rewards and drops
The kill drops upgrade materials rather than a new weapon, and the gauntlet enhancement prompt lights up right after the fight ends.
| Drop | Use |
|---|---|
| Dohatsu-ten’s Horn ×2 | Enhancement material; triggers the Ready to Enhance Gauntlet prompt |
| Dohatsu-ten’s Blade ×2 | Boss-specific upgrade material |
| Rusty to Radiant Gauntlet | Gear reward from the encounter |
| Malice ×2 and Malice Mass ×1 | Crafting and enhancement stock |
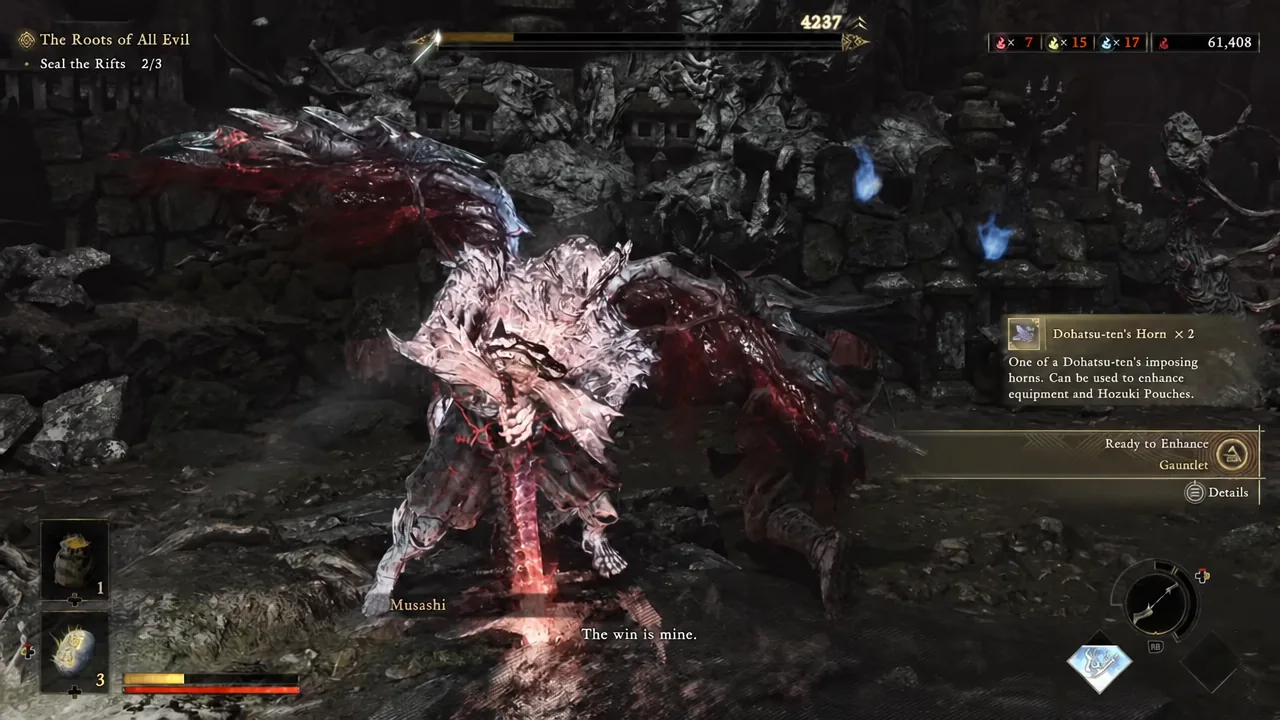
Sealing the rift after the fight
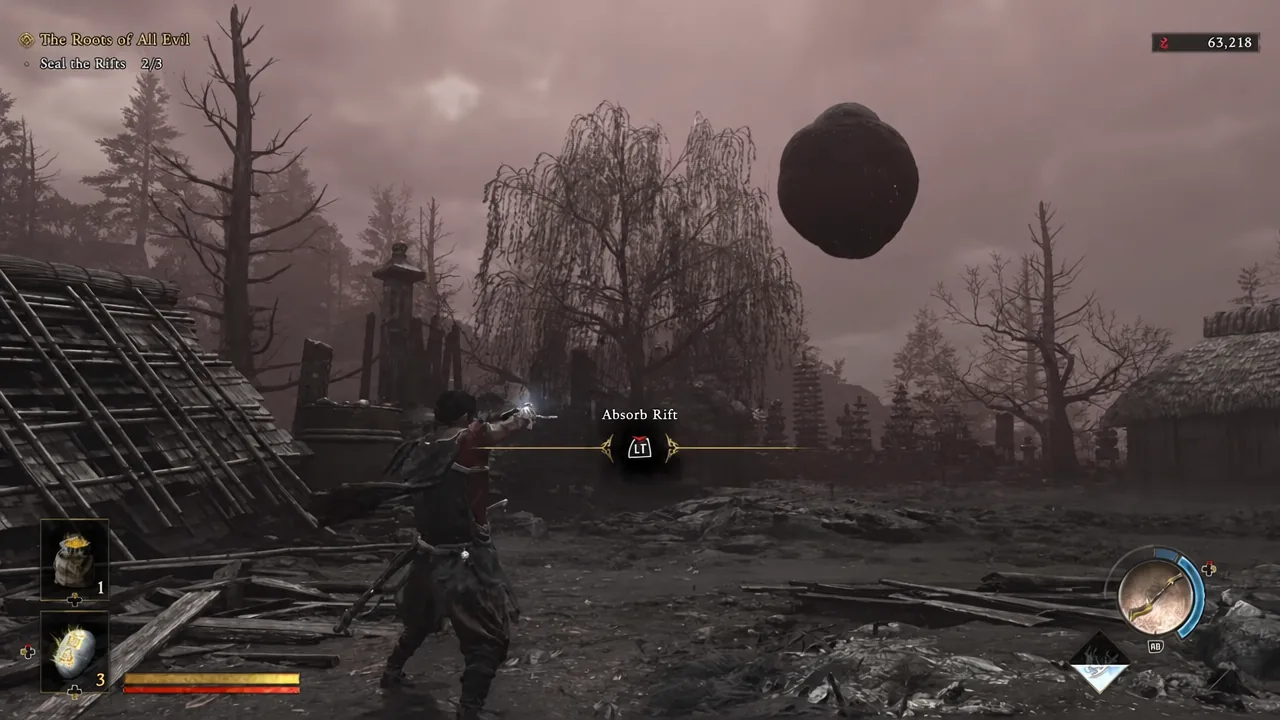
If the counter has not moved, you either walked away before the hold completed or you are standing at a different rift entirely. Return to the orb and hold the input until the absorption animation finishes.
Dohatsu-ten is a mid-tier encounter on paper and a patience test in practice. Slow the fight down, treat every deflect as damage prevention rather than a flourish, and he stops escalating long enough for the stamina breaks to finish him.





