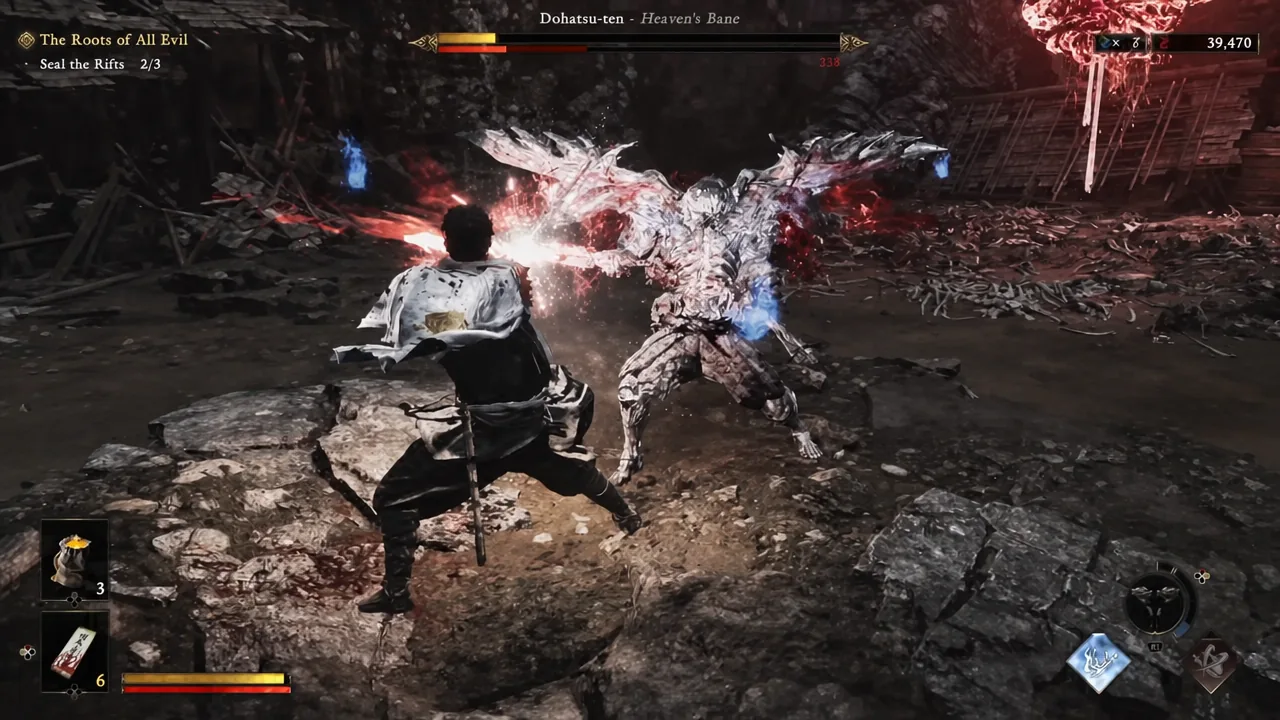
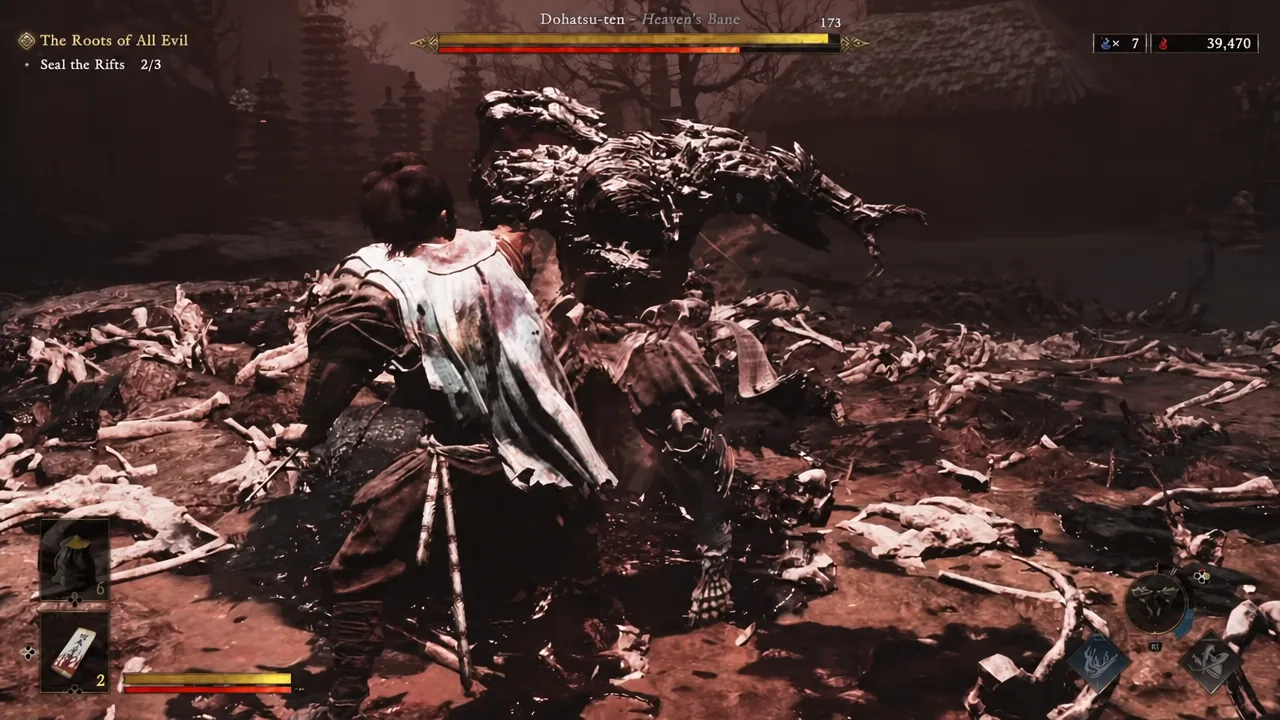
Dohatsu-ten, the winged Genma also written as Heaven’s Bane, is one of the recurring boss fights in Onimusha: Way of the Sword, and he shows up during “The Roots of All Evil” while you are working through the Seal the Rifts objective. He hits hard enough to end a careless run in a few exchanges, but his kit is narrow. Almost everything he throws is either a parry or a dodge, and once you can tell the two apart the fight collapses into a short, repeatable loop.
Quick answer: Parry his standard sword attacks, dodge his grab to trigger the automatic counter, and break his guard with triangle plus circle when your hits stop registering. Repeat until he drops.
The two-input loop that beats Dohatsu-ten
Musashi does not need a special build or a saved-up Oni Armament here. The entire fight runs on reading whether the incoming move is a blade attack or a body attack.
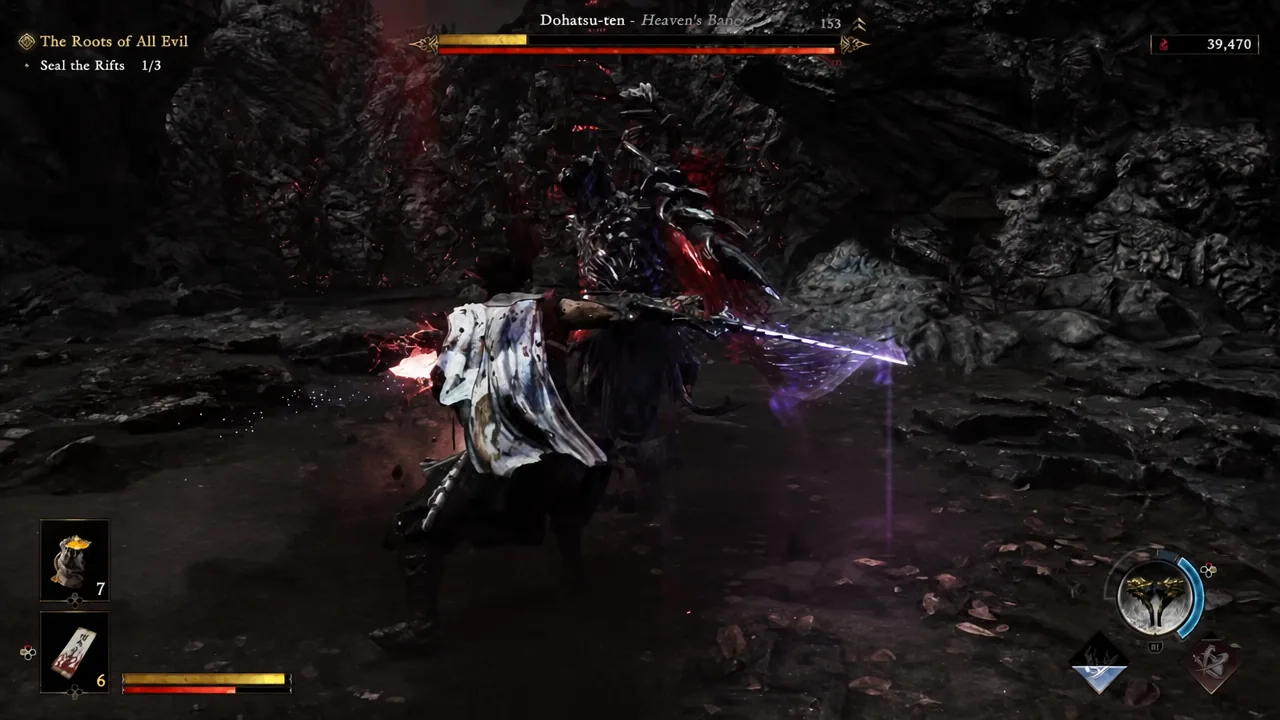
Reading his attack tells
Dohatsu-ten talks. He barks a line before his most dangerous moves, and treating those callouts as an input prompt is the single biggest upgrade to your consistency in this fight.
| Tell | What’s coming | Correct response |
|---|---|---|
| “No escape” | A white-glowing attack | Parry or deflect — it cannot be Issen’d |
| “Shatter,” “Prepare,” or “Perish” | A thrown sword slash from range | Time a deflect to send it back at him |
| He lunges without drawing back the blade | Grab | Dodge for the free counter |
| Your hits stop connecting | Raised defense | Triangle + circle to break it |
Note: white-glowing attacks are a hard rule across the game’s bosses. They are never Issen material, only parry or deflect material, so do not gamble a counter window on one.
His enhanced state and the teleport pattern
Later in the fight he shifts gear and starts blinking around the arena at speed. It looks chaotic, but it is structured: every teleport ends in an attack, and every one of those attacks can be deflected. Sometimes his blade will be wreathed in Malice when he arrives, which changes the damage, not the input.
Distance is the other thing to manage here. If you drift too far from him while he is in this state, he closes the gap with a dash into a heavy slash. Deflect it the same way you handle his teleport arrivals. On the rematch version of the fight he can pull some of these enhanced moves out early, so do not assume the opening minute is safe just because his health bar is full.
One structural warning: bosses in this game escalate based on how much damage you take and what kind. Eat too many hits early and he enters his enhanced state well ahead of schedule, which is how a manageable fight turns into a long one. Clean beats fast.
Why you fight Dohatsu-ten more than once
Each win awards Dohatsu-ten’s Bone — two per clear in a standard run — and that material feeds equipment upgrades and Musashi’s Oni Gauntlet. Maxing the gauntlet takes more Bone than one victory provides, which is why he is set up as a repeatable encounter rather than a one-off story wall.
You’ll know the kill registered when the reward prompt lists Dohatsu-ten’s Bone x 2 alongside your soul total. If the count looks lower than expected, check whether you’re on a rematch rather than the story encounter, since the loop is the same but the payout is what you’re farming for.
Common reasons the fight goes badly
- Trying to parry the grab. It does not work, and the punish is severe. Dodge it every time.
- Trading hits instead of countering. Damage you take accelerates his escalation, so raw aggression makes the fight harder rather than shorter.
- Ignoring the guard break. If your slashes stop registering and you keep swinging, you are just feeding him openings.
- Backing off during his teleport phase. Extra distance invites the dash slash rather than buying you a breather.
Dohatsu-ten sits around the middle of the game’s difficulty spread, and the fight rewards patience more than damage output. Learn the parry beat, keep the dodge reserved for grabs, and the Bone farm becomes a short detour rather than a roadblock.