WARDOGS looks like a shooter where fragging out is the point, and it isn’t. Three factions of roughly 33 players each land on a 16x16km map, and the entire match is decided by how many bodies your team can keep standing inside one square. You can finish top of the elimination list and still lose by a wide margin.
Quick answer: Have more of your faction inside the Control Zone than either rival team when the score ticks, keep doing it until you reach 100 points, and treat kills as a way to remove enemy headcount rather than as a score in themselves.
WARDOGS win condition: 100 points from Control Zone headcount
There is one mode, and it descends from King of the Hill. A 2x2km Control Zone drops at a random spot inside the 256km² map, and the faction with the most players standing inside it earns the point when the tick lands. First to 100 wins, and matches can run past an hour. The official WARDOGS store page spells out the same rule the scoreboard follows.
| Element | Value |
|---|---|
| Players per match | Up to 100, split across three factions |
| Factions | Lonestar (blue), Valkyra (red), Manticore (green) |
| Map size | 16 x 16km (256km²) |
| Control Zone | 2 x 2km, randomised position |
| Scoring rule | Point goes to the team with the most players inside |
| Win condition | First faction to 100 points |
| Kills | Pay cash and XP, never team points |
Two consequences fall straight out of that rule. Trading a kill one-for-one inside the zone is worthless, because both teams lose a body. And a firefight 100 metres outside the boundary contributes nothing while it happens, no matter who wins it.
Hot Zone: each player counts as two
Inside the Control Zone sits a smaller circle called the Hot Zone, and it is the single fastest way to swing a match. Every one of your players standing in it counts as two for scoring, so ten teammates in the Hot Zone read as 20 under the minimap. It also pays double cash.
The catch is that it moves. The Hot Zone shifts around inside the main zone for the whole match, so the cover you cleared five minutes ago may now be irrelevant. Sitting in a fortified position and waiting for the game to come to you is the most common way good squads lose. Move with the circle instead of defending one spot.
A cheap loadout counts for exactly as much headcount as an expensive one. If you are low on cash, anchoring light in the Hot Zone is still one of the highest-value things you can do.
Towers and tower codes: pulling the Hot Zone to your ground
Three to five Towers sit inside the Control Zone, each captured through a terminal. Every Tower your faction holds hands over one digit of a code, and once you have the full code you can enter it to force the Hot Zone to move toward a Tower you already control.
XX1 format saves everyone else from re-capturing ground you already cleared.Three-team fights: pressure the leader, refuse the grind
The third faction changes the maths of every engagement. Any fight you commit to is being watched by someone who profits whichever way it ends, so pushing hard is rarely free.
- Whichever faction is out in front gets attacked from two directions at once, so a lead is not a safe place to sit.
- If you and one enemy lock into an attritional fight over the same corner, the third team is quietly banking ticks. Disengaging is the correct play more often than it feels.
- Arriving after two factions have burned themselves down is worth more than arriving first. Holding a rotation for 30 seconds counts as a real decision.
- When you already hold the tick, you do not need to win the fight. You just need it to stay unresolved.
Where the zone lands also dictates the kit. A village zone is building-to-building and rewards cheap infantry loadouts plus destruction to open walls. Open valley or river ground favours vehicles, long sightlines and helicopter drops. Industrial mountain terrain rewards verticality, fortifications and mortars. Look at the zone before you buy.
Cash and loadouts: buy for presence, not for highlights
Every player starts with $10,000, and cash carries between matches. Death costs you the loadout you are wearing, which is why blowing the whole balance on one kit in your first few rounds is a bad opening. Cheap weapons hold their own early, and the money you keep is the money that lets you redeploy quickly.
Almost every payout in the game rewards something that also helps the score, which is the point of the economy.
| Action | Payout |
|---|---|
| Zone occupation (normal) | $160 per cycle |
| Zone occupation (Hot Zone) | $320 per cycle |
| Transport delivery | $300–$450, plus $500 if they survive the drop |
| Bandage heal | $400 |
| Revive | $100–$900 |
| Building | $1 per hammer hit, $6 marked hit, $15 on completion |
| Kill confirmed | $1,500–$2,000 |
| Vehicle destroyed | $3,000–$4,688 |
Building pays each player separately, so a squad swinging hammers on one structure all get paid rather than splitting a single reward. Armour and a medical kit keep you upright on the square; a marginally better rifle does not. Bring loose ammo rather than spare magazines, since it eats less backpack space, and adjust your zeroing for the range you are actually shooting at instead of leaving it on the default 100m.
Cut downtime: revives, transport, and forward operating bases
HQ sits a long way from the zone, so the real bottleneck on headcount is usually travel time, not gunfights. Solve transport before you solve firepower.
A revive is a scoring action, not a favour. Downed players get a long bleedout window specifically so a teammate can pick them up, and letting it run out sends them all the way back to HQ along with their kit. Waiting for a revive is also cheaper than buying a fresh loadout. If your team has a Respawn Vehicle inside the Control Zone, you can respawn on it every five minutes through the Deployment Board at HQ.
Ferrying teammates is a paid job rather than a chore, and the Driver and Pilot progression tracks level from it. Only fly with pilots you trust, though, because a bad helicopter run can wipe an entire squad’s gear in seconds. Six XP tracks exist in total — Assault, Medic, Recon, Support, Driver and Pilot — and playing solo and kill-focused only ever develops one of them.
Carrying binoculars or a rangefinder is the cheapest way to contribute. Spot assists earn cash and Recon XP off kills your teammates land, and they need no vehicle. Use proximity voice chat and the dedicated squad radio to call towers, pushes and the third faction’s approach.
Video settings for clearer gunfights
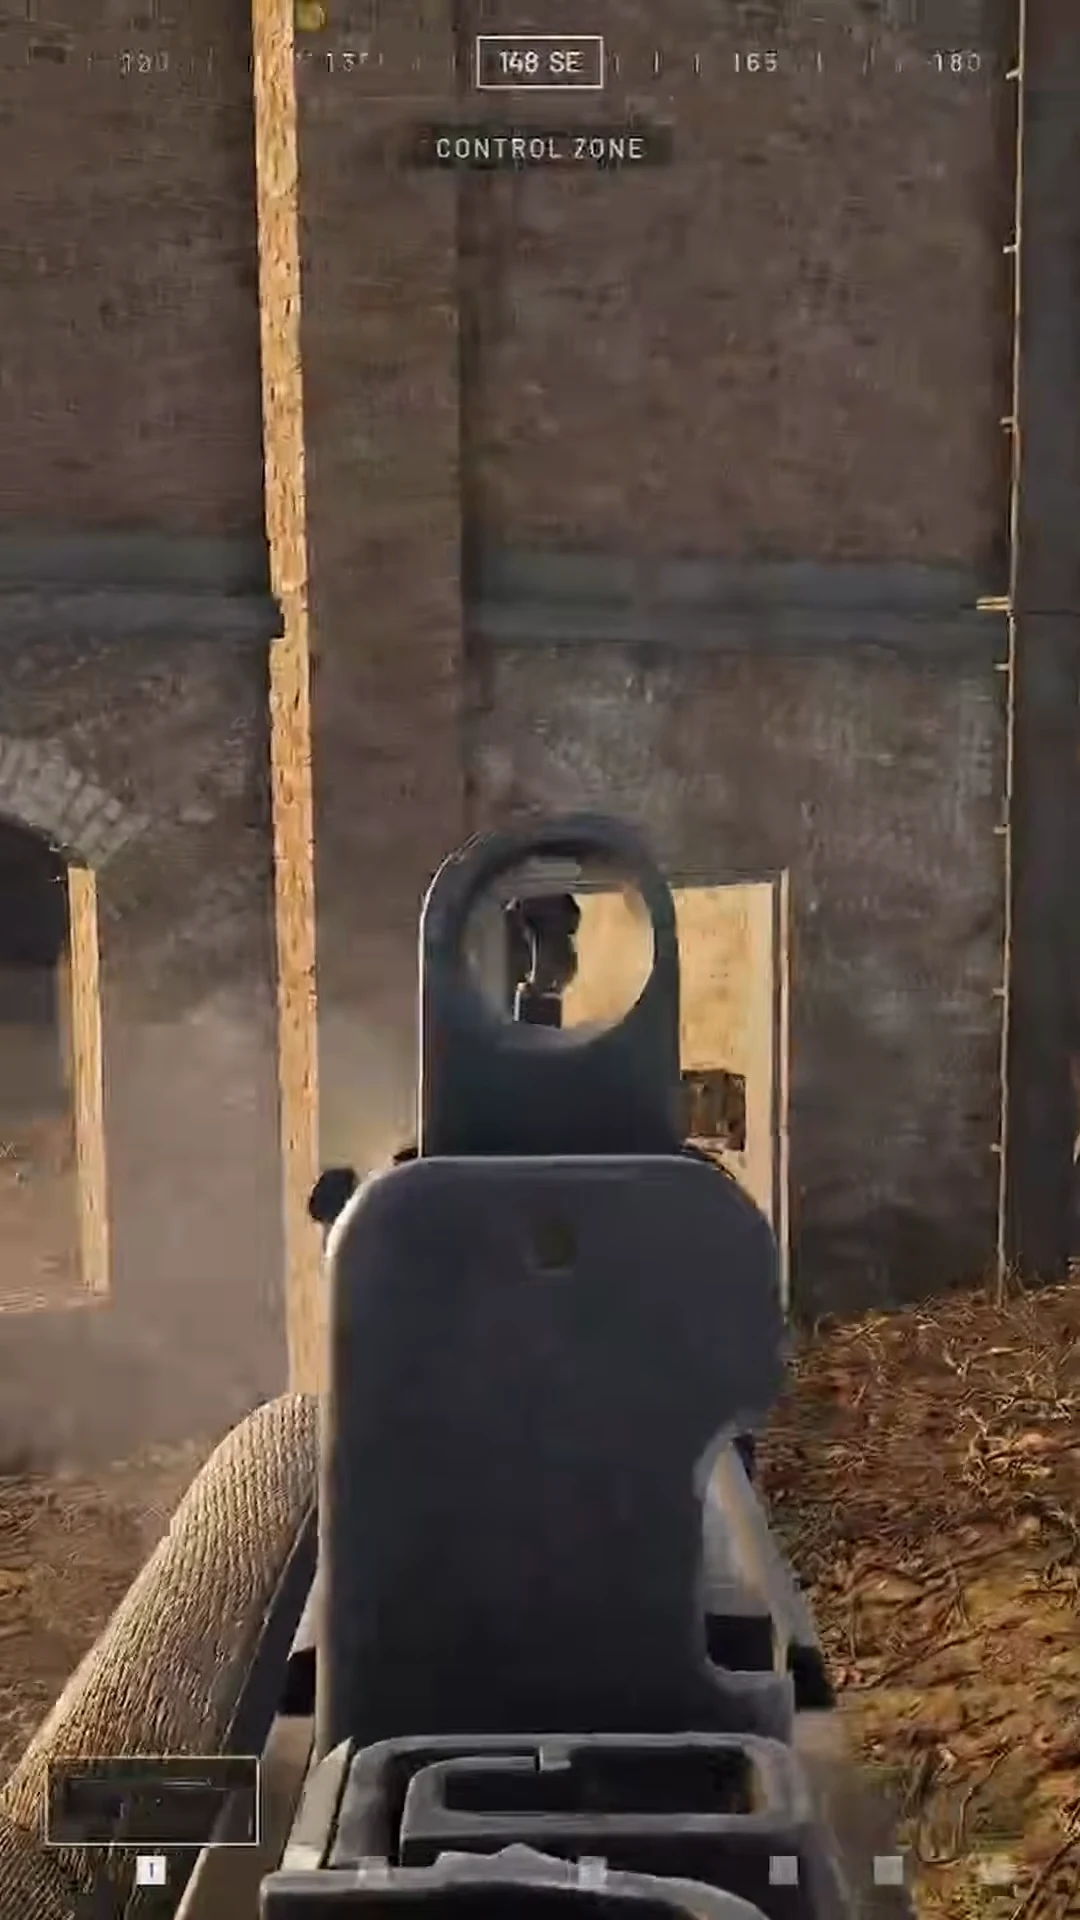
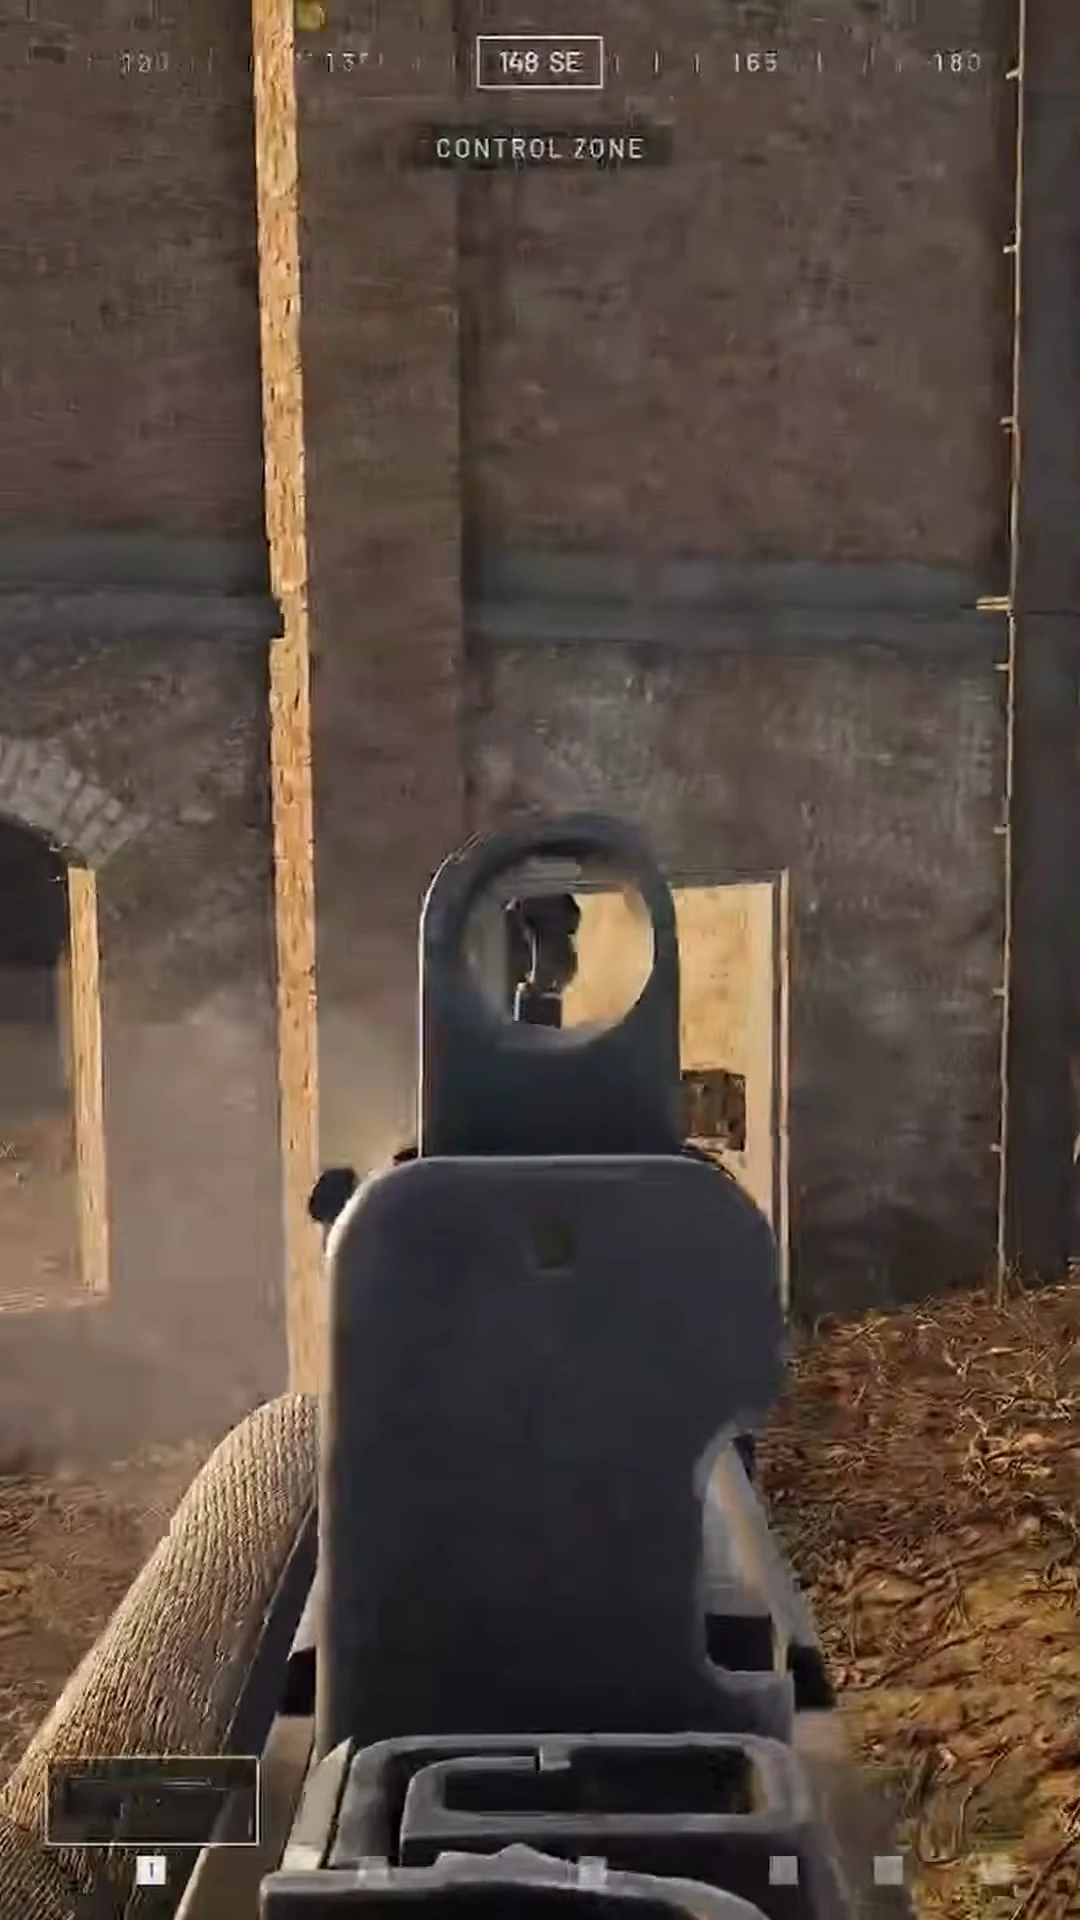
Two settings changes clean up the picture in close-range fights, where heavy shadows and post-processing effects hide players in doorways and interiors.
How to tell you are scoring, and why the tick stalls
Look at the bottom left of the screen, under the minimap. Each faction’s score sits there, along with the current player count inside the zone and a bar that fills toward the next point. If your headcount number is the highest of the three when that bar completes, the point is yours. BULKHEAD has not published the exact tick rate or whether the margin scales with how far ahead your headcount is.
When the bar keeps filling for someone else, it is almost always one of a short list of reasons.
- Your players are fighting near the boundary rather than standing inside it.
- People are pulling out of the zone to heal, which costs ticks every time.
- Downed teammates are bleeding out instead of being revived, so they are travelling from HQ instead of holding ground.
- The squad is turtling in a fixed position while the Hot Zone has already moved off it.
- Your faction is locked in a two-way grind and the third team is taking the ticks uncontested.
Reduced to its simplest form, winning is four repeated actions. Get bodies onto the square, keep them there, pick them up when they fall, and let the other two factions spend themselves on each other whenever you get the chance. Vehicles, fortifications, spotting and the artillery tank you saved four lives for all exist to serve those four things.