

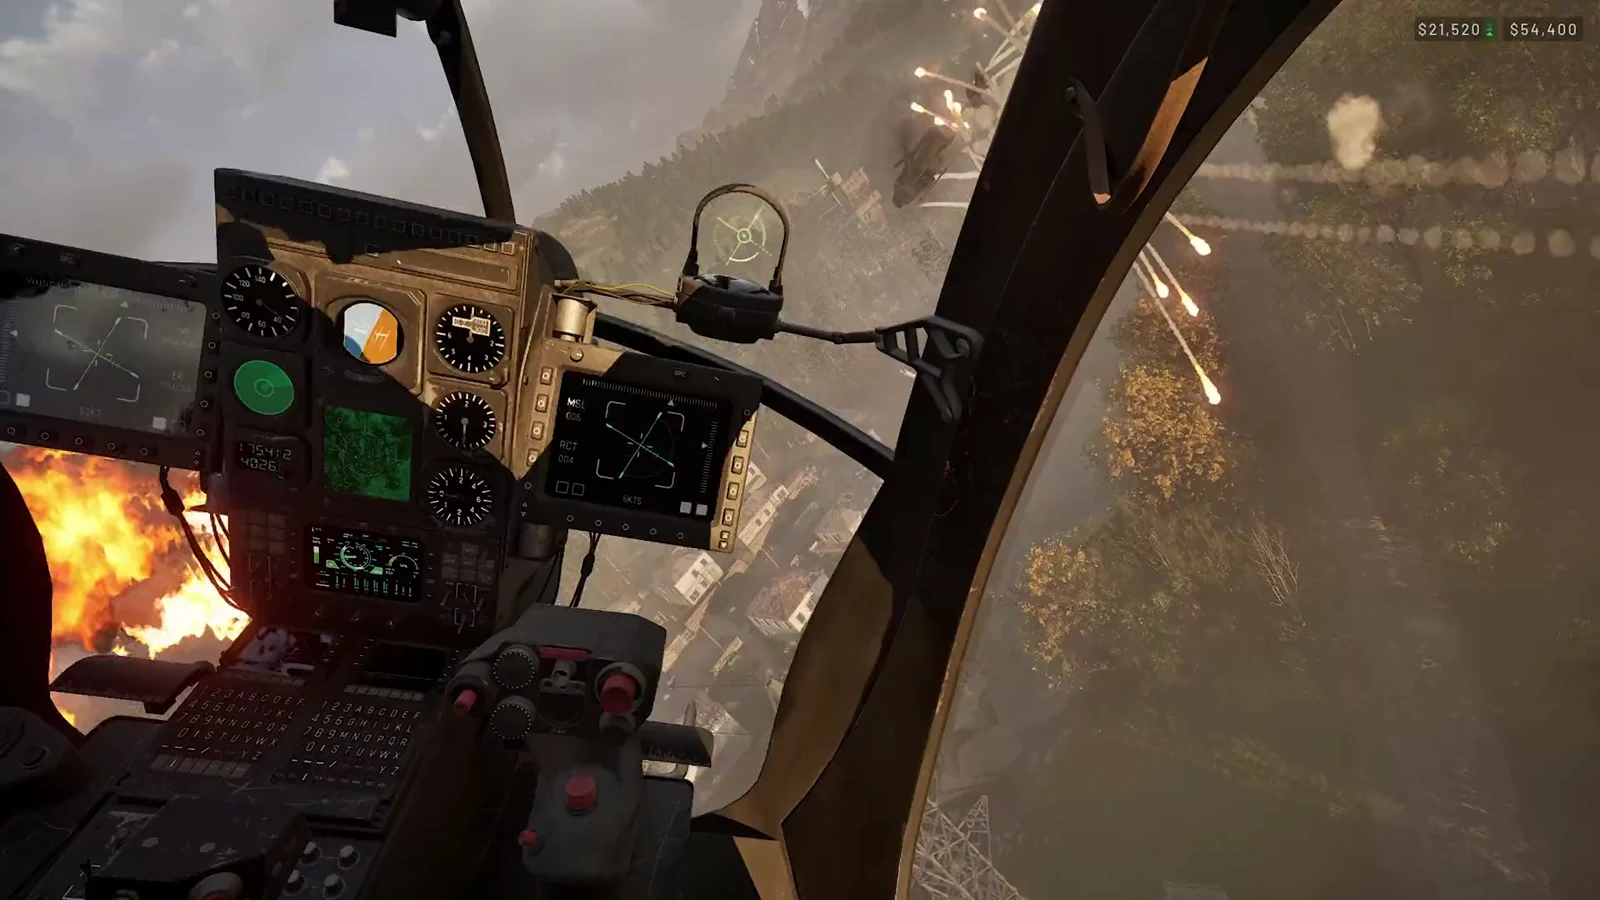
Helicopters in WARDOGS do not fly themselves. The flight model runs on four separate axes, the default bindings sit on keys your infantry fingers already use, and nothing on screen tells you that the aircraft carries momentum for a long time after you stop pushing. The fix is boring and entirely mechanical: change a handful of settings, move four bindings, and spend an hour in the Firing Range where crashing is free.
Quick answer: Enable Rotary Vehicle Mouse Control, put pitch and roll on the mouse, bind collective to W/S or Shift/Ctrl and yaw to A/D or Q/E, then practise in the Firing Range before carrying anyone.
The four flight controls, and what each one does
Every manoeuvre in the game is some combination of these four inputs. Collective is your throttle for height, cyclic is your steering, and yaw points the nose. A stable hover is all four balanced at once, which is exactly why it is the hardest thing to do first.
| Control | What it does | Main use | Default key |
|---|---|---|---|
| Collective | Raises or lowers the aircraft | Climbing, descending, landing | Left Shift / Left Ctrl |
| Pitch (Cyclic X) | Tilts the nose down or up | Accelerating and braking | W / S |
| Roll (Cyclic Y) | Banks left or right | Turning, sideways movement | A / D |
| Yaw | Rotates the nose without banking | Heading corrections | Q / E |
Forward flight comes from pitch, not from a throttle. Nose down to accelerate, and expect to lose height while you do it, which is why collective needs a small bump every time you speed up. Turning is a roll first, with a light yaw input to line up the heading. Steering purely with yaw in forward flight produces slow, ugly turns and very little control.
Reading the helicopter HUD
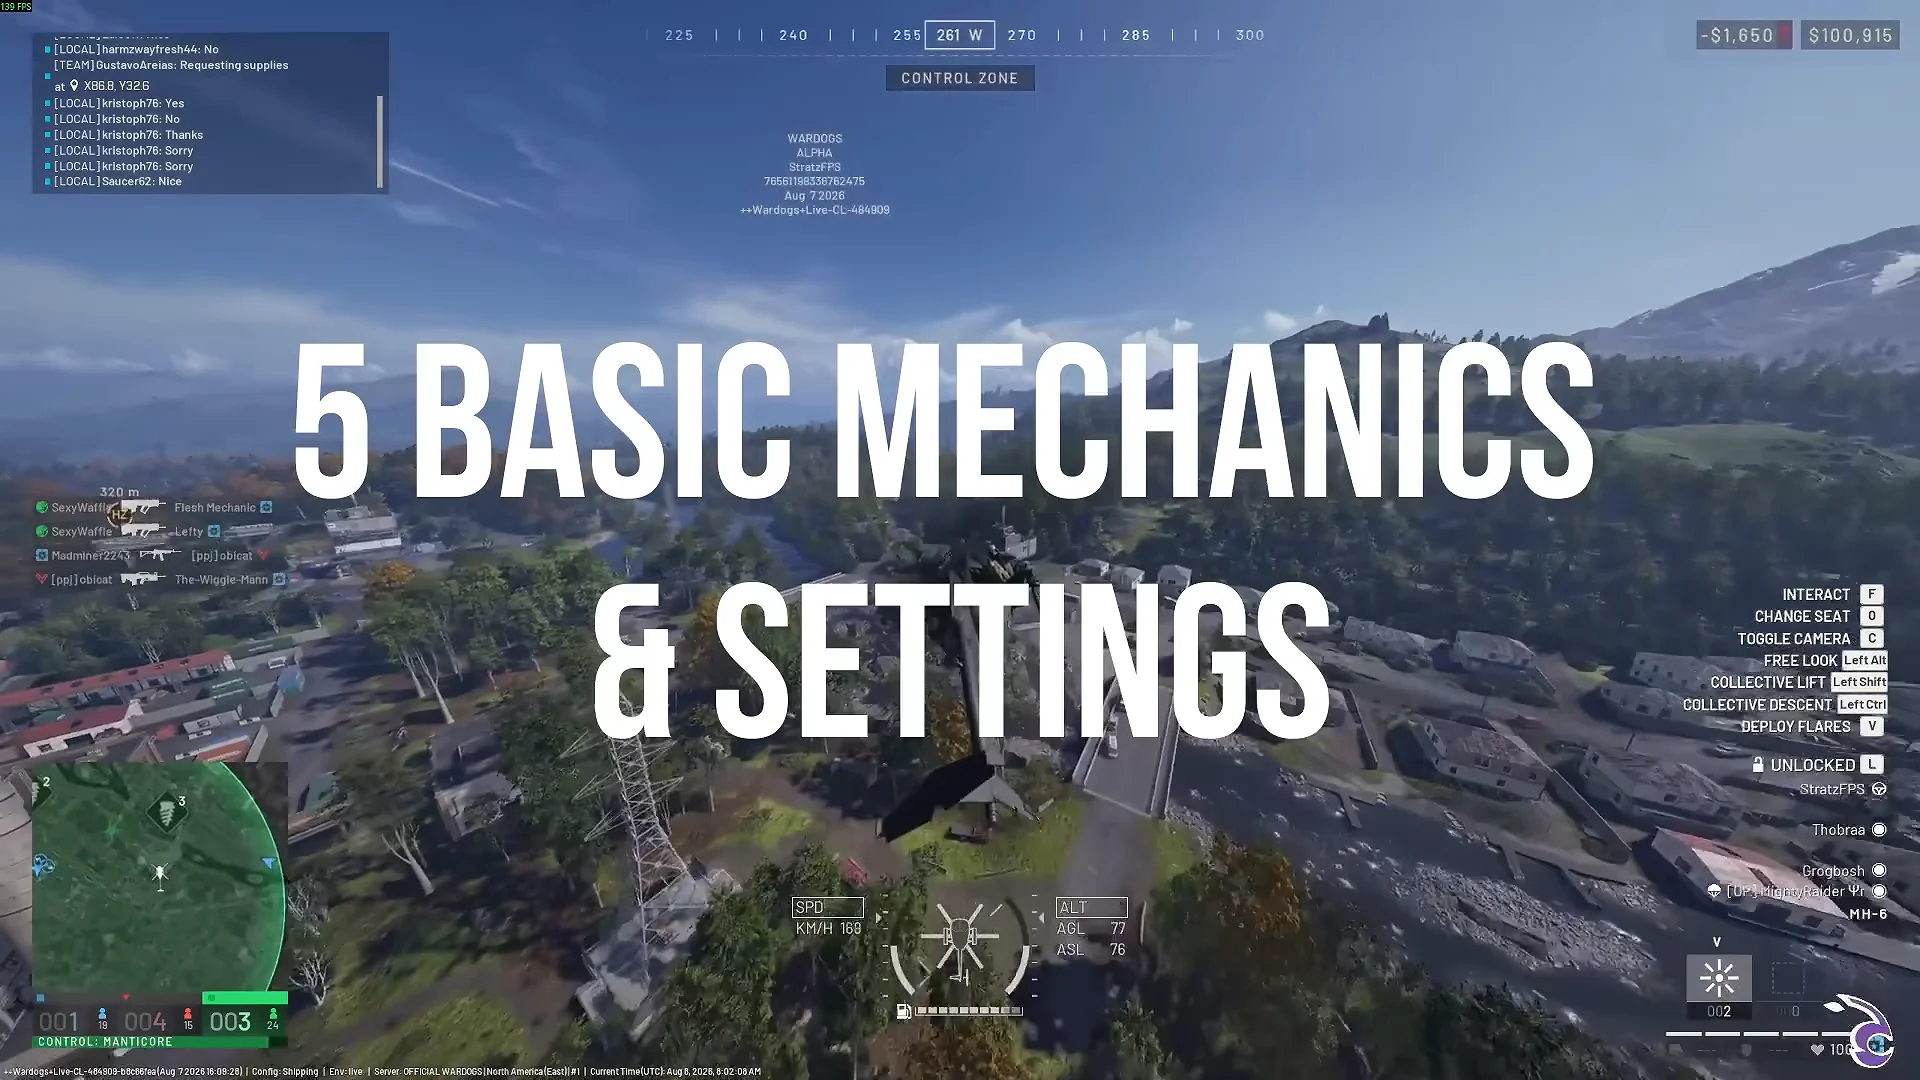
The instrument cluster sits at the bottom centre of the screen. You do not need to stare at it, but the collective bar and the altitude readouts are what keep a landing from becoming a crash.
| HUD element | Meaning |
|---|---|
| Central vertical bar | Collective input, with neutral at the centre |
| Side bars | Roll and bank angle |
| Outer arrows | Pitch attitude, nose high or nose low |
| SPD | Airspeed in km/h |
| ALT AGL | Height above the terrain |
| ALT ASL | Height above sea level |
Best WARDOGS helicopter control settings
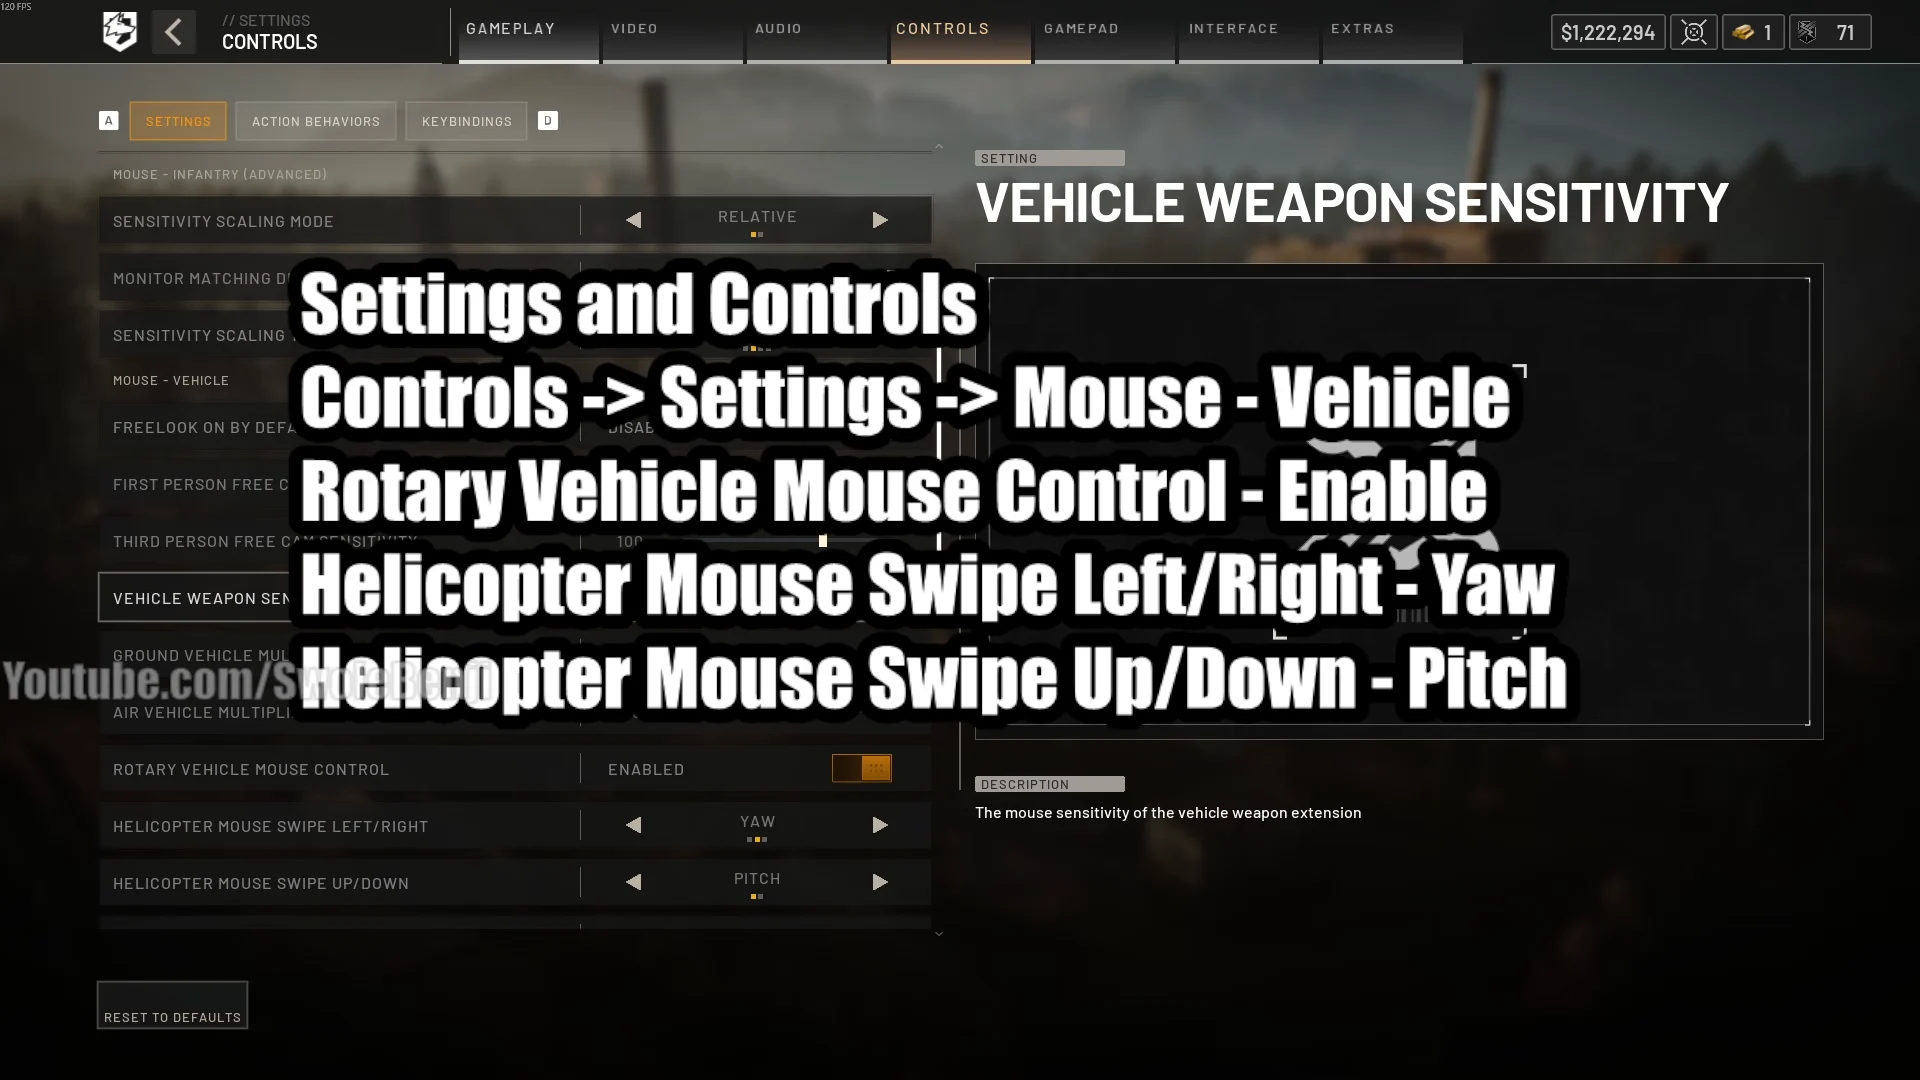
Open Settings and go to Controls. The vehicle options live near the bottom. The single change that matters more than all the others is Rotary Vehicle Mouse Control: without it, every axis is an on/off key press, and smooth corrections are impossible.
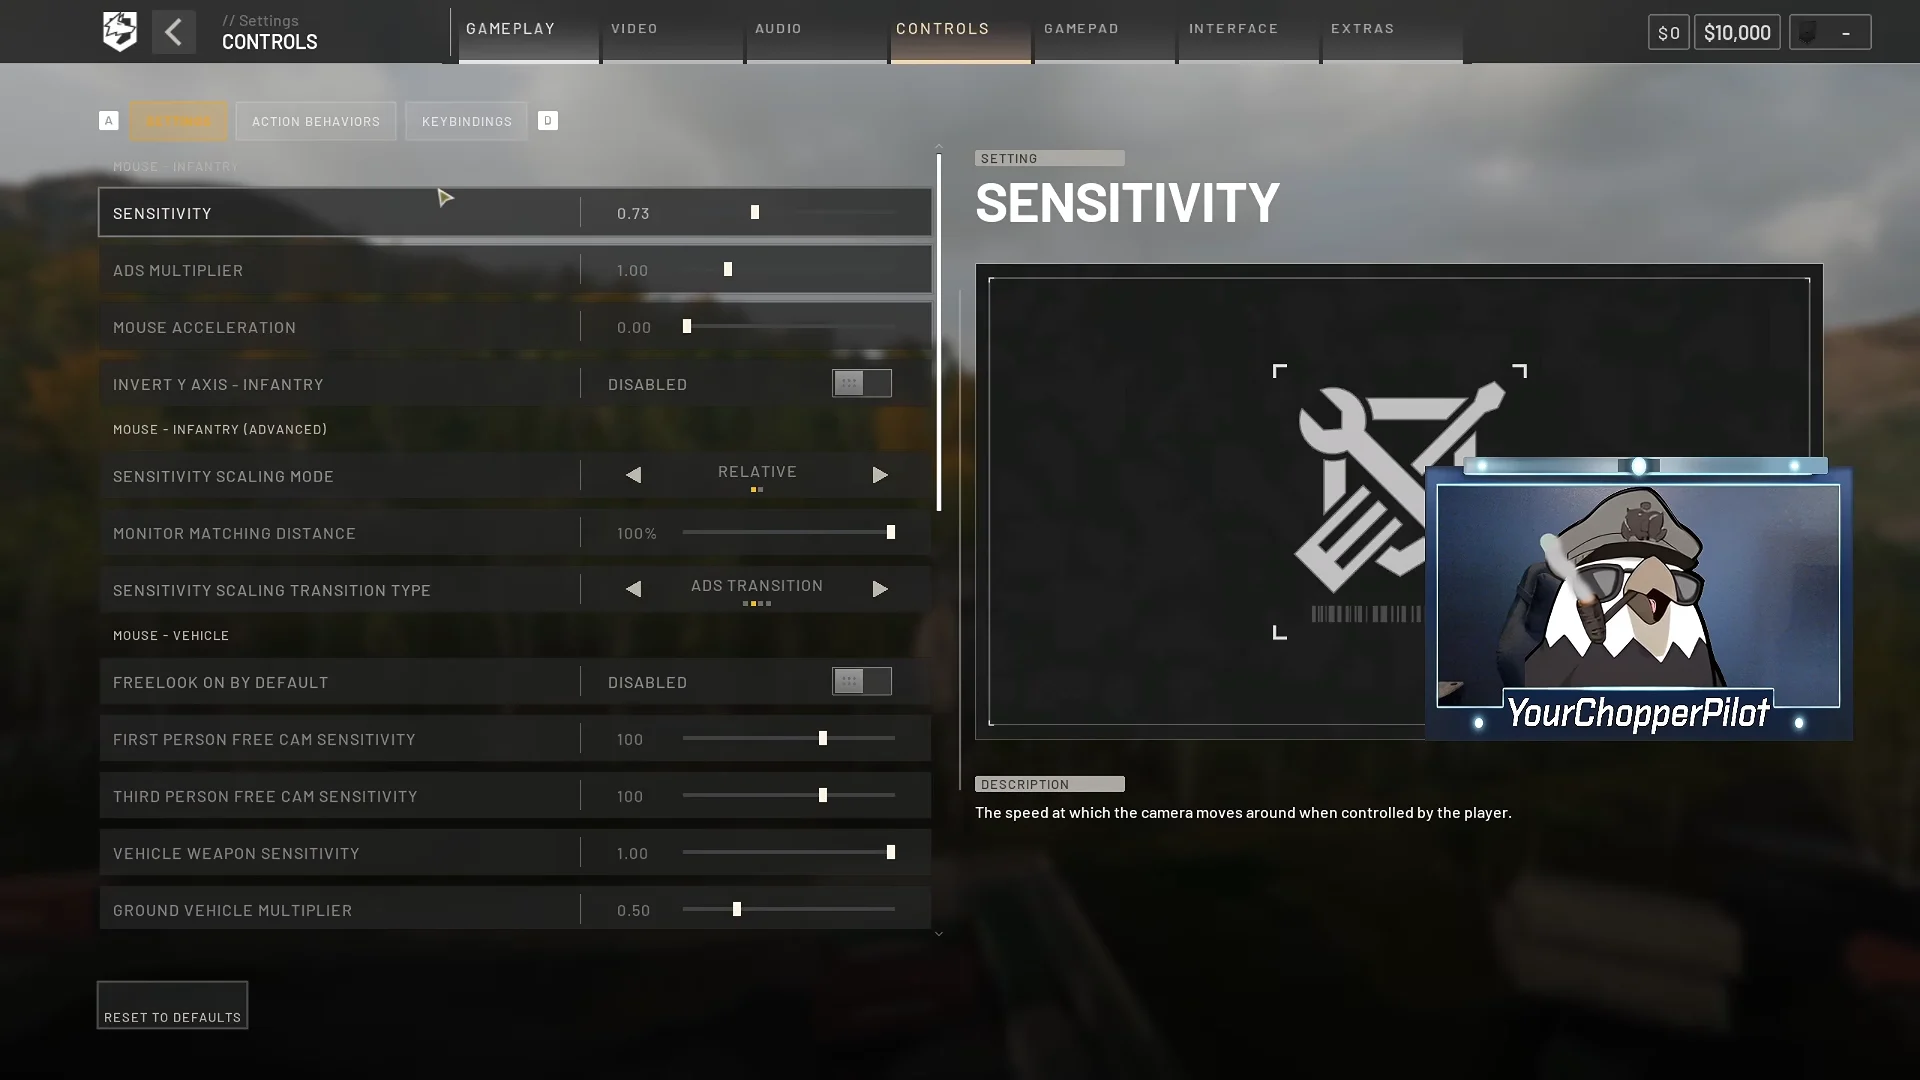
Two mouse layouts are in wide use, and both work. The first puts pitch and roll on the mouse and leaves yaw on keys, which is the layout most flight-focused pilots settle on. The second puts pitch and yaw on the mouse and leaves roll on A and D, which suits players who spend a lot of time looking at landing zones and lining up door guns. Pick one and stop switching, because muscle memory is the only thing that eventually makes this easy.
| Setting | Value | Effect |
|---|---|---|
| Rotary Vehicle Mouse Control | Enabled | Analog cyclic on the mouse |
| Mouse Swipe Left/Right | Roll (or Yaw) | Banks, or turns the nose |
| Mouse Swipe Up/Down | Pitch | Nose up and down |
| Pitch / Roll Sensitivity | 60–80% | Lower it if you overcorrect |
| Mouse Axis Isolation | 70% | Stops diagonal input mixing axes |
| Air Vehicle Multiplier | 0.50–2.00 | Overall air input scaling |
| Freelook On By Default | Disabled | Free look otherwise steals cyclic input |
Inversion is the other setting worth getting right on the first pass. Turning on Invert Y Axis – Air Vehicle gives you aircraft-style pitch, where pulling back raises the nose. Leave infantry inversion off, because the two are coupled behind the scenes.
Flight assists: keep them on, or turn them off?
Flight Assists is a master switch sitting over four sub-settings, and they are on by default. Stability Assist damps pitch, roll and yaw to keep the aircraft steady. Auto-Hover Assist pulls the helicopter back toward a hover when collective returns to neutral. Envelope Limits caps extreme attitudes. Turn Coordination applies yaw for you during banked turns.
If you are learning, or flying taxi and supply runs, leave all four on. They cost you very little and they stop small mistakes from compounding. When the airframe starts fighting your turns, disable Auto-Hover Assist first and keep the rest. Precision pilots eventually switch the lot off, which removes the artificial resistance entirely and unlocks steeper bank and pitch angles — along with the ability to flip yourself into the ground in about two seconds.
With assists off, stabbing the opposite input to correct a wobble near the ground is what turns that wobble into a crash. Back off the input instead.
Helicopter keybinds for collective, cyclic and yaw
The bindings live under Rotary Vehicle Keybinds, near the bottom of the keybindings tab. The labels use helicopter terms rather than game terms, so remember that collective is altitude, cyclic X is pitch, and cyclic Y is roll. Three layouts are common, and none of them is wrong.
| Action | Layout A | Layout B | Layout C |
|---|---|---|---|
| Collective raise | W | Left Shift | Spacebar |
| Collective lower | S | Left Ctrl | C or Left Shift |
| Yaw left / right | A / D | Q / E | Q / E |
| Pitch | Mouse up/down | Mouse up/down | W / S |
| Roll | Mouse left/right | A / D | A / D |
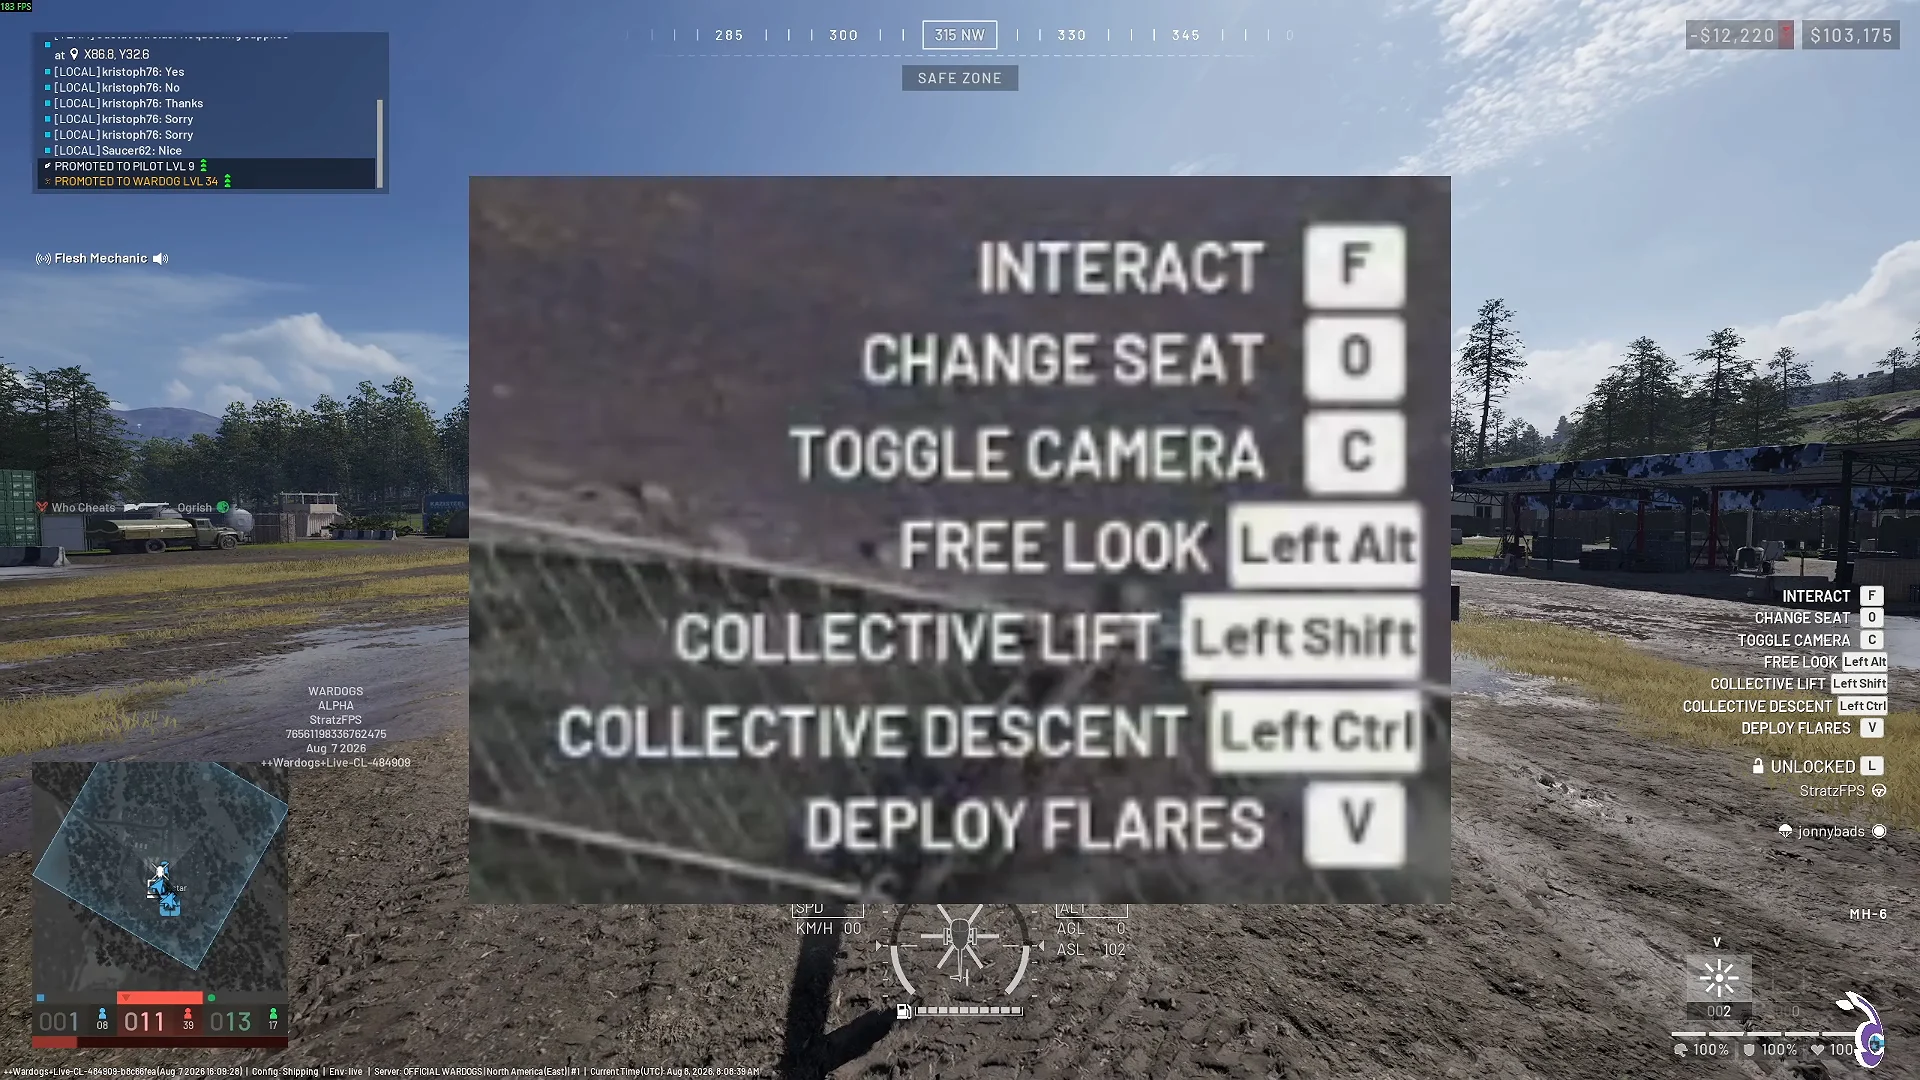
If the mouse owns pitch and roll, delete the keyboard cyclic bindings so nothing double-inputs. Arrow keys make a decent backup set. Rebinding also warns you about clearing other binds for a reason: infantry, land vehicle and air bindings all share the same key pool, so freeing Space or Ctrl means giving up what they did on foot.
Spacebar carries a hidden helicopter weapon function that the visible menu cannot unbind. If collective stops responding in an armed variant such as the AH-6M, that is the cause — move collective to Left Shift or W.
A handful of other keys do not change: L unlocks the aircraft for squadmates or the whole team, V deploys flares, C toggles the camera, F interacts, and holding Alt gives you free look. Rebind free look to something your left hand can reach comfortably, because you will want it during every approach.
Practise for free in the Firing Range
Vehicles spawned in the Firing Range cost nothing, so a crash costs nothing either. That makes it the only sensible place to learn, and the MH-6 Littlebird is the aircraft to learn in — small, agile, transport-only, with no unlock gate in front of it.
Takeoff, hover and forward flight
Start the engine, then raise collective in small increments and watch the collective bar rather than the ground. Getting the skids to sit at head height without wandering is the entire first lesson, and it is the skill every landing later depends on.
While hovering, correct drift with small opposite inputs and then stop. The aircraft keeps reacting after you release a key, so wait and watch before adding another correction. Once the hover is boring, add a small nose-down pitch, let speed build, and bump collective to hold height. Then reduce the pitch rather than holding it at maximum, and let the aircraft settle into a shallow cruise.
Yaw authority drops off as forward speed rises, which catches out new pilots who try to steer at speed with Q and E alone. At cruise, bank with roll, add yaw as a helper, and nudge pitch up in small increments to hold the turn.
Landing: speed thresholds and the approach
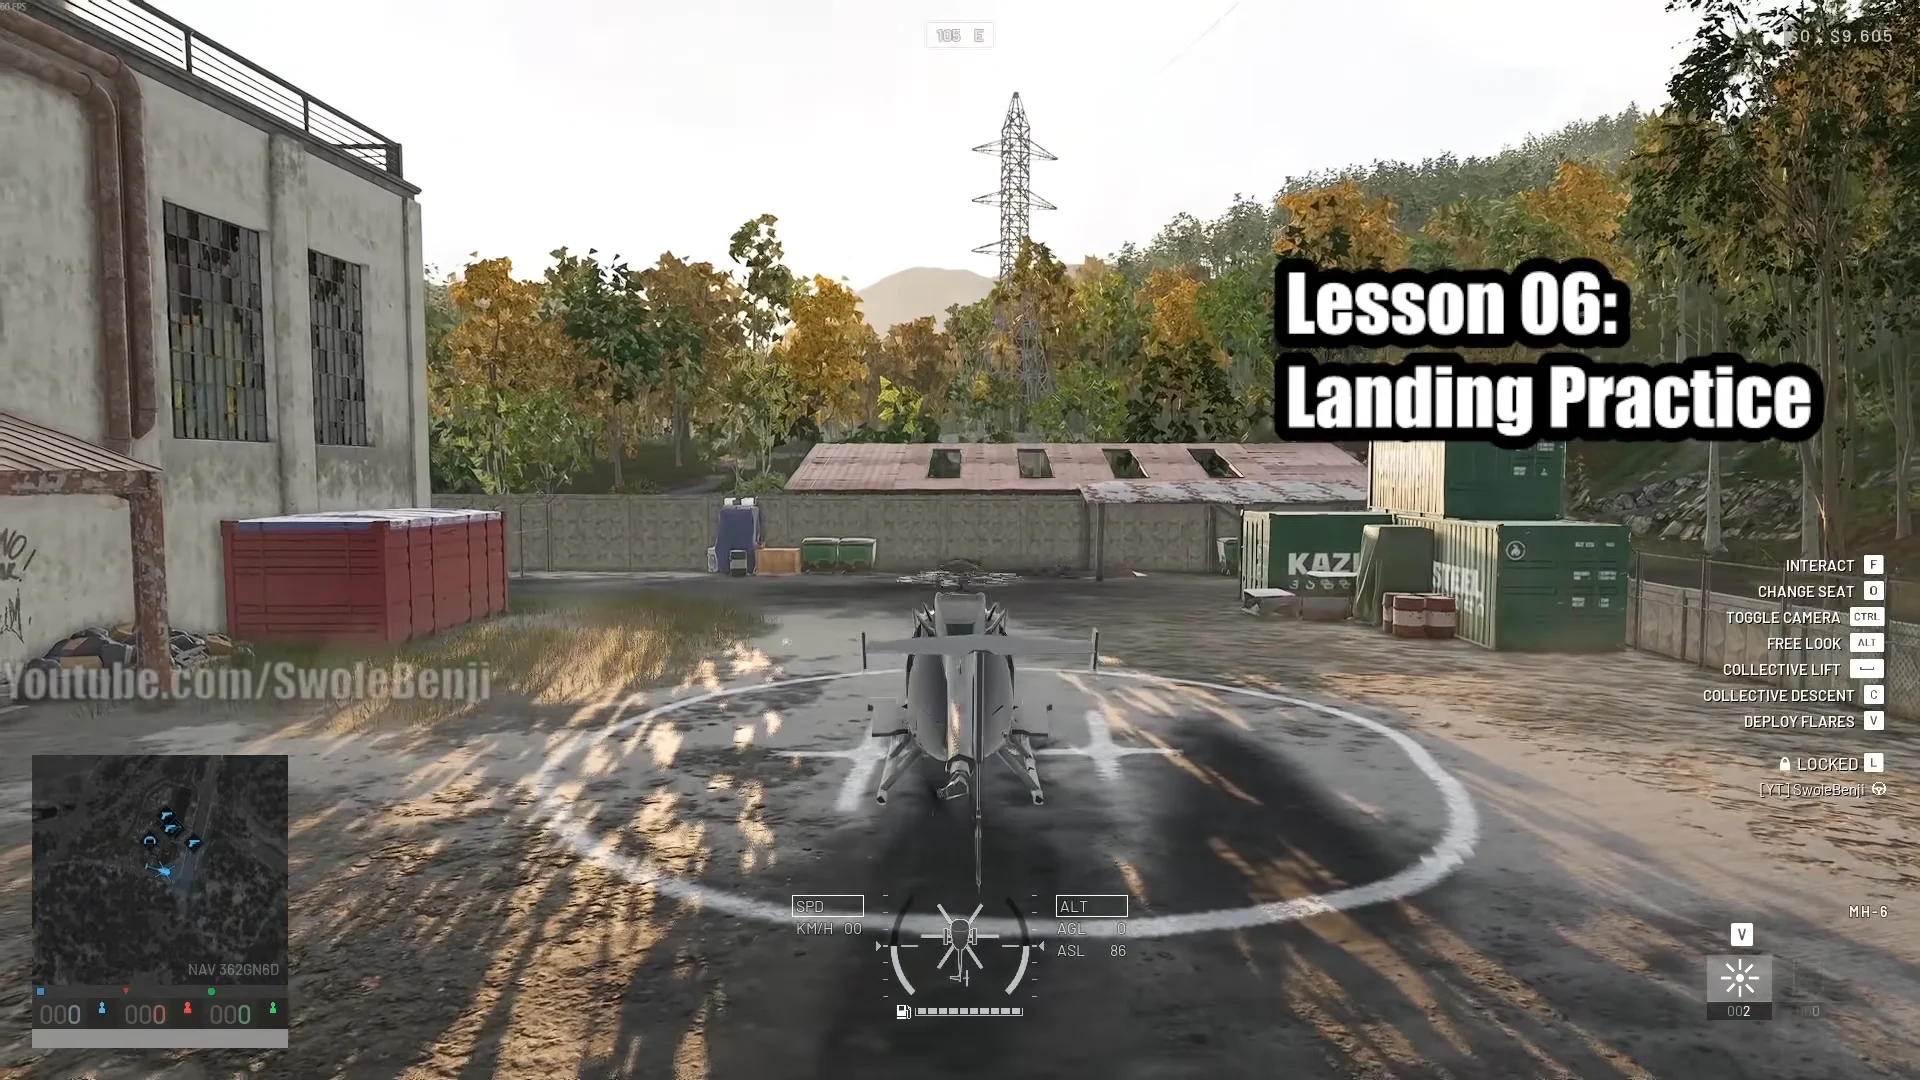
Precise control is easiest below 80 km/h, and a touchdown is safe at or below 50 km/h. Those two numbers define the whole approach: bleed speed early, be under 80 by the time the landing zone is in front of you, and be under 50 when the skids meet the ground. A clean landing does no damage at all, which is your confirmation you did it right.
The sequence that works is ordered, not simultaneous. Level the roll, apply backward pitch to kill forward speed, bring the aircraft level again, lower collective to descend, then use yaw only for a final heading tweak. Tapping collective up and down in the last few metres settles the aircraft instead of dropping it.
Never brake, turn and descend at the same time. Each of those inputs changes how the other two behave, and doing all three at once leaves nothing to recover with. If an approach looks wrong, raise collective, fly out, and come back around. Passengers can jump clear from around five metres.
How to do the J-Hook landing
The J-Hook takes you from around 100 km/h to zero without a long, exposed straight-in approach. It works by presenting the underside of the airframe to your direction of travel, using the aircraft itself as the brake. It is the manoeuvre that separates pilots who can drop a squad into a contested zone from pilots who orbit it.
Expect to need more room than the same manoeuvre takes in other military sims, because the WARDOGS flight model carries momentum further. Practise it over open ground before trying it onto a rooftop, a narrow bridge or into a walled compound.
Speed and braking techniques for experienced pilots
Once landings stop being an event, three techniques are worth drilling. Each one is just the basic axes used aggressively.
- Maximum cruise: park the HUD pitch arrow directly above the bottom notch to sit near 300 km/h without bleeding altitude fast.
- Corkscrew: alternate the roll keys in a slalom at high speed to gain an extra 30 to 50 km/h on top of your cruise.
- Rapid air brake: level out, then hold backward pitch and one roll direction together on both key sets to dump 270 km/h to under 50 almost instantly.
- Sideways bleed: pick a direction, hold descent, and swing back and forth so momentum goes sideways rather than into the ground.
Rotor blades can be repaired on the ground with a wrench, and one wrench covers two repairs. Worth carrying before you clip a tree line.
Stepping up to the Z20 Lakota and supply runs
The Z20 Lakota is the heavy transport, and it flies nothing like a Littlebird. It costs $7,400 from the vehicle vendor in your faction’s safe zone, seats 13, tops out at 445.0 km/h, holds 120 litres of fuel and burns 4.4 litres per kilometre. It never spawns out in the world during a match, so the vendor is the only way to get one, and it stays locked until Pilot level 10 plus a one-time unlock fee of $35,000.
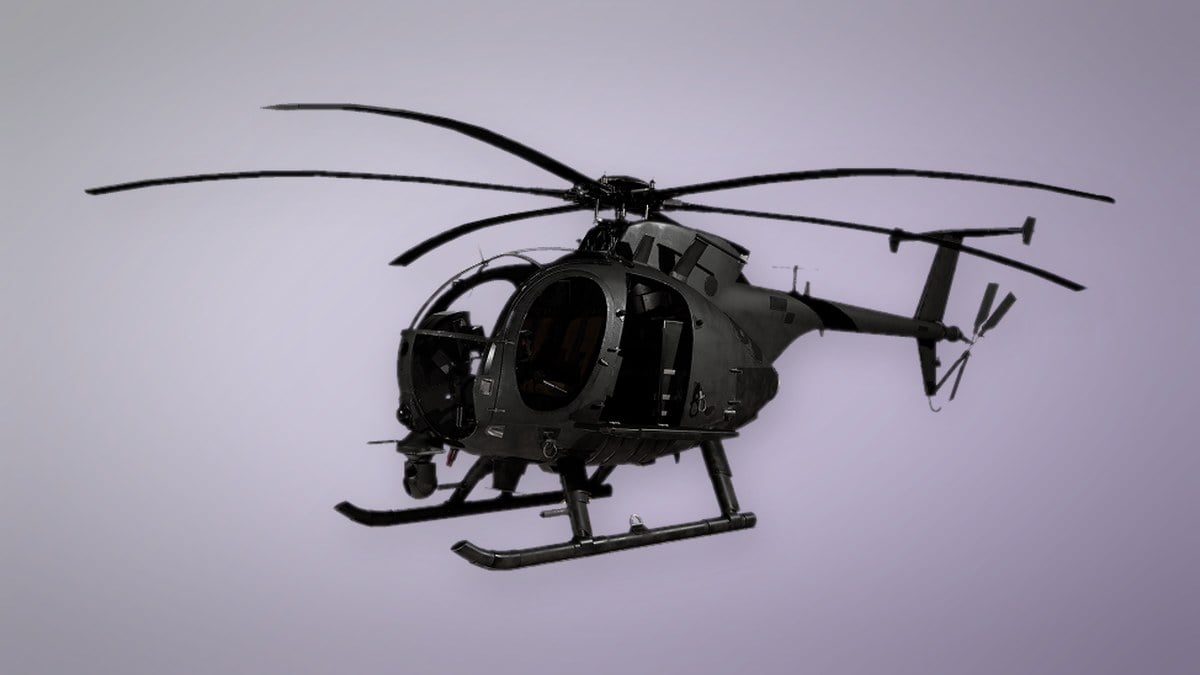
It accelerates slowly, handles heavily, and punishes extreme nose-up angles in a way the MH-6 does not. Start braking earlier, turn more gently, and give yourself far more room on approach.
Its real job is logistics. Building supply pallets get slung out to a Forward Operating Base, which costs $7,500, weighs 6.5 kg, and does three things once placed:
- Needed to build larger structures.
- Can hold items and resources for players to use.
- Provides a radius in which players can build.
To deliver a pallet, pitch up and seesaw to shed speed on the run-in, then release over the drop point. Squads that build tall Hesco walls around the FOB can catch a fast pallet drop without the pilot ever slowing to a hover, which makes resupply runs dramatically quicker.
Earning as a pilot and staying alive
Transport pays. Tactical deployment rewards run at $165 per passenger, on top of survival bonuses and Pilot XP, and passengers who go on to get kills keep paying out to the pilot who dropped them. The efficient progression loop is transport runs and supply crate deliveries first, then combat airframes once the Pilot track opens them up. A crash with a full cabin works in reverse, costing you roughly $1,500 per player aboard.
Staying alive is mostly route choice. Fly low, use ridges and terrain as cover, avoid hovering over an objective, vary your approach lines, and land away from hot drops rather than into them. Keep flares stocked at base and hit V when you spot an incoming missile — use free look to check your six, because you cannot dodge what you have not seen. Helicopters take real damage to engines, fuel tanks and hulls, and concentrated high-calibre fire from a mounted minigun or an RPG hit will end a flight in seconds.
Controller and HOTAS support
Keyboard and mouse is the reliable option, because the mouse supplies the analog axis that keys cannot. Controllers are the weakest choice right now: bindings cannot be remapped in game and yaw sits on buttons rather than the second stick. The usual workaround is Steam Input, mapping the right stick to mouse output and rebinding from there, with some players layering vJoy, Joystick Gremlin and HidHide to present a pad as a HOTAS.
Real HOTAS hardware gives the most granular result, with true axes for pitch, roll, yaw and collective. Detection and remapping remain build-sensitive, and assignments have been reported to reset between sessions, so check every axis while parked before you commit to a flight and keep keyboard and mouse ready as a fallback.
Known control problems and fixes
| Problem | Fix |
|---|---|
| Aircraft feels heavy and unresponsive | Enable Rotary Vehicle Mouse Control; disable Auto-Hover Assist first, then the rest |
| Roll goes the opposite way to the mouse | Disable Invert Y Axis – Infantry; the two inversions are coupled |
| Collective dead in an armed variant | Move collective off Spacebar to Left Shift or W |
| Rebind warns it will clear other binds | Expected — infantry, land and air share one key pool; recheck on-foot keys after |
| Nose drifts back after a yaw input | Hold yaw through the turn, then tap the opposite key briefly to settle |
| Free look awkward during landing | Rebind Toggle Free Look within reach of your left hand |
WARDOGS is still moving, and control menus, default bindings and device handling shift between builds. Re-check your axes after every update, give yourself a few hours in the range before anyone climbs into the back, and treat a boring hover as the sign you are ready — not a clean J-Hook.





