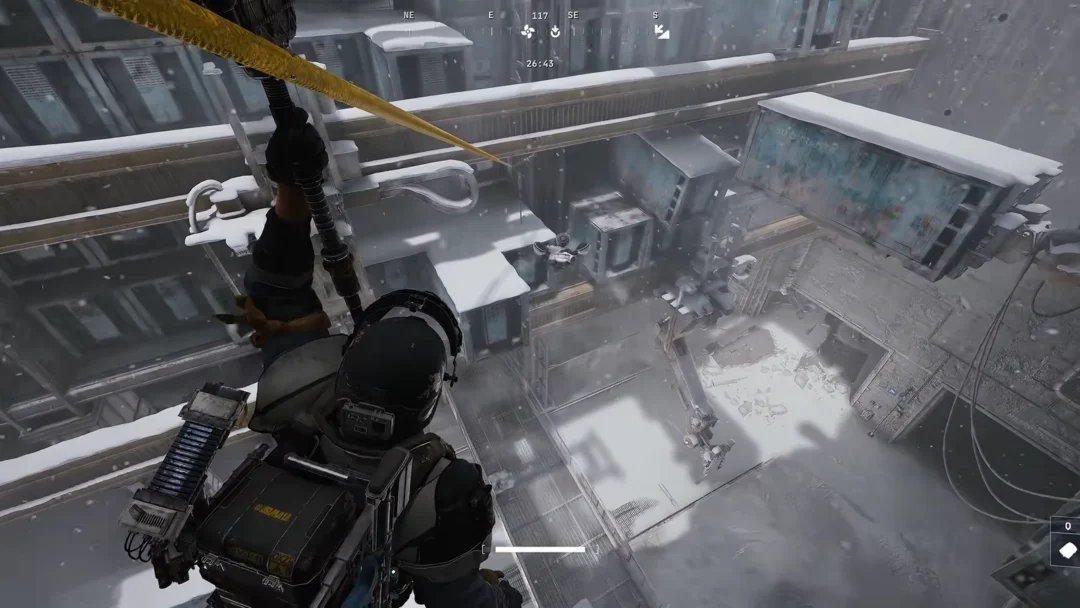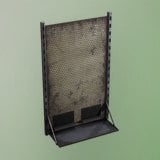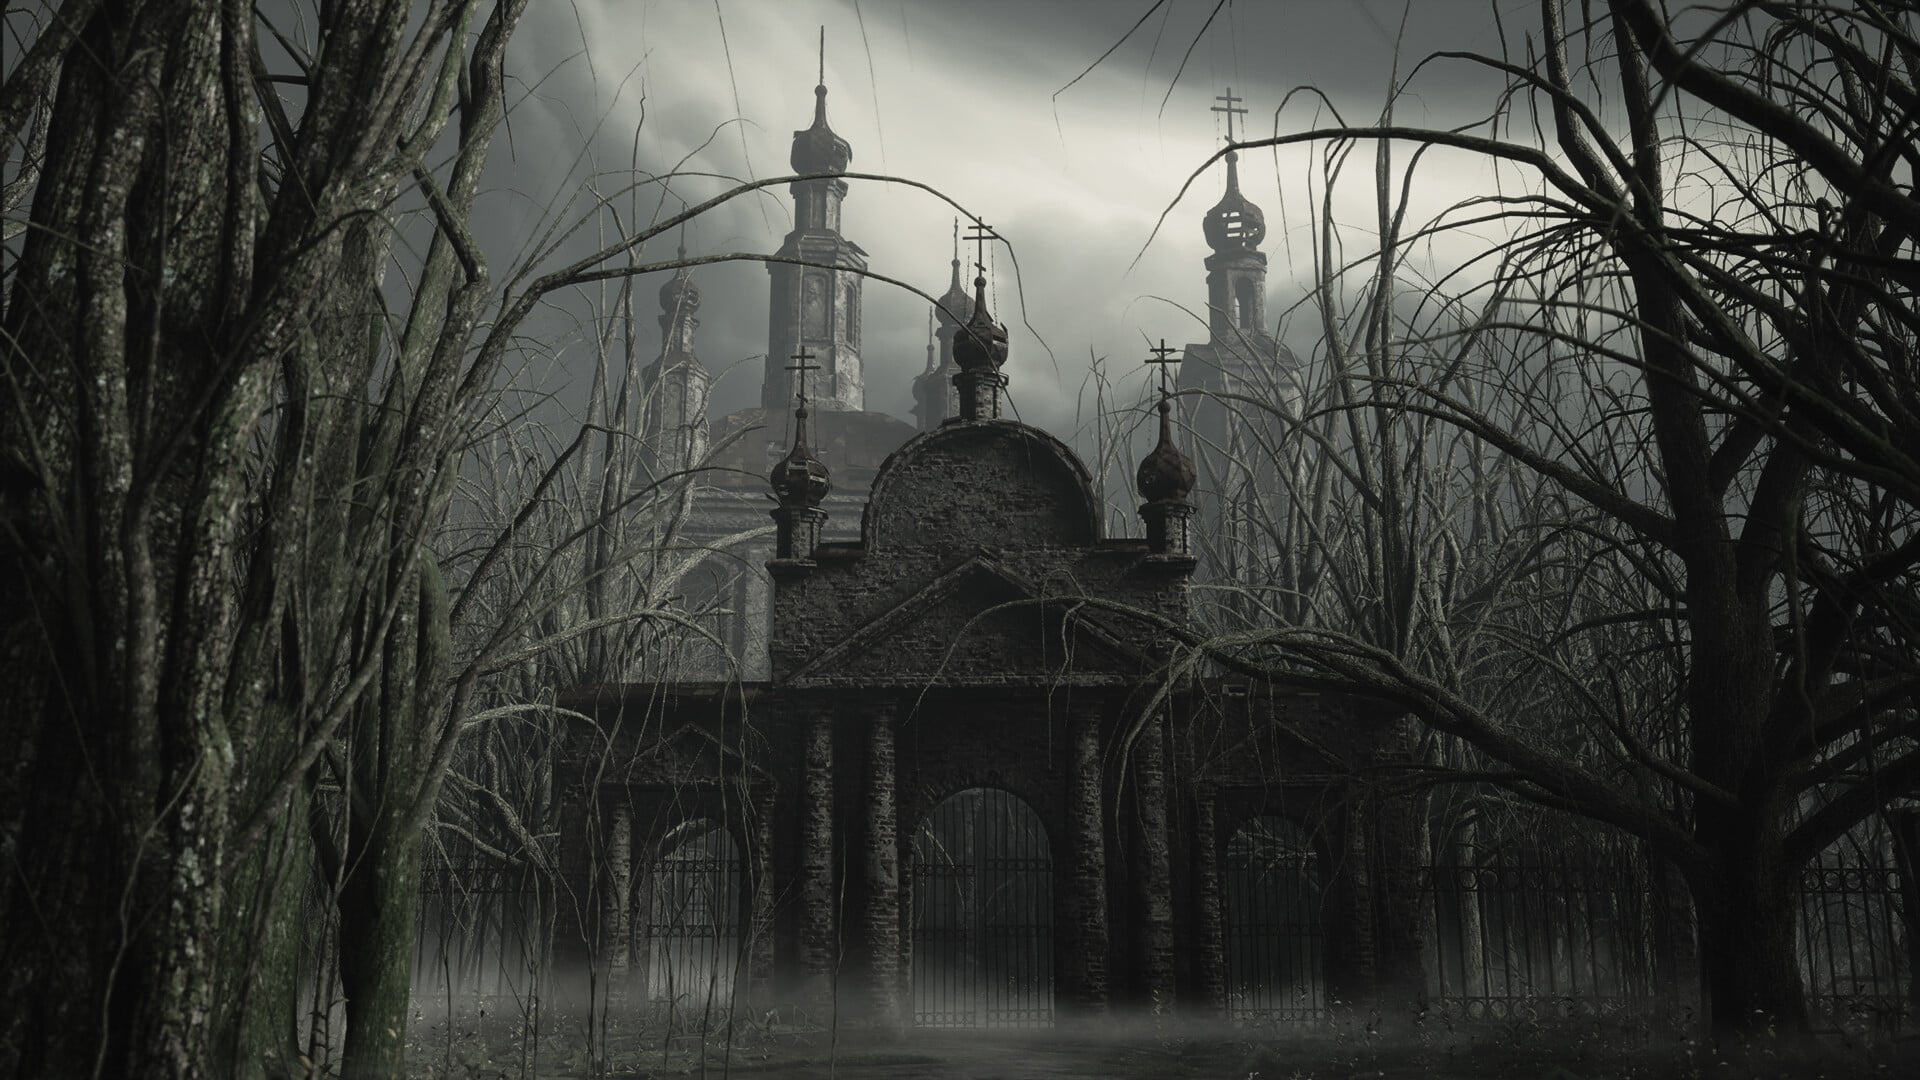
The Polished Long Cleaver is the strongest weapon Coen can carry out of the prologue in The Blood of Dawnwalker, and it is buried in the ground east of Laslea Glen. Getting it means clearing a bandit hut for a treasure map, then killing a bear that has made a den on top of the dig site. The whole detour is worth planning around, because the prologue runs on a limited clock and every wrong turn burns daylight.
Quick answer: Take the eastward path out of the village, kill the bandits at the hut and grab the Treasure Map: Laslea Glen from the table inside, then travel further east to the bear cave, kill the bear, pick up the shovel by the mound of dirt at the cave mouth, and dig.
What the Polished Long Cleaver costs you in Time Segments
The prologue gives you eight pips on the Time Bar in the top right of the screen. Once they are gone, night falls, the Blood Mass begins, and every unfinished quest carrying a clock icon fails outright. That is the real price tag on any side objective here.
The good news is that the treasure hunt and the Dead Drop task attached to it are not time-sensitive, so neither one can be failed by the clock. They still eat two segments total. The first triggers the moment you approach the bandits’ hideout, and the second is spent digging up the chest.
| Stage | Time cost |
|---|---|
| Approaching the bandit hut | 1 Time Segment |
| Digging up the buried chest | 1 Time Segment |
| Bear fight and looting the cave | No additional segment |
Note: Save manually before you approach the hut and again before you enter the cave. Both fights can go badly at this level, and a reload costs you nothing on the Time Bar.
Where to find the Treasure Map: Laslea Glen
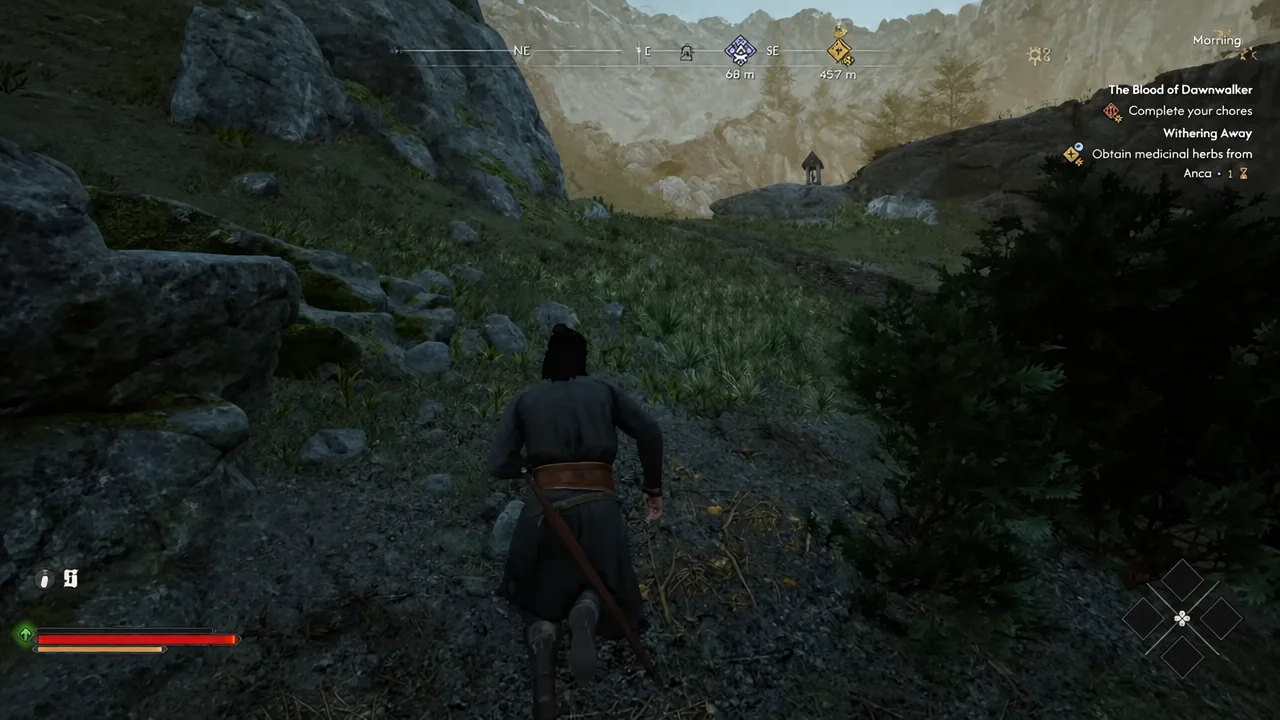
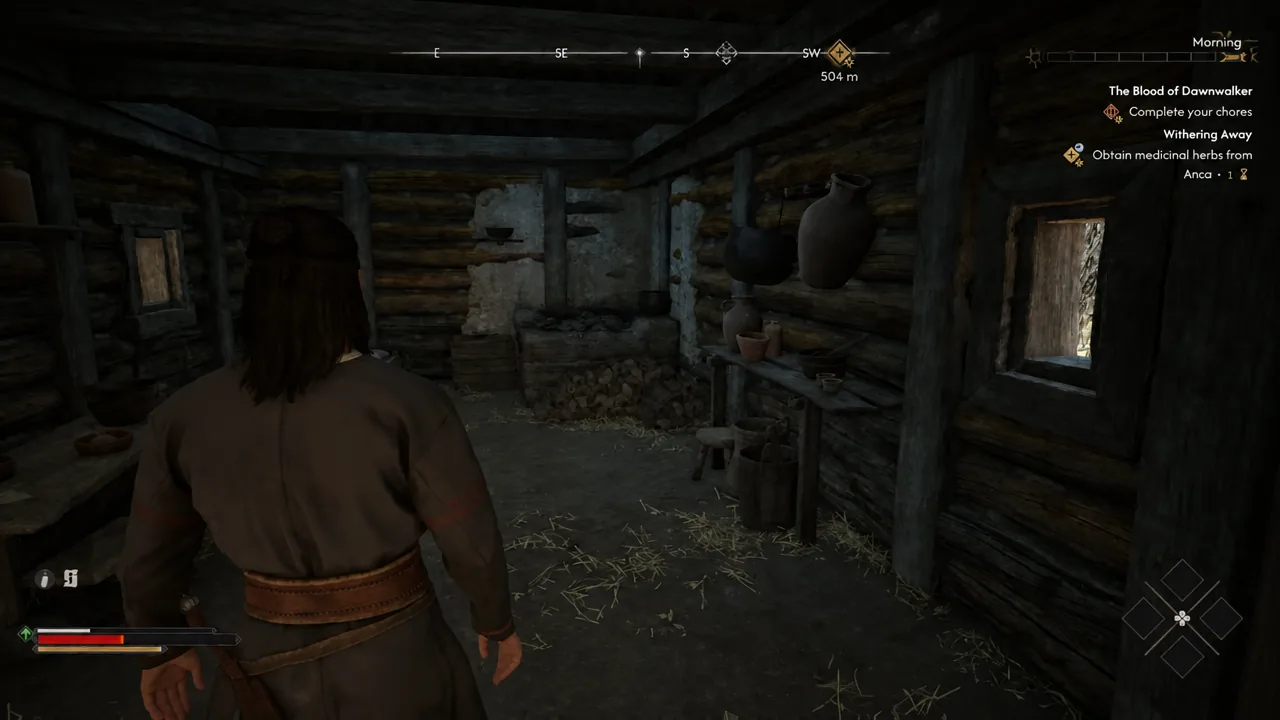
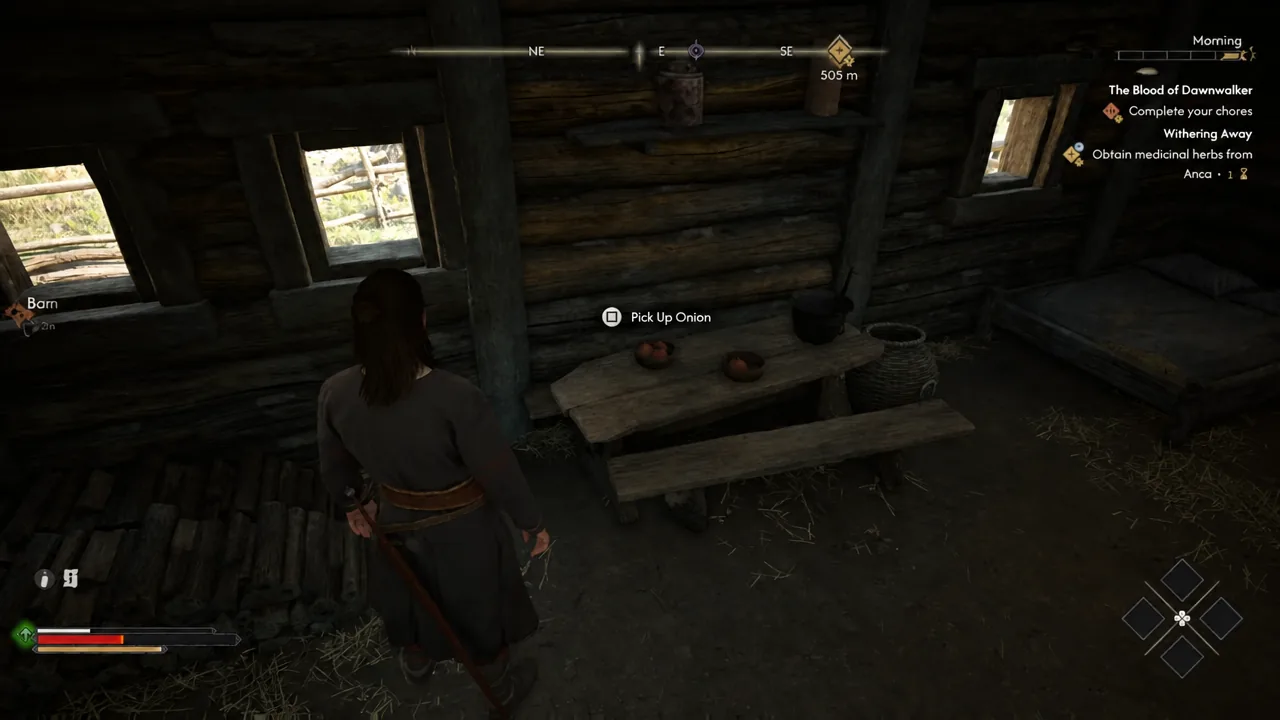
The map is sitting on a table inside a small house that bandits are in the middle of raiding. It becomes reachable once the main gate out of Laslea Glen is opened, and the route there is simple.
Beating the bear at the dig site
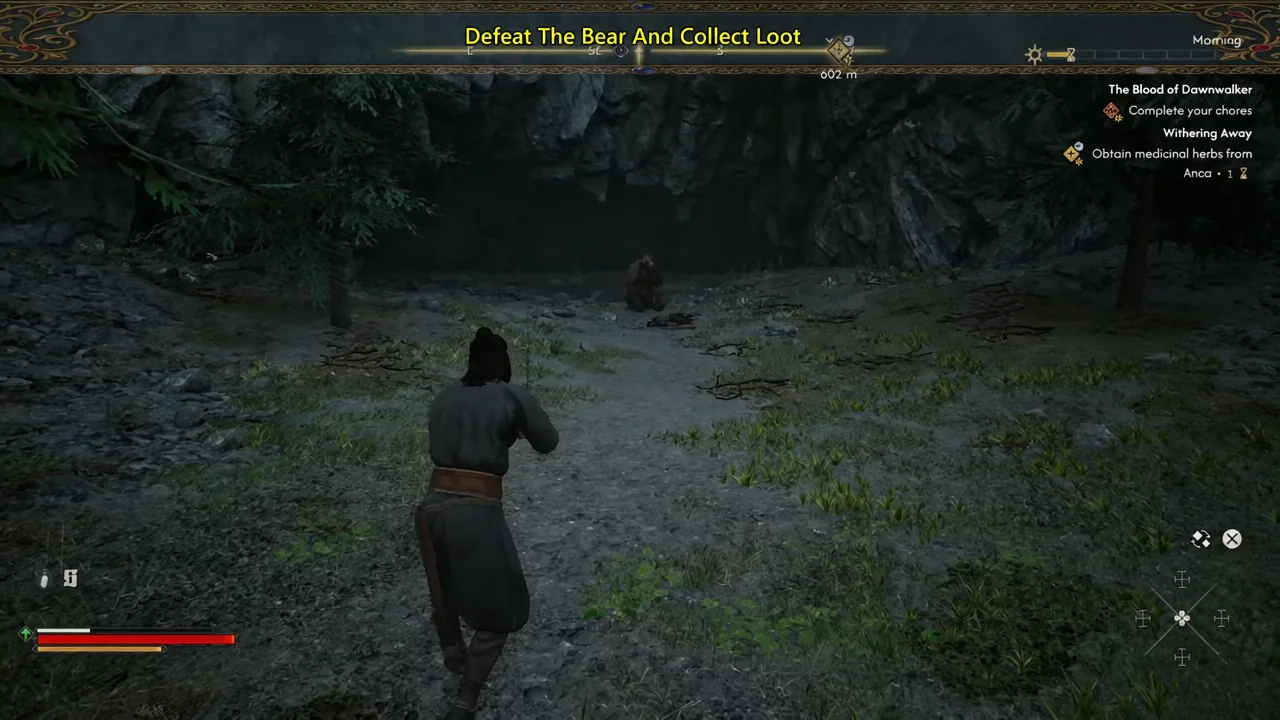
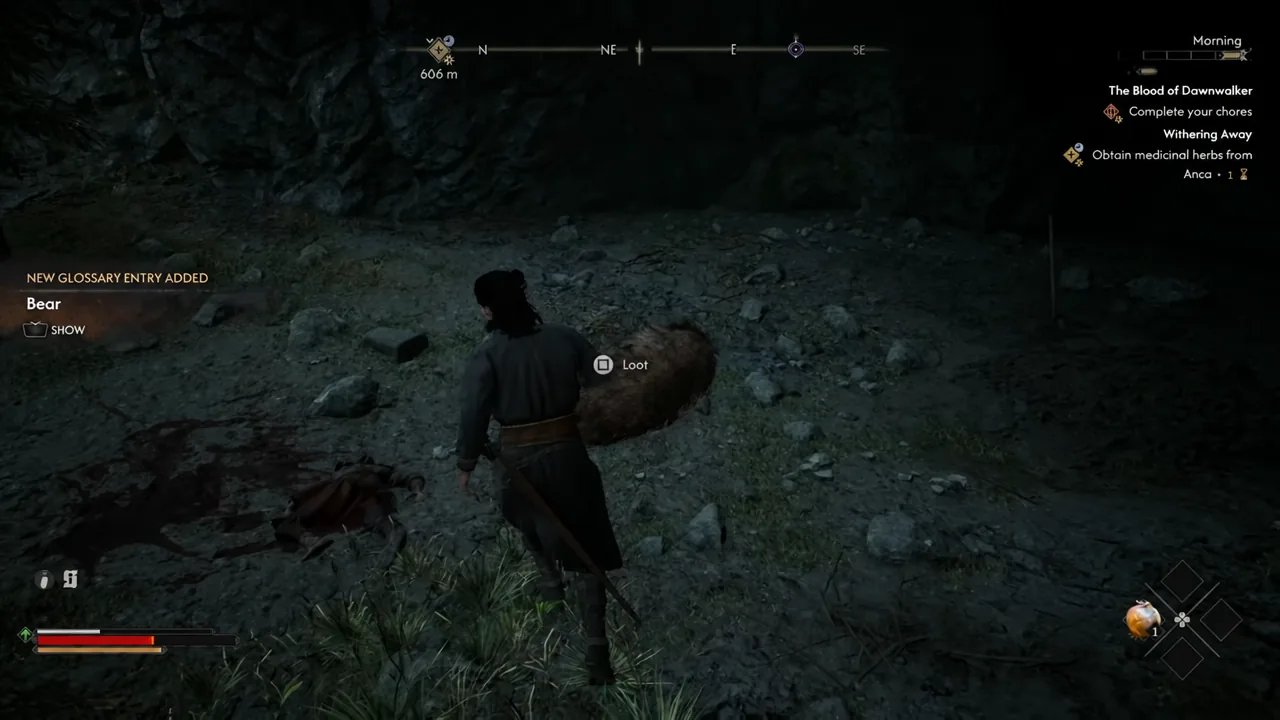
The buried chest sits beside a forested cave, and a bear has claimed the area. It is manageable at prologue level as long as you respect one move.
Polished Long Cleaver stats and chest rewards
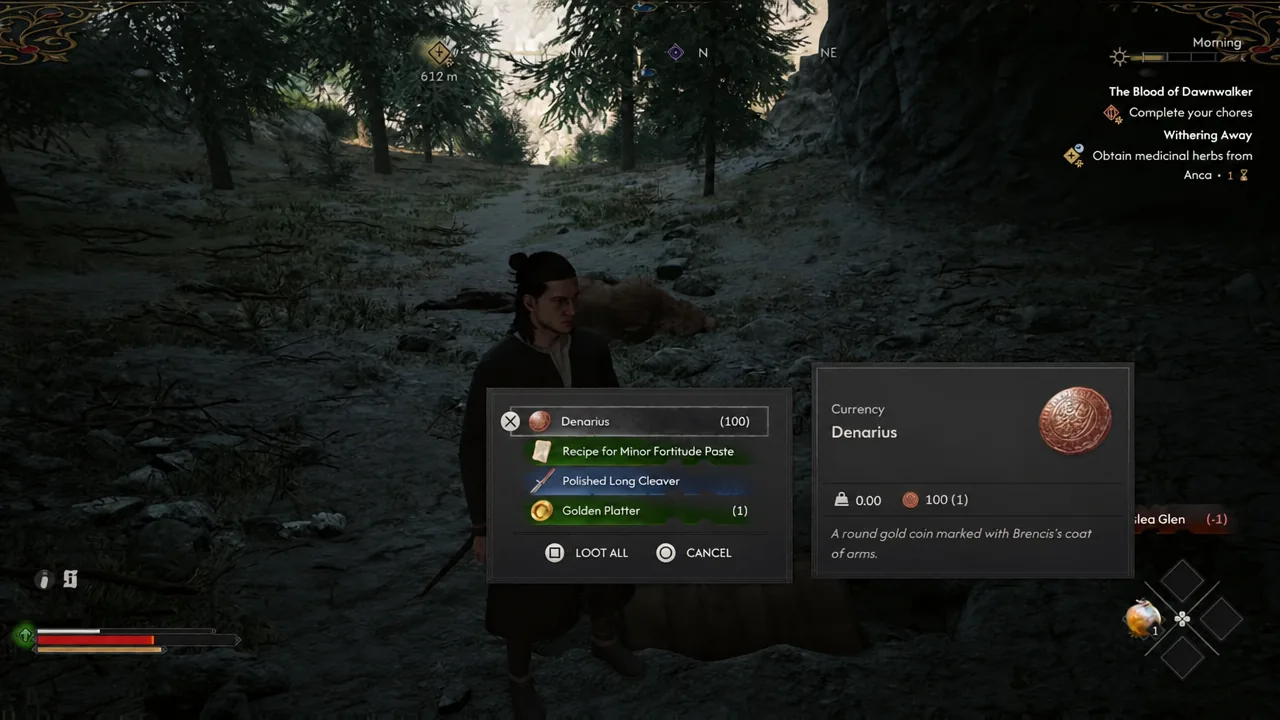
The chest contains the Polished Long Cleaver alongside 100 Denarius, a Recipe for Minor Fortitude Paste, and a piece of gold junk you can sell. The Cleaver is a Level 2 Master-rarity longsword and comfortably the best thing you can be swinging before the prologue ends.
| Stat | Polished Long Cleaver | Long Falchion |
|---|---|---|
| Rarity | Master | Superior |
| Level | 2 | 2 |
| DPS | 64–66 | 55 |
| Damage | 39–56 | 33–45 |
| Bonus 1 | +4.8% damage vs Supernatural Enemies | +10% Perfect Block Window |
| Bonus 2 | +4.8% Activation Charge Restoration from Actions | +10% Activation Charge Restoration from Perfect Block |
| Bonus 3 | +10% Activation Charge Restoration from Perfect Block | — |
The bonus damage against supernatural enemies is the part that matters most in the hours after the prologue, since that is exactly what you spend them fighting. The Cleaver holds up until roughly Level 12 or 13, at which point the legendary Durandal becomes the obvious upgrade.
Confirming you got it, and why the dig might not trigger
You have it when the loot window lists the Polished Long Cleaver, the Denarius and the Recipe for Minor Fortitude Paste together after digging. Open your inventory and equip the Cleaver right away, because the game does not swap your weapon automatically and it is easy to walk off still holding a starter blade.
If nothing happens when you reach the marked spot, the usual causes are short. You may not have picked up the shovel inside the cave, which is required for the dig prompt to appear. You may also be standing on the wrong patch of ground, since the dig site is the specific mound beside the cave entrance rather than the general area the map drawing circles. Focus Mode resolves both problems in a couple of seconds.
One last thing worth remembering before you commit. Two Time Segments is a quarter of your prologue day, and quests like Withering Away and Blasphemy carry clock icons that will fail if you run the bar down. If you want the Cleaver and the cure for Coen’s mother, do the time-sensitive work first and treat the treasure hunt as the thing you spend your leftover daylight on.