Command An Army is a Roblox tactical action experience from the developer Fight, Fight, Fight! that hands you a personal squad of AI troops and drops you into attacker-versus-defender battles over capture points. It borrows its shape from Conqueror’s Blade, the PC game where a single hero leads a unit of soldiers, and it carries a Mild Violence maturity label.
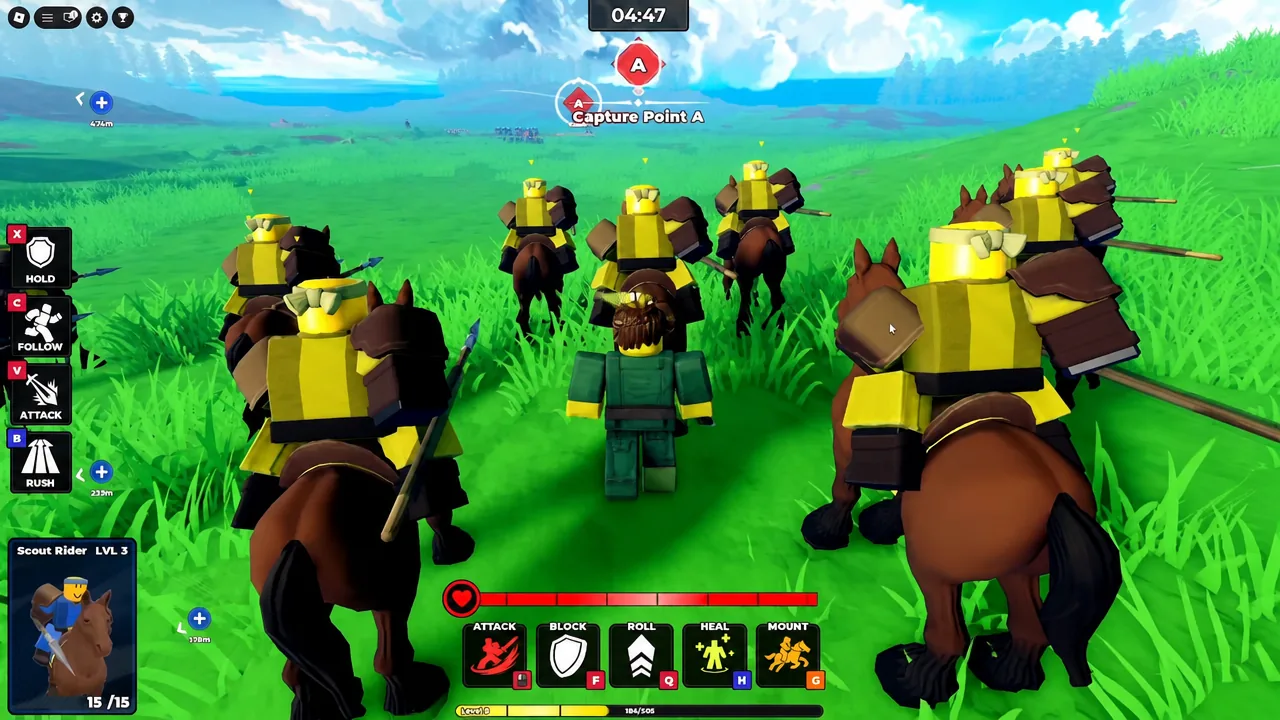
Quick answer: Pick a class, equip troops up to your Star Limit, then use the Follow, Hold, Attack, and Rush commands during a match to move your squad onto Capture Point A, Capture Point B, or the Capture Base before the enemy team does.
Classes in Command An Army and how to change them
Three classes are available: Assassin, Sword & Shield, and Hammer. Your class decides how your own character fights, not what your troops do, so the choice affects your personal damage and survivability rather than your squad composition.
You are not locked into your first pick. Changing class costs 50 gems, the same currency used for summoning, so a switch competes directly with pulling new units.
The four troop commands
Every unit you bring into a match answers to the same four orders. The tutorial walks you through all of them before it lets you leave.
| Command | What the squad does |
|---|---|
| Follow | Trails behind your character as you move |
| Hold | Stays on a fixed spot and defends it |
| Attack | Engages a target you designate |
| Rush | Charges forward aggressively |
Hold is the one the tutorial tests you on directly. When the objective reads that enemies are incoming and tells you to hold your position, select Hold and let the troops absorb the charge instead of chasing.
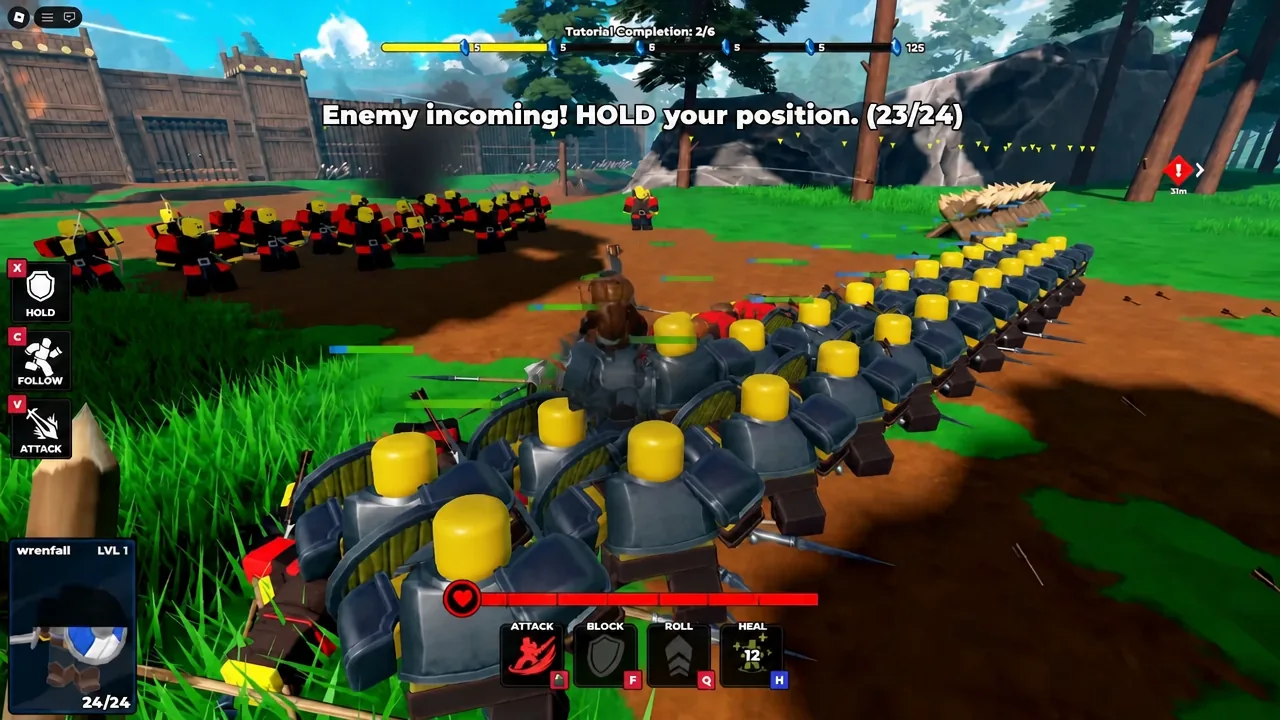
The tutorial also has you spawn Knights and send them at a gate, which is how it demonstrates that troops can break structures, not just enemy soldiers. Mercenary and Knight units appear during this sequence.
Starter troops you choose after the tutorial
Finishing the tutorial unlocks a starter selection. The pool covers Mercenary, Shieldman, Spearman, and Archer, giving you a melee body, a shield unit, a polearm unit, and ranged support.
Note: These starters carry you through your first matches, but they are ordinary units. Stronger troops come from the summoning system rather than from upgrading what you start with.
Summoning new units with gems
New troops come from a gacha system in the lobby. The Standard Banner is the summoning pool, and it holds units such as the Spartan, Immortal, Crossbowman, and Scout Rider.
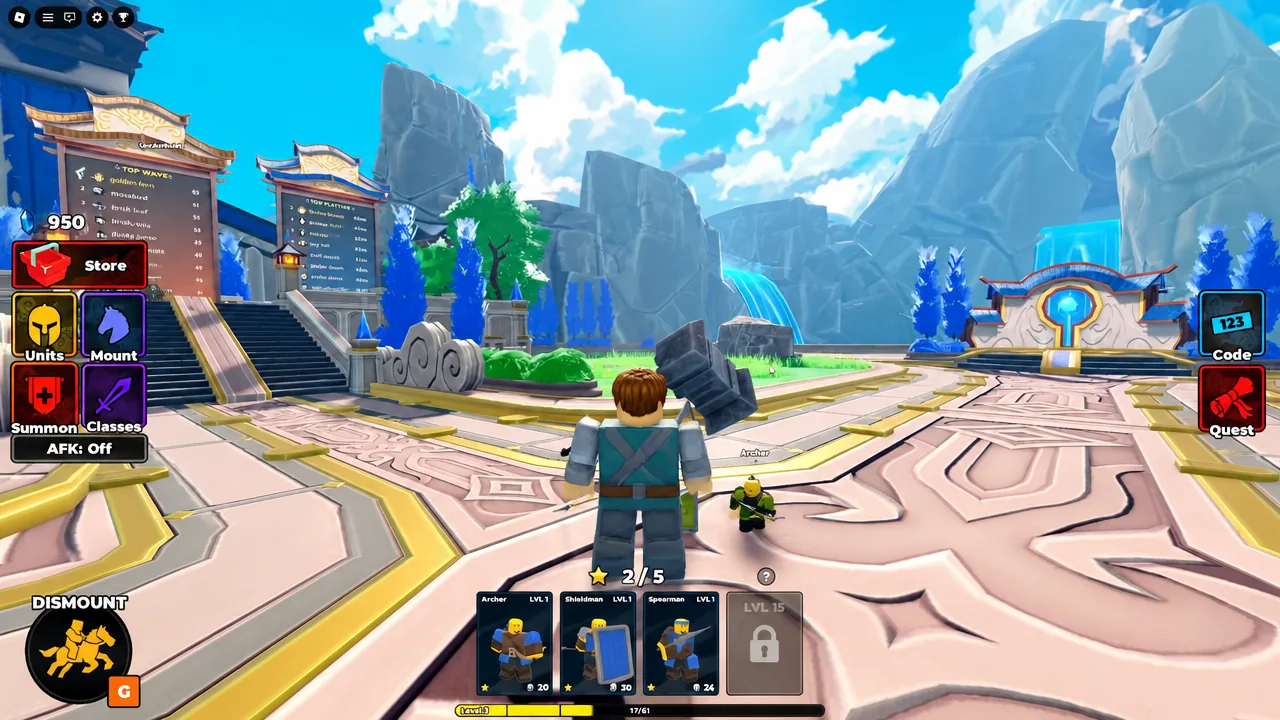
The lobby itself is a courtyard you can walk and ride a horse around, with the Store and summoning interface reachable from the hub buttons.
| Action | Cost |
|---|---|
| Summon x1 | 50 gems |
| Summon x10 | 500 gems |
| Skip spin animation | 100 Robux |
| Mount skin roll | 99 Robux |
| Class change | 50 gems |
There is no discount on the ten-pull, since 500 gems buys exactly ten single summons. Duplicates and units you do not want can be deleted from the unit menu, which refunds a small number of gems back to you.
Star Limit: The rule that decides your army
Owning a powerful unit does not mean you can field it. Every troop has a star value, and your account has a Star Limit that caps the combined star total of everything you equip at once.
The limit rises as you level up. Reaching a Star Limit of 6, for example, opens enough room to slot in an extra body such as a Shieldman alongside what you already run. Until then, a single high-star summon can eat most of your budget, which is why early loadouts often lean on cheap starter troops.
You will know a unit is over the cap when the game refuses to equip it. Check your current limit in the unit management screen before assuming a fresh summon is battle-ready.
How matches work: Attacker and Defender roles
Matches are small-scale team fights, including 3v3, with one side assigned as ATTACKER and the other as DEFENDER. Victory runs through objectives rather than kill counts.
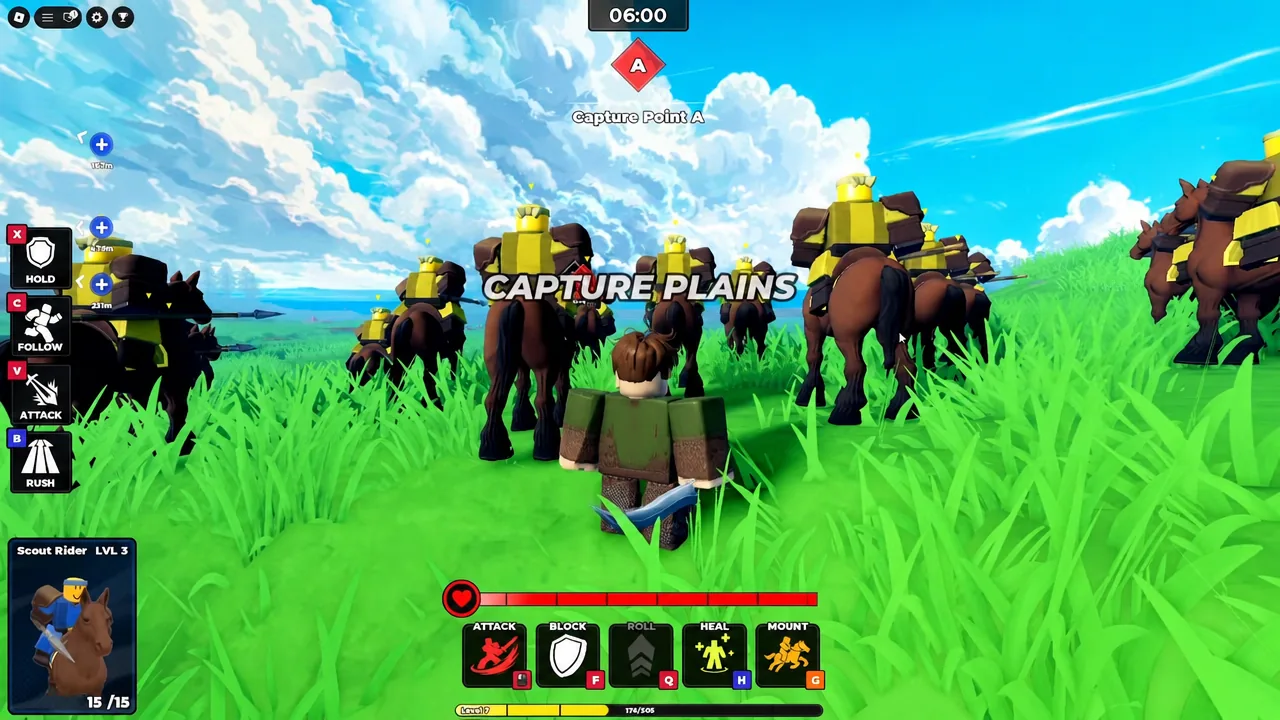
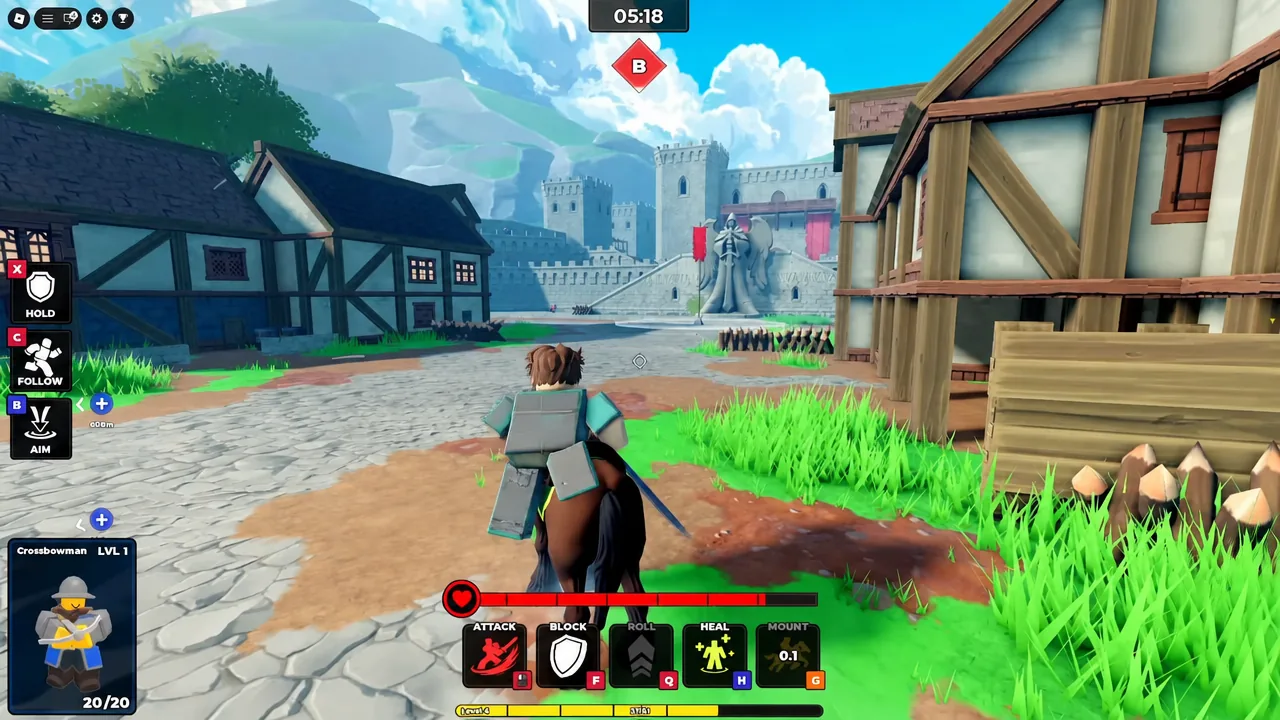
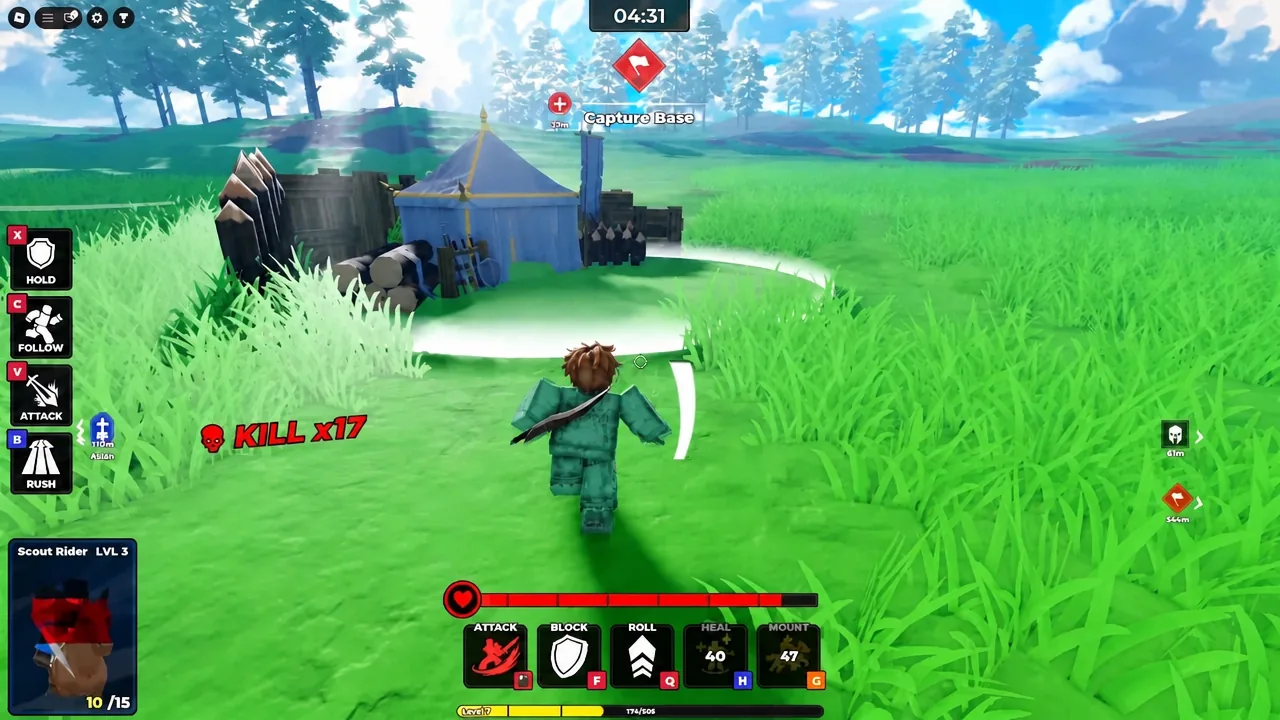
Cannons are available on the map and can be used during a push, giving attackers a way to soften a defended point before committing troops to it.
Formations: Shield Wall and Triangle
Beyond the four basic orders, troops can be set into formations that change how they hold ground. Two are central to how fights play out.
| Formation | Best use |
|---|---|
| Shield Wall (Hold Position) | Defensive. Shieldmen lock together to blunt an enemy push or protect a point you have taken. |
| Triangle | Offensive. Suits fast units such as Scout Riders driving into a position. |
Shield Wall is tied to holding position, so it pairs naturally with the Hold command when you are trying to keep a captured point. Triangle works in the opposite direction, concentrating a charge on one spot.
The systems here are complete enough to play properly from the first match, with commands, formations, and objective capture all functioning as intended. What is thin is the amount of content sitting on top of them, so progression comes down to raising your Star Limit and pulling on the Standard Banner for units you can afford to field.