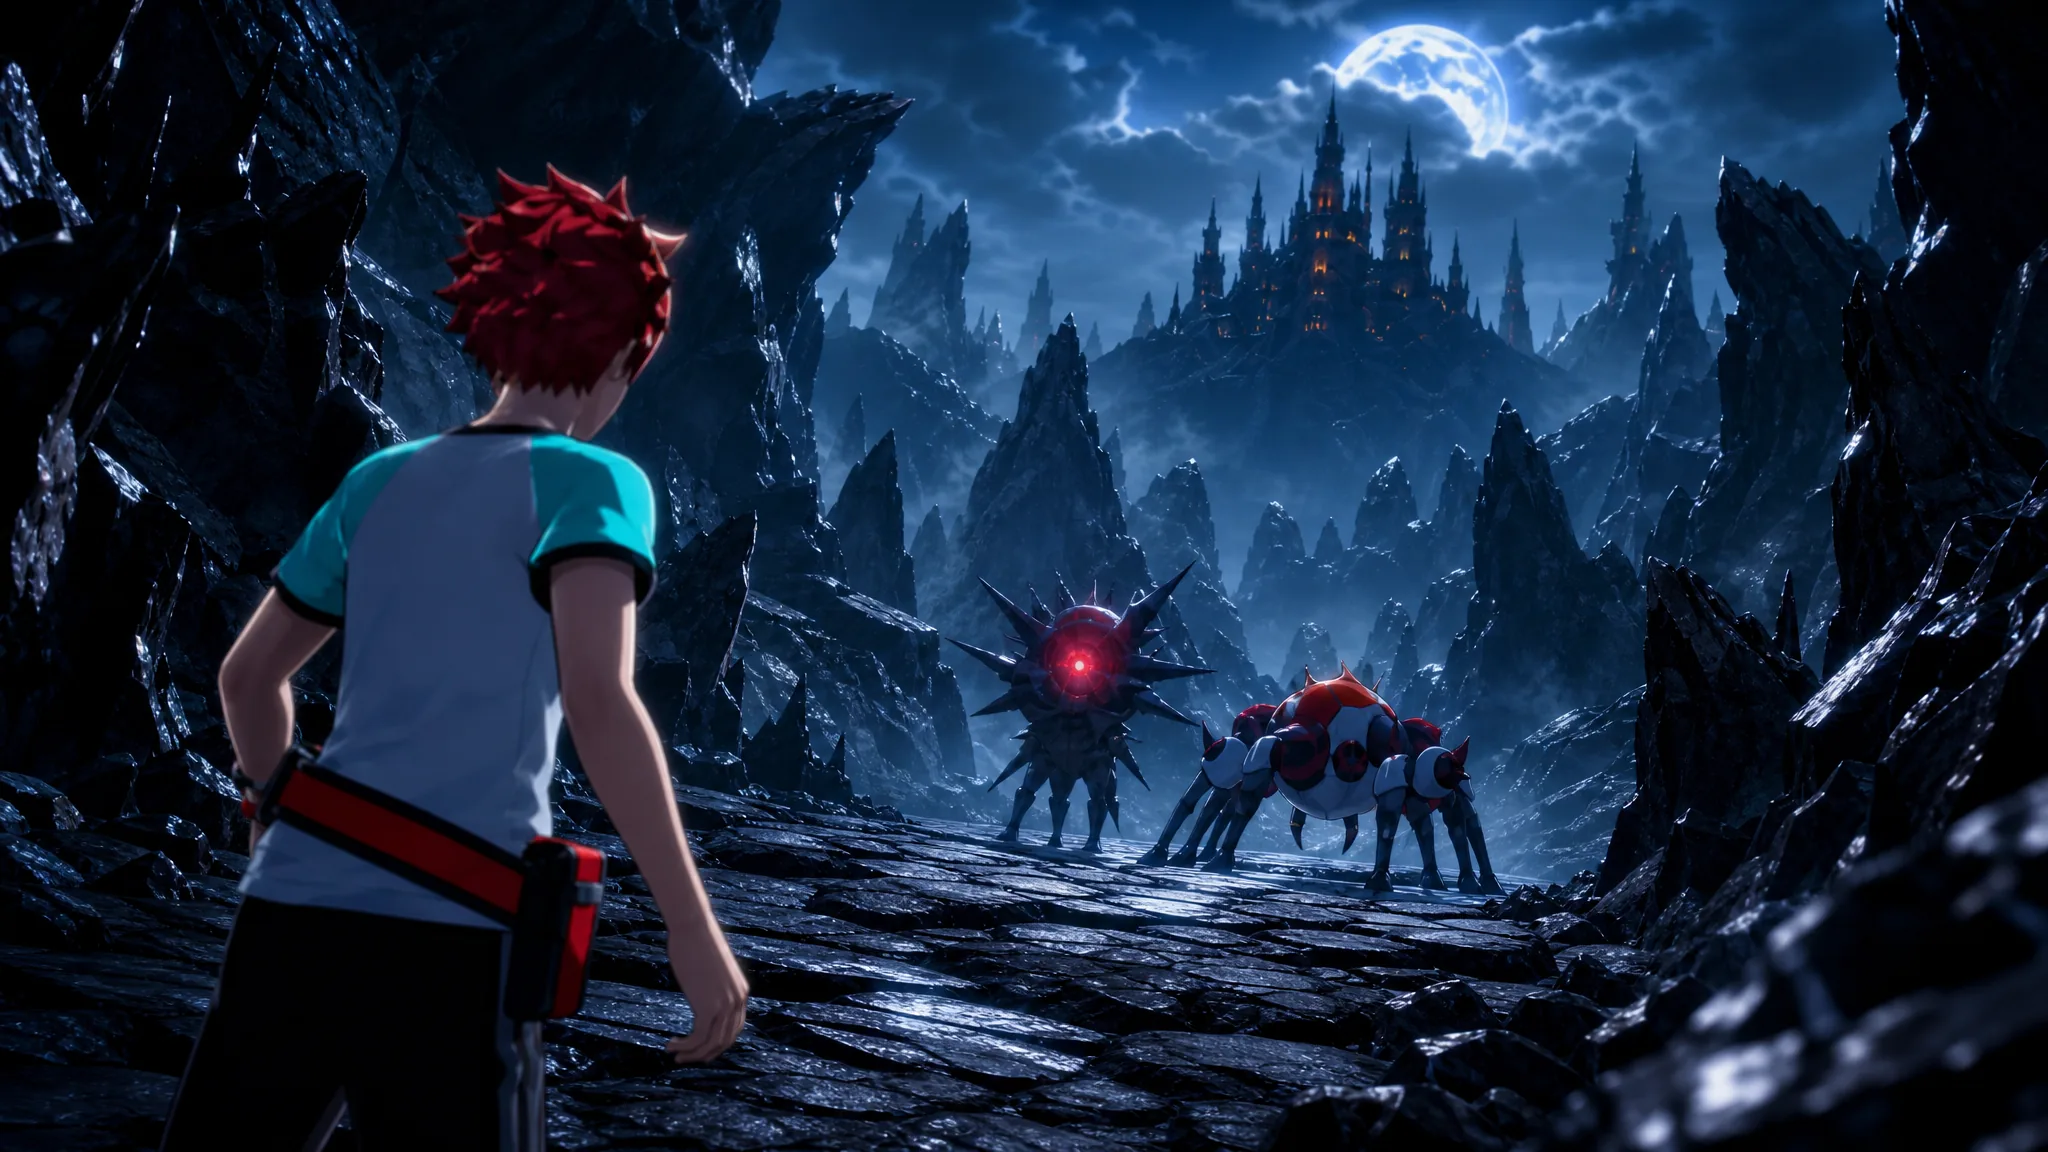
The Dark Field is the one stretch of Digimon Story: Time Stranger where movement is decided by dialogue instead of walking. During the Throne of the Underworld mission, a Gekomon teleports you between floating platforms depending on which sappy line you feed him, and only one option at each pedestal keeps you on the main route toward Plutomon.
Quick answer: In Dark Crevasse, pick “I wish for the world to be showered with love,” “The world is more beautiful than you think,” “I’d like to be the umbrella that shields you from the rain,” “No good deed goes unrewarded!” and “I want everyone to be happy.” In Dark Castle, pick “All you need is love,” “Life is about the journey, and not the destination,” “Hard work is something meant to be enjoyed!” “Everyone’s happiness is my happiness,” and “If you believe in yourself, others will, too.”
How the Gekomon teleport puzzle works
Merukimon sends you to the Dark Field aboard MasterBlimpmon after the previous mission. Once you land in Dark Crevasse, walk past the wild Digimon until you find a Gekomon who is worried about Plutomon. He offers to travel with you, then asks you to say something as cringeworthy as possible — that is what powers his warp ability.
From then on, every pedestal in the area gives you two lines. The cheesier, more sentimental one usually pushes you forward along the main path. The other one still teleports you, but it dumps you into a side pocket with loot and enemies, or loops you back to the start of the zone.
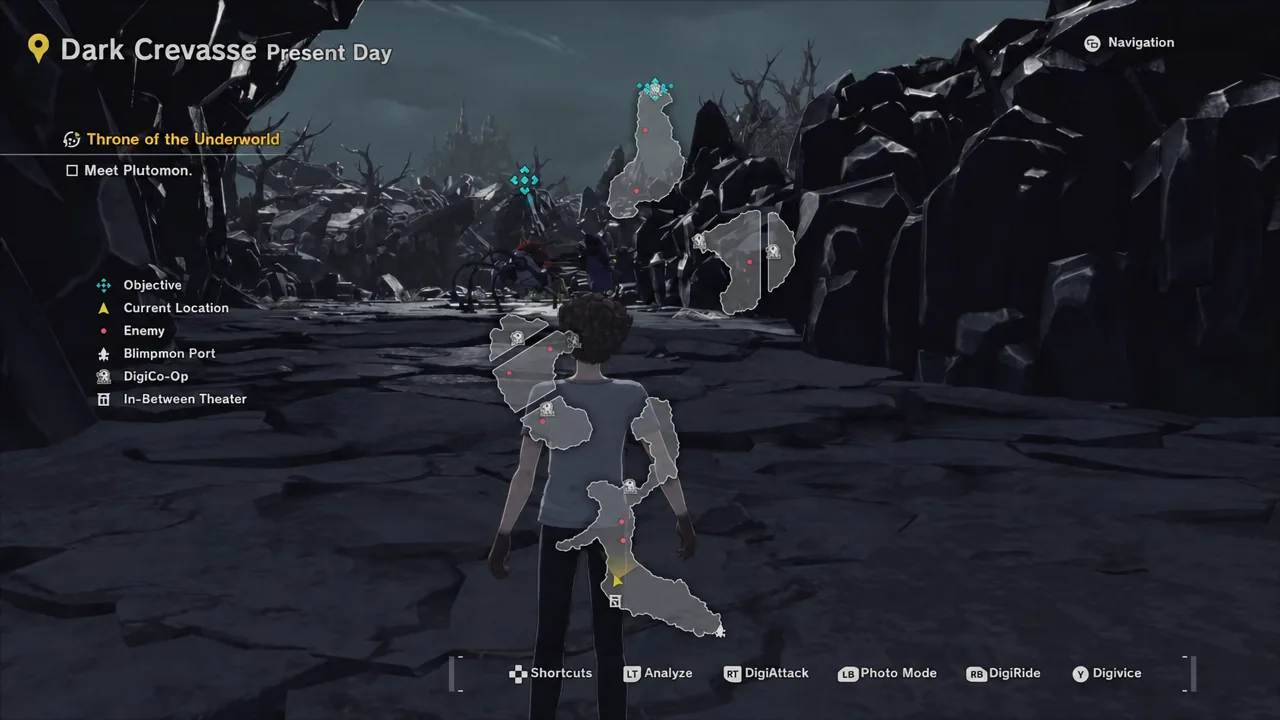
The whole sequence covers two zones. Dark Crevasse comes first, Dark Castle second, and clearing both drops you into Dark Garden, the short climb that ends at Plutomon’s door.
Dark Crevasse: Correct Gekomon answers in order
Five choices take you from the entrance to the exit. Between pedestals you will run into Kurisarimon, Infermon and SkullGreymon, so clear or dodge them as you move to the next platform.
| Order | Line to pick |
|---|---|
| 1 | I wish for the world to be showered with love. |
| 2 | The world is more beautiful than you think. |
| 3 | I’d like to be the umbrella that shields you from the rain. |
| 4 | No good deed goes unrewarded! |
| 5 | I want everyone to be happy. |
The very first choice at the entrance is a special case. It does not branch — whichever line you give, Gekomon sends you to the first island to the north, so “I want to save every living being in this world” works there just as well.
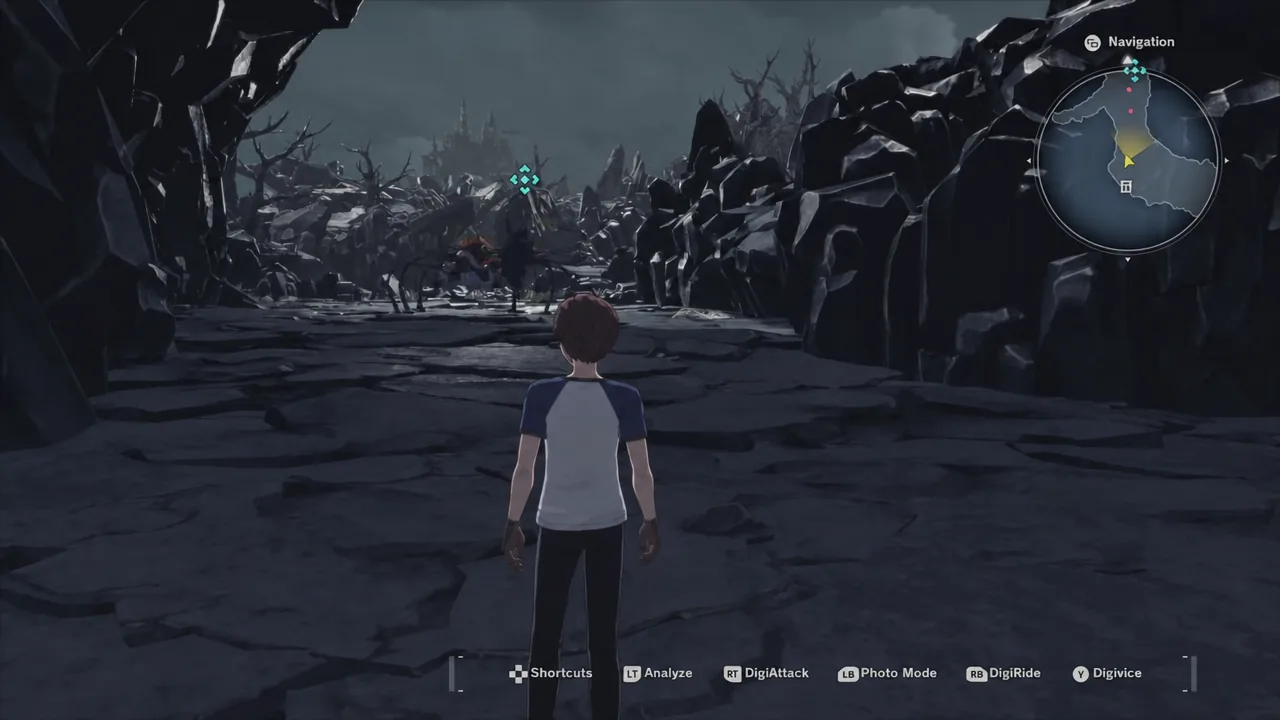
The fifth pick has a second valid version. “I never want to see anyone cry” also moves you out of Dark Crevasse, so either wording gets you to the next zone.
Dark Castle: Correct Gekomon answers in order
Dark Castle looks like a bigger maze, but the number of correct picks is identical. The same three wild Digimon types patrol the platforms, including an unfinished stairwell section partway through.
| Order | Line to pick |
|---|---|
| 1 | All you need is love. |
| 2 | Life is about the journey, and not the destination. |
| 3 | Hard work is something meant to be enjoyed! |
| 4 | Everyone’s happiness is my happiness. |
| 5 | If you believe in yourself, others will, too. |
The final pedestal sits at the top of a short stairwell. Choosing correctly there puts you on the stairs leading out, which open into Dark Garden.
How to tell you picked the wrong answer
Gekomon tells on himself. After a wrong pick he starts rambling about not parking his Digi-Beetle in the new spot, and that line is your cue that you have been shunted off the main route. Nothing is lost permanently — walk to the nearest pedestal and talk to him again.
Note: on a second run through the Dark Field, correct options are flagged with a yellow marker, and a few of them change a word or two from the first pass. Trust the marker over exact memory.
When wrong answers are worth taking
Every dead end holds something. If you are chasing full completion, you have to deliberately pick the wrong lines to sweep the side pockets, then backtrack to the main path.
| Area (first visit) | Items in side pockets |
|---|---|
| Dark Crevasse | DEF Attachment II, Crush Blade II, Wind Guard, ATK Augment Chip III |
| Dark Castle | Panic Attack, INT Augment Chip III, EVA Attachment I |
| Dark Garden | SP Augment Chip III, Guarder Attachment II, Attack Bind |
One detour is worth more than loot. A side area in Dark Castle hides an Outer Dungeon, the Protect the Giant DigiMeat challenge, where clearing out 30 enemies pays 15,000. The enemy set there includes Bakemon, Dobermon, Dracmon, Phantomon and SkullMammothmon, and the Bakemon fly high before descending near the goal, so waiting at the south end lets you catch them.
Returning to both zones later swaps the wild spawns and refills chests. The second pass through Dark Crevasse holds SPD Augment Chip III, Deadly Attachment I and X-Heal, while Dark Castle offers Gaia Blaster II, Soul Attachment II and Multi-Recovery DX.
Dark Garden and the fight waiting behind the door
Dark Garden has no puzzle and no enemies. Climb to the top, grab the chests on either side of the stairs and the one tucked to the east before the collapsed Digimon, and you will reach a large door.
Before opening it, use the nearby In-Between Theater to prepare. ZombiePlutomon is heavily weak to Light and immune to Dark, so Vaccine Digimon with Light skills tear through it, with Fire and Water as backups. Bring items that cure Chaos and skip the HP restoratives — its Reaper’s Mist blocks HP recovery and drains MP, and the effect cannot be cleared mid-battle. During its charging state it exposes four mouths as weak points, each with its own break bar.
Draining its HP does not end things outright. A scene plays and Gekomon asks for one more line, and “Don’t let your dreams just be dreams! Just DO IT!” is the one that clears the guards. After the cutscenes, leave the In-Between Theater and report back to Merukimon to close out Throne of the Underworld.