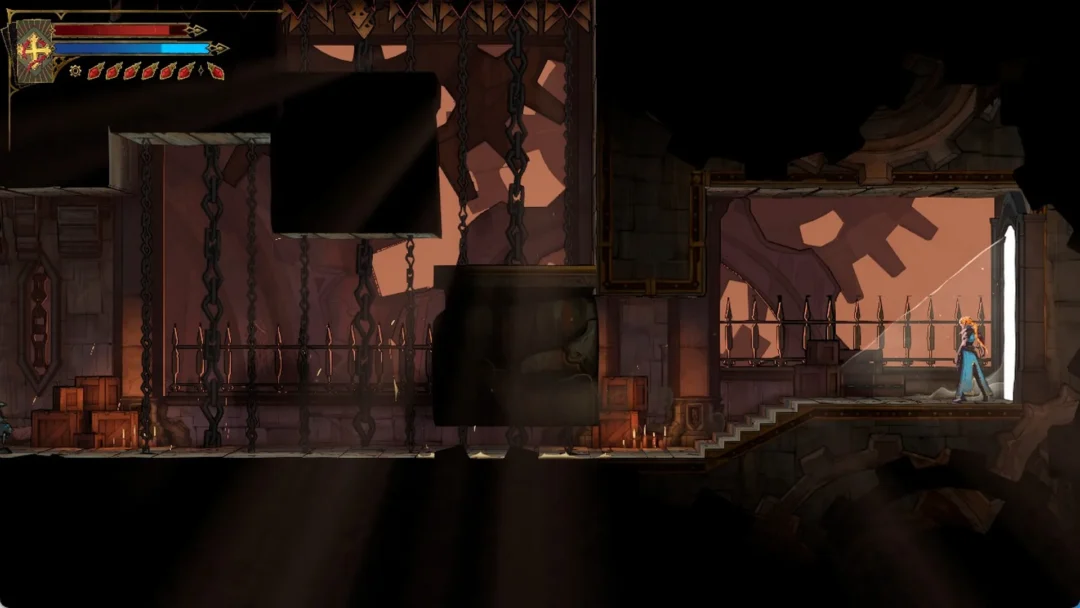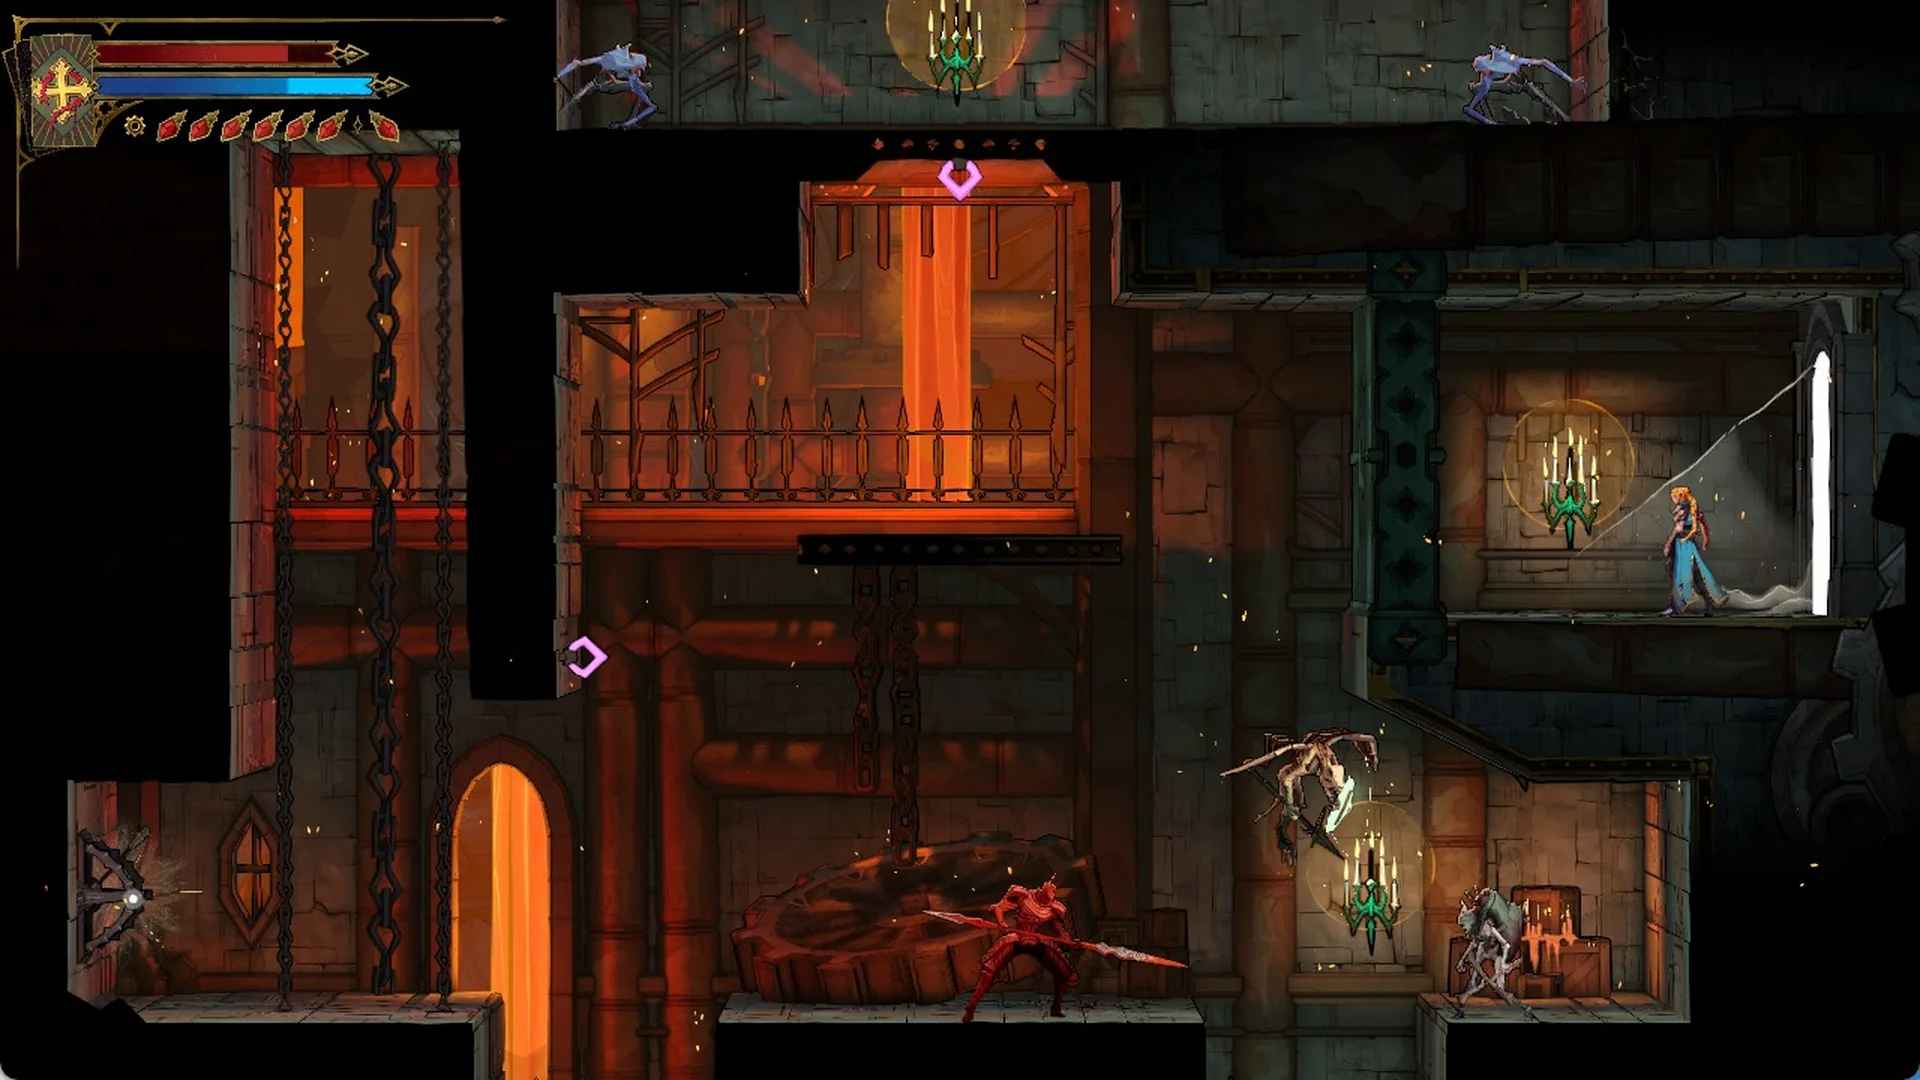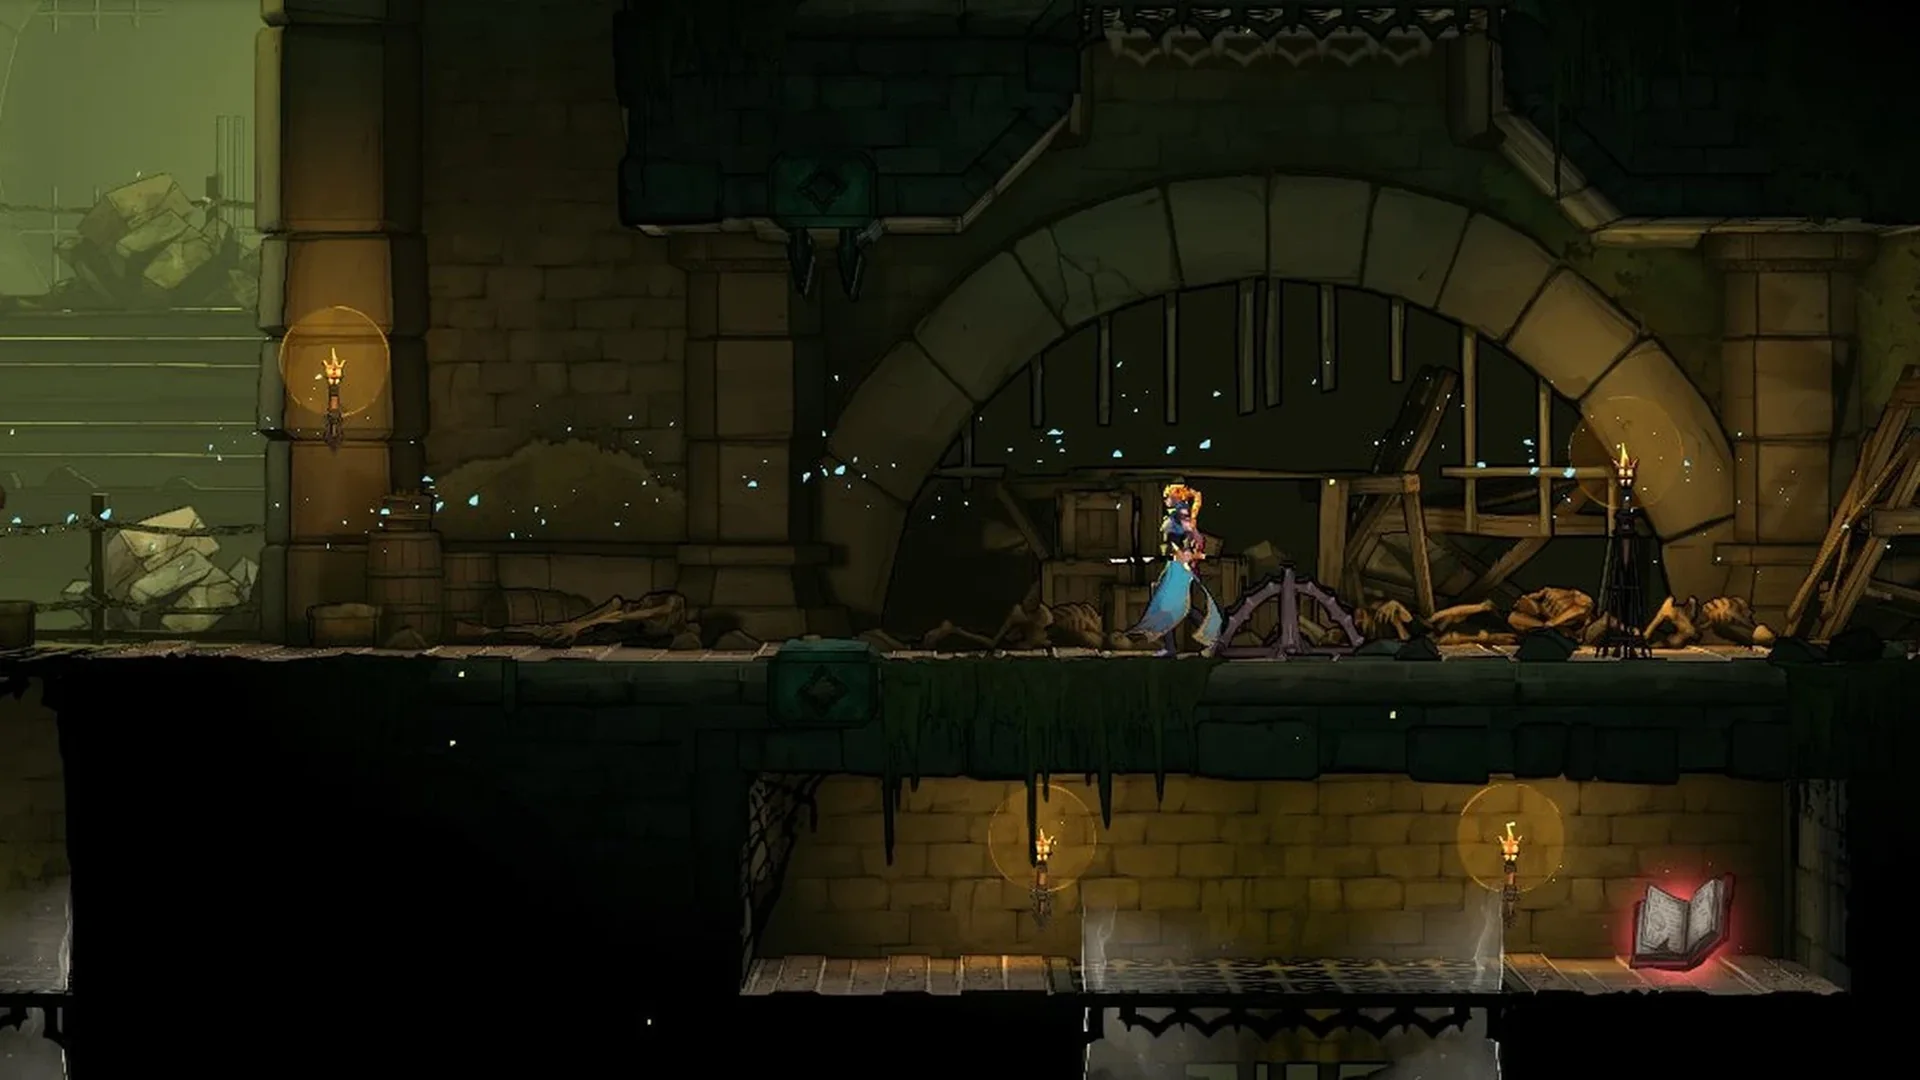
In Castlevania: Belmont’s Curse, clues give Rose brief guidance on finding or reaching an Arcana—a boss or character connected to a tarot card. Scattered through the castle and Paris streets, they appear through spirits, plaques, hooded statues, letters, paintings, notes, sketches and diary pages. Finding all 40 is the sole requirement for the Steam achievement The Greatest Detective, described as “Find every clues”.
Castlevania: Belmont’s Curse interactive map
How clues work before you start hunting
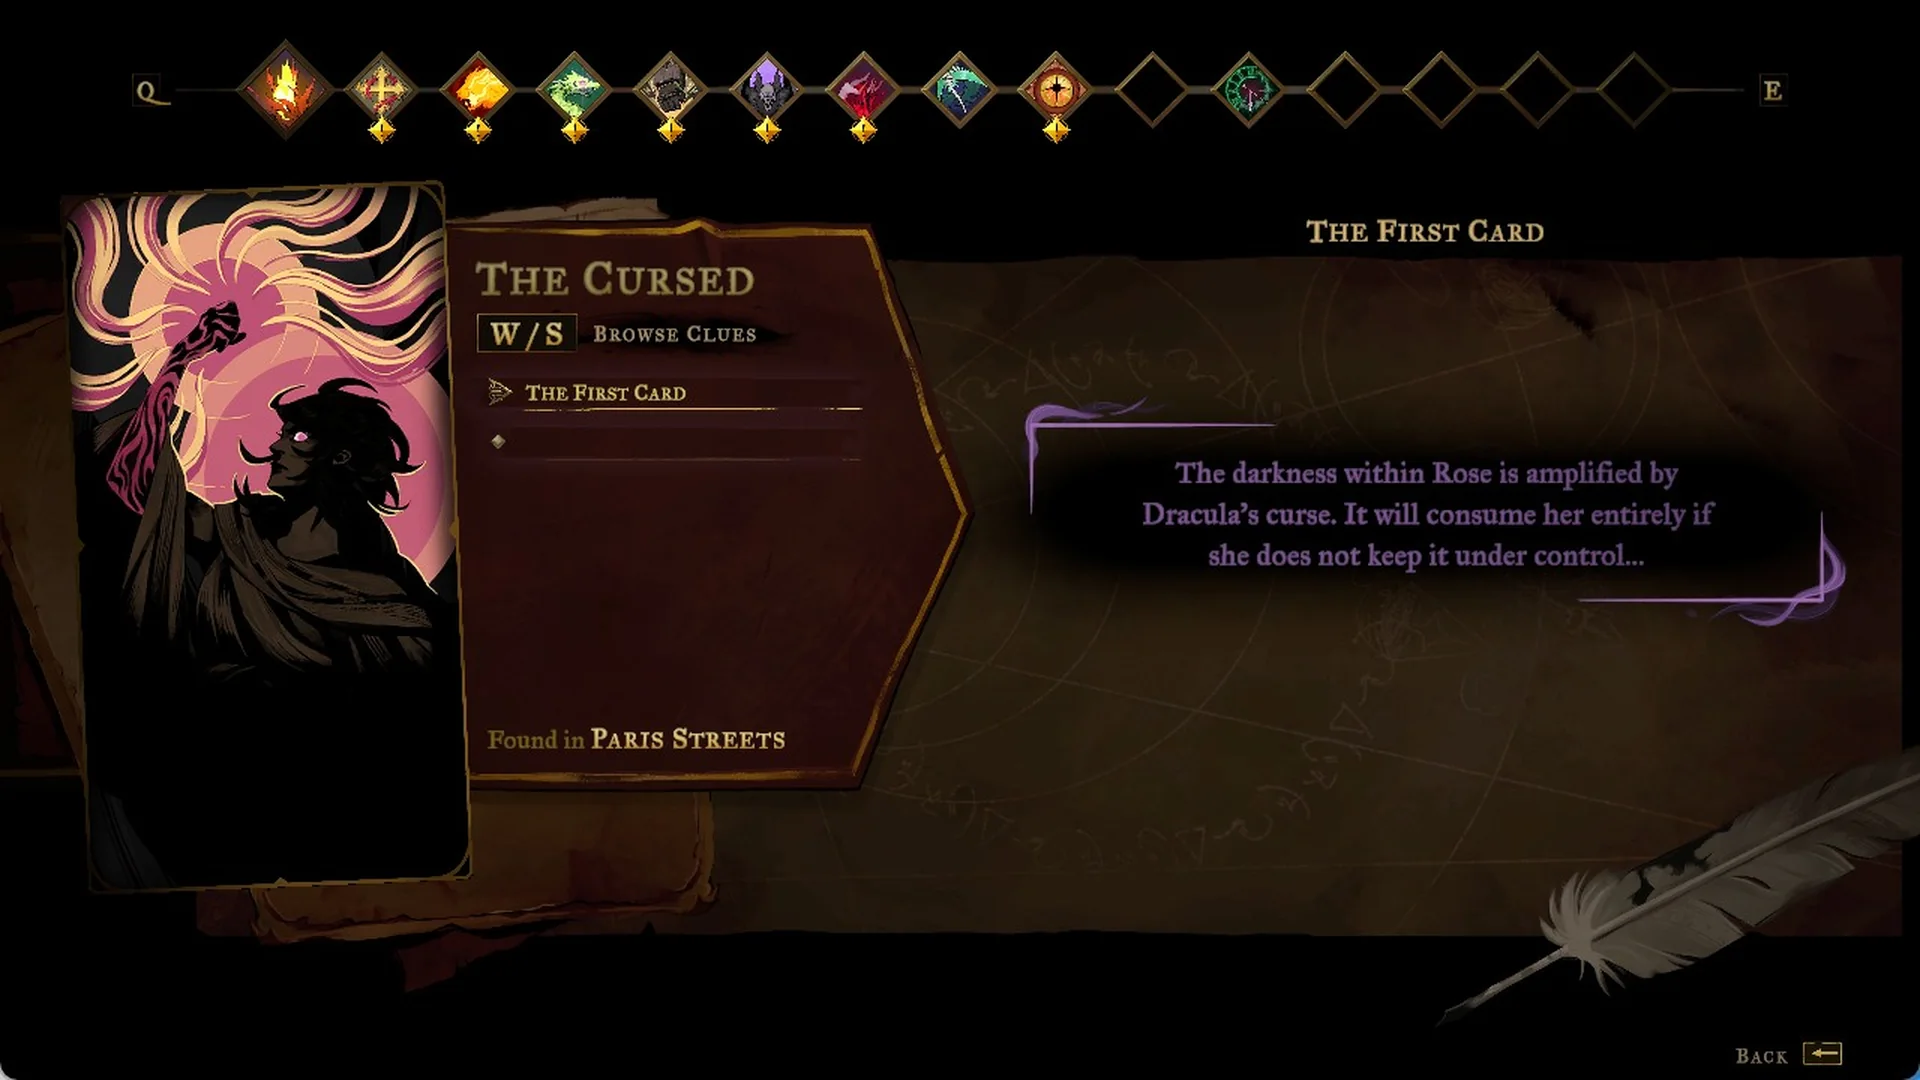
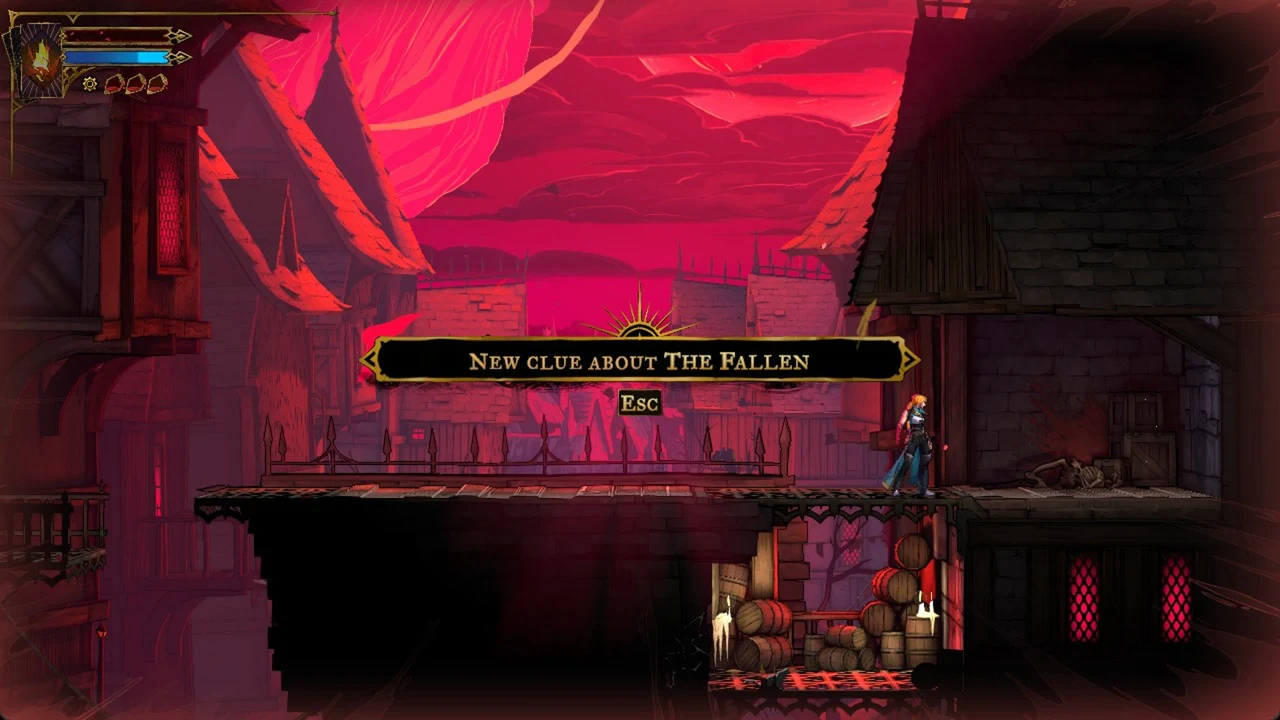
Whenever Rose collects a clue, its name appears on a banner, for example “A Lever for the Well”; a HUD message also identifies the related Arcana, such as “New clue about The Fallen”. The Tarot menu stores each clue beneath its card, with a “Browse Clues” option and the area where it was “Found in”.
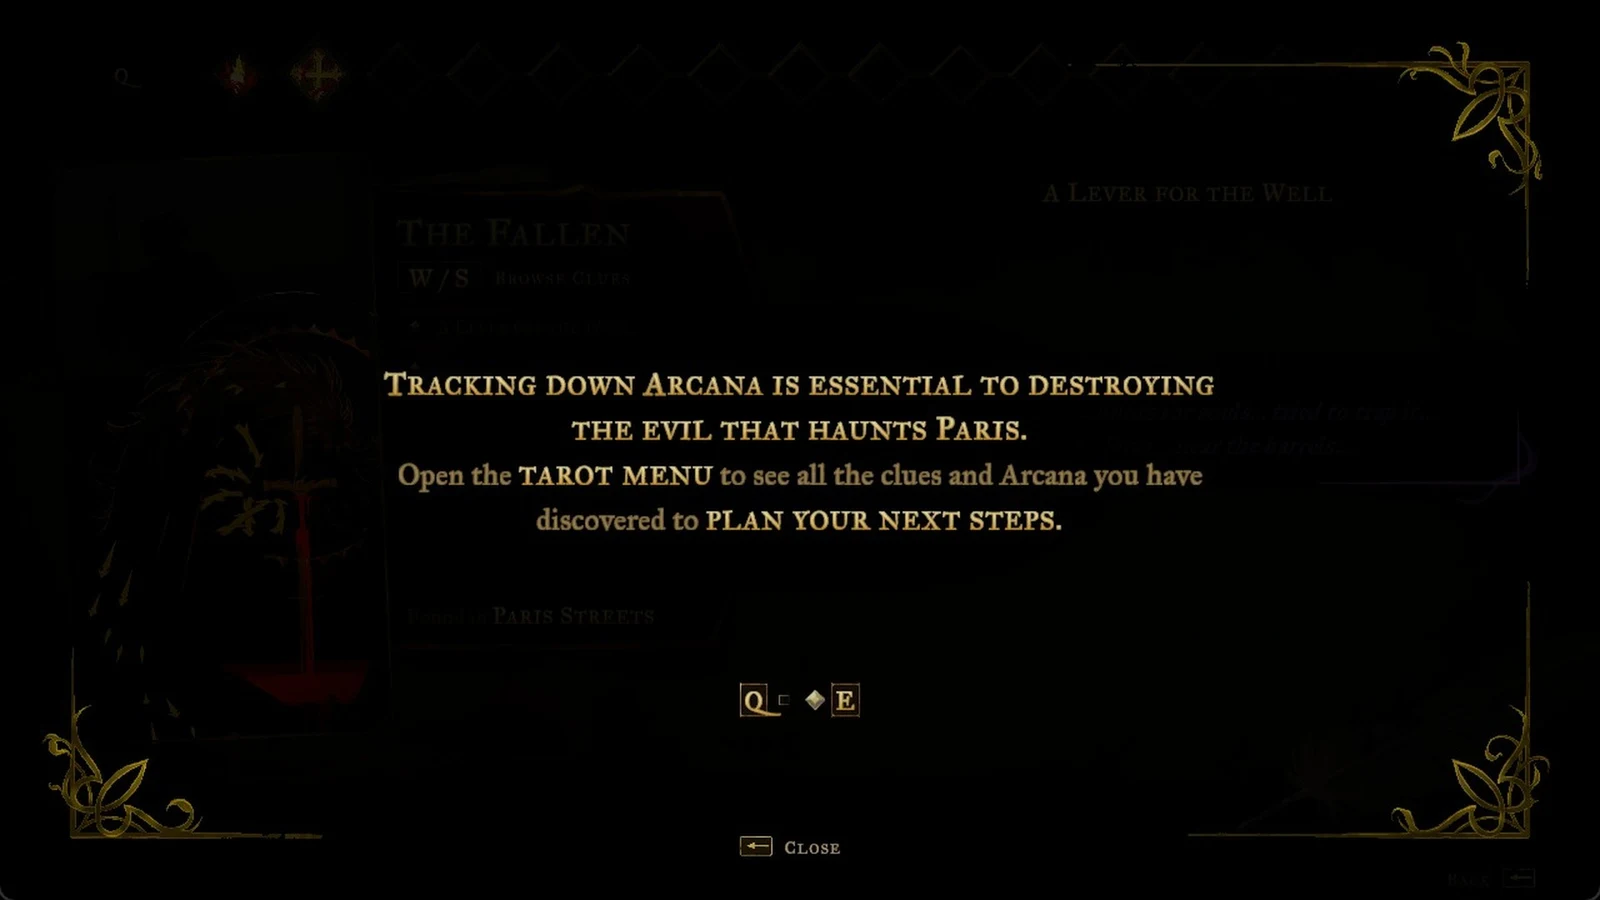
Whether clues count toward the Progress percentage on the System tab is not confirmed, so collect them for The Greatest Detective rather than for 100% completion.
The 40 clues split across eight areas. The Master’s Quarters holds none.
| Area | Clues |
|---|---|
| Paris Streets | 10 |
| Holy Innocents’ Cemetery | 4 |
| Catacombs of Paris | 2 |
| Notre-Dame | 7 |
| Main Hall | 6 |
| Library | 4 |
| Clock Tower | 3 |
| Hall of Mirrors | 4 |
All 40 clue locations by area
Each clue below is listed with its exact in-game title, the Arcana card it files under, and the district the map shows where you find it. Titles keep the game’s own spellings.
Paris Streets (10 clues)
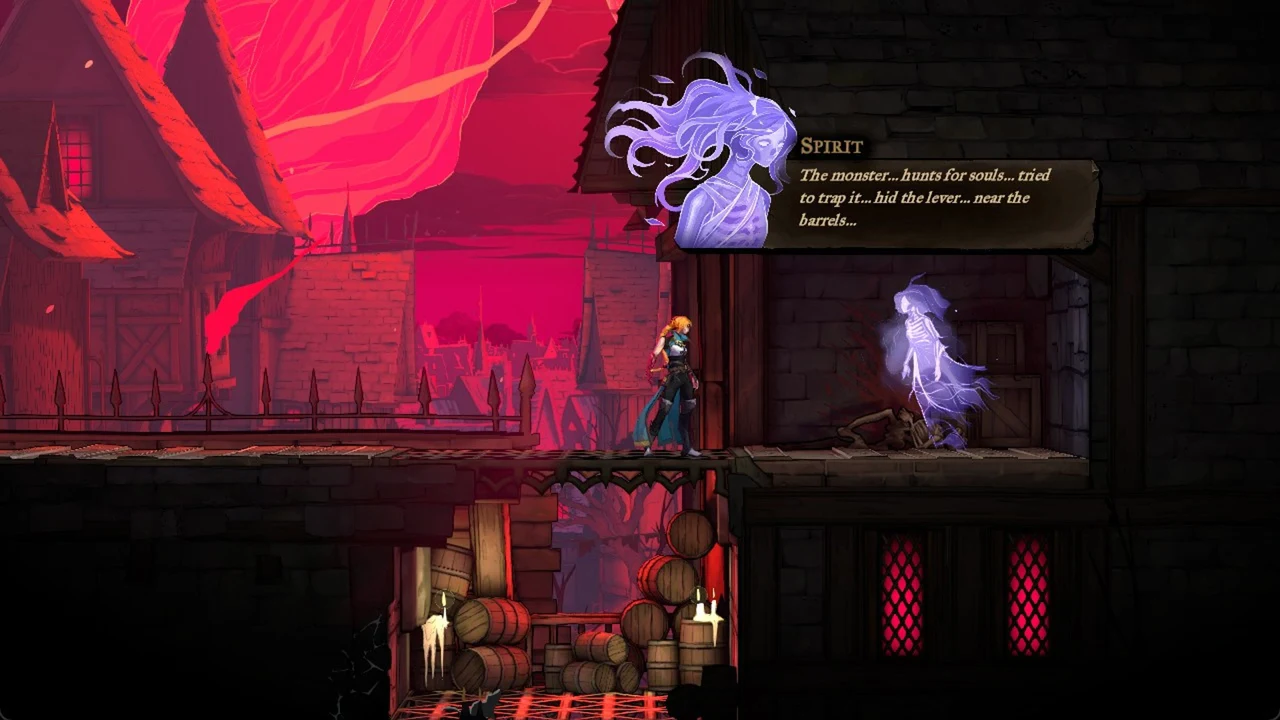
Your first clue, “The First Card”, arrives at the very start of the story by the Seine where Rose lands, in the Bank of the River Seine. Spirits hand over “A Monster terrorizes Paris” on the Path of the Rat and “Carpenter’s Crane Sketch” in the Upper Tower. The Bishop’s Office holds three diary pages for The Miser in the same room.
“The First Card” is filed under THE CURSED in the Tarot menu (Consult Arcana), not The Self. It reads: “The darkness within Rose is amplified by Dracula’s curse. It will consume her entirely if she does not keep it under control…”
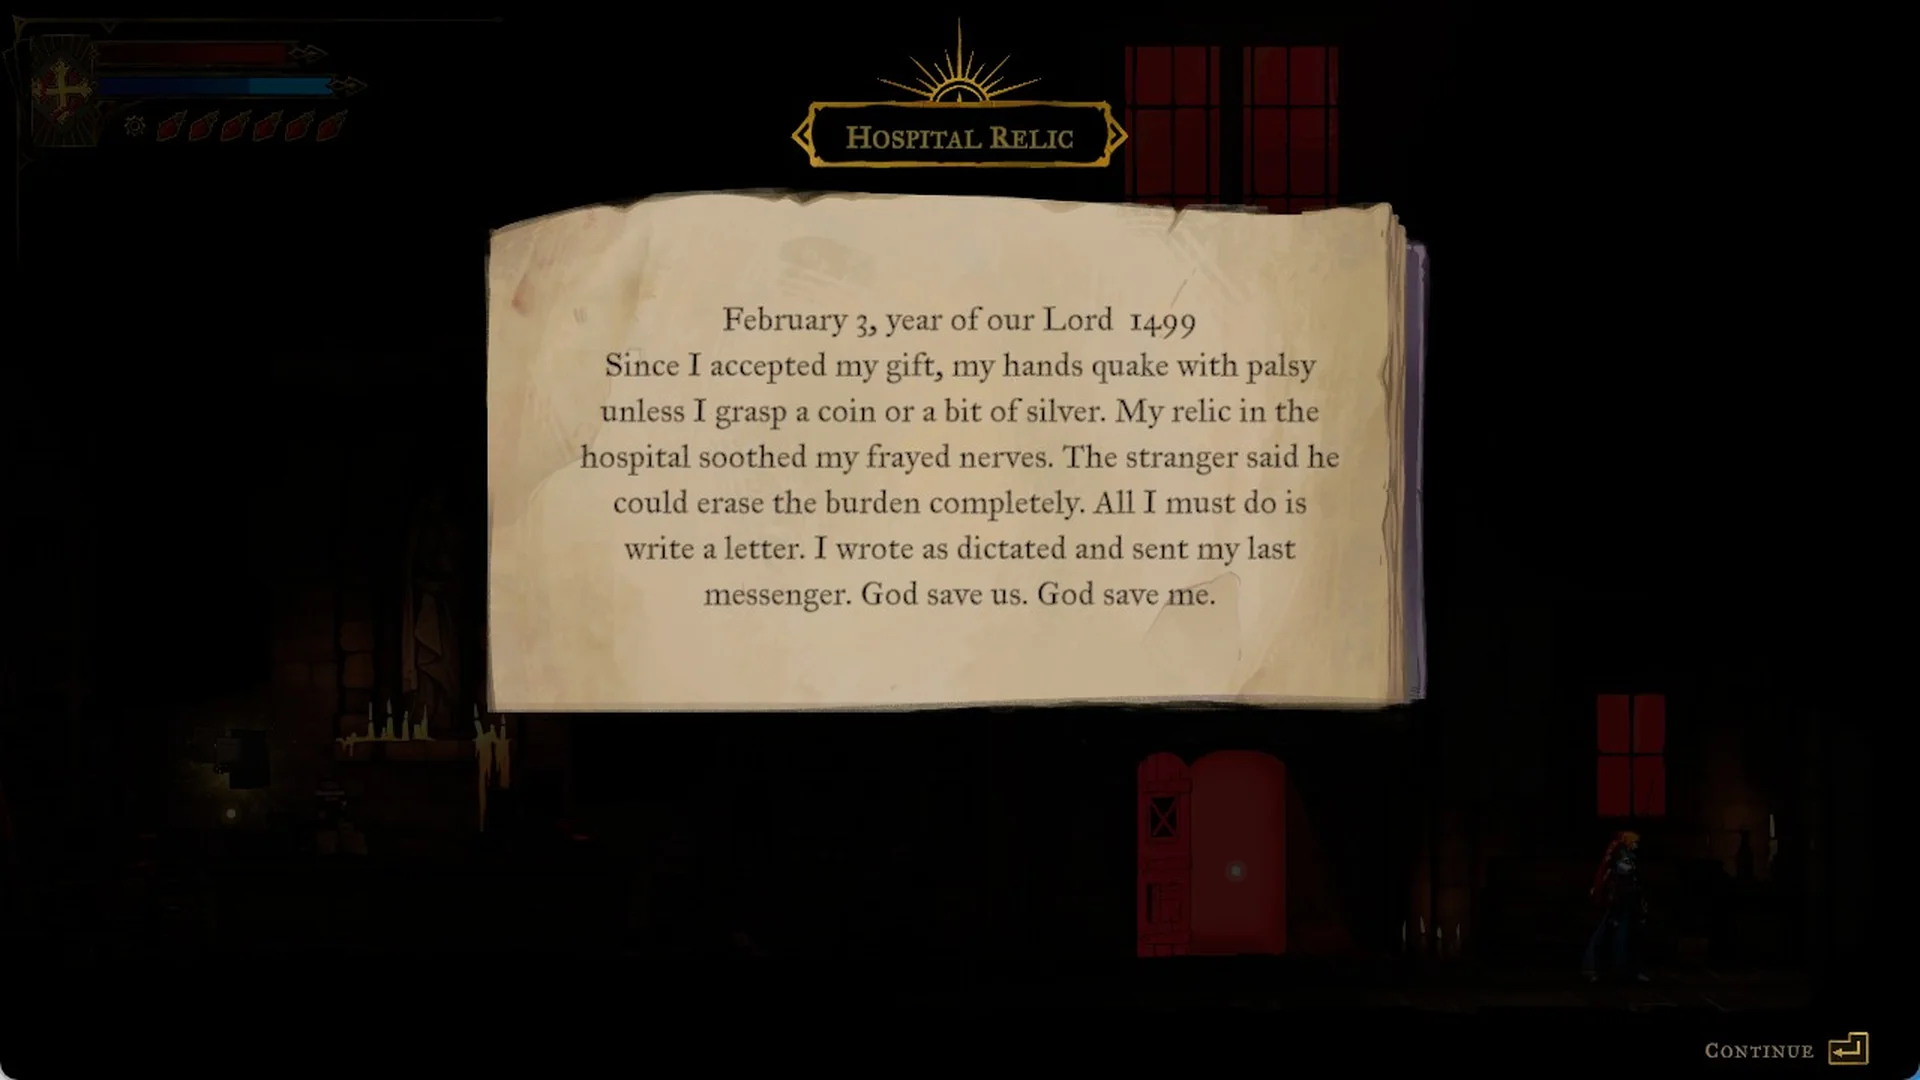
“Hospital Relic”: In the Bishop’s Office, break the cracked wall just right of the entrance door with attacks. Behind it is a small side room with a desk; press Interact (E) there. Rose says “Looks like a page of someone’s diary…” and the page titled HOSPITAL RELIC opens: “February 3, year of our Lord 1499. Since I accepted my gift, my hands quake with palsy unless I grasp a coin or a bit of silver. My relic in the hospital soothed my frayed nerves. The stranger said he could erase the burden completely. All I must do is write a letter. I wrote as dictated and sent my last messenger. God save us. God save me.”
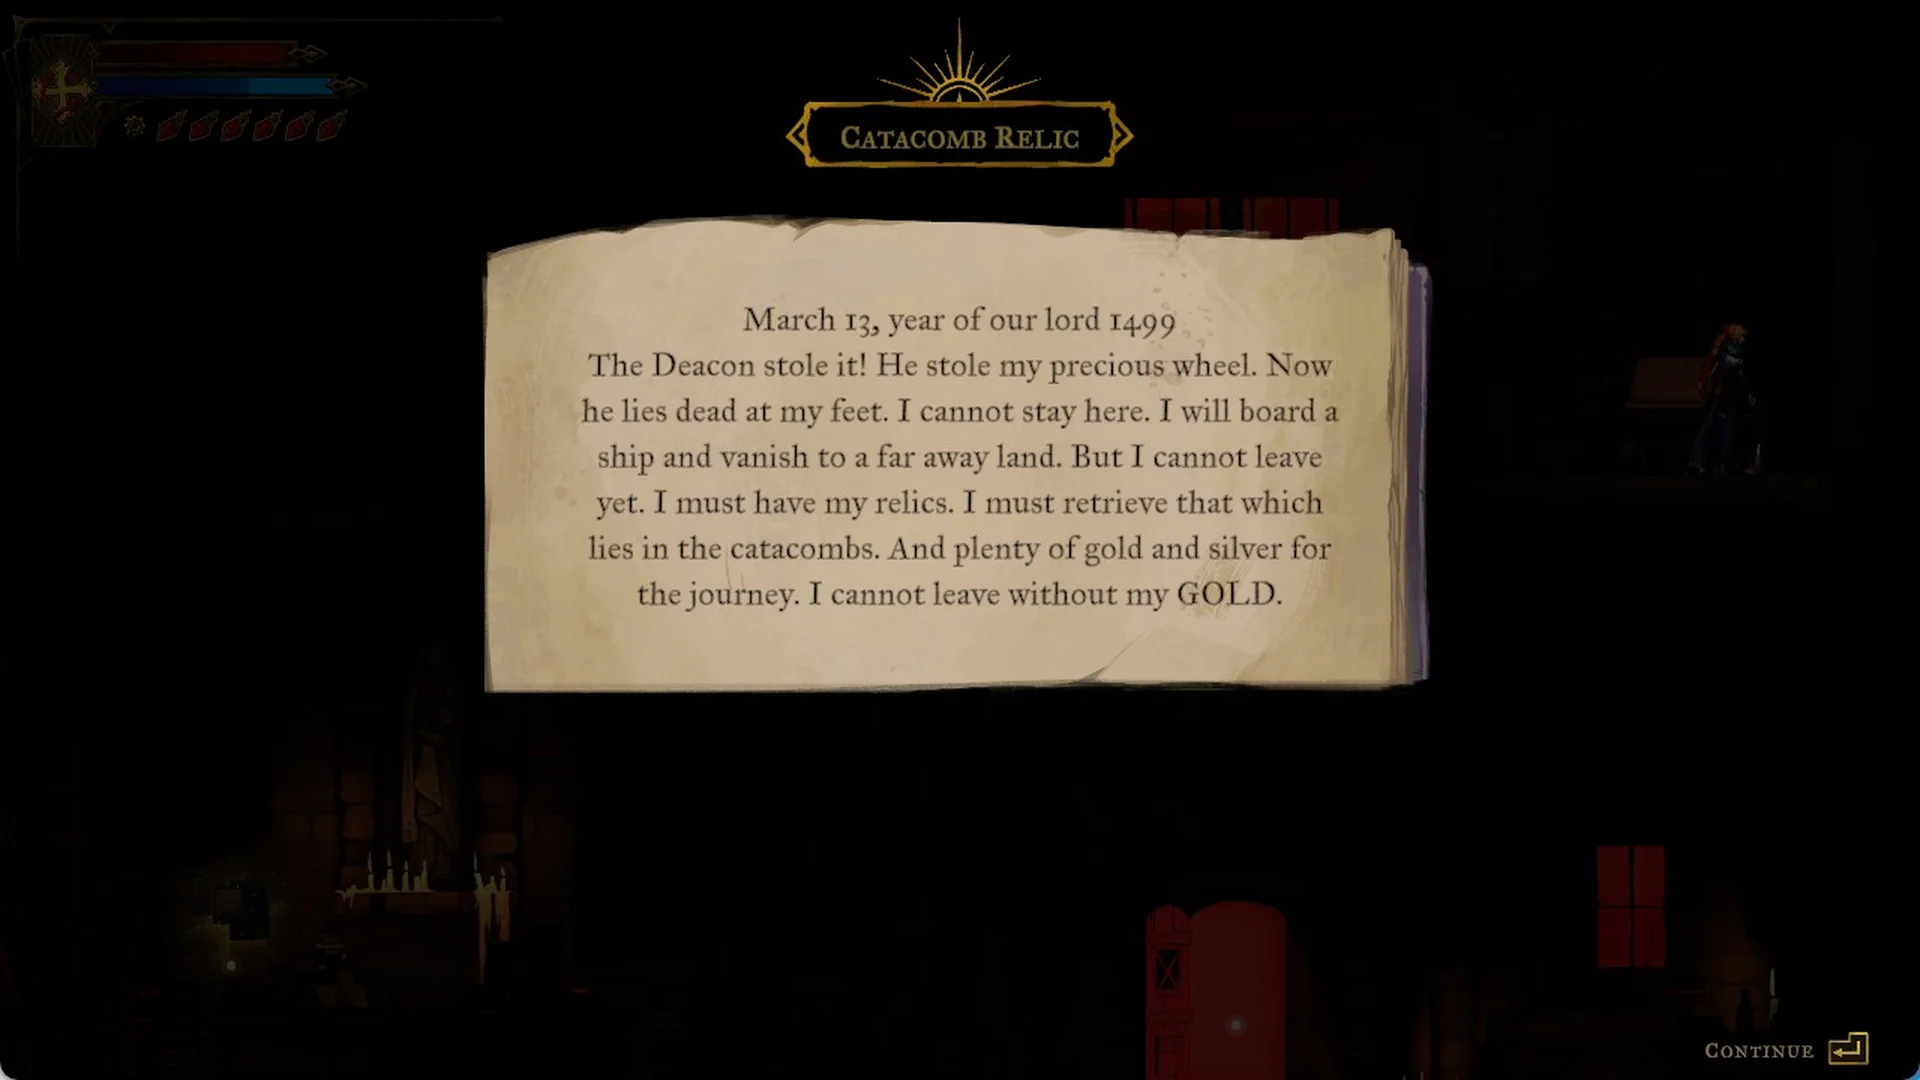
“Catacomb Relic”: the second page is on a desk on the loft above that side room. At the desk Rose says “Hmm, someone ripped out a page of a diary.” and the page titled CATACOMB RELIC reads: “March 13, year of our lord 1499. The Deacon stole it! He stole my precious wheel. Now he lies dead at my feet. I cannot stay here. I will board a ship and vanish to a far away land. But I cannot leave yet. I must have my relics. I must retrieve that which lies in the catacombs. And plenty of gold and silver for the journey. I cannot leave without my GOLD.”
| Clue title | Arcana | District |
|---|---|---|
| “The First Card” | The Cursed | Bank of the River Seine |
| “A Lever for the Well” | The Fallen | Ruined Market |
| “A Monster terrorizes Paris” | The Fallen | Path of the Rat |
| “Carpenter’s Crane Sketch” | The Warrior | Upper Tower |
| “The Warrior is at the top of the Tower.” | The Warrior | Burned District |
| “Catacomb Relic” | The Miser | Bishop’s Office |
| “Hospital Relic” | The Miser | Bishop’s Office |
| “Tomb Relic” | The Miser | Bishop’s Office |
| “Stolen Oboles” | The Whisperer | Hospital |
| “Balancing the Scales of Justice” | The Judge | Palace of Justice |
“Stolen Oboles” comes from a weeping spirit on a scaffold high above the street, reached through the Hospital, and it also reveals The Whisperer card. “Balancing the Scales of Justice” is the golden scale monument by the Overgrown Oak in the Palace of Justice.
Holy Innocents’ Cemetery (4 clues)
All four cemetery clues feed The Prophetess. Spirits give “Cemetary Fountain” at the Fountain of the Innocents and “Guardian’s Gaze” in the Roman Baths.
| Clue title | Arcana | District |
|---|---|---|
| “Cemetary Fountain” | The Prophetess | Fountain of the Innocents |
| “Guardian’s Gaze” | The Prophetess | Roman Baths |
| “Roman Baths” | The Prophetess | Sepulcher of the Knight |
| “The roots of the Hollow Tree” | The Prophetess | Pauper’s Grave |
The Prophetess’s clues come from spirits around the cemetery, and the “Cemetary Fountain” clue points to a real drop through the fountain into the Serpents’ Lair. Where each of the four Medusa clues is, and what each one means, is in the Medusa clue locations guide.
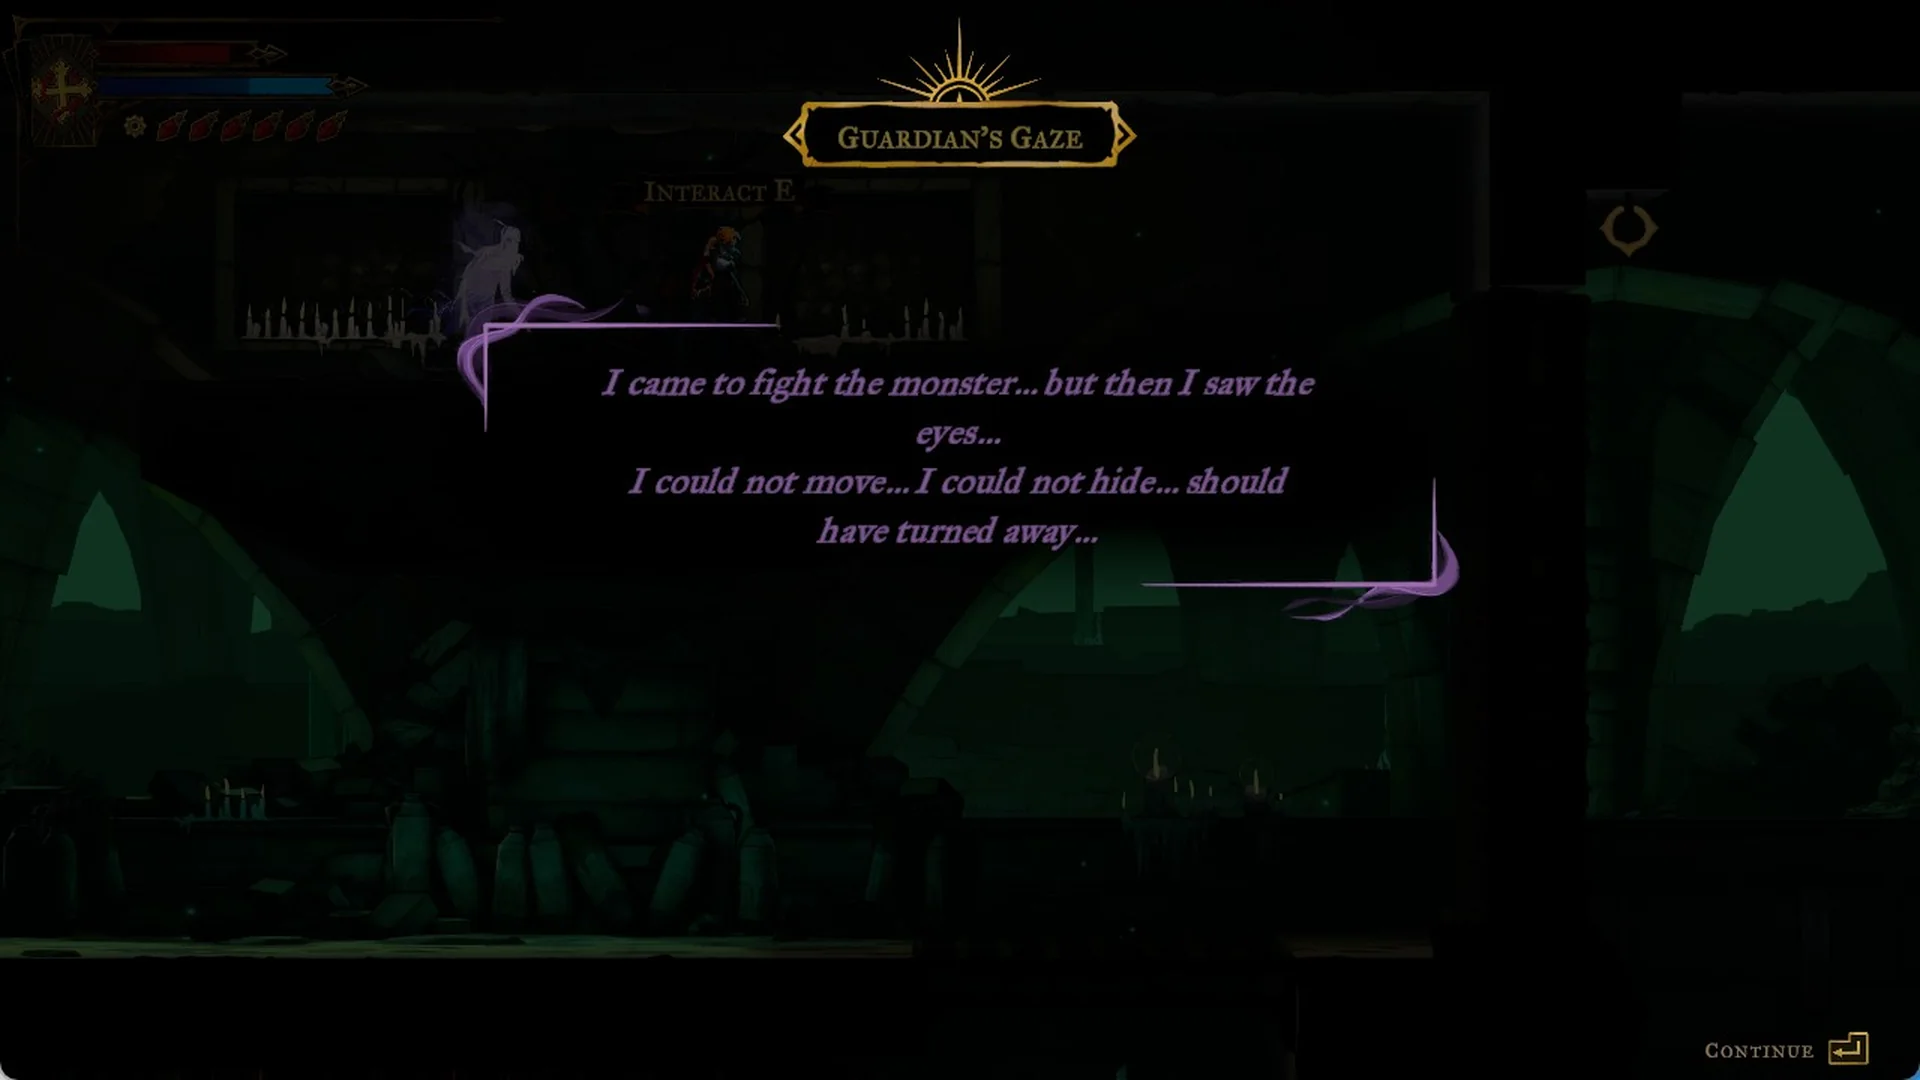
“Guardian’s Gaze” comes from the spirit on the upper stone ledge with the skull shelves in the Roman Baths (go left from the Fountain of the Innocents). It says: “I came to fight the monster… but then I saw the eyes… I could not move… I could not hide… should have turned away…”
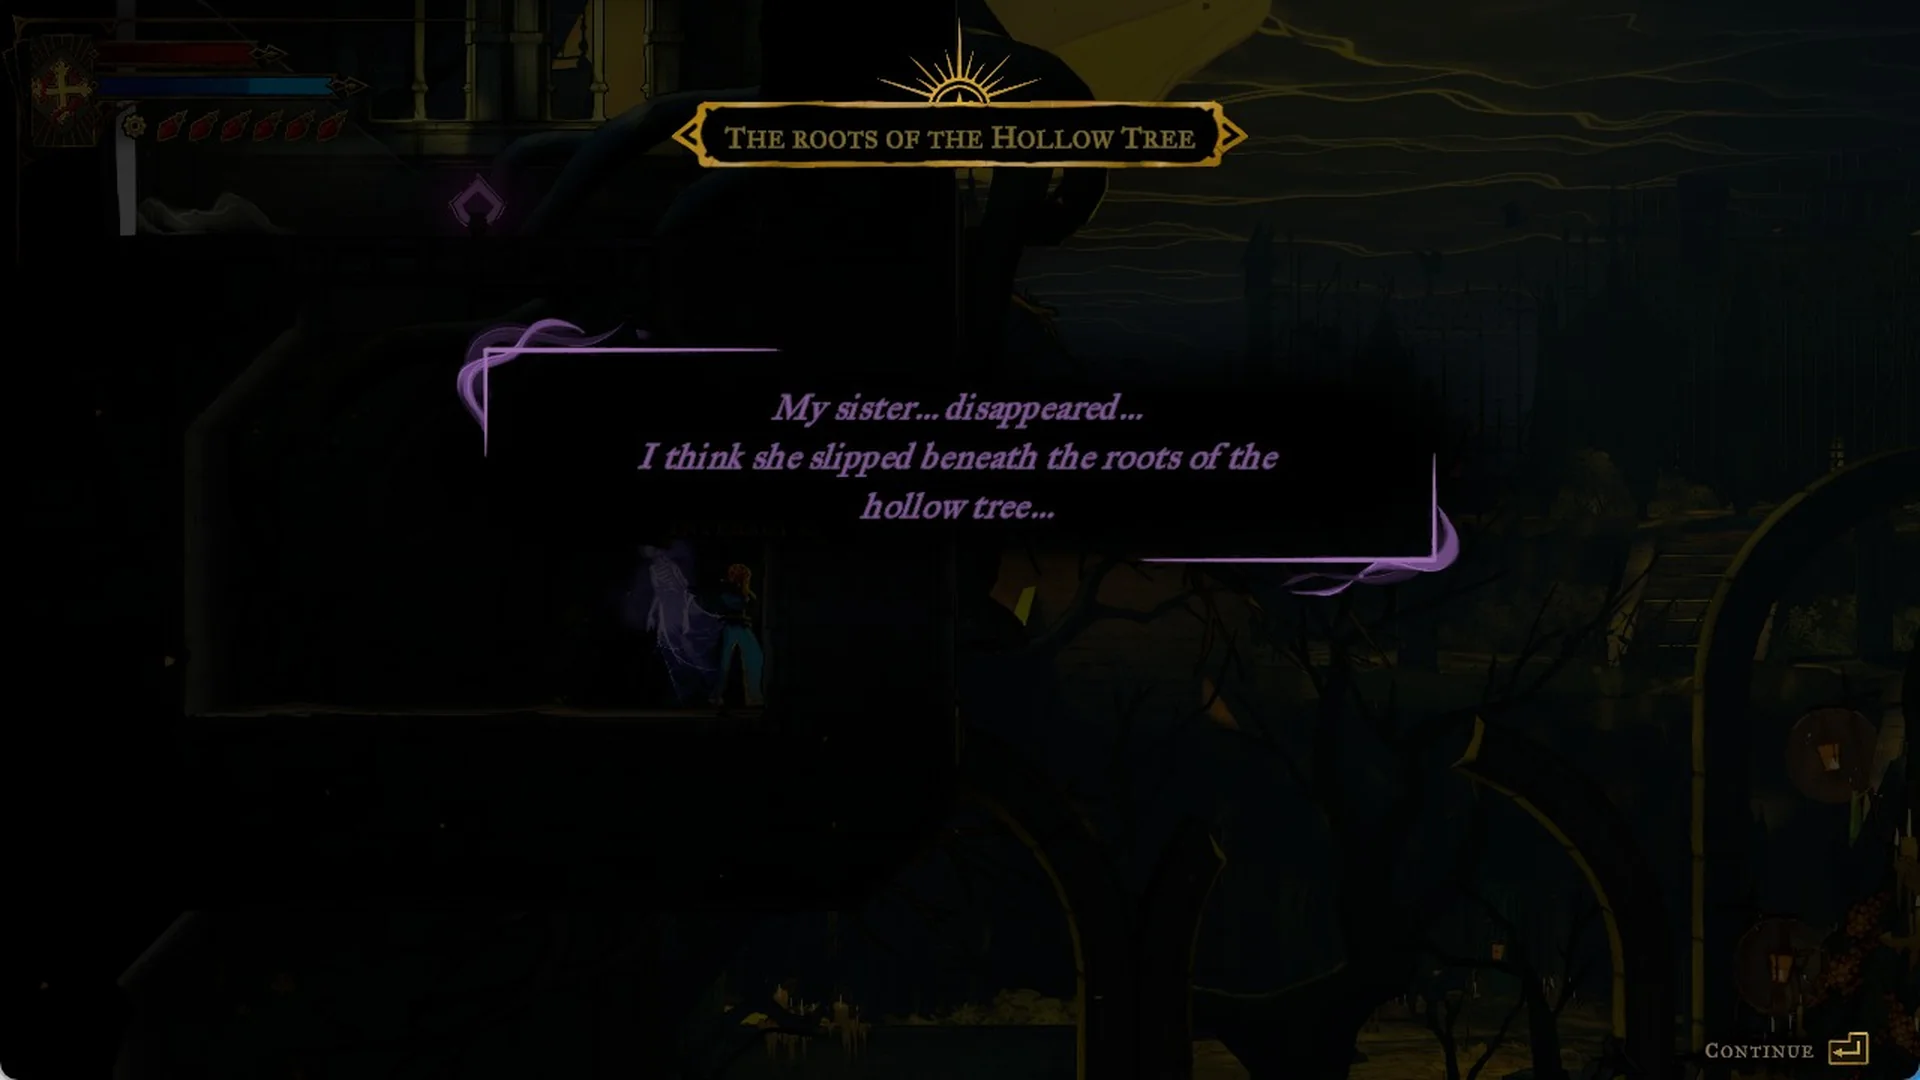
“The roots of the Hollow Tree” comes from the spirit inside the root-filled stone alcove on the left tower of the Pauper’s Grave, a few steps from its Mirror of Life: “My sister… disappeared… I think she slipped beneath the roots of the hollow tree…” Both end with “New clue about THE PROPHETESS”.
Catacombs of Paris (2 clues)
| Clue title | Arcana | District |
|---|---|---|
| “Death Mark” | The Shadow | Charnel Galleries |
| “A Door made of Flesh and Eyes” | The Miser | Circle of Greed |
A purple spirit waits on a ledge in the Catacombs of Paris, above a shaft full of spinning sawblades. Walk up to it at the “INTERACT E” prompt and it says “The monster… dragged our souls down to the Altar of Bones… followed marks on the walls… they must have dropped me…” Rose replies “Hmm, so the marks show the way…”
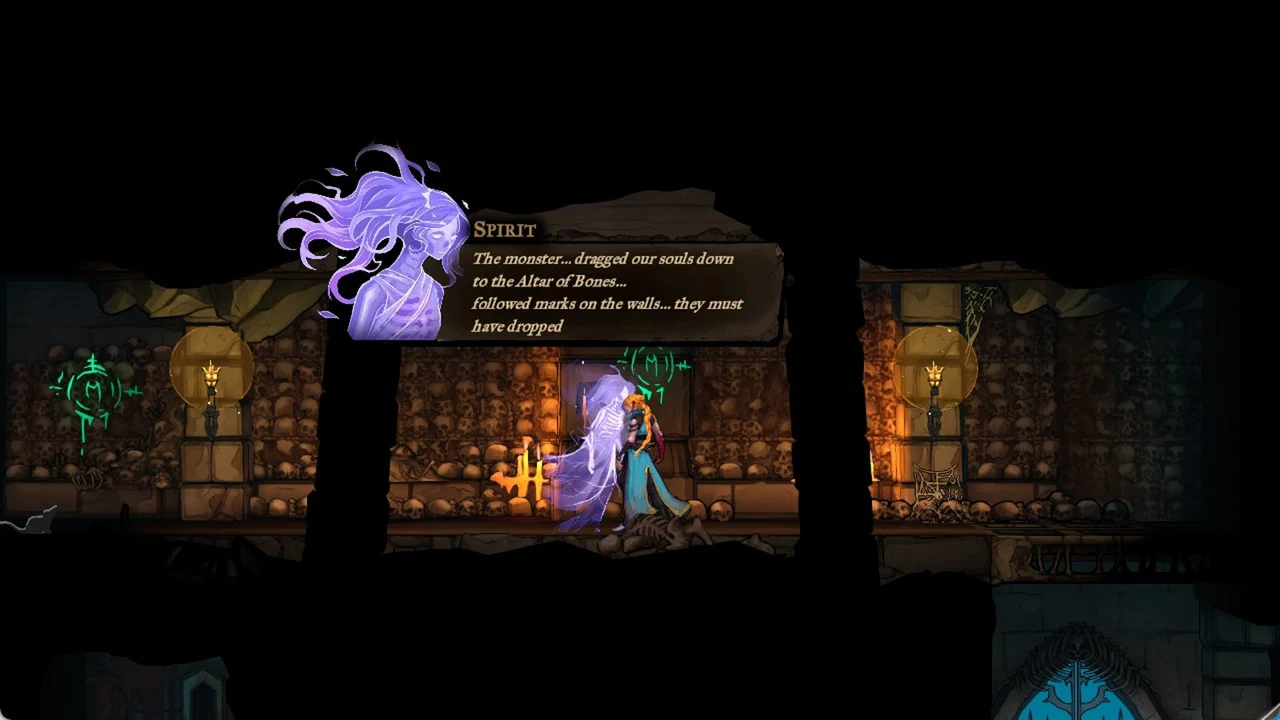
You know the clue has registered when the banner “NEW CLUE ABOUT THE SHADOW” appears. The clue page is titled DEATH MARK and sits on THE SHADOW card. It shows a green glowing mark, a circle with an M, matching the marks painted on the walls on both sides of the spirit.
Follow the green M marks painted on the walls to reach the Altar of Bones below.
Notre-Dame (7 clues)
Five of the seven Notre-Dame clues belong to The Shadow — the three melody sheets from spirits in La Flèche, the Great Organ Room and the Sealed Scriptorium, plus Corrupted Pipes and Masters of Music — while the other two are The Prophecy (The Self) and Feat of Strength (The Brittle King), and The Shadow’s sixth clue, Death Mark, is in the Catacombs. “Feat of Strength” in the Chapel is the lone clue for The Brittle King.
| Clue title | Arcana | District |
|---|---|---|
| “The Prophecy” | The Self | Gallery of the Four Virtues |
| “Melody Sheet for the Concerto of Notre-Dame” | The Shadow | La Flèche |
| “Melody Sheet for the Fugue of Notre-Dame” | The Shadow | Great Organ Room |
| “Melody Sheet for the Sonata of Notre-Dame” | The Shadow | Sealed Scriptorium |
| “The Corrupted Pipes of the Notre-Dame Organ” | The Shadow | Transept |
| “The Masters of Music hide from Death” | The Shadow | Collapsed Crypt |
| “Feat of Strength” | The Brittle King | Chapel |
“The Prophecy” is the round orange stained glass window in the middle of the Gallery of the Four Virtues: stand in front of it and press Interact (E). For the Concerto melody sheet, climb the wooden beams of La Flèche; the Fugue spirit stands beside the stairs in the Great Organ Room, and the Sonata spirit is in the Sealed Scriptorium. “Feat of Strength” is the sword shrine in the Chapel, and examining it brings up The Brittle King card.
Main Hall (6 clues)
Four of these clues trace The Artist, with the final two sitting in Brauner’s Atelier — one for The Artist and one, “Carmilla in the Library”, for The Occultist.
| Clue title | Arcana | District |
|---|---|---|
| “Builder flees to the Clock Tower” | The Builder | Abandoned Workshop |
| “A Strange Painting of Notre-Dame” | The Artist | Gallery of Eternal Night |
| “Alucard Guides” | The Artist | Old Gallery |
| “Artist hides in the Main Hall” | The Artist | Elevator Tower |
| Brauner’s “Masterpiece” | The Artist | Brauner’s Atelier |
| “Carmilla in the Library” | The Occultist | Brauner’s Atelier |
Finding “A Strange Painting of Notre-Dame”
In the Main Hall of Dracula’s castle, go to the West Hall entrance and take the ground-level doorway on the right. This route takes you to the Gallery of Eternal Night; entering it triggers a “Map updated” notice.
The wall bears a prominent framed image of Notre-Dame Cathedral. Approach it, wait until “INTERACT E” appears, then press Interact (E on PC).
No spirit or enemy shows up. Instead, Rose and Leon talk about the canvas. Rose opens with “Huh… my cards seem to want me to take a closer look at this painting. But there’s no spirit or any monsters.” Leon answers, “Perhaps we should find its artist.”
Rose then studies the painting more closely: “The paint, it’s fresh. It looks like Notre-Dame Cathedral. And there’s a signature. “Brauner”” That name means something to Leon. “Before Dracula cursed me, when I was still hunting him down, I came across a family of artists named “Brauner”.” He adds, “One of them was obsessed with human suffering.” Rose closes the exchange with “Sounds like company Dracula would keep.”
Once the conversation ends, the clue page opens. It is titled “A STRANGE PAINTING OF NOTRE-DAME”, shows a sketch of the cathedral, and displays the tarot card THE ARTIST. Seeing this page confirms you have logged the clue.
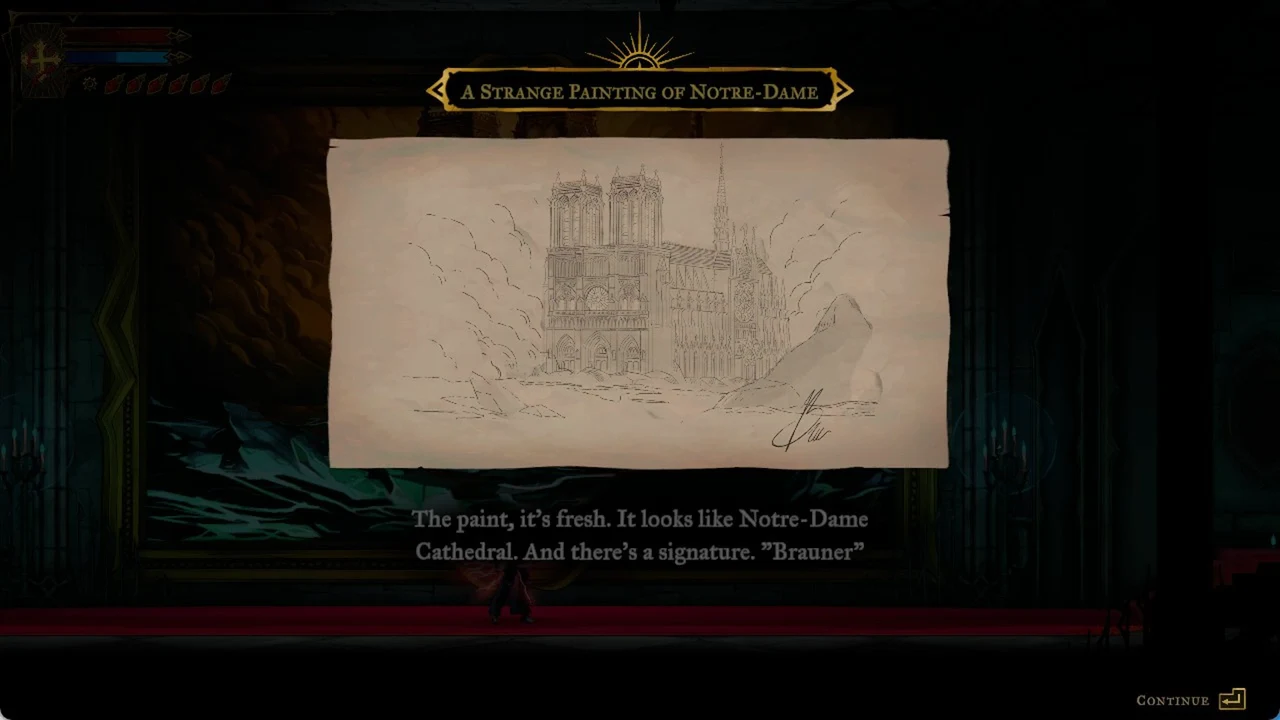
The painting stays shut after you examine it. You can’t open it yet, so there’s nothing more to do with it for now.
Finding Brauner’s “Masterpiece” and “Carmilla in the Library”
Both letters sit in the statue chamber of Brauner’s Atelier, behind the gate that the wall gear opens. If that gate is still shut, here is how to open the gate in Brauner’s Atelier.
Brauner’s “Masterpiece” counts toward The Artist. The note is on the huge chained statue. Walk up to it and press Interact (E). Rose says “There’s a note on the statue…Let’s see…” and the letter titled BRAUNER’S “MASTERPIECE” opens.
Talos,
If you’re reading this, you are trespassing in a part of the castle that is not yours! Stay to your noisy and smoky foundry and leave the art to the artists!
I swear, if you destroy ANOTHER one of my masterpieces, I will come down there and ruin more than just the paint on your armour!
Respectfully yours in good faith and temperance,
Brauner
Artiste
Close the letter and “New clue about THE ARTIST” appears on screen.
Carmilla in the Library counts toward The Occultist. Look up. A letter rests on a raised desk high in the same chamber, with a pink grapple diamond hanging to its left. Once you’re at the desk, press Interact (E) and Rose says “A note…”
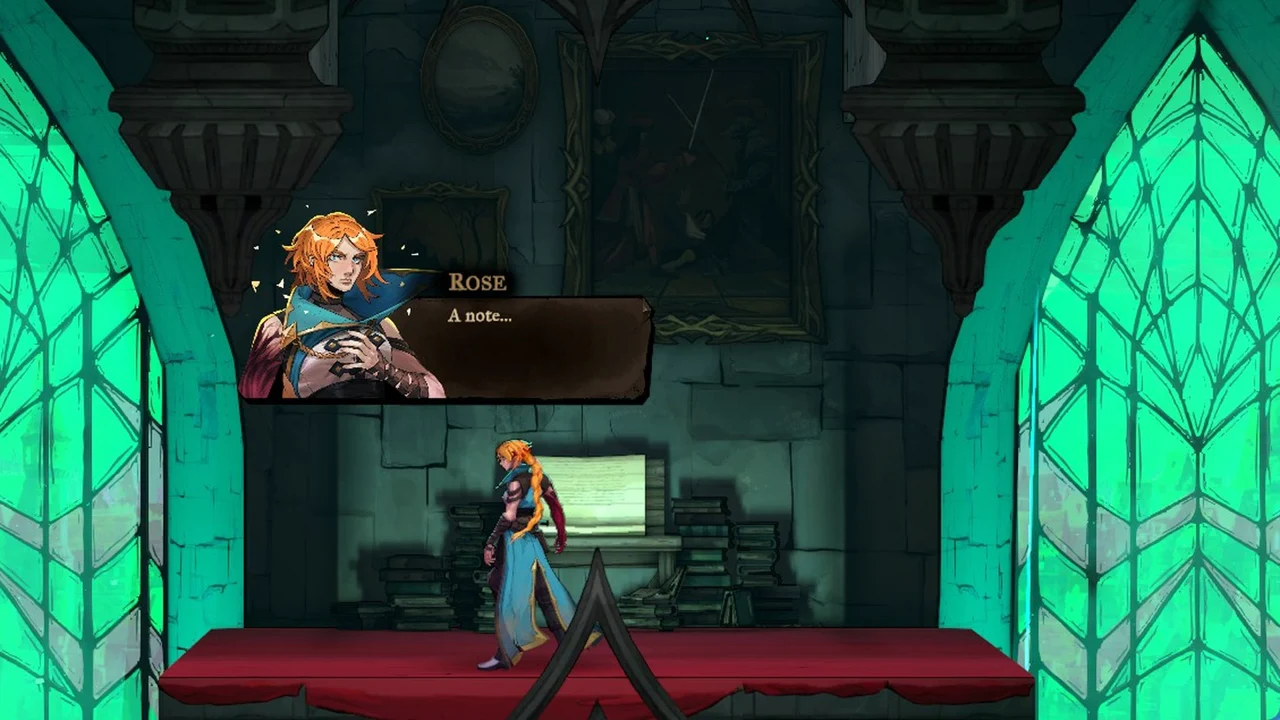
The letter bears the title CARMILLA IN THE LIBRARY.
Carmilla,
I hope this little letter finds you well in elegant form.
In response to your previous correspondance, and per all correspondances preceeding this, I will NOT be lending you any of my materials.
My instruments are not a toy for you and your blood games that have, I say kindly and with respect, RUINED the library.
So, I repeat. We will NEVER circle back on this. You cannot have my brush. You never will. SO STOP TRYING TO STEAL IT.
Cordially yours with respect and generousity eternal,
Brauner
Artiste
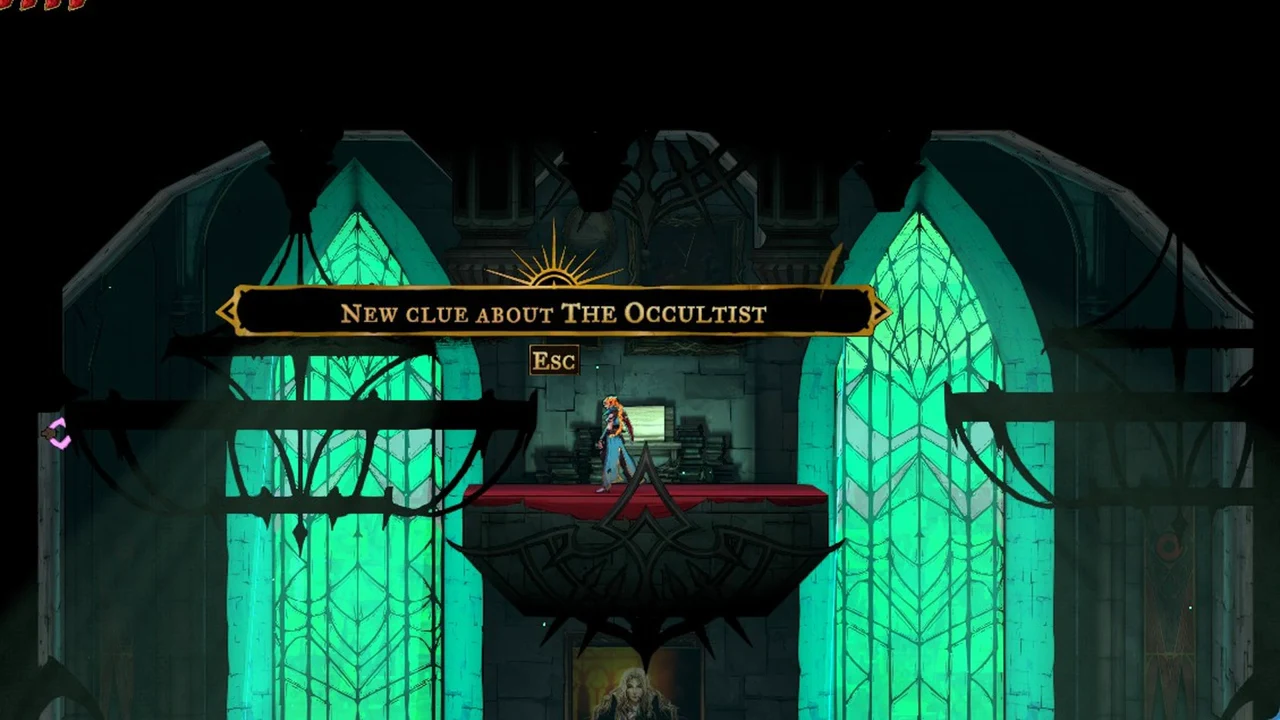
Once the letter is read, THE OCCULTIST tarot card appears, along with “New clue about THE OCCULTIST”.
Finding “Artist hides in the Main Hall”
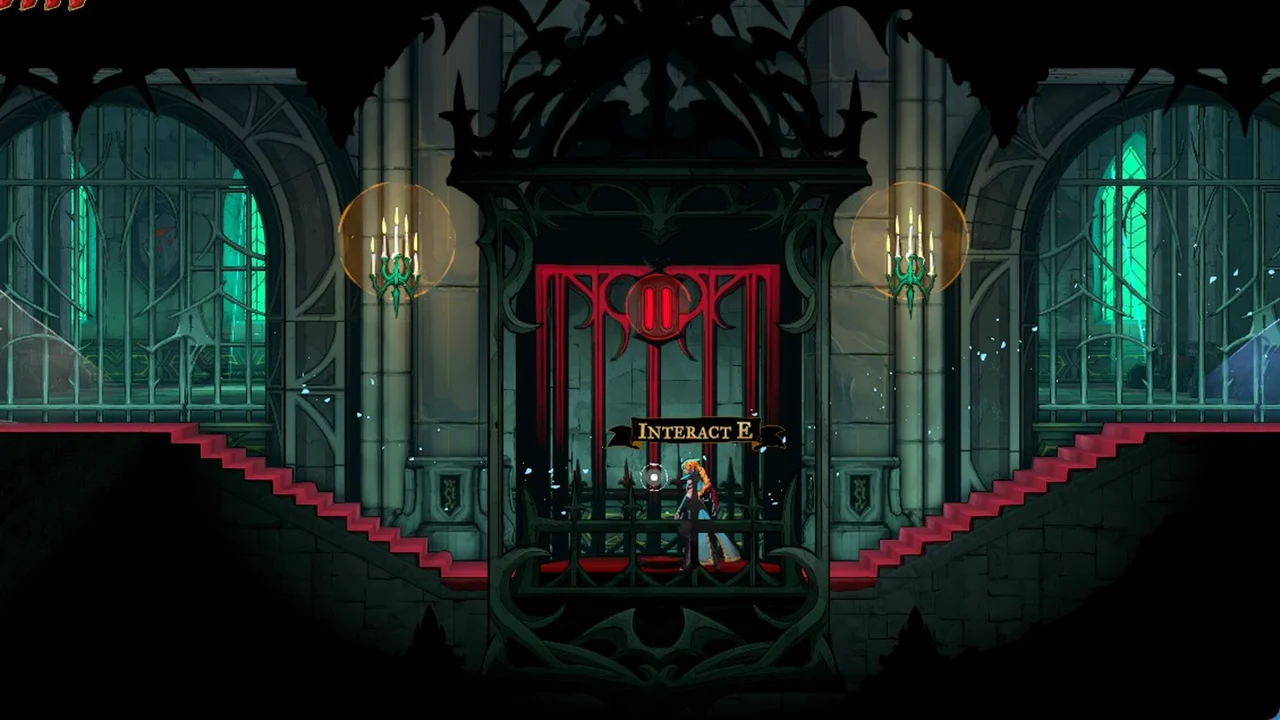
The Sad, the Mad, the Doomed, the Damned,
Your Artiste loves them all.
He paints and sculpts your feeding stock,
Well hidden in your Hall.
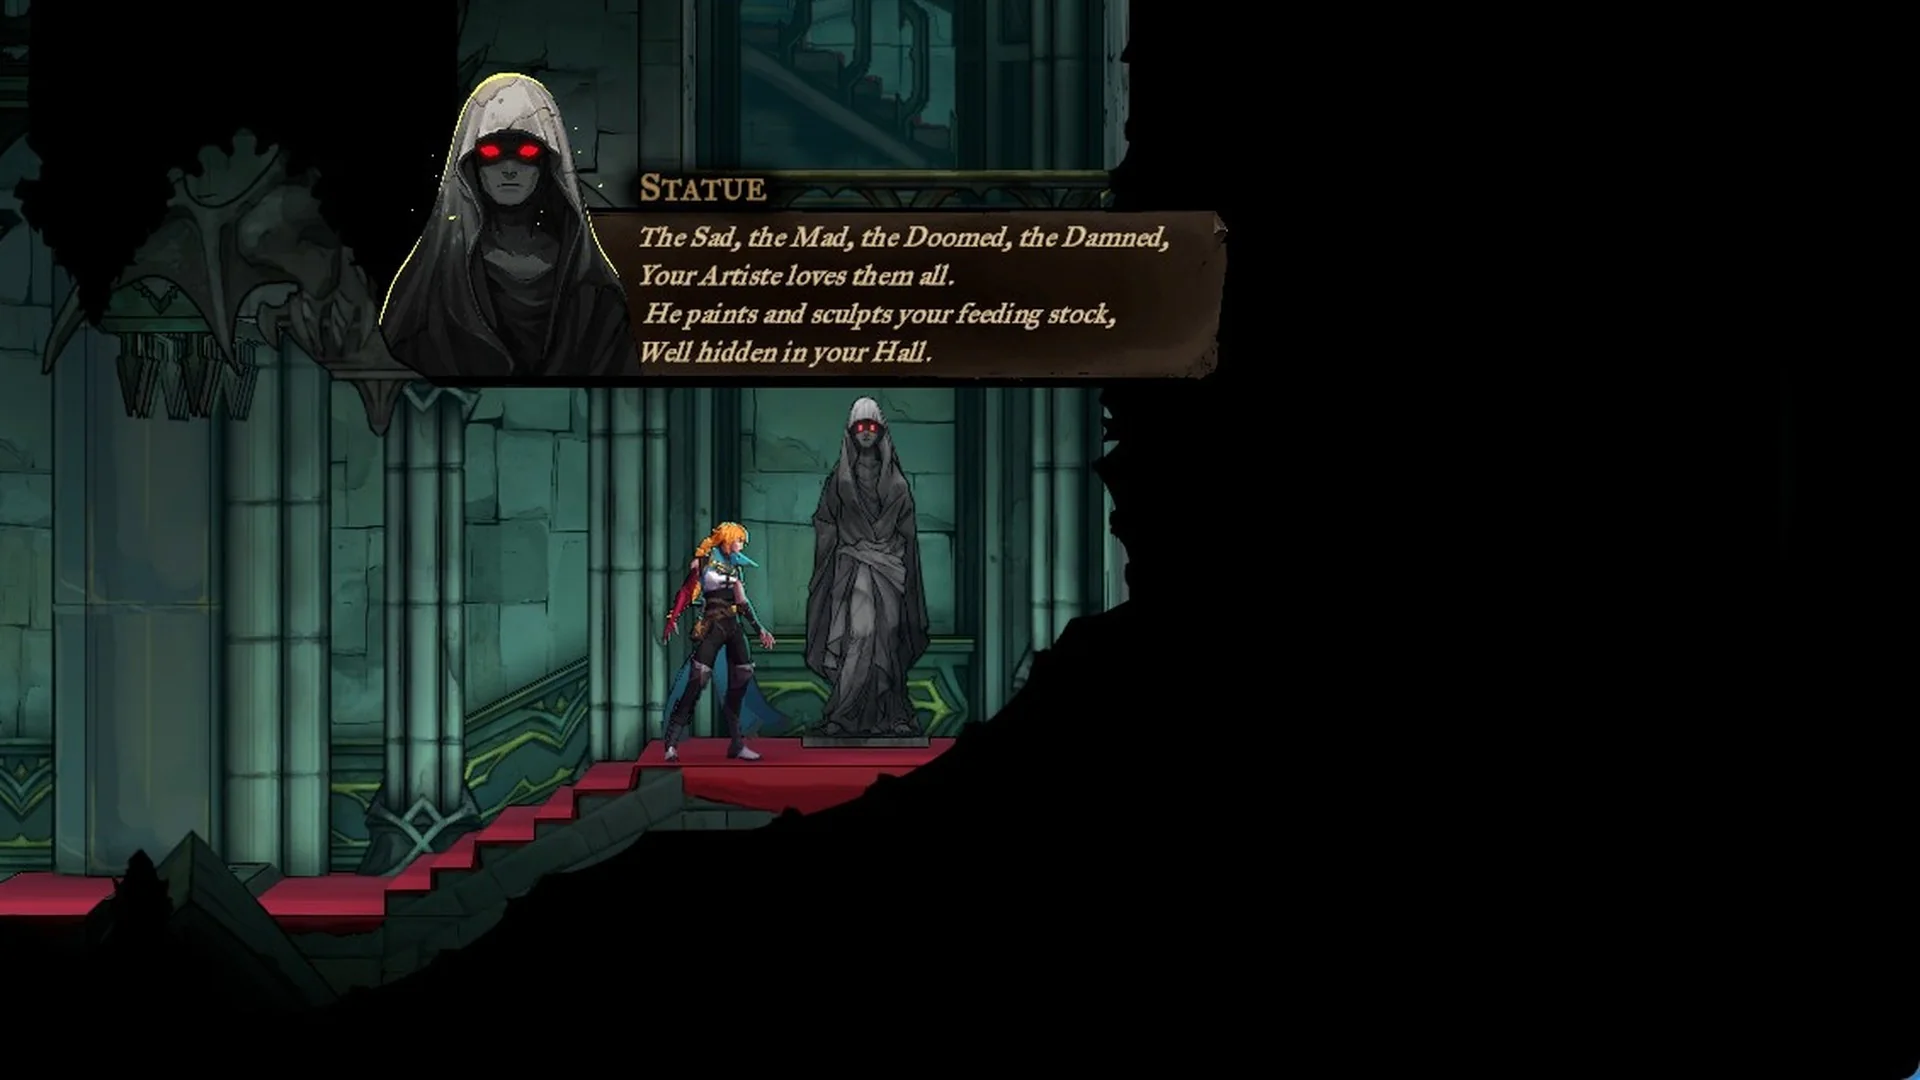
Next comes the clue page headed ARTIST HIDES IN THE MAIN HALL, confirmed by the message “New clue about THE ARTIST”.
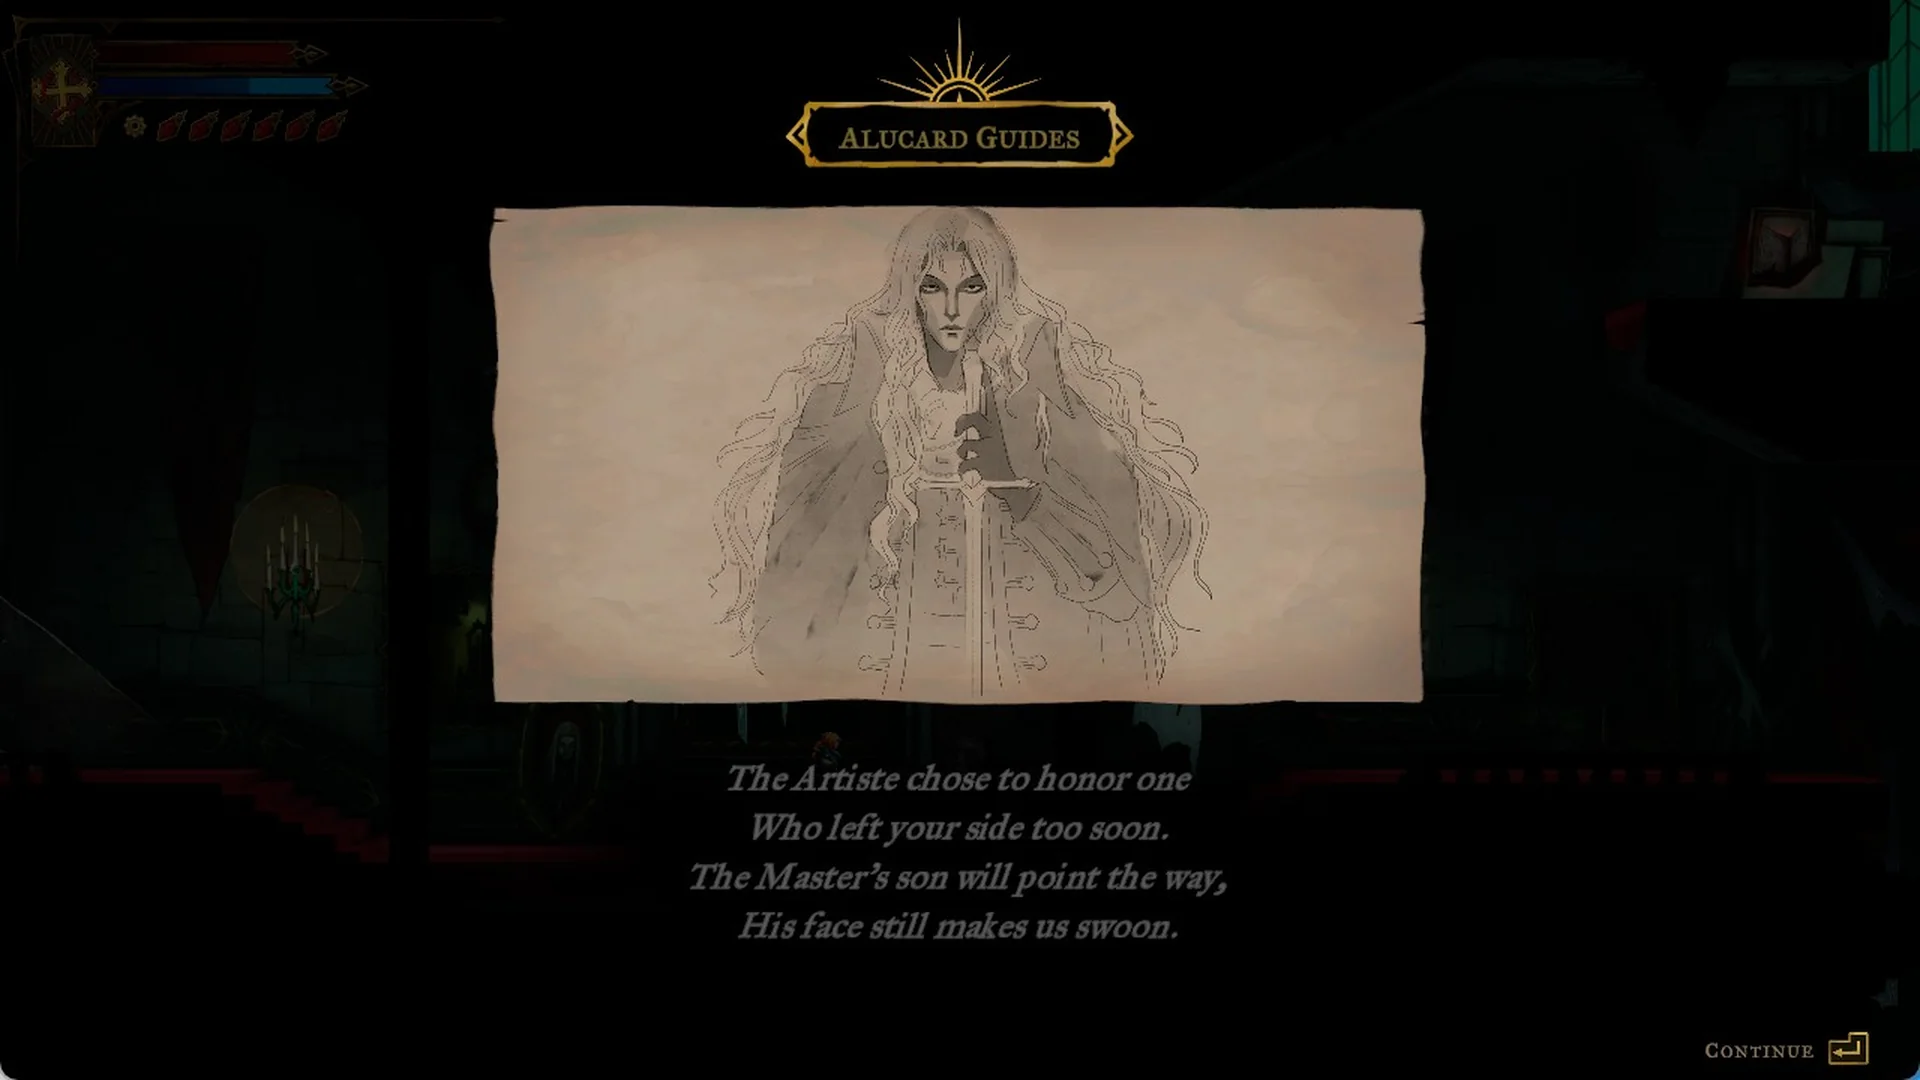
Finding “Alucard Guides”
The Artiste chose to honor one
Who left your side too soon.
The Master’s son will point the way,
His face still makes us swoon.
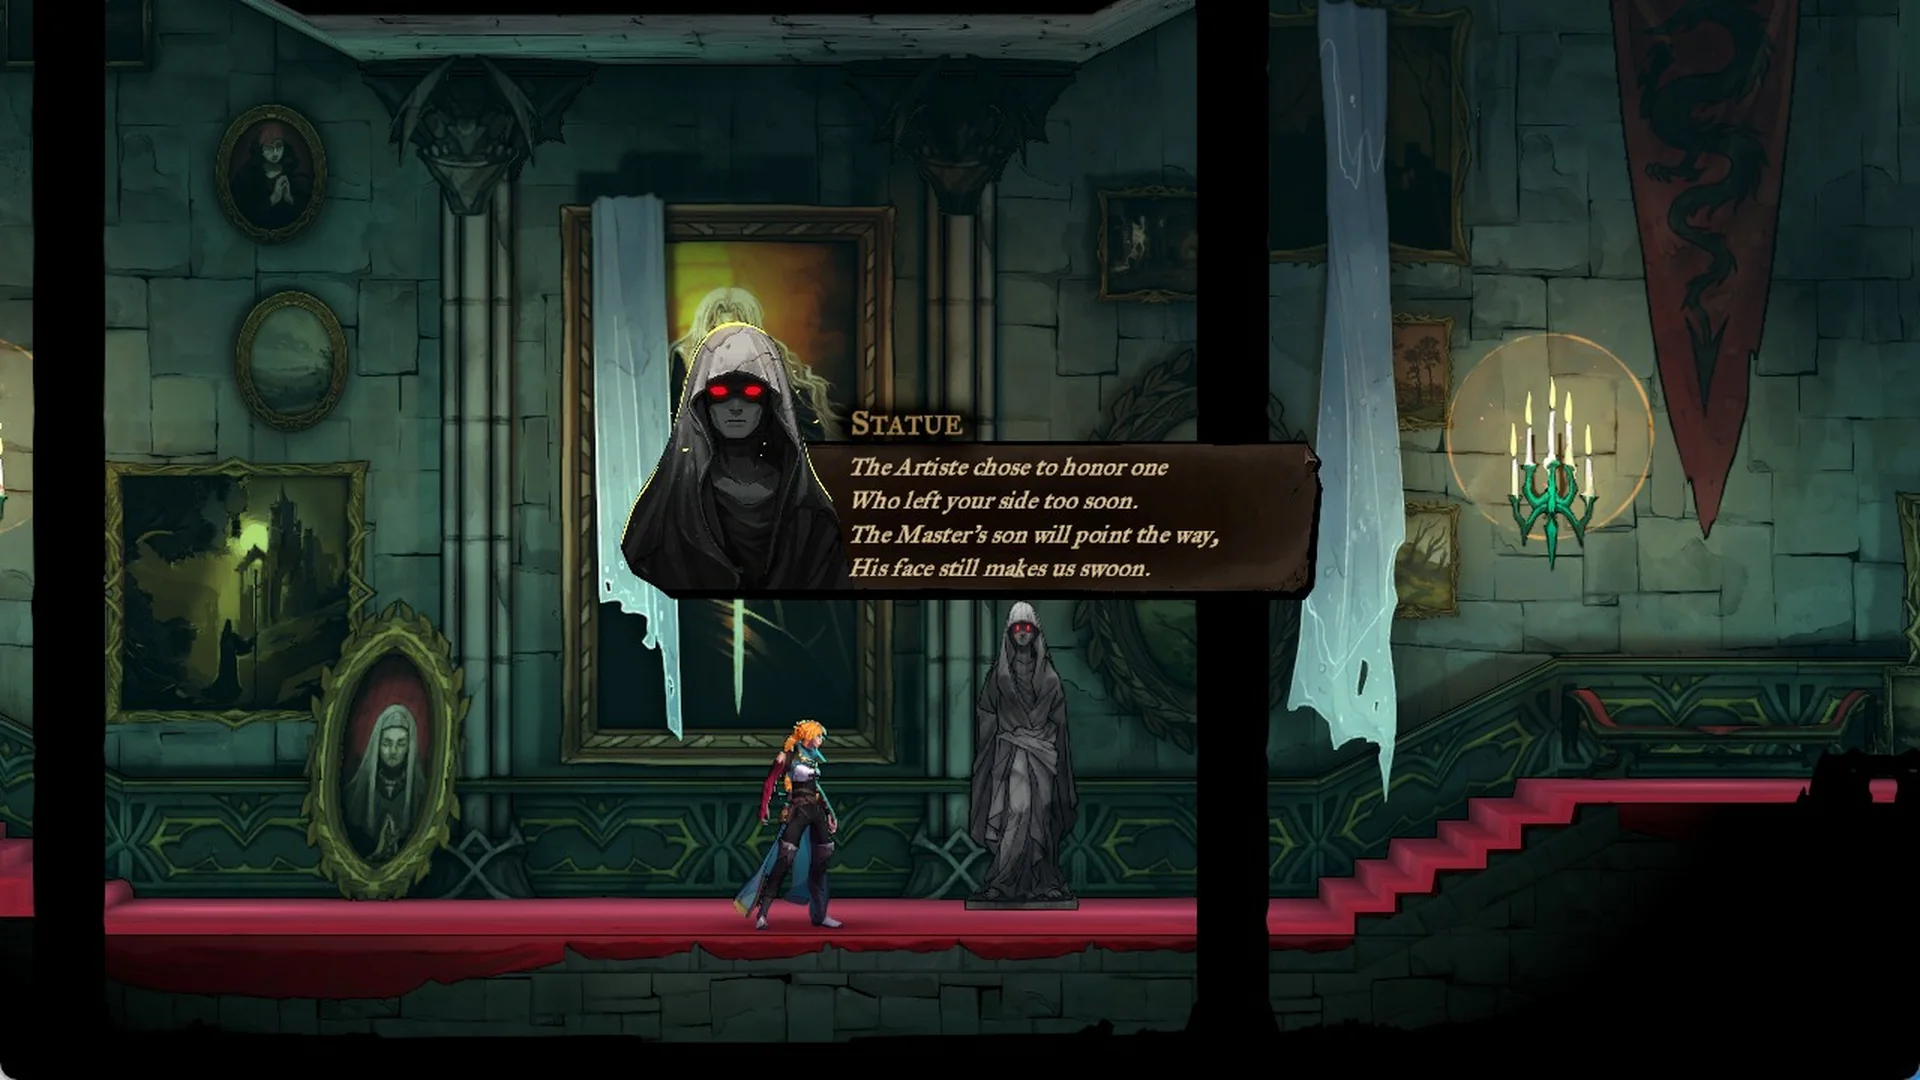
Rose and her companions then talk about the portrait. Rose: “The portrait does this man more than justice.” Medusa wonders why the Traitor-son’s portrait remains here, and Leon cuts in: “Are you three finished?”
The clue page is headed ALUCARD GUIDES and shows a sketch of the portrait, followed by “New clue about THE ARTIST”. The gold chest with the Jewel Knuckles is on the balcony in the same room.
Finding “Builder flees to the Clock Tower”
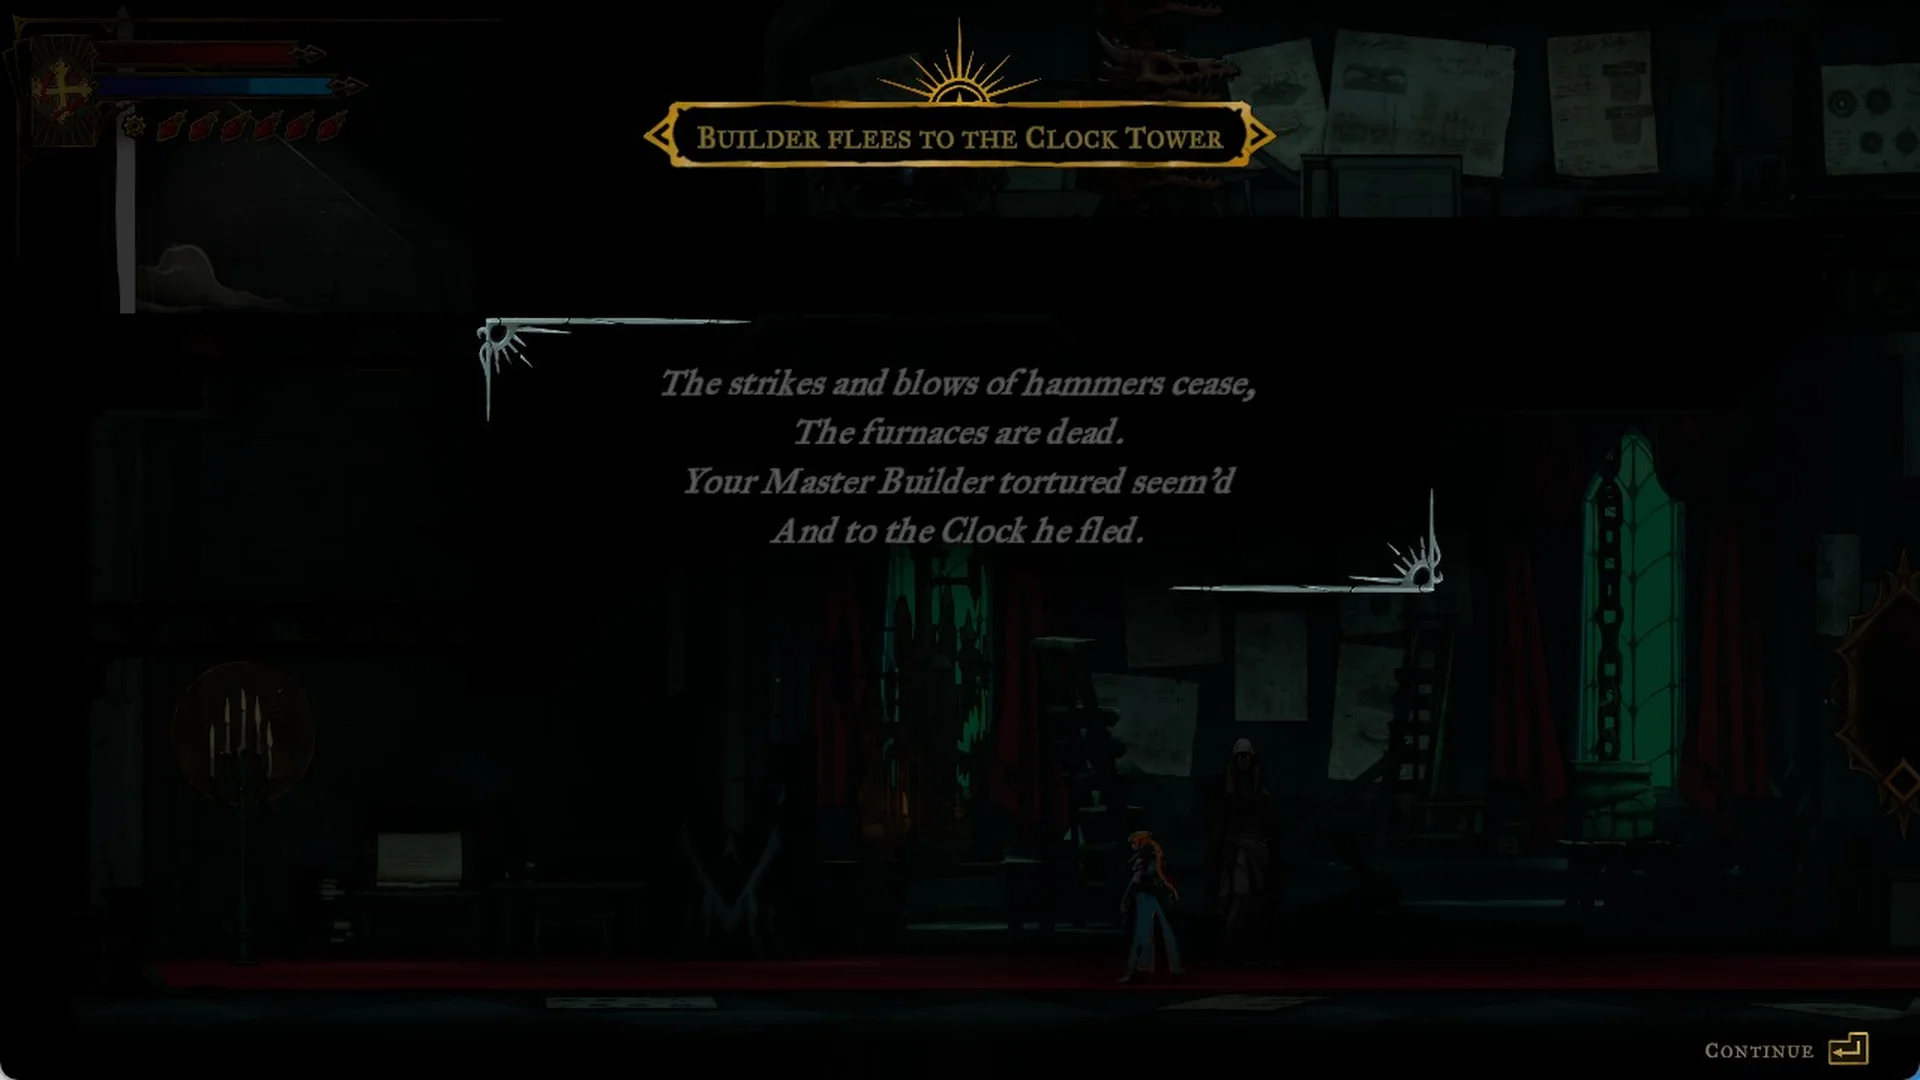
This is the Main Hall clue for The Builder. From the Grand Hall, take the door on the right side into the Abandoned Workshop, the room with the drawings pinned on the walls and the green stained glass.
Walk to the hooded statue glowing purple in the workshop and press Interact (E). After “O Lord of Night and baleful Dread, / A watchful eye I keep…” it recites:
The strikes and blows of hammers cease,
The furnaces are dead.
Your Master Builder tortured seem’d
And to the Clock he fled.
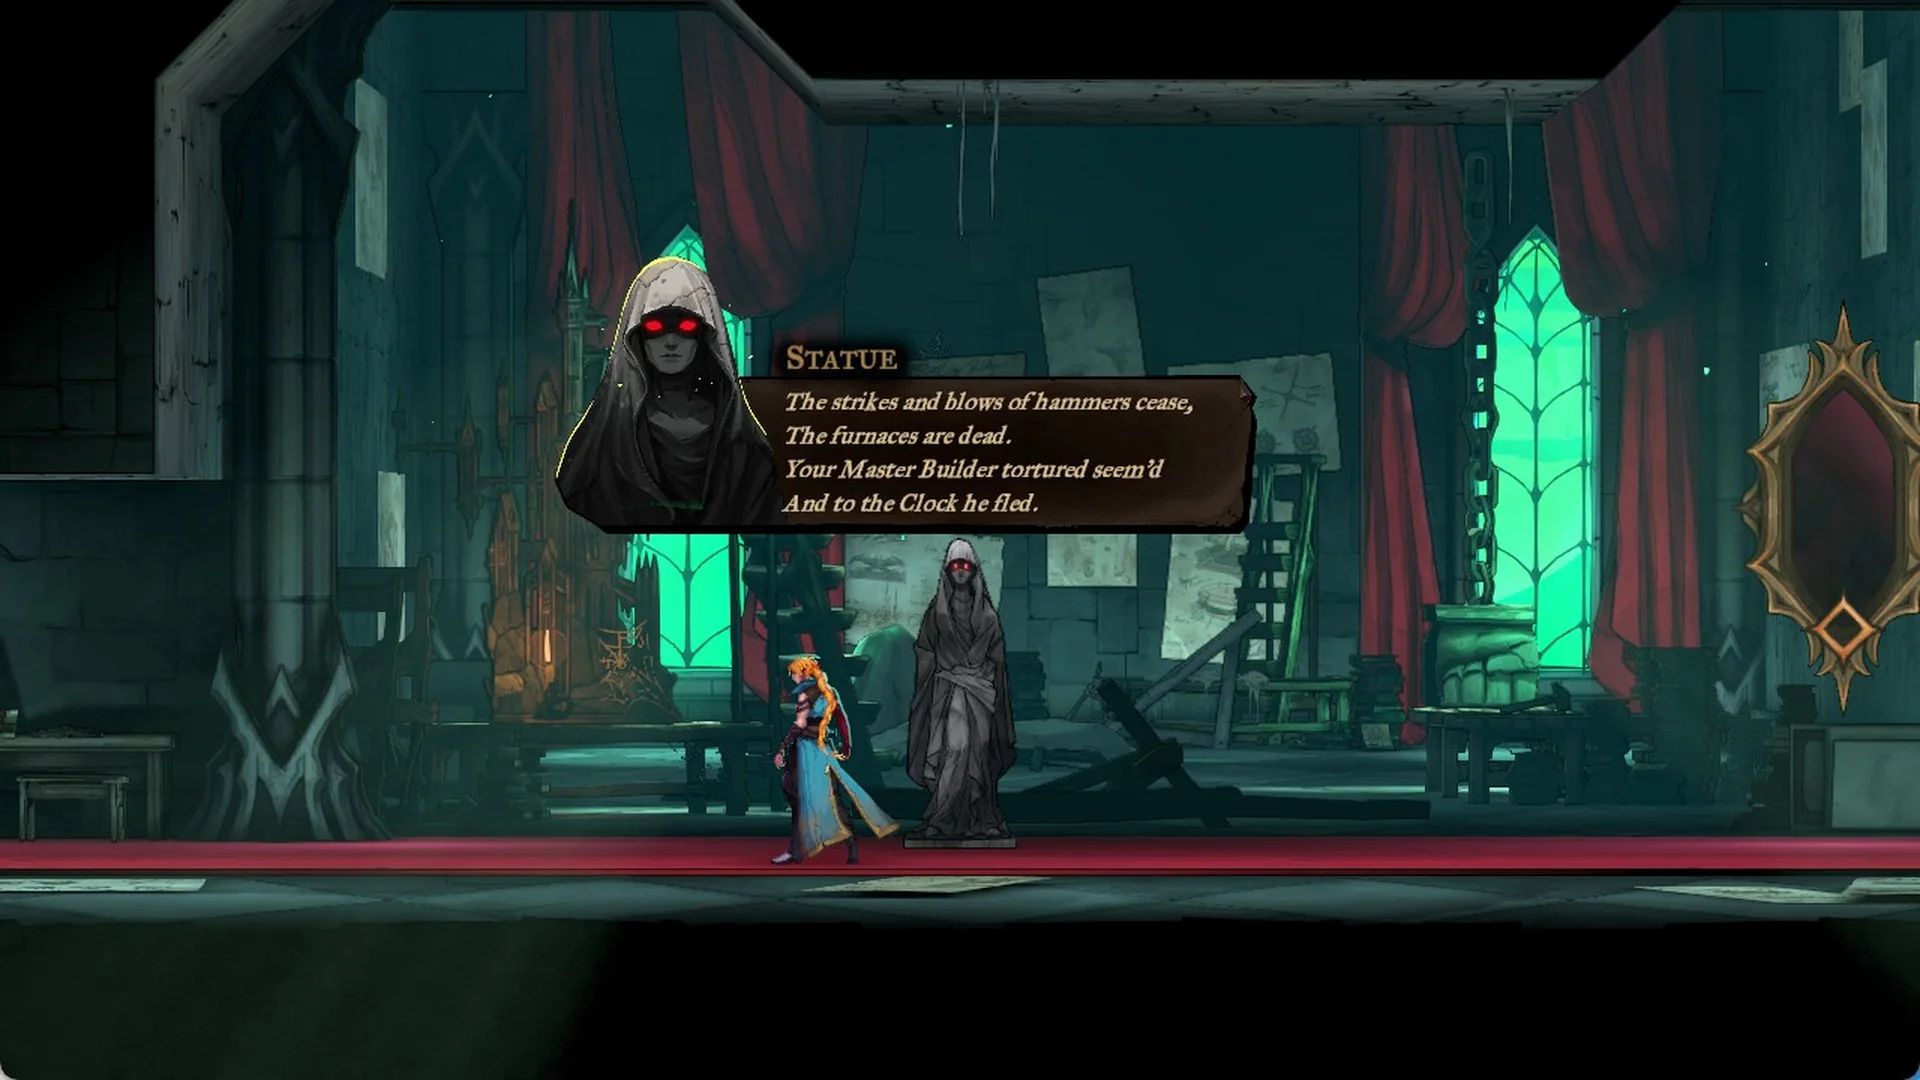
The clue page is headed BUILDER FLEES TO THE CLOCK TOWER, and the banner “New clue about THE BUILDER” confirms it.
Library (4 clues)
Every Library clue feeds The Occultist. “Magical Brush” sits in the Observation Tower, while the other three are found around the Natural Philosophy Shelves, the Drawing Room and the Astronomer’s Office.
| Clue title | Arcana | District |
|---|---|---|
| “Blood Poem” | The Occultist | Around the Natural Philosophy Shelves |
| “Magical Brush” | The Occultist | Observation Tower |
| “Organic Astrology” | The Occultist | Around the Drawing Room |
| “Star Chart” | The Occultist | Around the Astronomer’s Office |
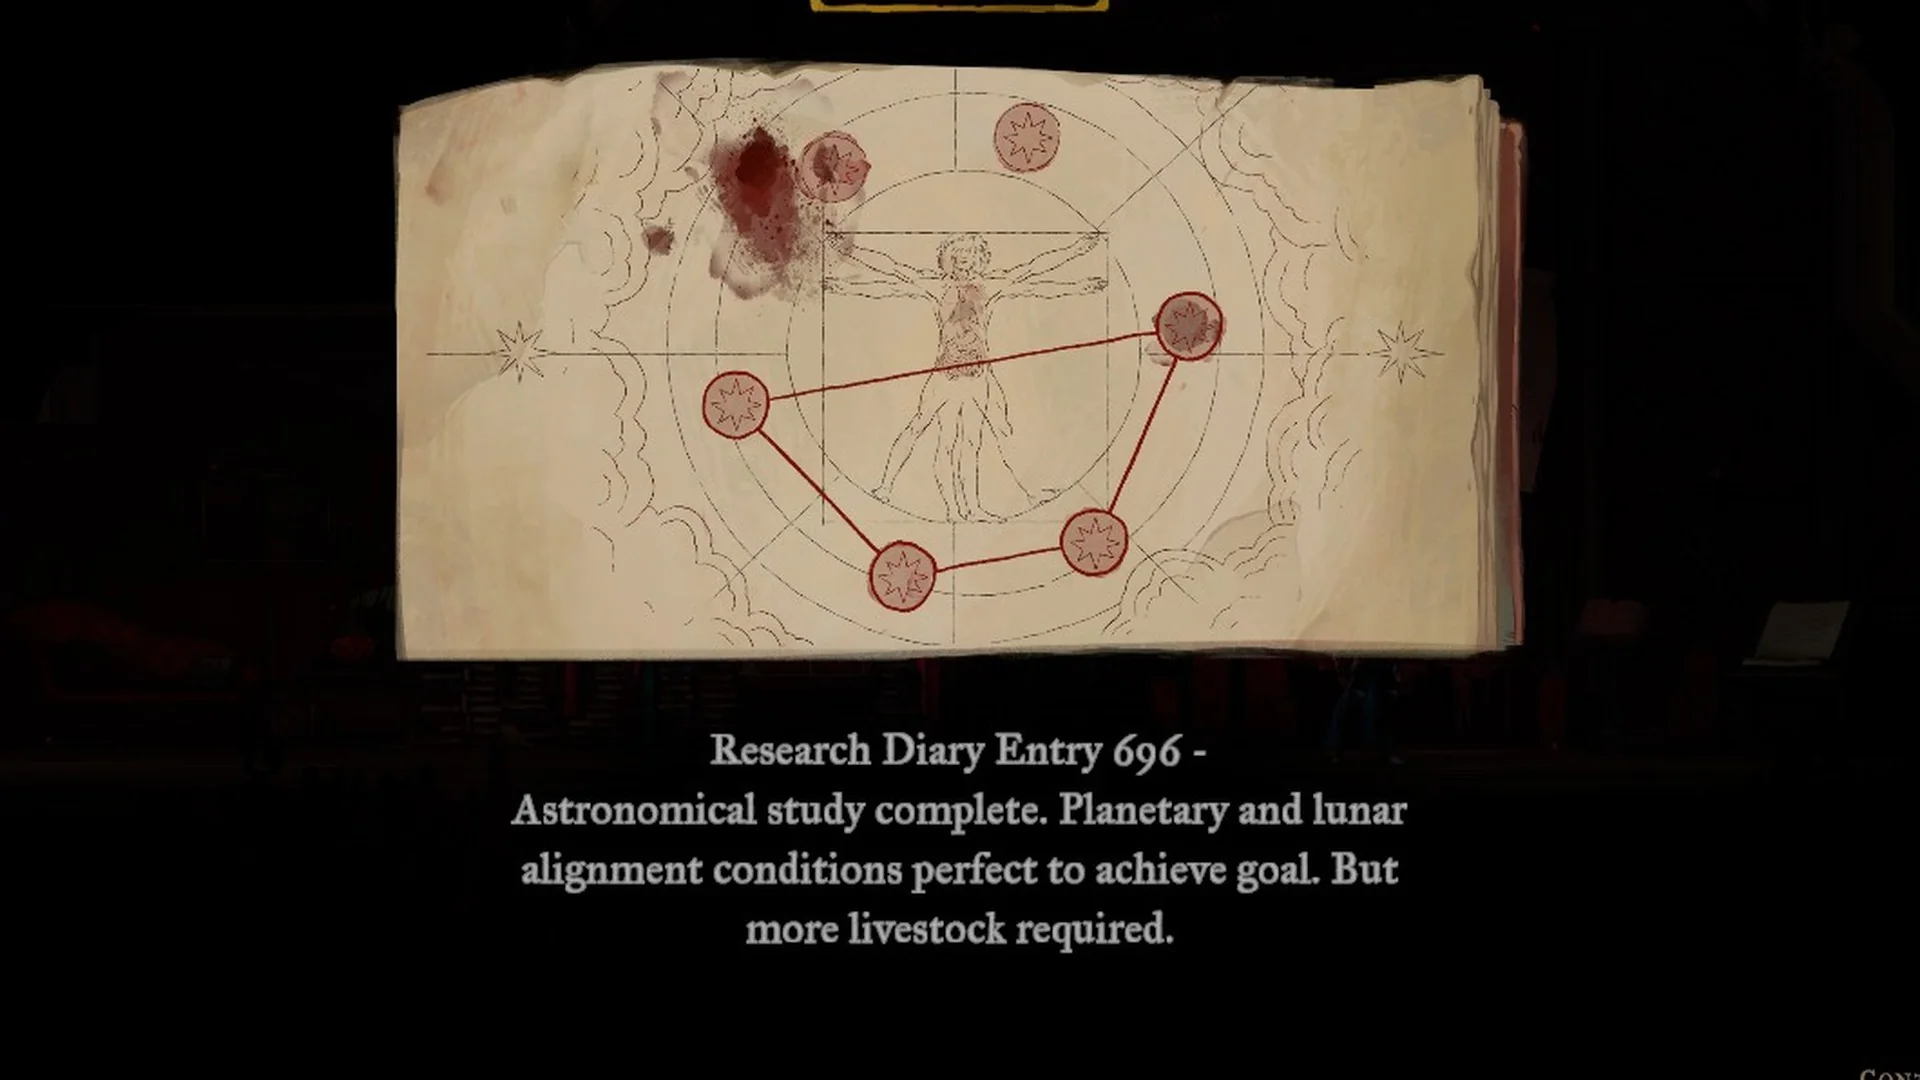
Star Chart: go right from the Planetarium through the Lecture Room into the Astronomer’s Office. The chart lies on the desk against the back wall of the study on the right; Interact (E) with it. The page is titled STAR CHART and reads “Research Diary Entry 696 – Astronomical study complete. Planetary and lunar alignment conditions perfect to achieve goal. But more livestock required.” The chart shows six stars on rings around a human figure. Four of them are joined by red lines, at about the 9, 7, 5 and 2 o’clock positions; the two stars at the top are not joined.
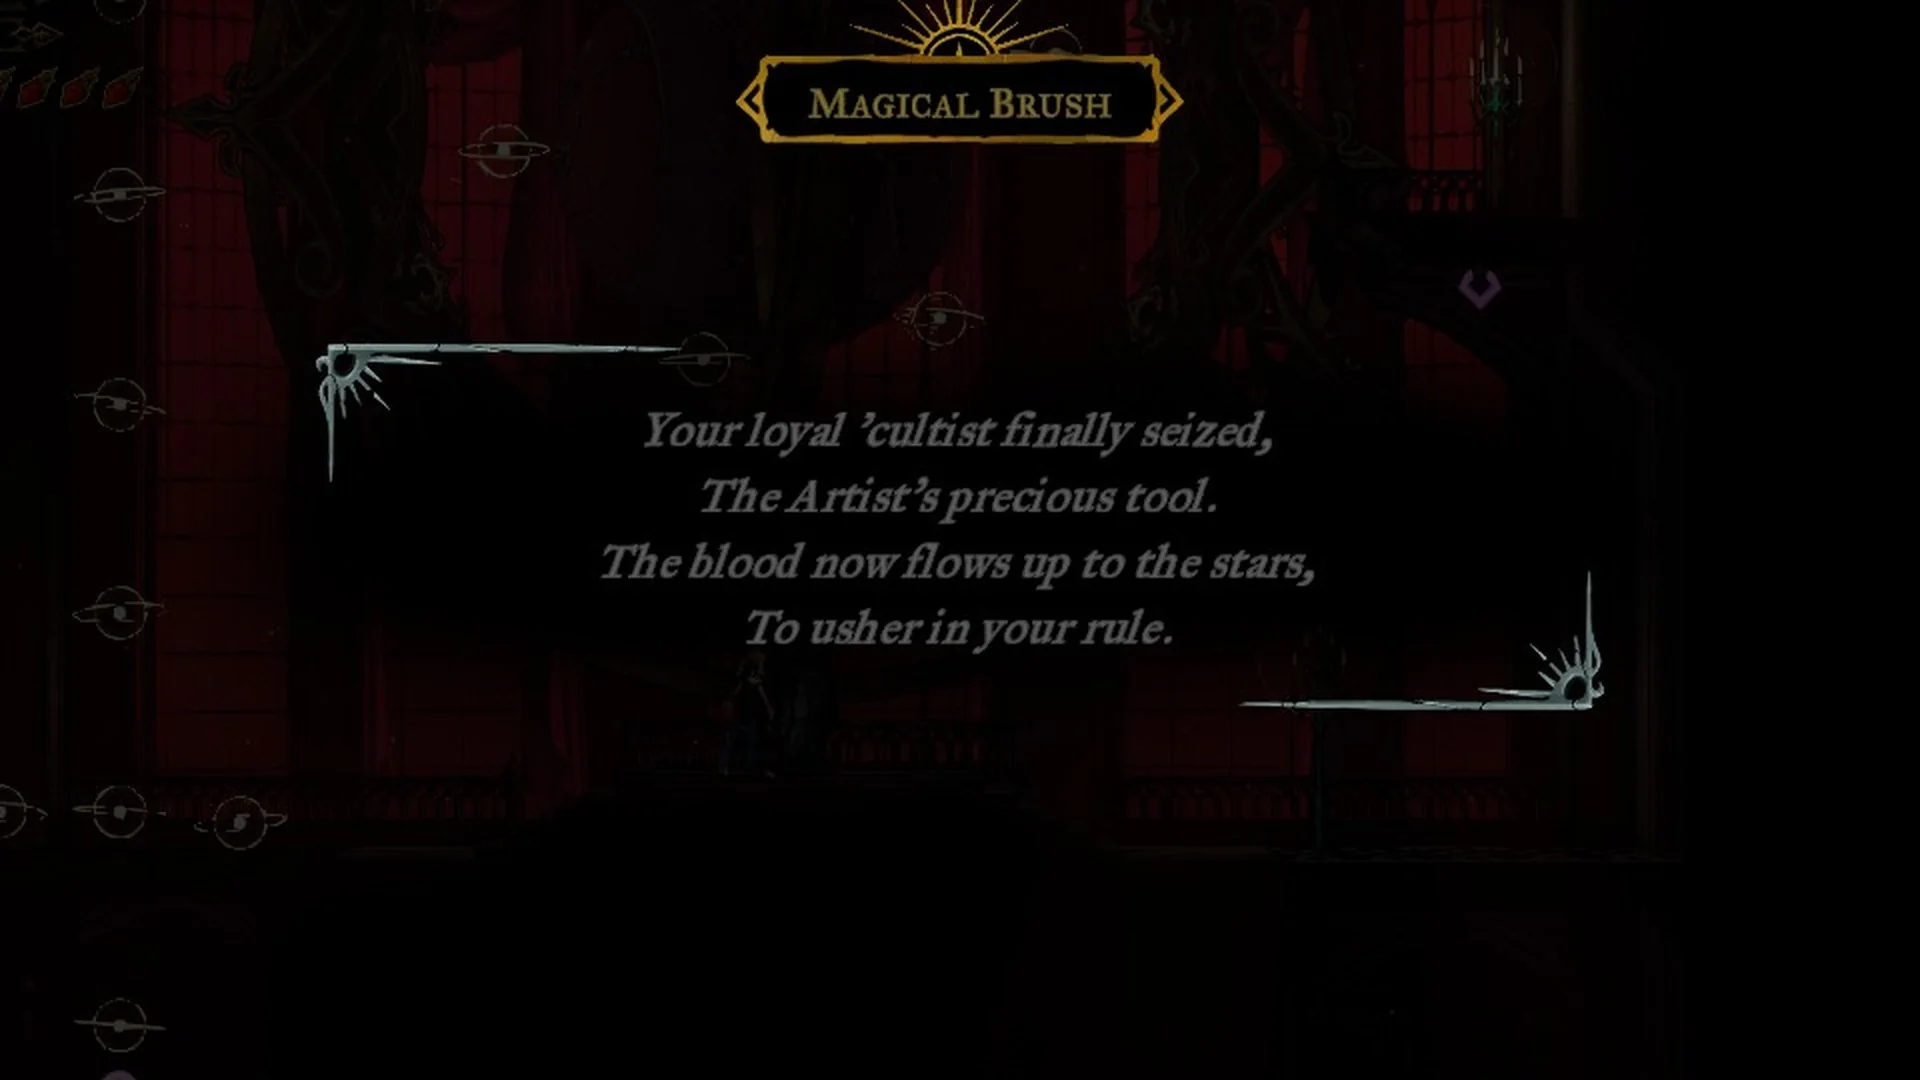
Magical Brush: this is the hooded statue in the Observation Tower. From the highest grapple ring at the top of the Planetarium, grapple up and to the left into the ceiling hatch marked with pink brackets; it pulls you up into the Observation Tower. Interact (E) with the statue and it recites: “O Lord of Night and baleful Dread, / A watchful eye I keep… / Your loyal ‘cultist finally seized, / The Artist’s precious tool. / The blood now flows up to the stars, / To usher in your rule.”
“Organic Astrology” is a manuscript on an altar past the alchemy tables of the Drawing Room. “Blood Poem” is a note on a writing desk among the tall bookshelves of the Natural Philosophy Shelves, inside a hidden passage.
Clock Tower (3 clues)
| Clue title | Arcana | District |
|---|---|---|
| “Blueprints for the Clock Tower” | The Builder | Daedalus Crossing |
| “Isaac waits in the Clock Tower.” | The Zealot | Mechanic’s Ascent |
| “A Sketch from Talos” | The Sage | Builder’s Bureau |
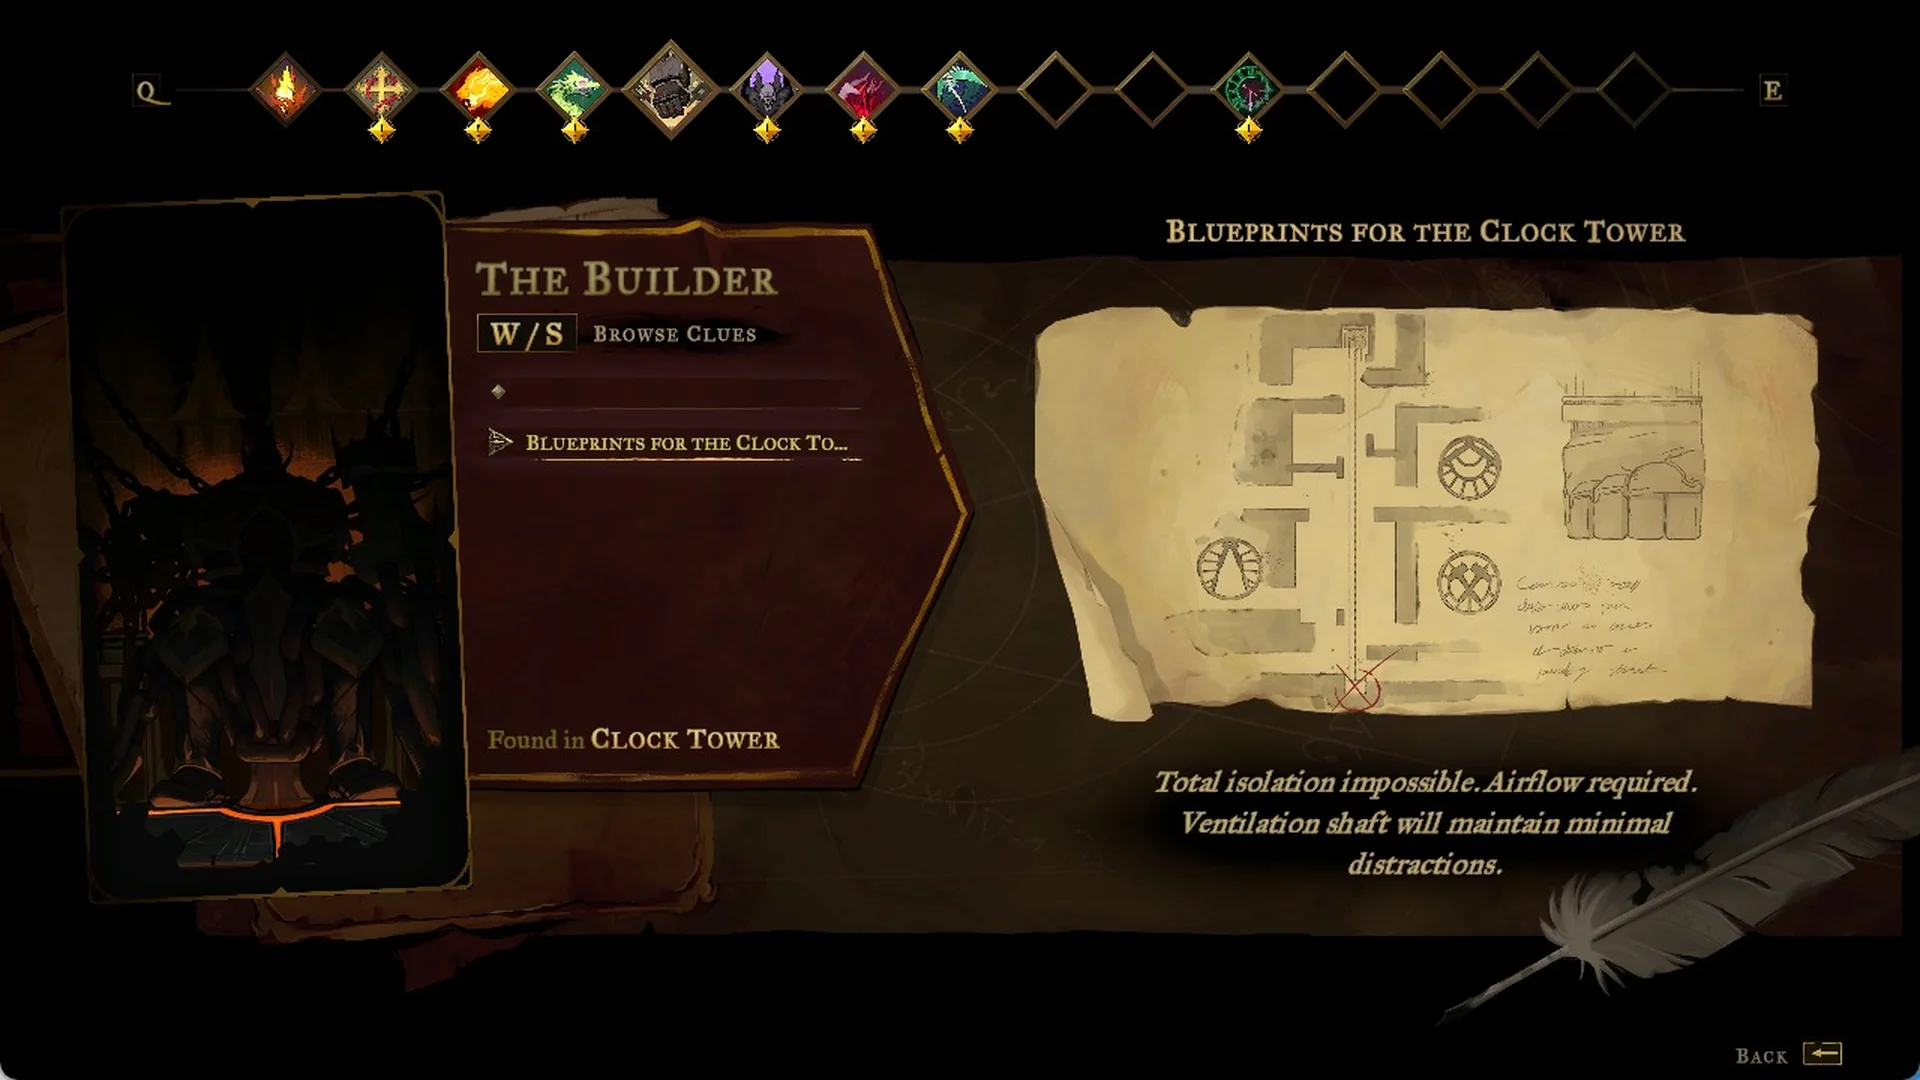
“Blueprints for the Clock Tower” is a glowing parchment on a desk below the spinning gears of Daedalus Crossing. Its page reads “Total isolation impossible. Airflow required. Ventilation shaft will maintain minimal distractions.” The Zealot’s hooded statue stands between hanging candelabras in Mechanic’s Ascent, and finding it also reveals The Zealot card. “A Sketch from Talos” is the architectural drawing on the workbench in the Builder’s Bureau.
Hall of Mirrors (4 clues)
Three of these clues round out The Sage, alongside “The Temptress guards the Hall of Mirrors”. In a full run, “Kneeling is the Way” in the Looping Hallways was the last clue picked up, and grabbing it popped the achievement.
| Clue title | Arcana | District |
|---|---|---|
| “The Temptress guards the Hall of Mirrors” | The Temptress | Glass Gallery |
| “Eleanor Flees to the Cemetary” | The Sage | Heart of the Maze |
| “Kneeling is the Way” | The Sage | Looping Hallways |
| “The Reflection Deceives” | The Sage | Steps of Misdirection |
“The Temptress guards the Hall of Mirrors” waits at the top of the Glass Gallery, past its spiked gear corridors. “Eleanor Flees to the Cemetary” is a letter in the chained mirror alcove of Eleanor’s Prison in the Heart of the Maze; the route there is in our Sage Arcana guide.
Check the Tarot menu for the clues you are missing
The fastest way to spot gaps is the Tarot menu. Compare each card’s clues against this list to see which are missing.
To open it, go to the Tarot tab of the pause menu and choose Consult Arcana (Enter). Q and E switch between the cards, and W and S browse the clues of the card you are on. Each clue shows its text or sketch and the area it was “Found in”. A clue you have not picked up yet shows as an empty slot in the card’s list.
| Arcana | Clues |
|---|---|
| The Cursed | 1 |
| The Self | 1 |
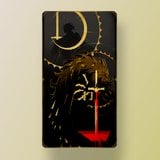 The Fallen | 2 |
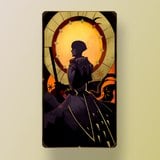 The Warrior | 2 |
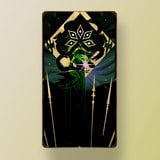 The Prophetess | 4 |
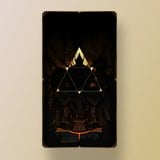 The Builder | 2 |
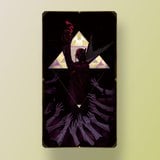 The Artist | 4 |
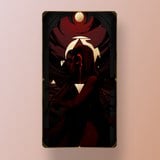 The Occultist | 5 |
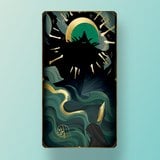 The Shadow | 6 |
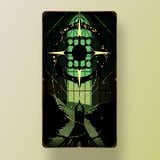 The Miser | 4 |
 The Whisperer | 1 |
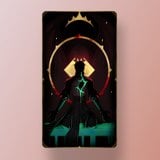 The Zealot | 1 |
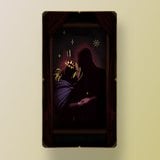 The Temptress | 1 |
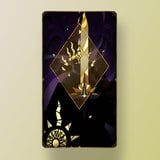 The Brittle King | 1 |
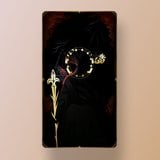 The Judge | 1 |
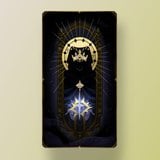 The Sage | 4 |
Once the final clue lands in the menu, The Greatest Detective unlocks on the spot. If you want to go further with the Arcana these clues point toward, the companion pages on how to get the Arcana tarot cards, the Hall of Mirrors, the Notre-Dame organ puzzle, the Scales of Justice, the Whisperer and Ferryman’s Obol, The Sage and Eleanor, and the full achievements and trophies list each cover one piece of that in detail.