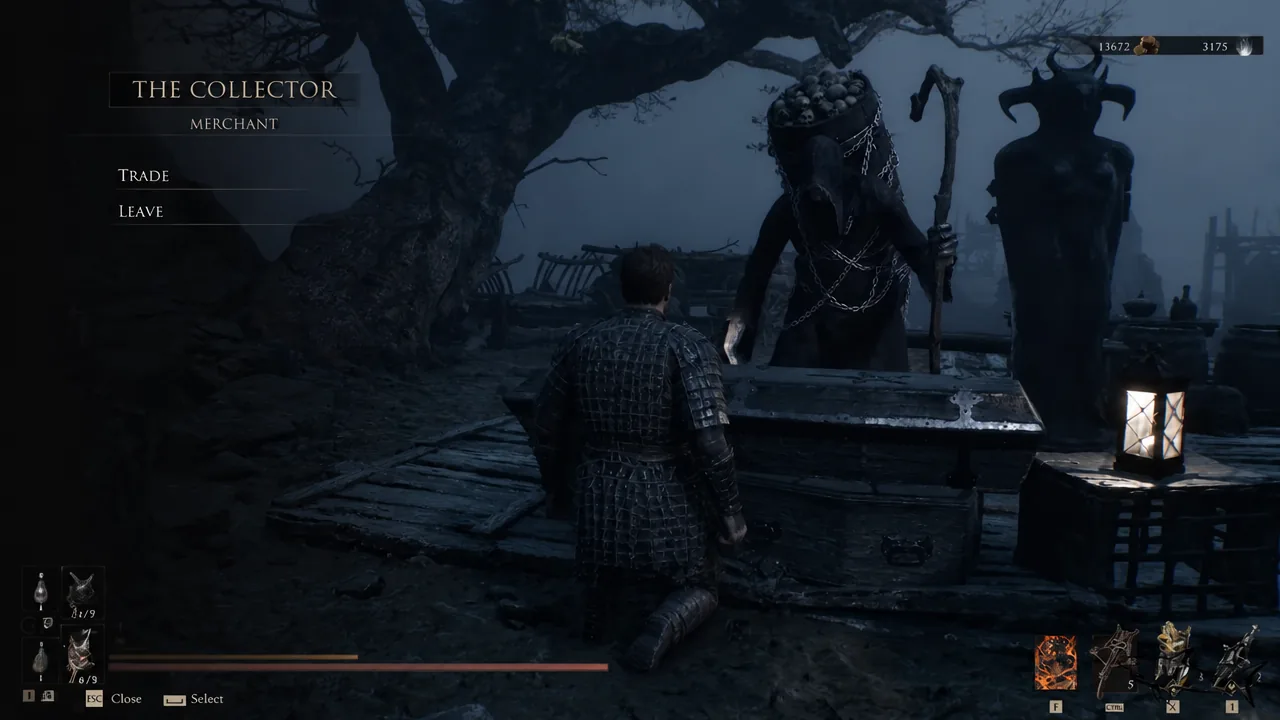
The Collector is a merchant in Mortal Shell 2 who never shows up on the map and never shows up during the day. He sells four ability Tarstones, a key, Glimpse, and Tarforge upgrade material — none of which you can buy anywhere else. The catch is that he only exists while the world is in night mode, which is a separate system you have to switch on yourself.
Quick answer: Pick up the Gloombound Flame at the Widow’s Overlook Beacon, give it to Thestus on the roof of Marrow Keep and answer YES to “CALL FORTH THE NIGHT”, then travel to the Outskirts of Mammon and cross into the Deserted Slums. The Collector sits at a candlelit table by the house a short walk south of the Abandoned Outpost beacon.
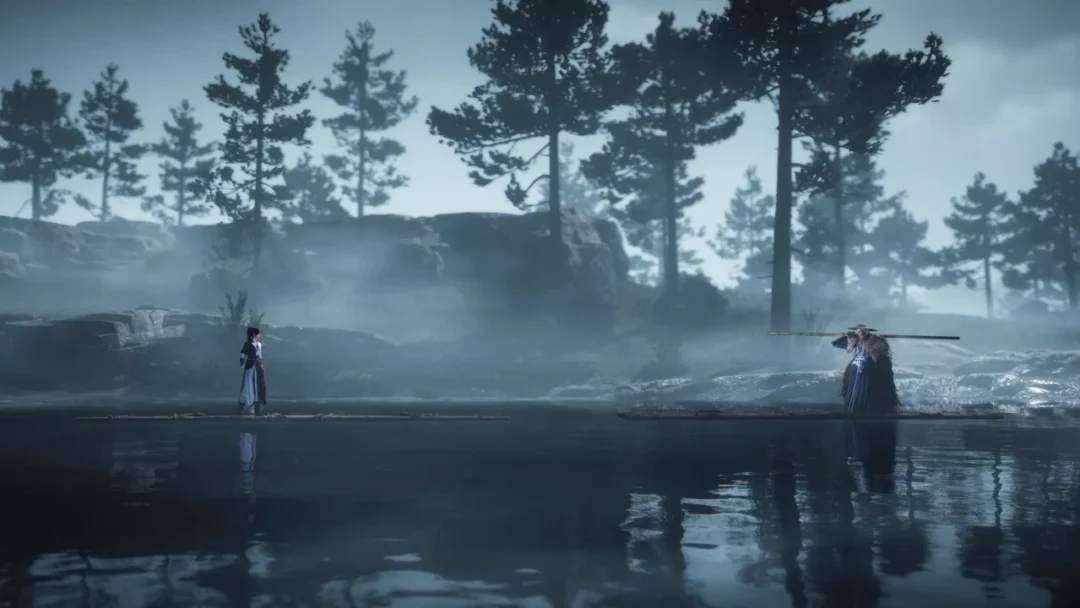
Night mode is the trigger: Gloombound Flame and Thestus
Nothing about the Deserted Slums route matters until the world is dark. Night mode also raises the difficulty — the prompt itself reads “Enable increased difficulty.” — and it can be switched back to day later through the same NPC, so this is not a one-way decision.
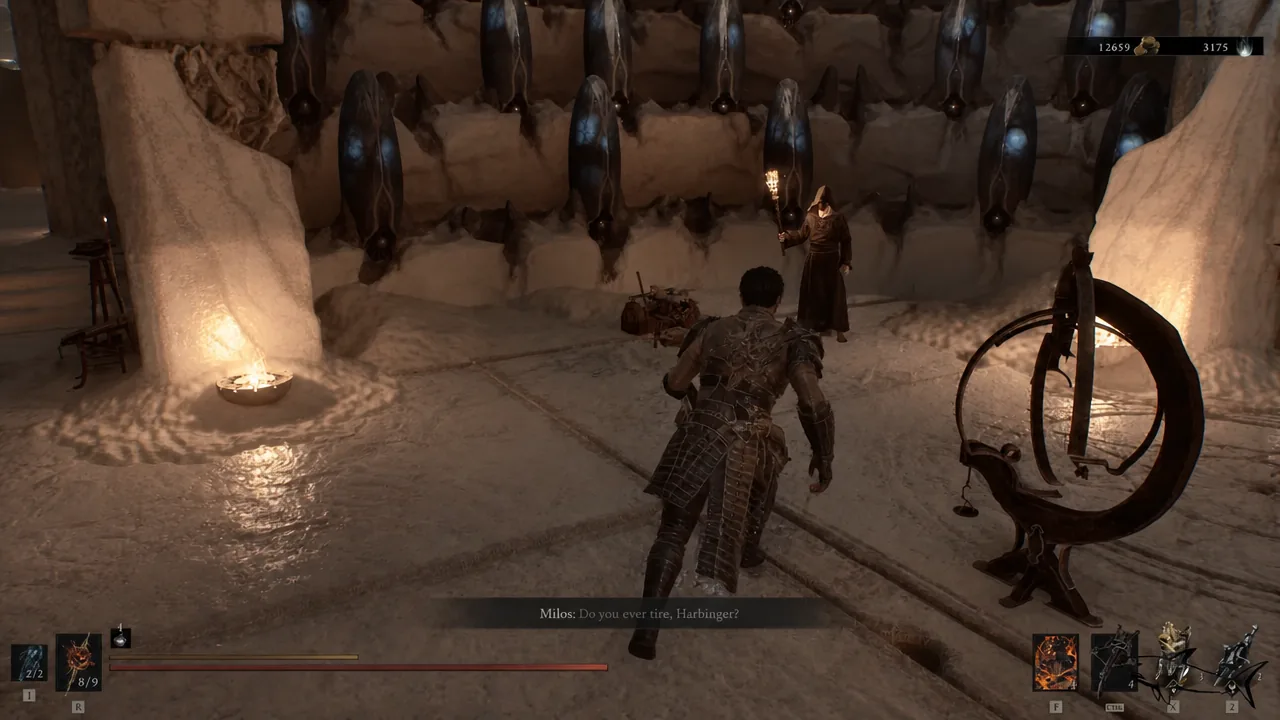
Note: if you skip this and simply walk to the Abandoned Outpost during the day, the merchant’s table will be empty. There is no other way to make him spawn.
Route to the Deserted Slums and the Abandoned Outpost beacon
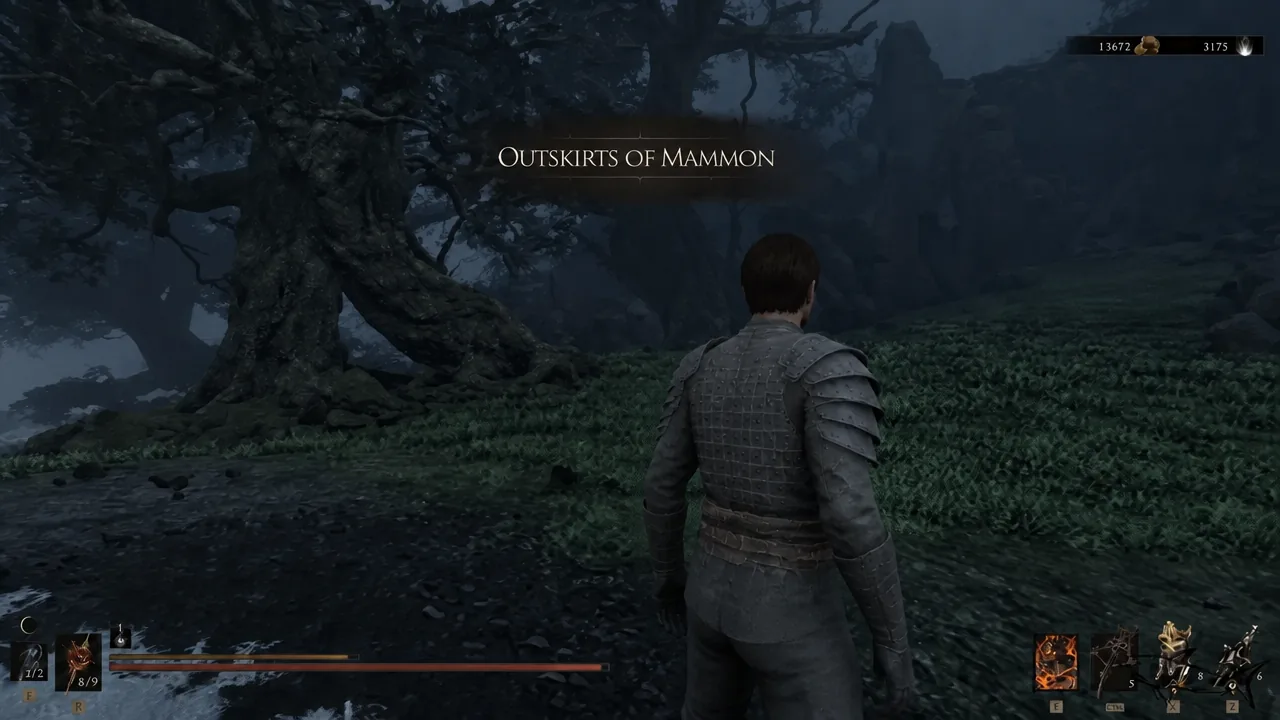
The trip runs from Marrow Keep through the Gate of Mammon and out into open country. Night makes the path harder to read, so follow the blue light pillars when you lose the trail.
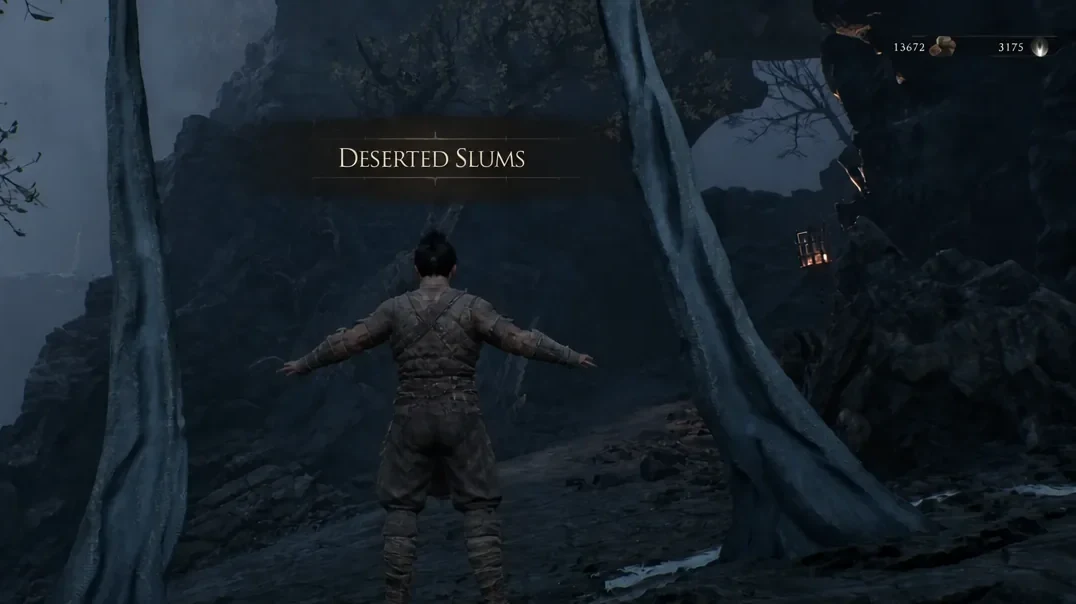
The Collector’s exact location in the Abandoned Outpost
From the Abandoned Outpost beacon, walk a short distance south toward the nearby house. On the ground by the stairs is a stone engraving that reads: “By the light of day, the truth remains sealed. And yet in the darkness all shall be revealed.” There is also a cart in this area holding 100 coins.
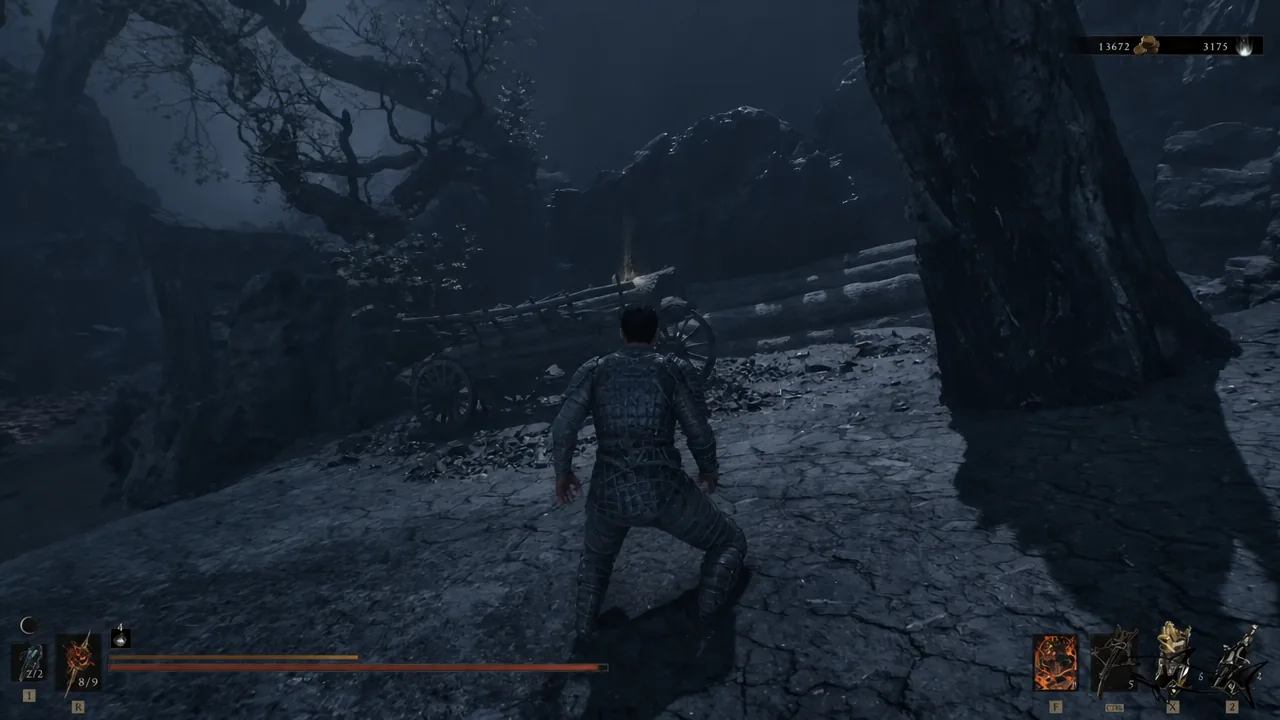
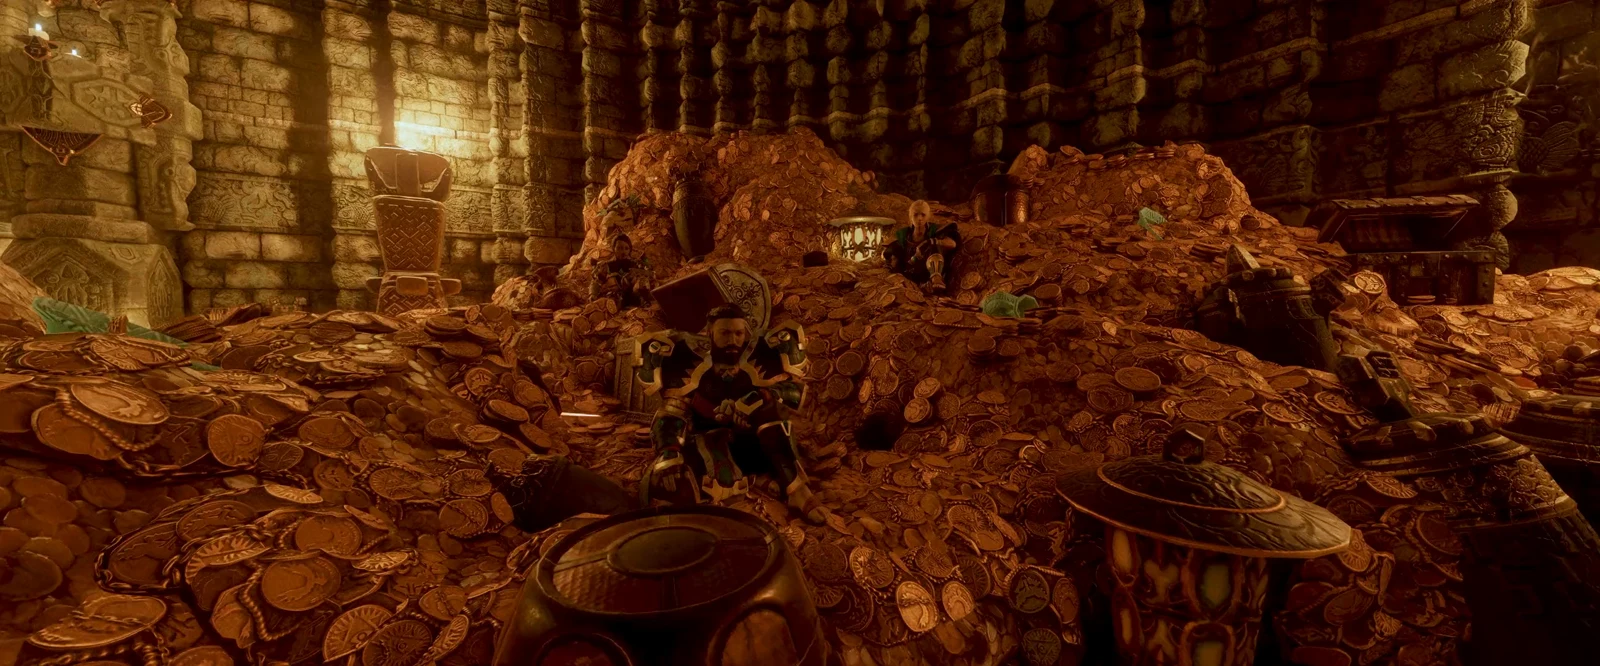
Climb the stairs past the engraving and you will find The Collector at a candlelit table beside the house. Interacting with him opens a prompt with TRADE and LEAVE options — that trade menu is your confirmation that everything worked. He is labelled MERCHANT, and because he has no map marker, the candlelight is the only visual cue you get.
Everything The Collector sells
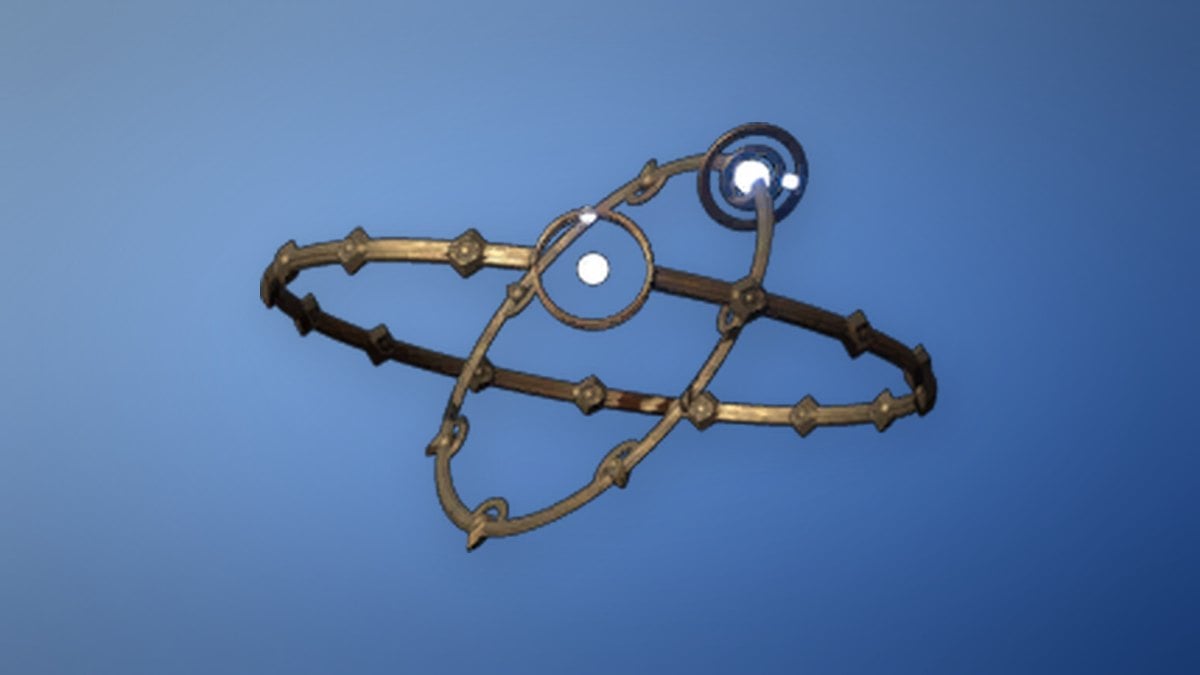
His inventory covers four ability Tarstones, Glimpse, Thoracium, and the Blackmarrow Key. Thoracium is priced at 5,000 coins per piece and the Blackmarrow Key at 1,500 coins.
| Item | Stock | What it does |
|---|---|---|
| Fulminant Stone | 1 | Sidearm ability, 60 Resolve. Fires a heavy-caliber round that sets off multiple explosions around the target — three at first tier, five when upgraded, with 20 Break damage per explosion at max tier. |
| Infested Stone | 1 | Sidearm ability, 60 Resolve. Sticks a projectile to an enemy that detonates for 100 damage. Tier 2 pulls nearby enemy aggro onto the tagged target; max tier scatters three extra clinging projectiles. |
| Weeping Stone | 1 | Sidearm infusion, 20 Resolve. Adds Trauma to your shots and stays on the weapon for four shots, rising to eight when upgraded. |
| Infused Stone | 1 | Melee ability, 70 Resolve. Throws your weapon through multiple targets before it returns, applying three Perforation stacks per strike. Tier 2 hits up to four targets; max tier raises each strike to 150% damage. |
| Glimpse | 3 | Awakens a Shell’s true purpose. |
| Thoracium | 2 | Weapon upgrade material used at the Tarforge. 5,000 coins each. |
| Blackmarrow Key | 1 | Opens a locked chest in Marrow Keep. 1,500 coins. |
How the ability Tarstones behave
Tarstones fall into four categories — Support, Combat, Infusions, and Abilities. The four stones sold here are Abilities, which do not compete with your other Tarstone slots. They gain levels through use and are tempered at the Tarforge, so buying one early gives it more time to climb tiers.
Stock limits, restocks, and what to buy first
Almost everything on his table is a single copy. Glimpse is the exception at three, and Thoracium at two. Once those are gone, they are gone — decide what you want before you start spending, because you cannot come back for a second Fulminant Stone.
Tarcore works differently. Resting at a beacon resets his Tarcore stock, so you can rest, buy, and repeat as long as you have coins. Anything else on the list stays sold out.
If coins are tight, the Infested Stone is the strongest first purchase for crowd control, since its tier 2 aggro pull lets you bunch enemies onto one target. The Weeping Stone is the cheapest to actually use at 20 Resolve, and Thoracium is the pick if you are already thinking about late-game weapon upgrades.
If The Collector isn’t at the table
- The world is still in day mode. He does not spawn at all during the day. Check that you saw the “NIGHT SUMMONED” confirmation after talking to Thestus.
- You never picked up the Gloombound Flame. Without it, Thestus cannot be summoned to the Marrow Keep roof and the night option is unavailable.
- You are looking at the map. He has no map icon, so navigate by the beacon and the engraved stone instead.
- You stopped at the beacon. The table is south of it, past the stairs by the house — not at the beacon itself.
Once the Abandoned Outpost beacon is cleansed, the whole thing becomes a two-minute errand: summon the night, fast travel in, spend, and switch back to day if the added difficulty is not what you want to carry around. Cleansing the surrounding beacons on the same trip is worth the detour, since it spares you a dark walk back the next time you want something from his table.