

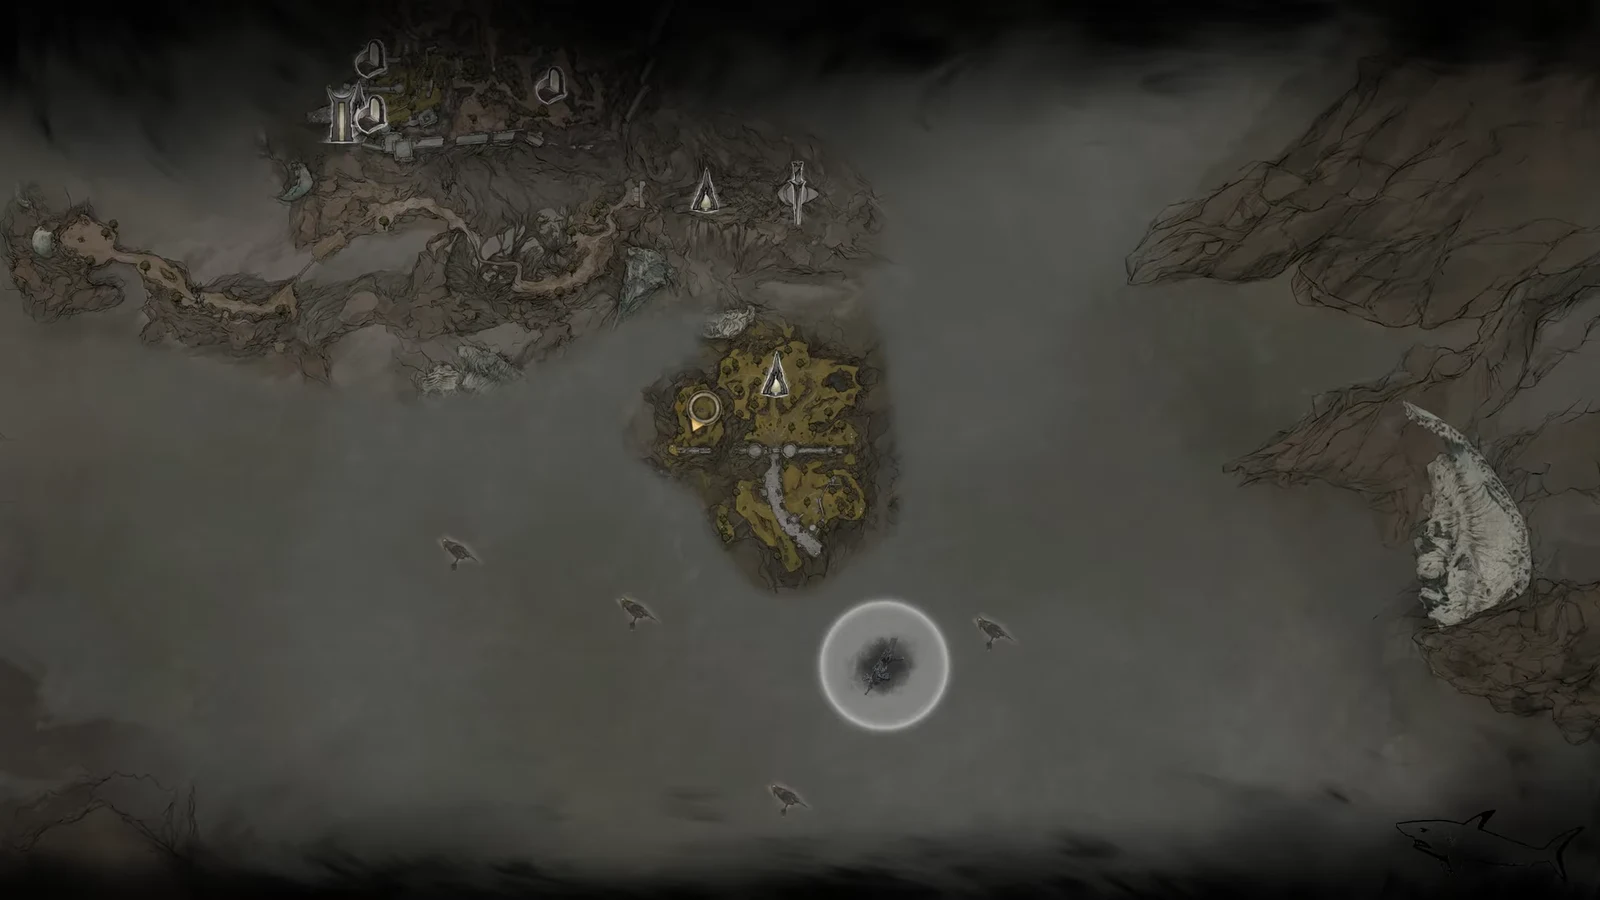
The Outskirts of Mammon sits south of Marrow Keep and marks your entry into the Ruins of Mammon, a region noticeably harder than Fainweald. A large bridge runs north to south across the island, split by a gate wrecked in battle. Clearing everything here means cleansing the central beacon, grabbing a map fragment, finishing two dungeons, collecting several Tarstones, and moving Vlas’s questline forward. Aim for at least Harbinger level 20 before arriving, since the enemies right next to the landing beacon will punish an under-leveled run.
Quick answer: Fast travel to the Outskirts of Mammon beacon from Marrow Keep, cleanse it inside the Crumbling Tunnel, take the Map of Mammon [5] from Ruk’s statue to the west, clear Smugglers’ Hideout and Hag’s Pit, collect the Enfeebling, Justiciar’s, and Headsman’s Stones, load the Makeshift Projectile into the catapult, and complete Vlas’s dialogue after resting.
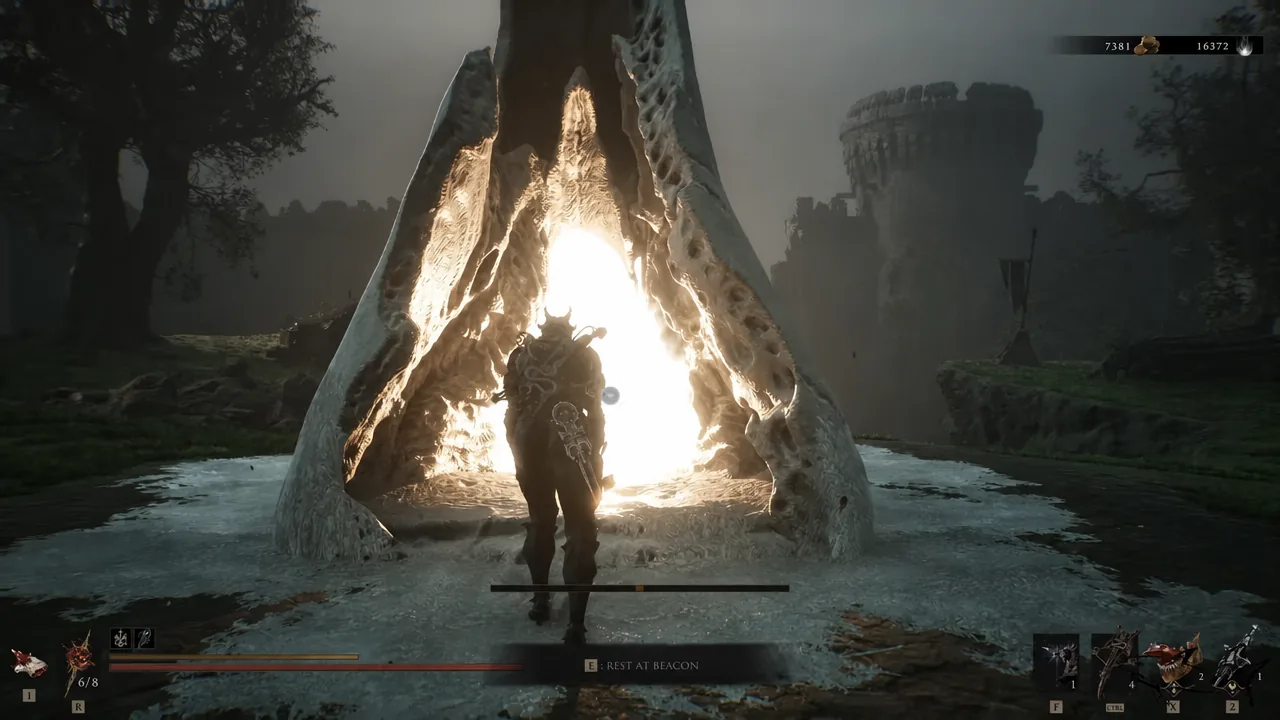
Reach the Outskirts of Mammon and cleanse the beacon
From Marrow Keep, ride the lift to the roof and use the corrupted travel platform to reach the region. Once the Outskirts of Mammon beacon is active, you can fast travel straight to it through Mether’s Breath.
You know the beacon is cleansed once you have the Glimpse and return topside with the rift resolved. From here the surface routes open up in every direction.
Get the Map of Mammon [5] from Ruk’s statue
Head west from the beacon toward Ruk’s statue, clearing the nearby armored enemy camps as you go. Talk to Ruk to receive the Map of Mammon [5], which unlocks the area map and marks the remaining Corrupted Gates. Watch your footing along the way, since bear traps are scattered across the path leading to the fragment.
Clear Smugglers’ Hideout and Hag’s Pit
Two dungeons anchor this zone. Smugglers’ Hideout sits behind one of the western camps, while Hag’s Pit is found further down from the corrupted statue to the east. Both are short but hand out useful loot.
Every Tarstone in the Outskirts of Mammon
The zone hands out several Tarstones. The Enfeebling Stone comes from a combat trial, the Justiciar’s Stone drops in Hag’s Pit, and the Headsman’s Stone, which boosts critical damage for melee weapons, is tucked into a chest in the ruins. Egon’s Stone is found alongside the Headsman’s Stone.
| Tarstone | Where to get it |
|---|---|
| Enfeebling Stone | Cleanse the corrupted statue trial east of the beacon by clearing all waves of armored foes. |
| Justiciar’s Stone | Loot the altar chest inside Hag’s Pit. |
| Headsman’s Stone | Open the stone sarcophagus chest in the ruins after defeating the knights; boosts melee critical damage. |
| Egon’s Stone | Found in a chest near the Headsman’s Stone. |
To reach the Headsman’s Stone, defeat the enemy knights in the ruins east of Vlas, then open the sarcophagus chest. Navigate past the traps in the area carefully, as they can end a run quickly.
Load and fire the catapult with the Makeshift Projectile
The Makeshift Projectile sits on a cliff edge below the collapsing bridge. Reach the lower area by dropping down from where you found the map fragment and taking the second Bone Gate. Along the way you can pick up Weltcaps and Ventriums.
Complete Vlas’s questline
Vlas rests by his broken cart, and his quest revolves around his missing companion. Moving it forward requires talking to him, searching the area, resting, and speaking to him again to receive a note.
Full completion checklist
Use this to verify nothing is missed before moving on toward the Road of Absolution and Castigator’s Keep.
- Cleanse the Outskirts of Mammon beacon via the Crumbling Tunnel (Glimpse).
- Collect the Map of Mammon [5] from Ruk’s statue.
- Clear Smugglers’ Hideout (Coin of Mammon).
- Clear Hag’s Pit (Justiciar’s Stone).
- Complete the corrupted statue trial (Enfeebling Stone).
- Open the sarcophagus chest for the Headsman’s Stone and Egon’s Stone.
- Load and fire the catapult with the Makeshift Projectile.
- Advance Vlas’s quest and receive his note.
Once the beacon is cleansed and each item above is accounted for, the Outskirts of Mammon is fully cleared. From here you can push south across the Road of Absolution toward Castigator’s Keep, or double back through the Bone Gates to reach the Deserted Slums and Sester’s Refuge.





