Bellkeeper’s Corner is a small optional dungeon in the Ruins of Mammon half of the map, built entirely around one mechanic: hanging bells that extend stone walkways when struck. You need a ranged sidearm to finish it, and the whole run takes only a few minutes once you know which bells matter.
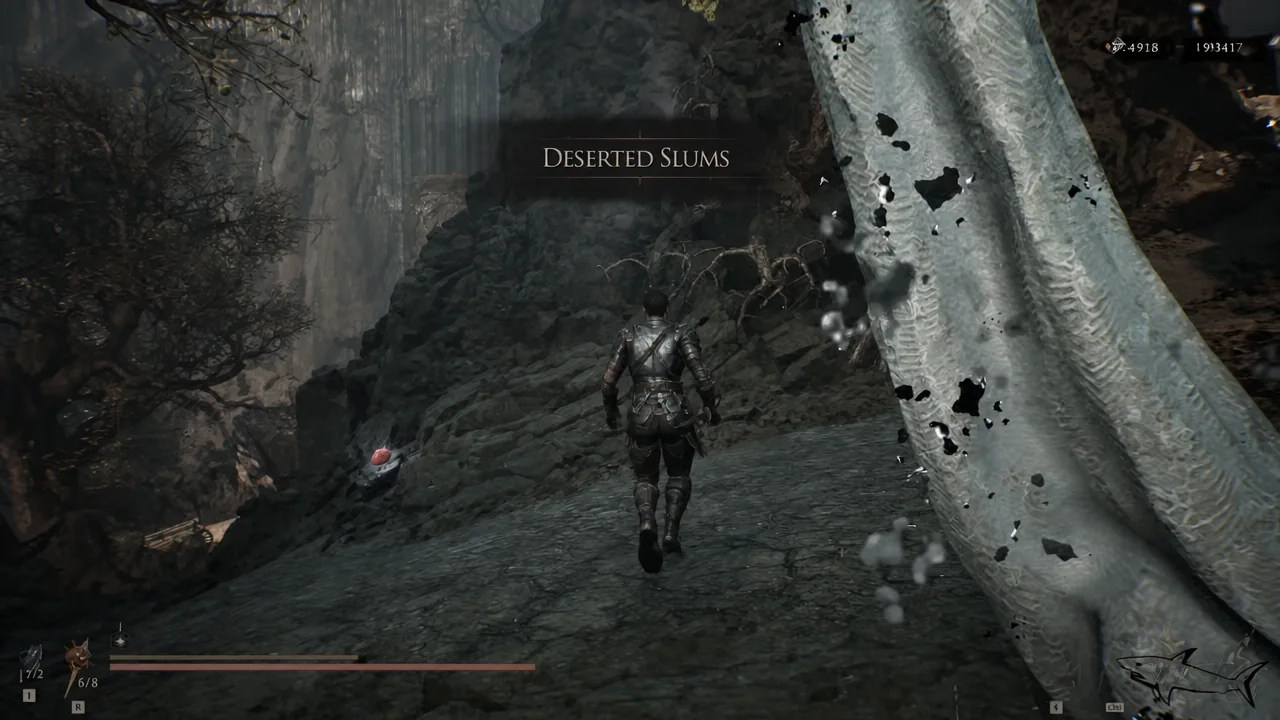
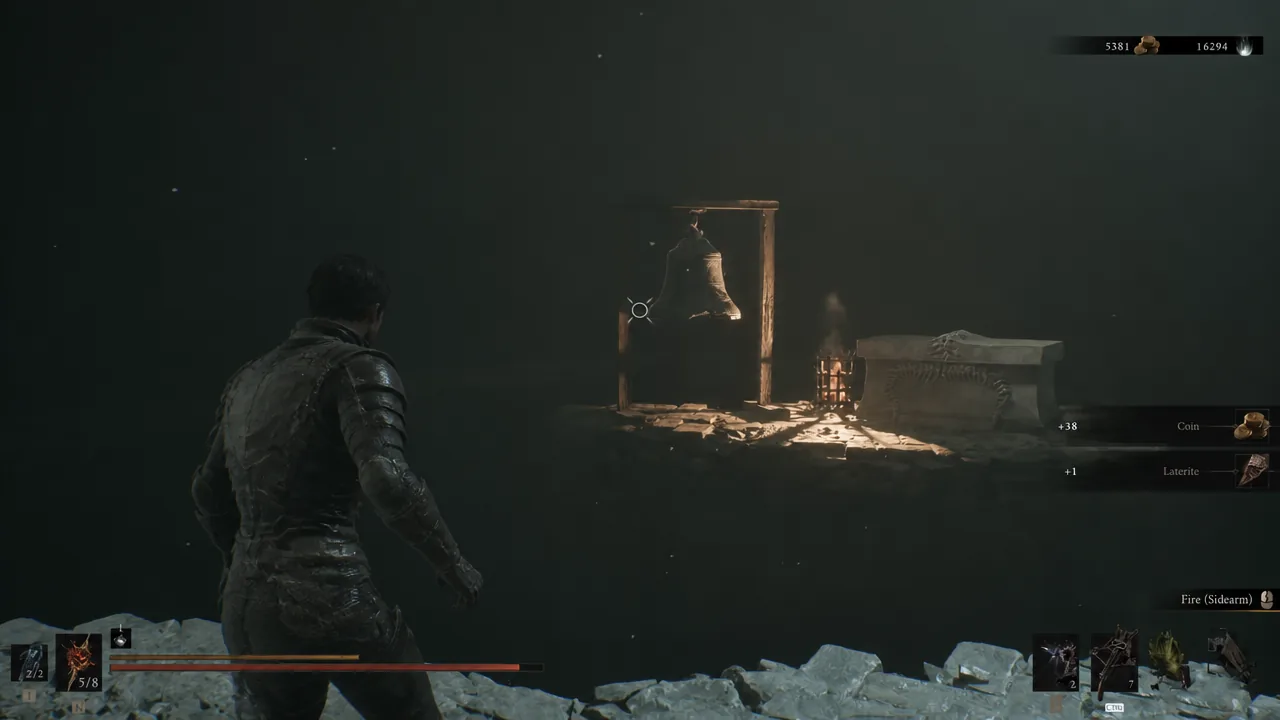
Quick answer: Head north from the Abandoned Outpost beacon in Deserted Slums, shoot the bell hanging in the tower archway to extend the bridge, then ride the elevator down. Inside, shoot two more bells to reach the bone chest holding the Spite Stone, and shoot the totem for a Laterite.
What you need before you go
A ranged sidearm is mandatory. Every gap in and around this dungeon is bridged by hitting a bell, and most of those bells sit across a chasm where melee will not reach. A crossbow works fine, and you should carry enough ammunition for at least four shots.
Access to the Ruins of Mammon region requires Mether’s Breath, the cleansing and fast-travel ability you earn by defeating and cleansing one of the main gate bosses. Nothing here is missable, so you can return after the final boss in free roam if you skip it on your first pass.
| Detail | Value |
|---|---|
| Region | Ruins of Mammon, island west of the main ruins |
| Nearest beacon | Abandoned Outpost (Deserted Slums) |
| Direction from beacon | North |
| Entry requirement | Ranged sidearm to strike the bridge bell |
| Rewards | Spite Stone (tarstone), Laterite x1 |
| Boss | None |
Route to the Bellkeeper’s Corner entrance
Inside the dungeon: Bells, enemies, and the Spite Stone
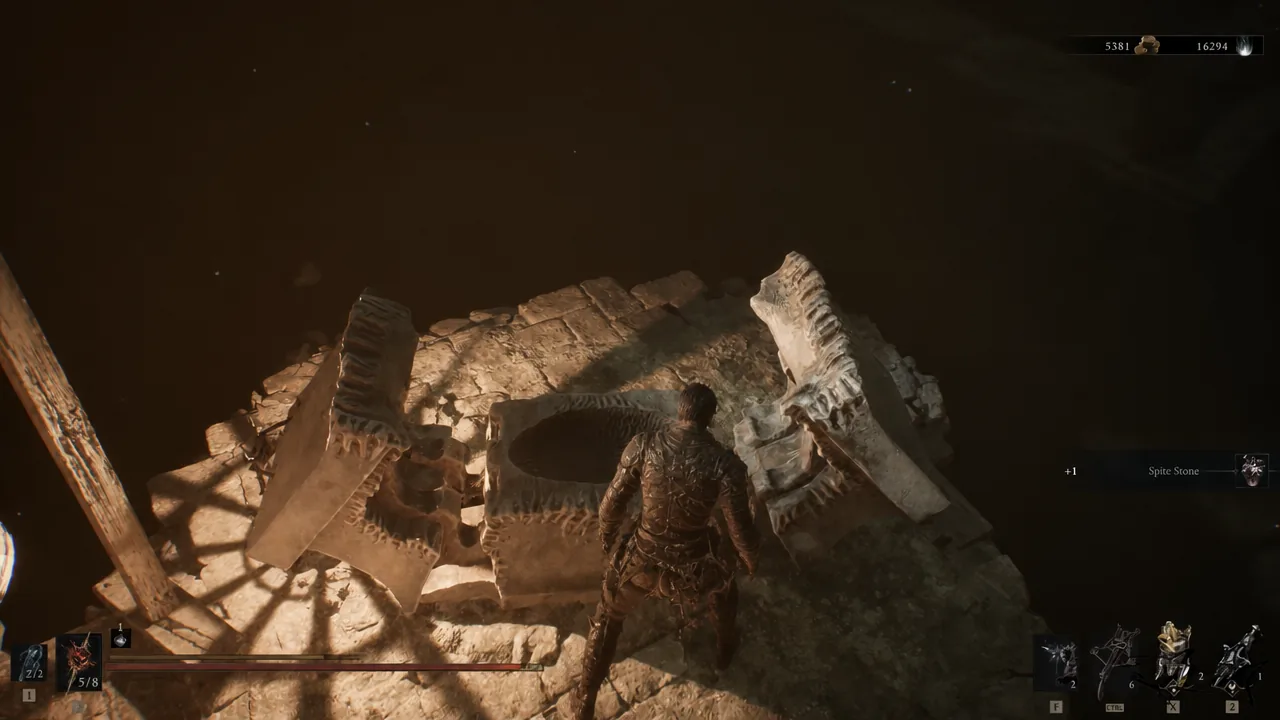
Spite Stone tarstone effect
The Spite Stone scales your ranged damage against your missing health. The lower you drop, the harder your sidearm hits, which makes it a natural fit for low-health builds that already lean on crossbows or thrown weapons.
| Health threshold | Ranged damage increase |
|---|---|
| 50% or below | Up to 100% |
| 30% or below | Up to 140% |
| 10% or below | Up to 180% |
Confirming 100% completion
There are only two collectibles here, the Spite Stone and the Laterite from the totem. Once both are in your inventory and the dungeon is empty, you have cleared everything Bellkeeper’s Corner contains. There is no boss and no hidden second chamber.
The game does not tick dungeons off automatically. Open the world map, hover the cursor over the Bellkeeper’s Corner marker, and press the marking input to switch the icon to its completed state. That flag is purely for your own tracking, so if you rely on the map to plan a full clear, do it before you fast travel away.
If a bell refuses to register, you are almost certainly hitting it with a melee swing that falls short, or you are out of sidearm ammunition. Reposition so the bell is clearly in your line of sight and fire again — the walkway animates the moment the shot connects.
From here, fast travel back to Abandoned Outpost and equip the Spite Stone if you are running a ranged setup. Smuggler’s Hideout sits in the same general stretch of the Ruins of Mammon if you want to keep chaining dungeons in one trip.