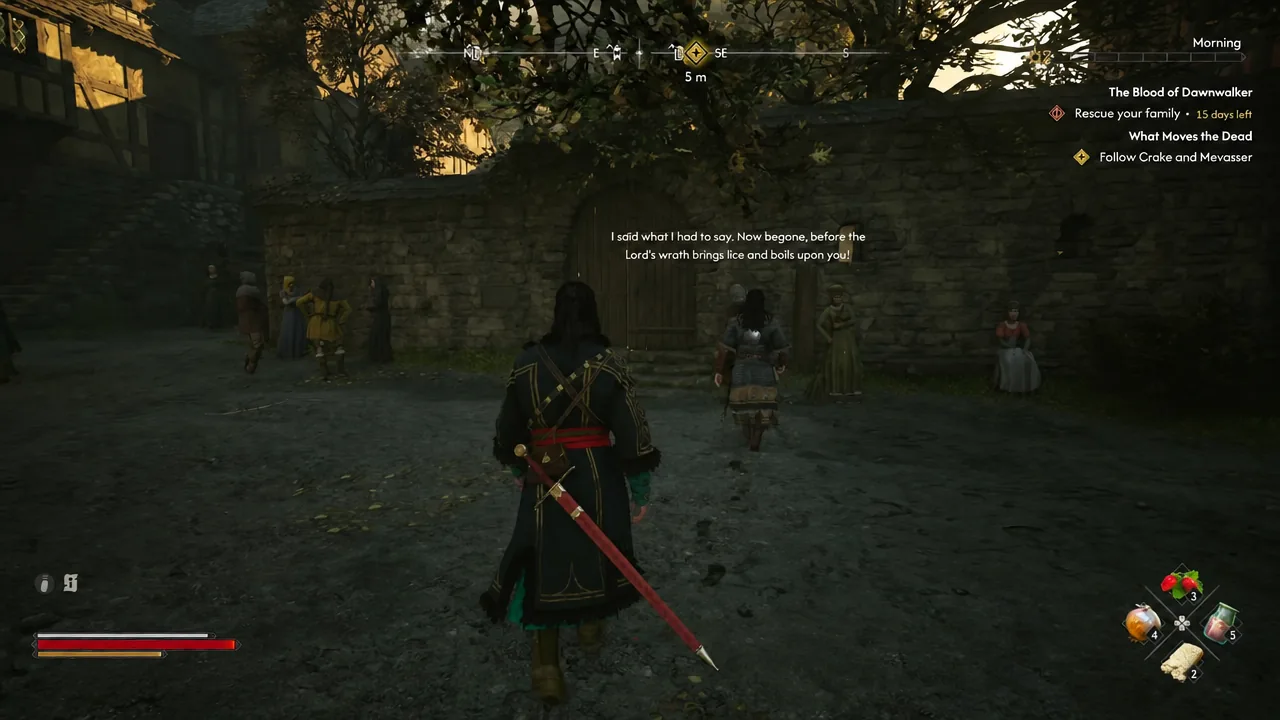
What Moves the Dead is the point where Crake’s storyline stops being about political pamphlets and starts being about grave robbing. Coen follows a century-old trail left by an alchemist named Silas, and it ends in a buried laboratory under Svartrau City with a boss standing between you and your companion.
Quick answer: Talk to Mevasser and inspect every clue on his woodcut of Silas, question the old lady with the dog to learn the workshop sits left of the stone archway in Altenmarkt, get Crake to pick the lock, drop through the trapdoor, shift the wooden bookcase in the cellar, follow the intruders’ footprints into the deeper ruins, then kill The Crypt Dweller, carry Crake out, and ask him about Aurelius.
What Moves the Dead prerequisites and quest order
The quest belongs to the Manumit storyline, which opens up once you start The Firebrand out in Laslea Glen. You do not have to run the chain in a strict order, but Where Loyalty Lies has to be finished before What Hunts the Night unlocks, and What Hunts the Night is what hands you the strange manuscript that sets this quest in motion.
| Quest | Where it fits |
|---|---|
| The Firebrand | Starts the Manumit storyline |
| Under Watchful Eyes | Rescue at the prisoner camp |
| Shadows in the Woods | Mid-chain investigation |
| Where Loyalty Lies | Required before the next step |
| What Hunts the Night | Gives you the manuscript and Mevasser’s name |
| What Moves the Dead | The Silas investigation |
| Who Pulls the Strings | Follow-up after this quest ends |
Note: time in this game is spent like a resource rather than ticking down on its own, and several optional conversations here cost extra segments. Budget accordingly if you are pushing against the 30-day deadline.
Getting Mevasser to talk and reading the woodcut
Crake knows a man in the Jewish Quarters who can read the manuscript, but Mevasser dismisses it as gibberish on first contact and walks off toward his home. Following him is the actual objective.
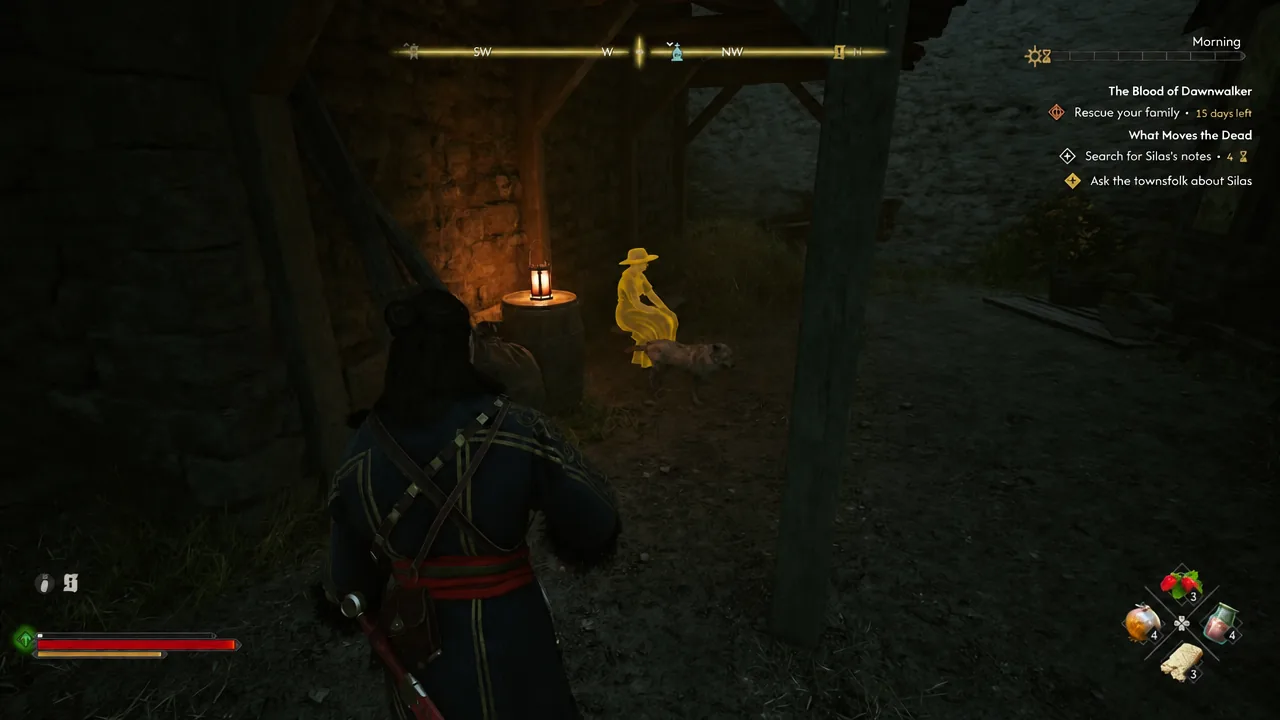
Finding Silas’s workshop by the stone archway
Altenmarkt is a large district, so the quest expects you to canvass locals rather than walk straight to a marker.
The hidden trapdoor and the 50 Denarius bribe
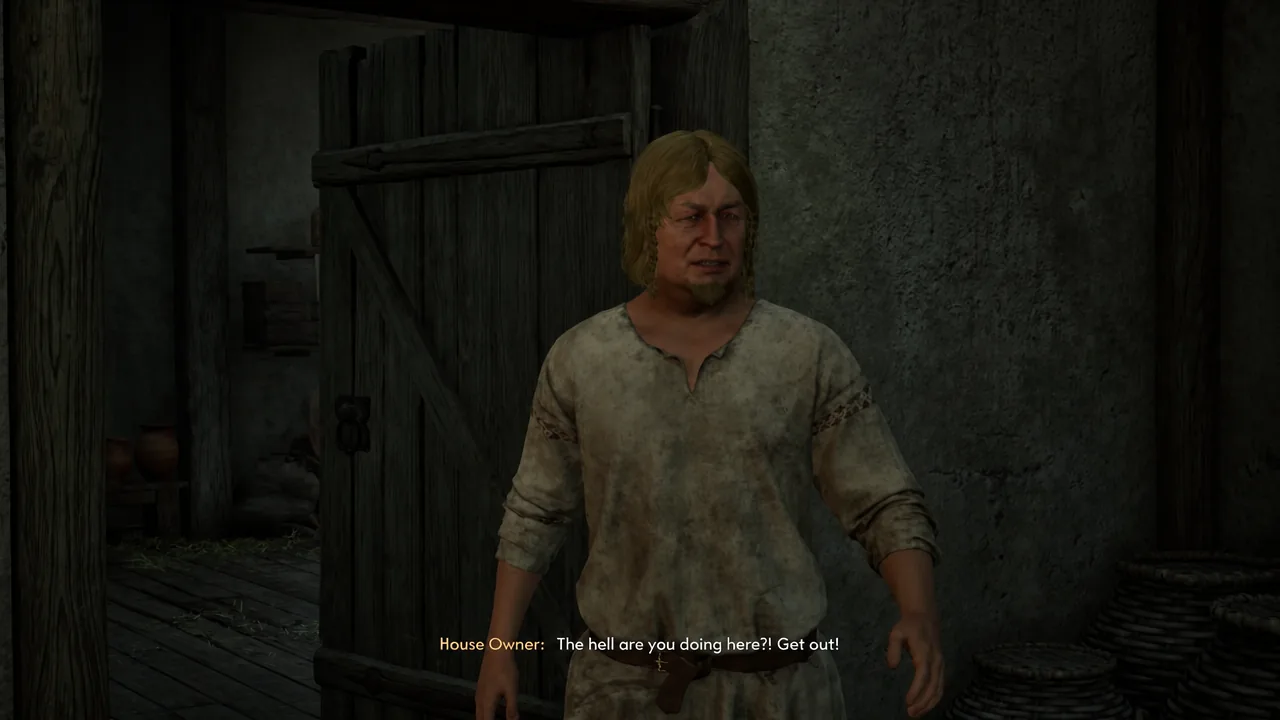
The house is occupied now, and the entrance to Silas’s basement is buried under the floor.
Searching the laboratory and the locked door key
The laboratory is one of the more generous loot spaces in the questline, so sweep it before you push deeper. Notes about Silas’s gargoyles sit on the ground near a fallen stone pillar, and a document called “Regarding the Laboratory” fills in more of his work.
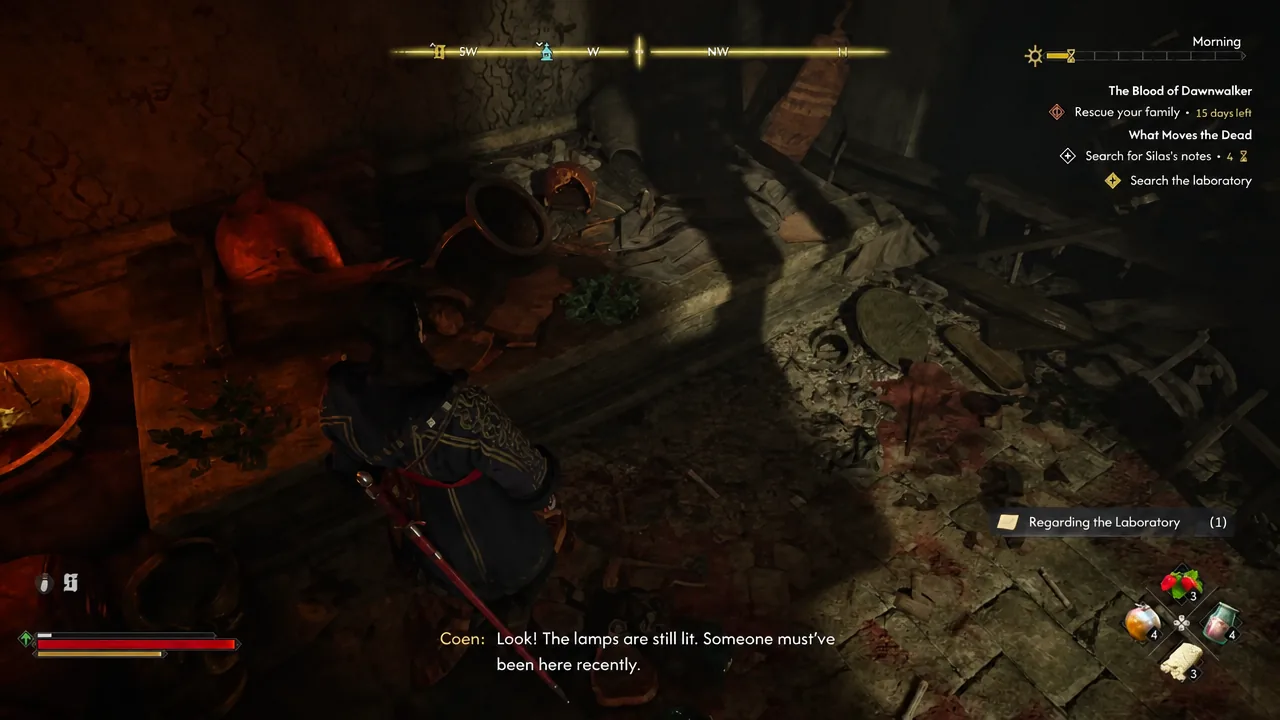
There is one locked door in this area. The key is sitting on a stone table near the wall, close to the door itself, so you never have to leave and come back. Behind it you will find the Mercurial Fervour Manual, the recipe for Minor Revitalizing Tonic, a Keen Narrow Cleaver, and a Ruby Brooch.
Once the room is stripped, look around for the yellow footprints left by intruders and follow them. They lead into the deeper ruins, where you find a decapitated body and a letter titled “Orders from Master Aurelius” — an apprentice named Svetlana was sent here to retrieve Silas’s book on alchemy.
The Crypt Dweller boss fight and rescuing Crake
Examining the body triggers a cutscene. While Coen reads the name Aurelius off the letter, something in the dark grabs Crake and drags him away, and the objective flips to a rescue.
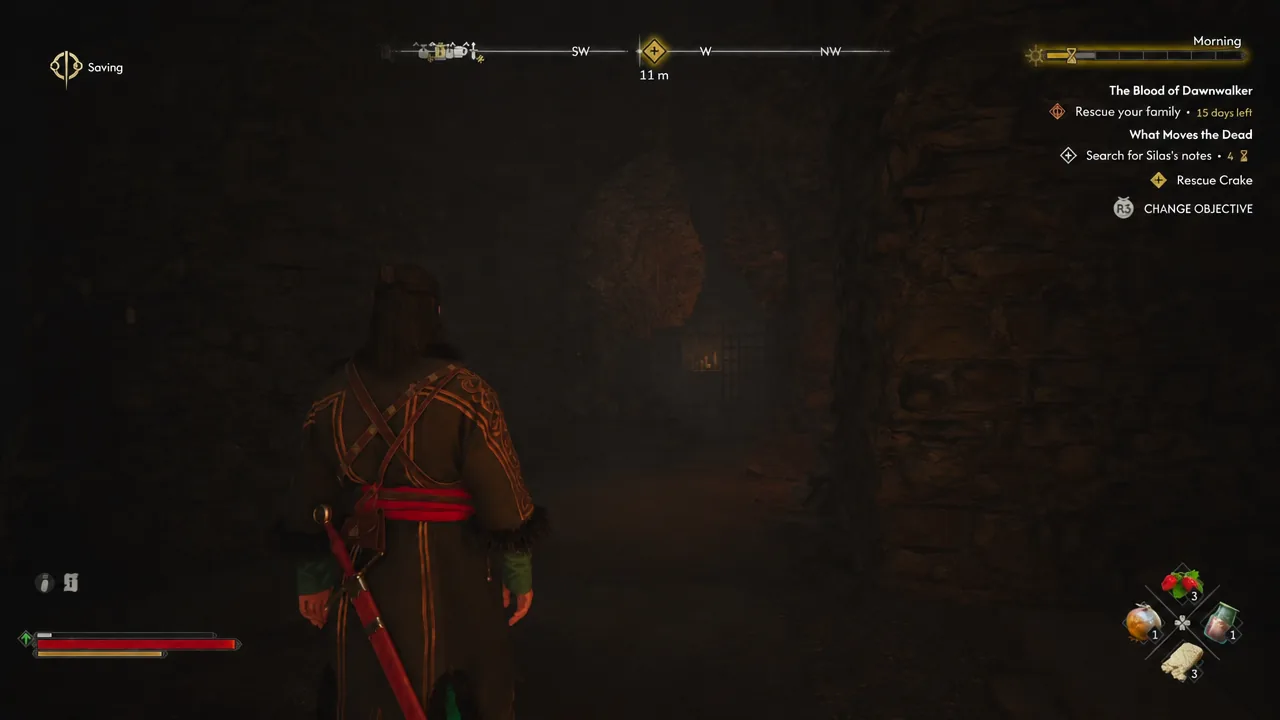
Chase the highlighted marks on the floor through the tunnels. Packs of cursed mongrels, the Psoglavs, come at you in waves along the route, and they hit hardest when they surround you, so fight near a wall or a choke point rather than in the open chamber. The trail ends in a large room where The Crypt Dweller is waiting alongside another pack.
Clear the adds where you can, then focus the boss. With it dead, pick up the wounded Crake and loot the chamber before you leave. The Crypt Key is the item you need, since it opens the exit door that lets you climb out through the cemetery instead of backtracking.
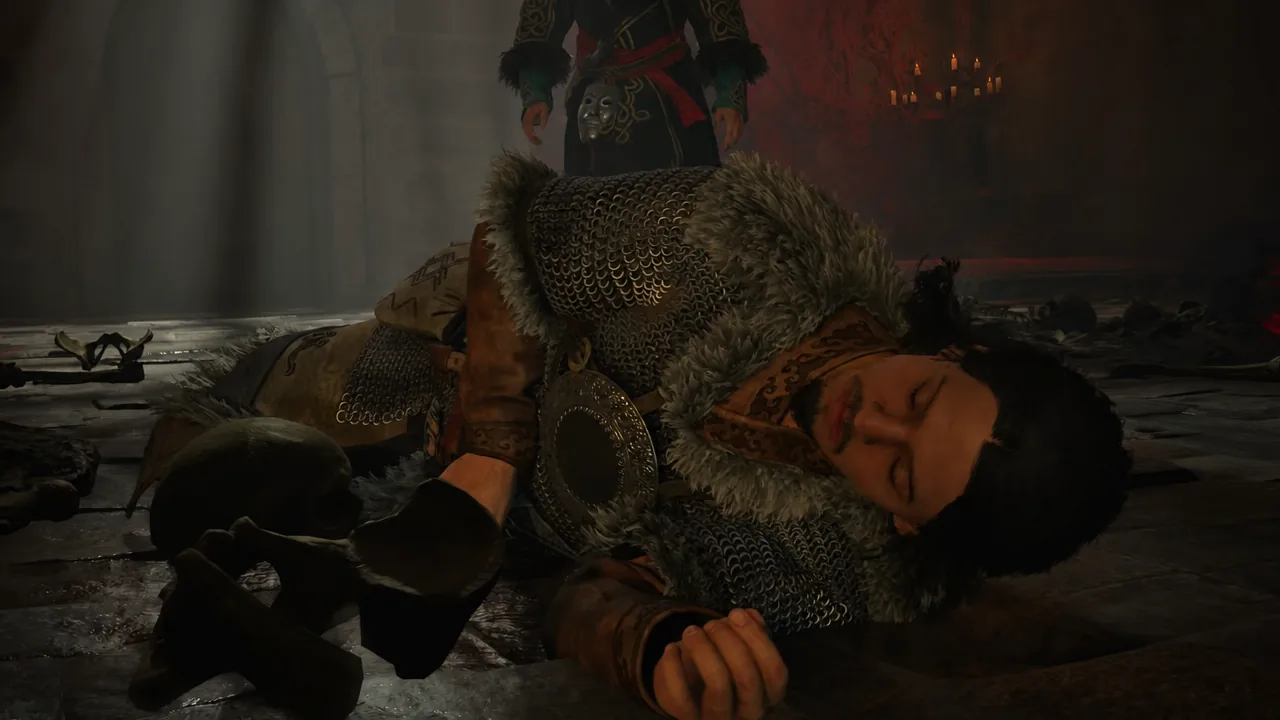
Crypt chamber loot
| Item | Type |
|---|---|
| Crypt Key | Opens the exit door to the cemetery |
| Band of Persistence | Ring |
| Yellow Padded Tunic | Armour |
| Murahn Blood | Crafting or consumable material |
| Fortude Paste | Consumable |
| Minor Vigor Infusion | Consumable |
| Golden Platter, Wooden Soldier, Torn Doll | Valuables and junk |
How to confirm the quest is finished
Escaping through the cemetery does not close the quest by itself. Once you are outside with Crake, ask him about Aurelius. He points you toward the Tower near Oghasti, directly south of the settlement, as the place where Aurelius might be found, and that conversation is what ends What Moves the Dead in the journal. The next thread, Who Pulls the Strings, takes over from there.
Two optional beats hang off the ending. You can accompany Crake back to his hideout, which costs time, and there he tells you his real name is Marat and asks you to go look into a beekeeper called Ascar over in Tantari. Helping him dress his wounds while you are there is what moves Coen’s romance with him forward, so skip it only if you are short on days.
If the quest seems stuck, it is almost always one of two things: an unexamined clue on Mevasser’s woodcut, or the chimney in the second room of the house that you never inspected. Both gate the objective behind a full interaction sweep, and neither will advance on a partial search.