Who Pulls the Strings is the manumit questline’s turning point in The Blood of Dawnwalker. Marat points Coen at the mage Aurelius, whose tower holds a book with a hex that strips the gargoyles guarding Greifberg Castle of their protection. There are two bosses in the way, one outside the tower and one at the top of it, and the whole run costs five time segments out of your 30-day clock.
Quick answer: Kill The Unblinking Guardian outside Aurelius’s Tower, fight your way up through the guards, defeat Svetlana, the Dark Prodigy on the top floor and loot the Vault Key from her body, take Silas’s Book off the desk on that floor, then fast travel to Svartrau City and show the book to Marat to learn the Life Lock hex.
Who Pulls the Strings requirements, location, and time cost
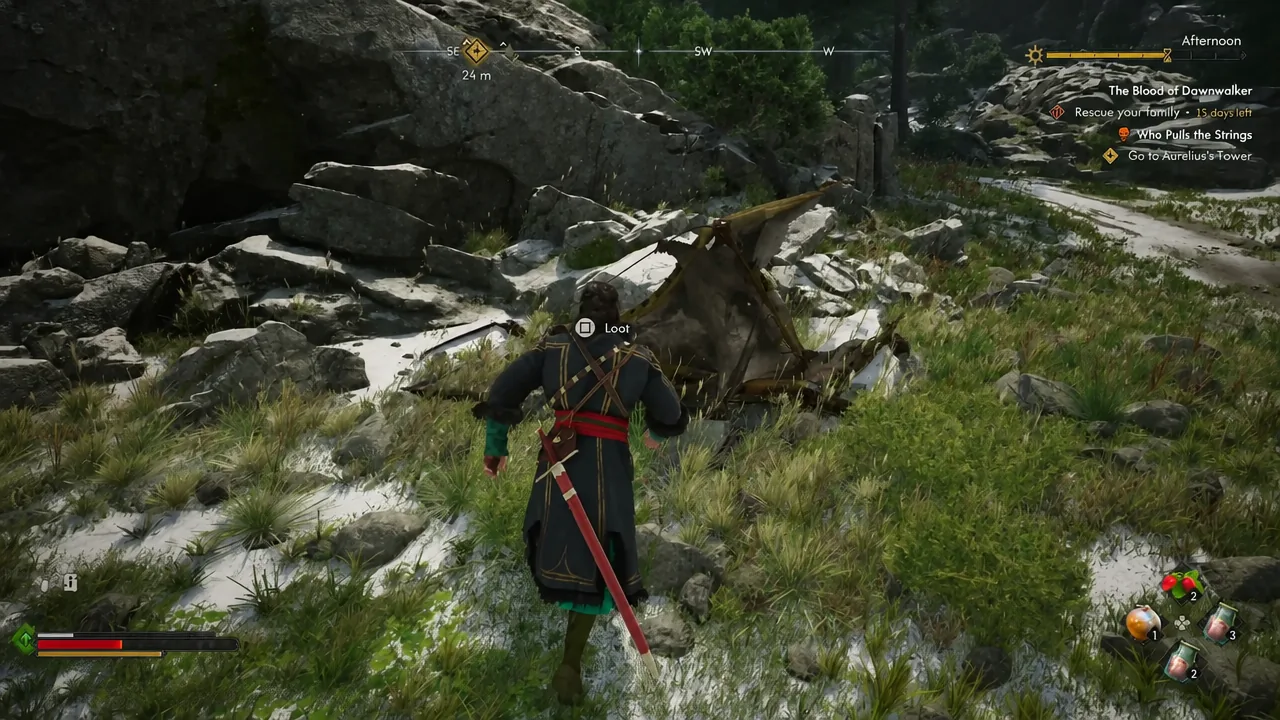
The quest only becomes available once you have finished What Moves the Dead. After that, Marat tells you where Aurelius keeps his tower, and the marker appears in Vale Sangora. Open the journal, track the quest, and the tower shows up on the map so you can ride or fast travel toward it.
| Detail | Value |
|---|---|
| Unlocked by | Completing What Moves the Dead |
| Region | Vale Sangora |
| Quest giver / turn-in | Marat, at the manumit base in Svartrau City |
| Time cost | 5 time segments |
| Bosses | The Unblinking Guardian, Svetlana, the Dark Prodigy |
| Key items | Vault Key, Silas’s Book |
Note: the objective text names Marat, but the manumit contact you actually speak to at the base is Croke. Both names belong to the same turn-in conversation, so don’t waste time hunting for a second NPC.
How to beat The Unblinking Guardian outside Aurelius’s Tower
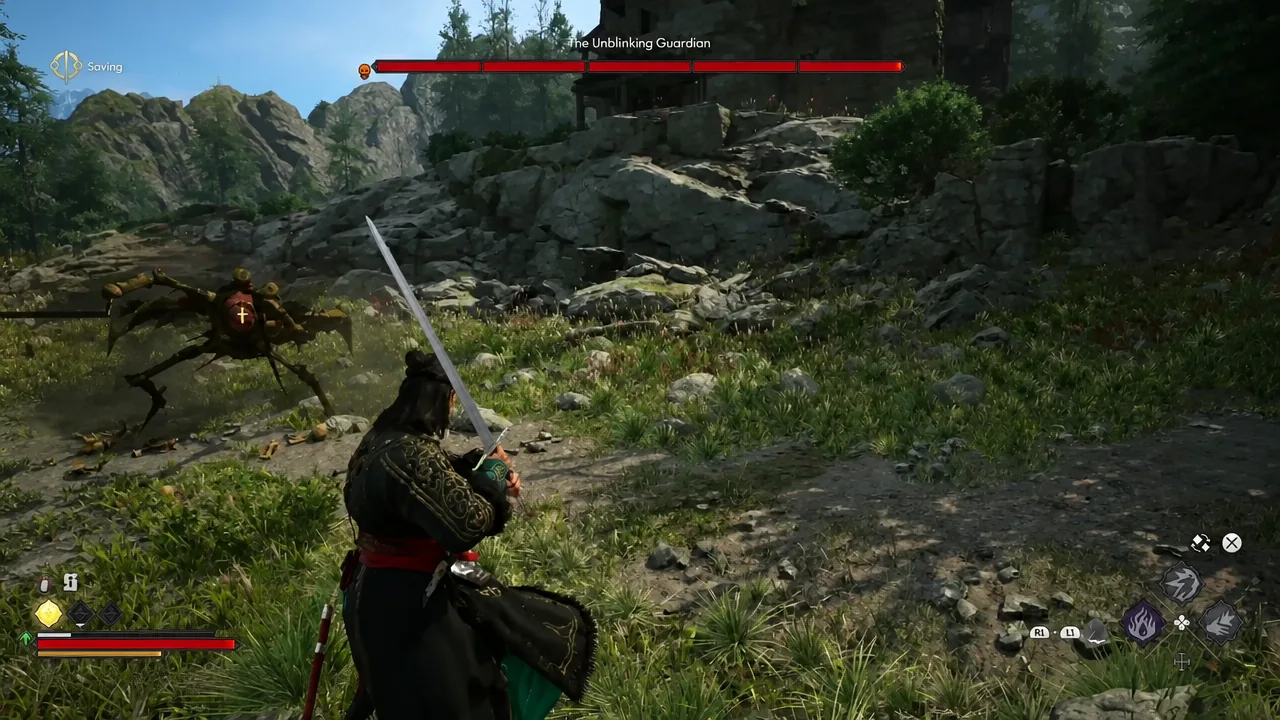
The tower isn’t quietly guarded. A giant winged insect, The Unblinking Guardian, is waiting in the open ground at the base and has to die before you can get through the entrance.
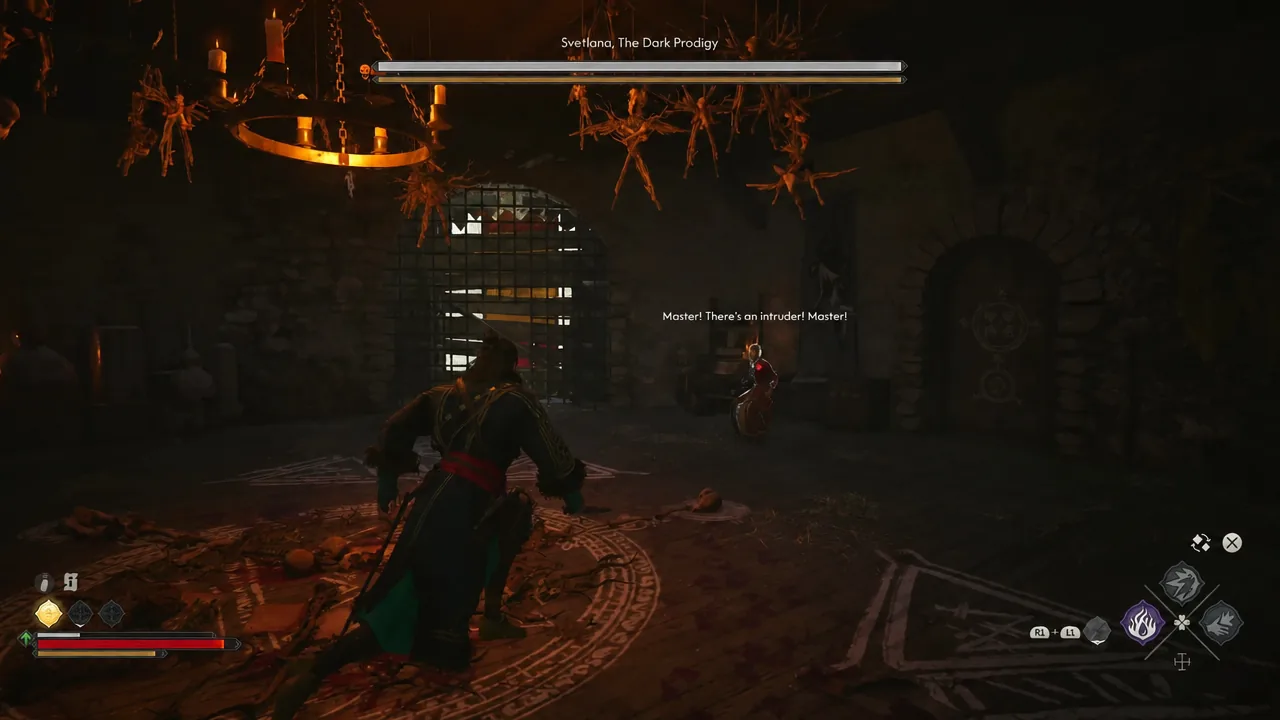
Clearing the tower and looting the Vault Key from Svetlana
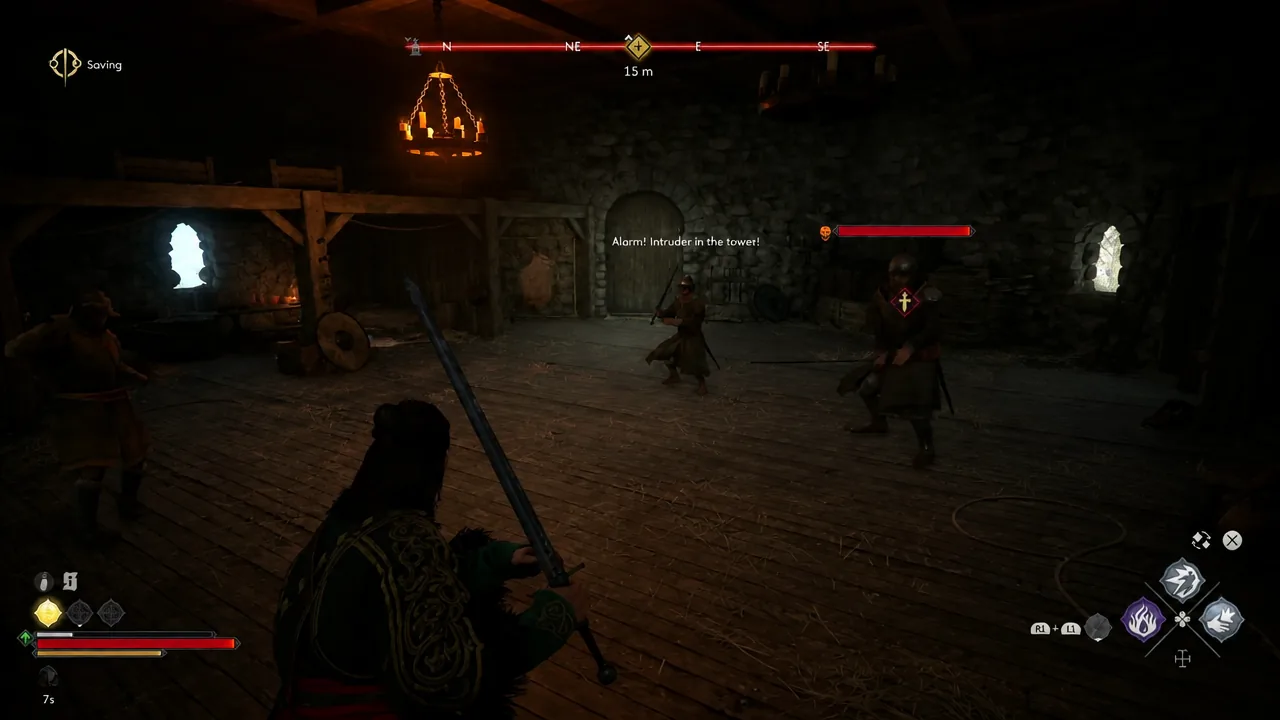
The interior is a vertical crawl. The ground floor is worth a quick sweep for containers, but the book is not down there, so head for the stairs once you’ve picked the room clean.
Where to find Silas’s Book and the Life Lock hex
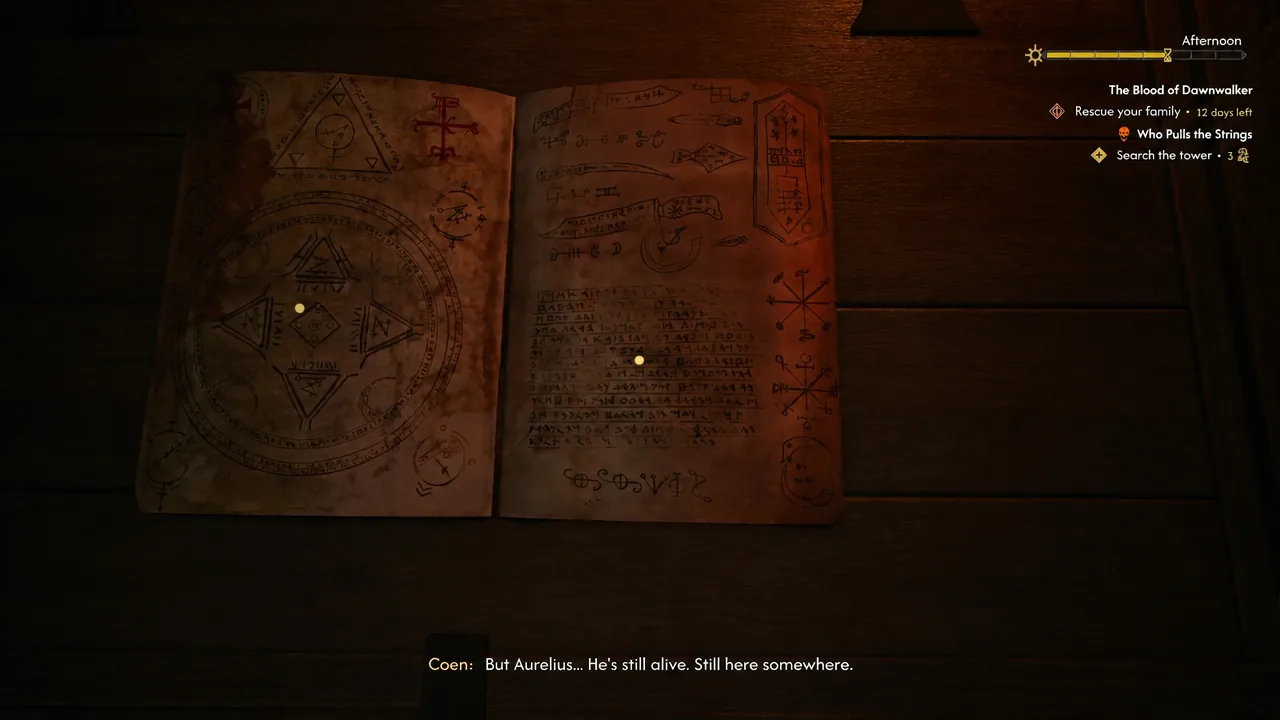
With Svetlana down, the top floor opens up. Crack the chest in the room first, then look for the desk. Silas’s Book is sitting on it, and inspecting it plays a cutscene that confirms the notes contain the hex you came for.
The hex is called Life Lock, and it is what weakens the gargoyles standing between the manumits and Greifberg Castle. Taking the book is not the end of it — a separate objective asks you to acquire Life Lock from Silas’s notes and actually learn it, so open the book in your inventory and slot the hex rather than assuming it applied itself.
Tip: the same floor sweep tends to turn up the Blasphemous Echo Manual and Marat’s Blood Infusion. Grab them while you’re up there, since backtracking through the tower costs time you can’t refund.
Show Marat the book in Svartrau City
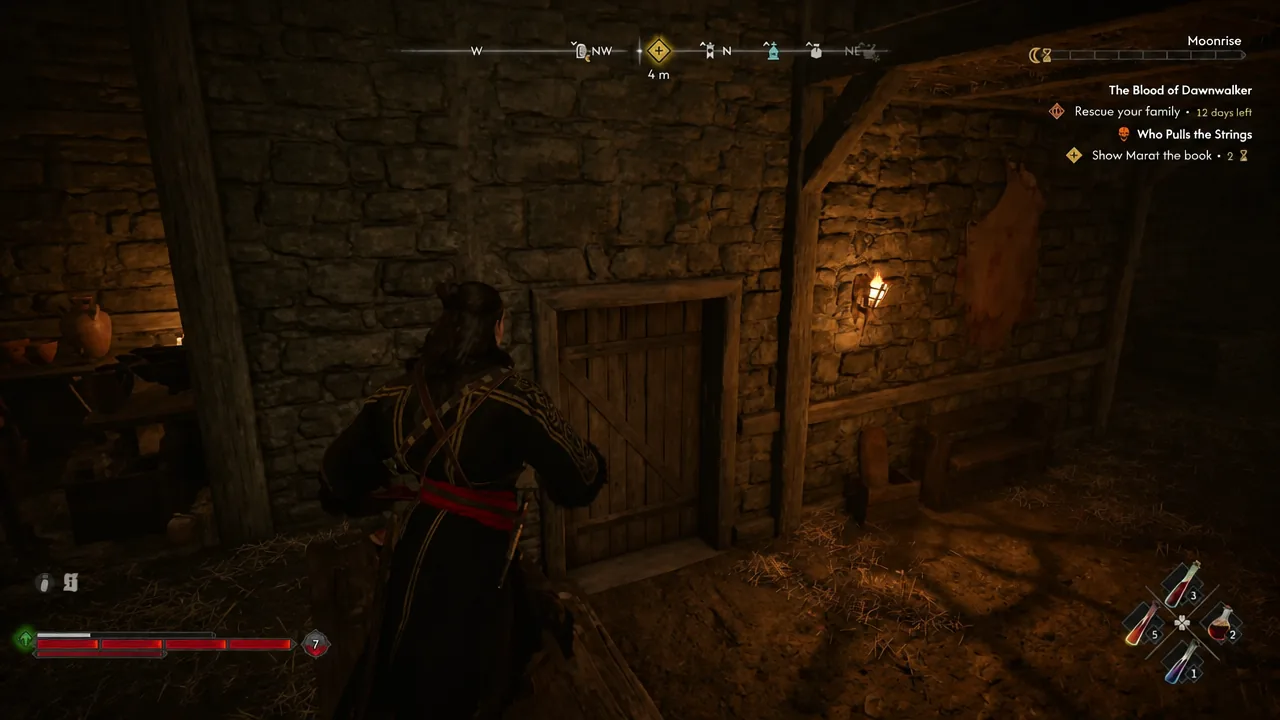
You know it worked when the journal closes the quest with the outcome noting that you showed Marat the hex and the march on Greifberg Castle is being prepared, with a prompt to return to him when you’re ready.
“Search the tower” objective bug and how to work around it
A common report has the quest looking broken right at the finish line. Players who loot and read Silas’s Book before passing through the final door on the top floor end up with a journal that still demands they search the tower, plus a greyed-out “show the book to Marat” line they never completed.
It’s a display problem, not a lost item. The trigger appears to be the brief inventory reset that happens in that sequence, which makes the game re-flag the book as missing even though the quest state advanced. Going back to search the tower again finds nothing, because there is nothing left to find.
The fix is simply to ignore the journal and travel to Svartrau City anyway. The dialogue option to hand the book over to Croke is still there, and taking it closes the quest normally — no reload and no replaying the tower.
Who Pulls the Strings outcomes
| Outcome | What it means |
|---|---|
| Hex delivered | You showed Marat the gargoyle-weakening hex and the manumits begin preparing to march on Greifberg Castle. |
| Manumits failed | The manumit path closes to you and this route is no longer available. |
| Tower never entered | You never confronted Aurelius in his tower, so the hex is never obtained. |
Because the quest burns five time segments and gates the assault on Greifberg Castle, it’s worth running in one clean trip rather than splitting it across days. Clear the Guardian, push straight to the top floor, take the Vault Key and Silas’s Book together, and head back to Svartrau City with the Life Lock hex already learned.