

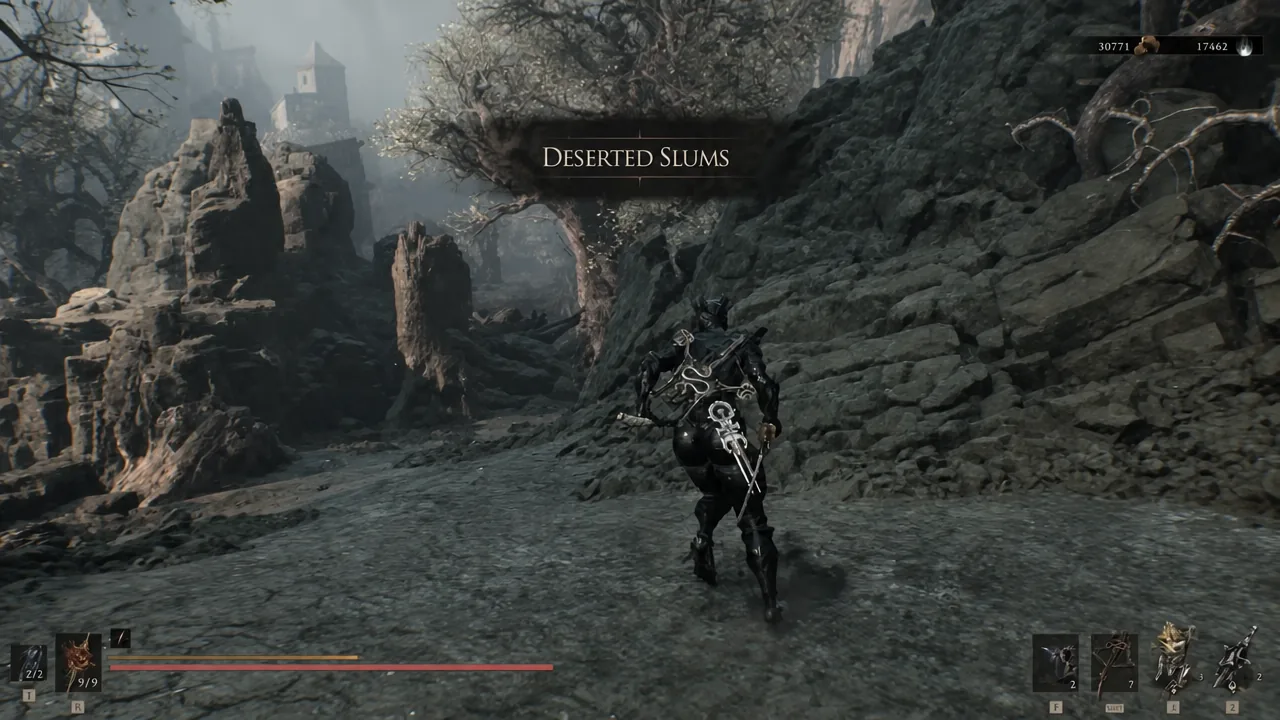
Sidearms in Mortal Shell 2 are usually a one-shot-at-a-time affair, and every shot eats Resolve. The Splitting Stone changes that math. It is a Combat Tarstone that splits a single sidearm shot into several projectiles, and it does not charge you any extra Resolve for the privilege.
Quick answer: Loot the Splitting Stone from the chest inside the Lonesome Spire, the building directly east of the Gate of Mammon beacon in the Outskirts of Mammon region.
Splitting Stone location: route from the Outskirts of Mammon beacon
The Outskirts of Mammon is late-game territory, so expect enemies that hit considerably harder than anything in Fainweald. If you already have the Gate of Mammon beacon lit, skip straight to the final step and fast travel there.
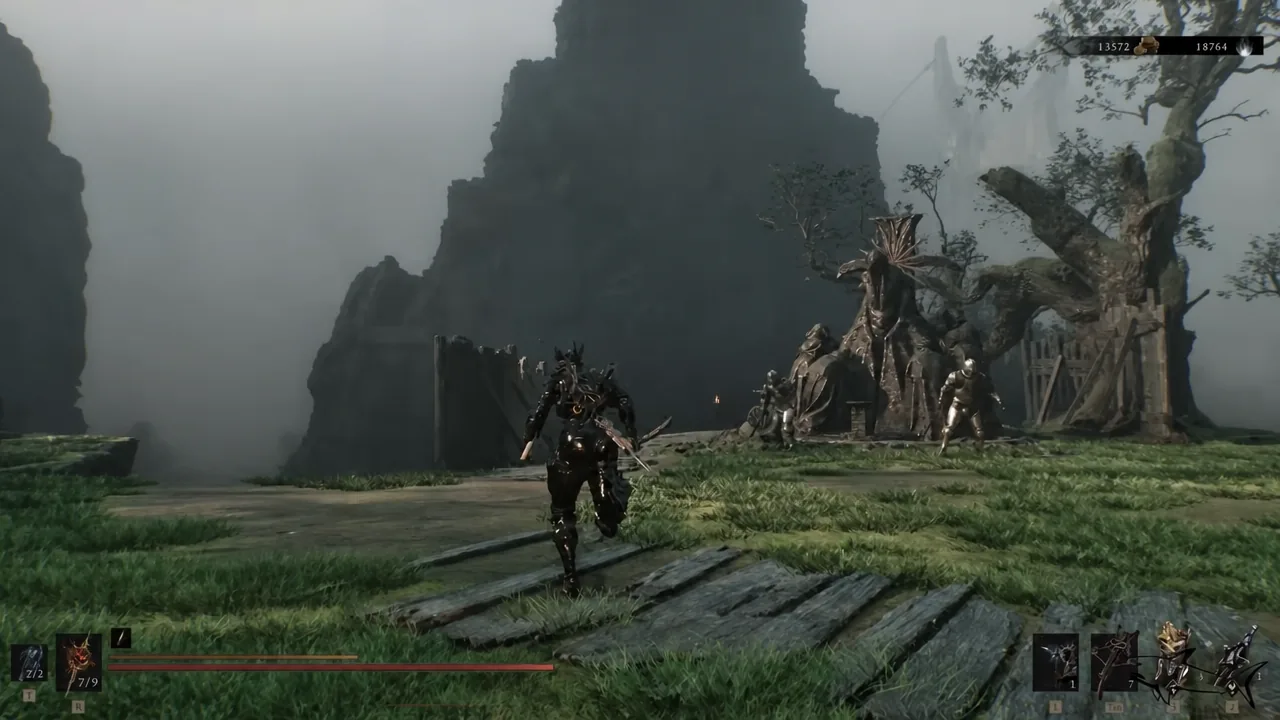
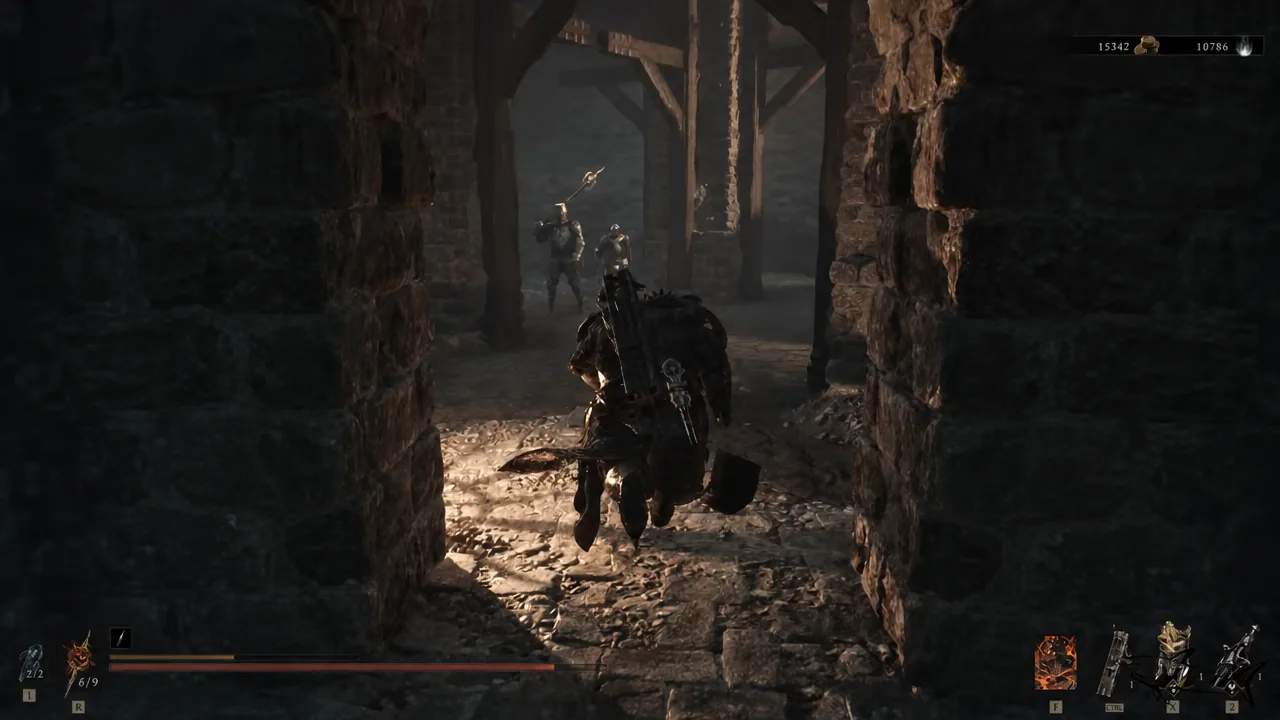
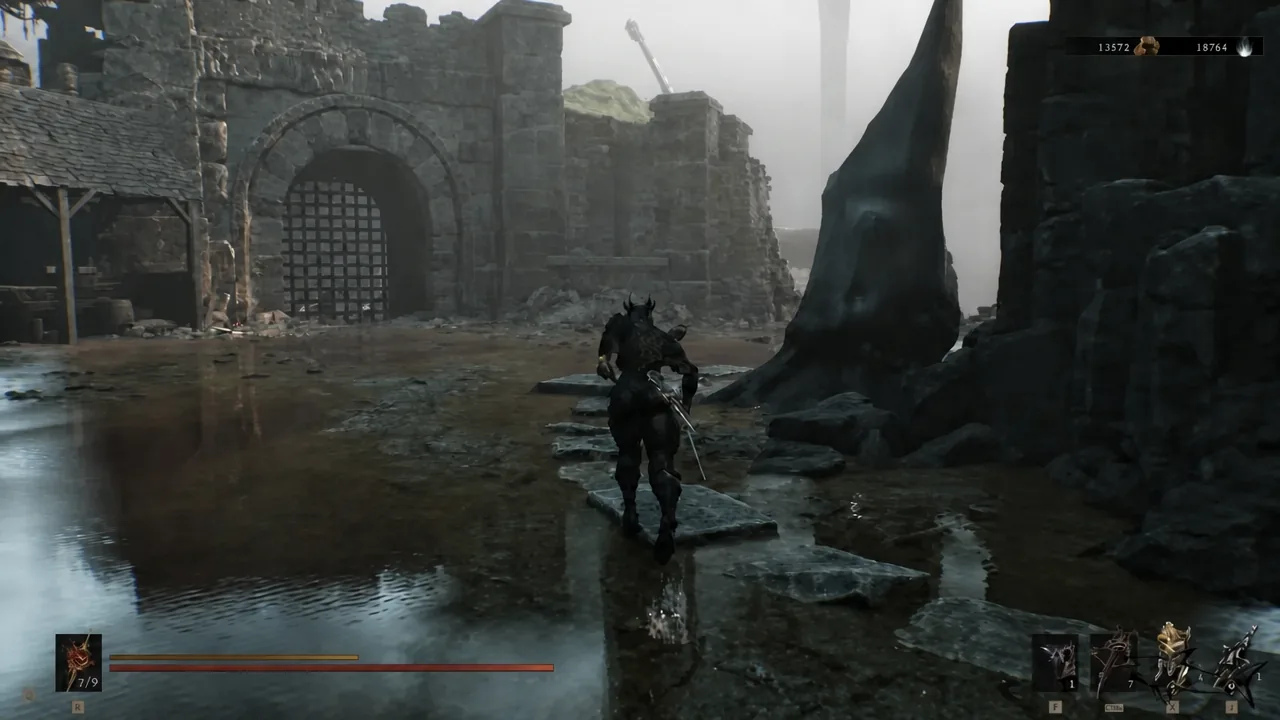
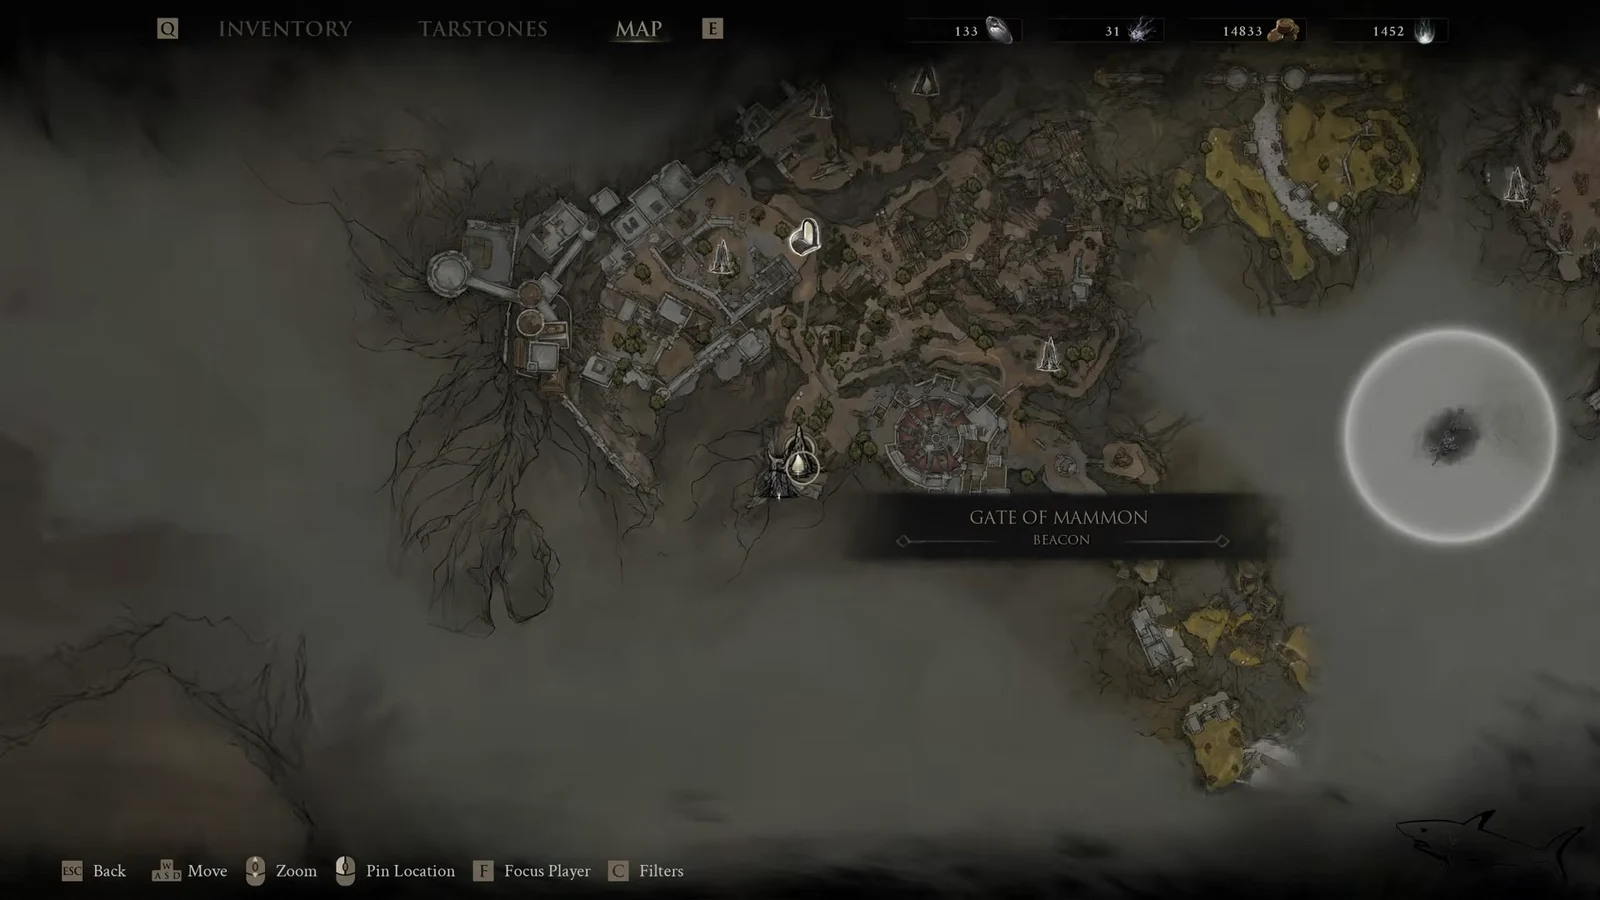
You will know it worked when the pickup prompt names the Splitting Stone and it appears under your Combat Tarstones. Nothing else needs to be triggered, and there is no boss gating the chest.
What the Splitting Stone does and which sidearms accept it
The effect is short and blunt. Your sidearm fires multiple projectiles per shot without consuming additional Resolve. That last part is the reason the stone is worth a slot at all — you get a spread of hits for the same Resolve cost as a single bolt.
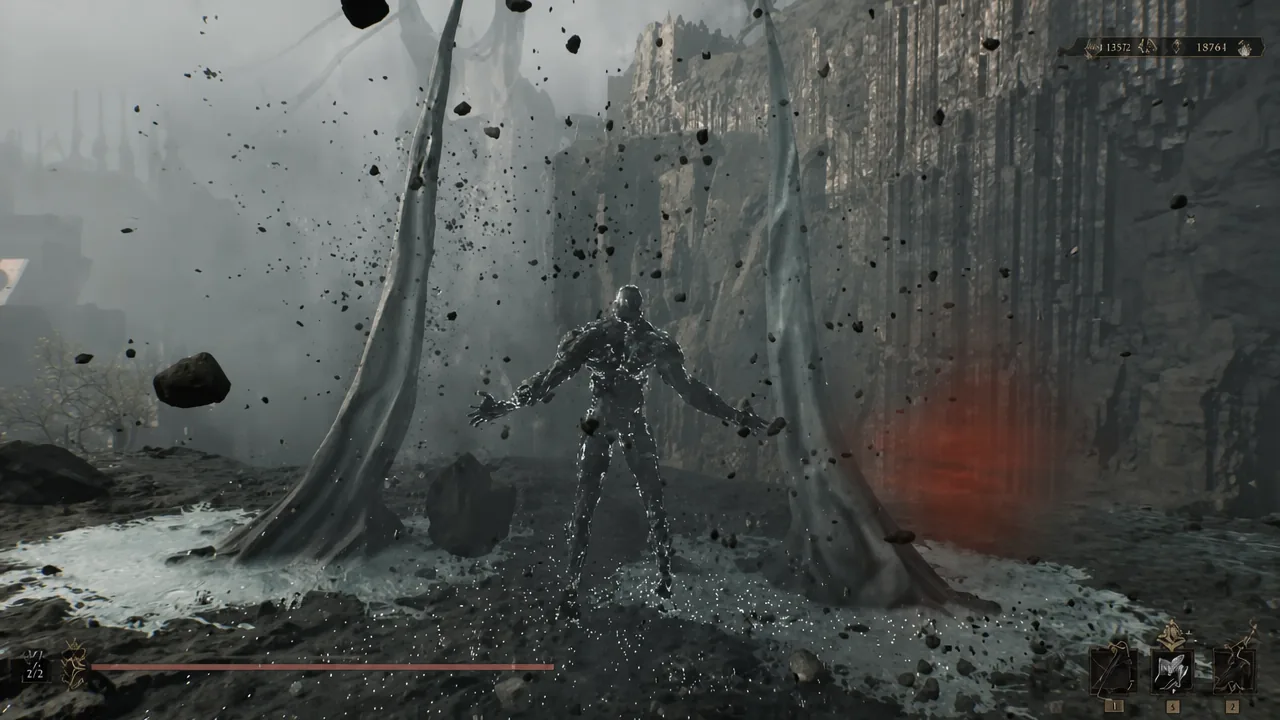
It is a Sidearm-only Tarstone, so it will not slot into a primary weapon or a Shell. Three sidearms take it.
| Compatible sidearm |
|---|
| Forgotten Crossbow |
| Caged Hystrix |
| Troubadour’s Lute |
Each upgrade tier adds one more projectile and shaves the damage of every individual projectile. Total output per shot goes up, but each pellet lands for less, which matters against enemies with heavy damage resistance or when you are trying to break posture with a single clean hit.
| Tier | Projectiles per shot | Damage per projectile |
|---|---|---|
| First | 2 | Roughly 55–70% of base |
| Second | 3 | Roughly 40–60% of base |
| Third | 4 | Roughly 35–50% of base |
Note: the exact percentages have shifted between versions of the game, so treat the numbers on your own Tarstone description as the authoritative ones. The projectile counts have stayed consistent.
How to upgrade the Splitting Stone at the Tarforge
Out of the box, the Tarforge in the Marrow Keep cannot push the Splitting Stone past its base tier. You need to hand Franz the Etching Needle first, a quest item that unlocks the higher upgrade options for every Tarstone.
If Franz will not offer the next level, one of two things is true: the stone’s experience bar is not full yet, or you have not delivered the Etching Needle. There is no other prerequisite.
The practical takeaway is that the Splitting Stone rewards close range. Spread means more of your projectiles connect when a target is right in front of you, and less of your damage lands when it is across a room. Pair it with a crossbow build that closes distance, and the flat Resolve cost turns each shot into a genuinely efficient burst.





