Lazlo the Justiciar is the heavy, fire-armored Shell buried at the bottom of the Royal Crypt of Mammon. He is not marked on your map by default, he is not sold or hinted by an NPC, and he is not reachable by exploring the surface of Mammon alone. One boss stands between you and his sarcophagus, and once that boss falls, the Shell is a single interaction away.
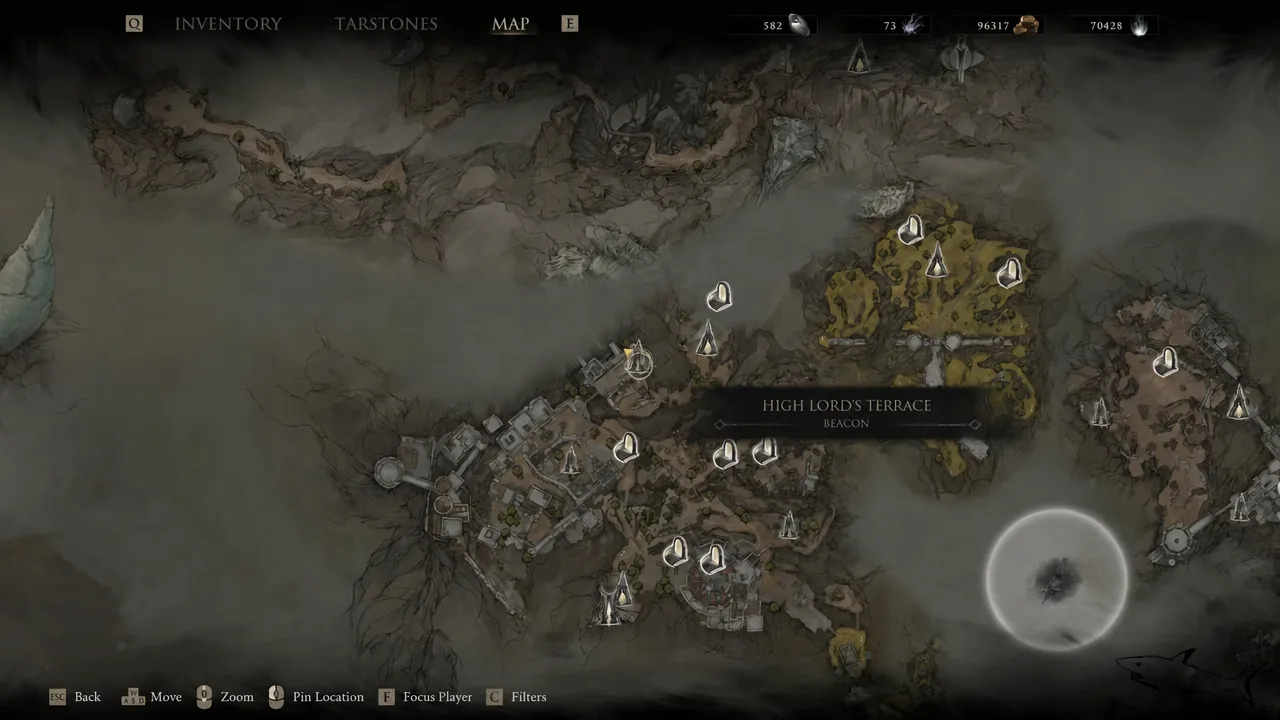
Quick answer: Travel from the Outskirts of Mammon beacon to the High Lord’s Courtyard beacon, drop down past the waterfall into the Royal Crypt of Mammon, kill Vellen, High Lord of Mammon, then interact with the sarcophagus in the rear chamber to trigger the “The Visit” memory and unlock Lazlo.
What Lazlo does before you commit to the run
Lazlo is the tank option. His passive, Fortified Plate, gives a flat 10% damage reduction for as long as his armor is active. His ability, Retribution, heats that armor and releases a shockwave around him. Use it repeatedly and it hits Overheat, which fires a stronger shockwave that applies Burn stacks but switches his armor off for a short time, taking the damage reduction with it.
That trade-off is the whole rhythm of the Shell. You build heat, cash it in for a burst of area damage, then survive the window where your plate is on cooldown.
| Property | Detail |
|---|---|
| Full name | Lazlo the Justiciar |
| Location | Royal Crypt of Mammon, Mammon |
| Nearest beacon | High Lord’s Courtyard |
| Gatekeeper | Vellen, High Lord of Mammon |
| Ability | Retribution (Shockwave, Overheat, Burn) |
| Passive | Fortified Plate (10% damage reduction while armored) |
| Unlock step | “The Visit” Shell memory |
The route from Outskirts of Mammon to the crypt
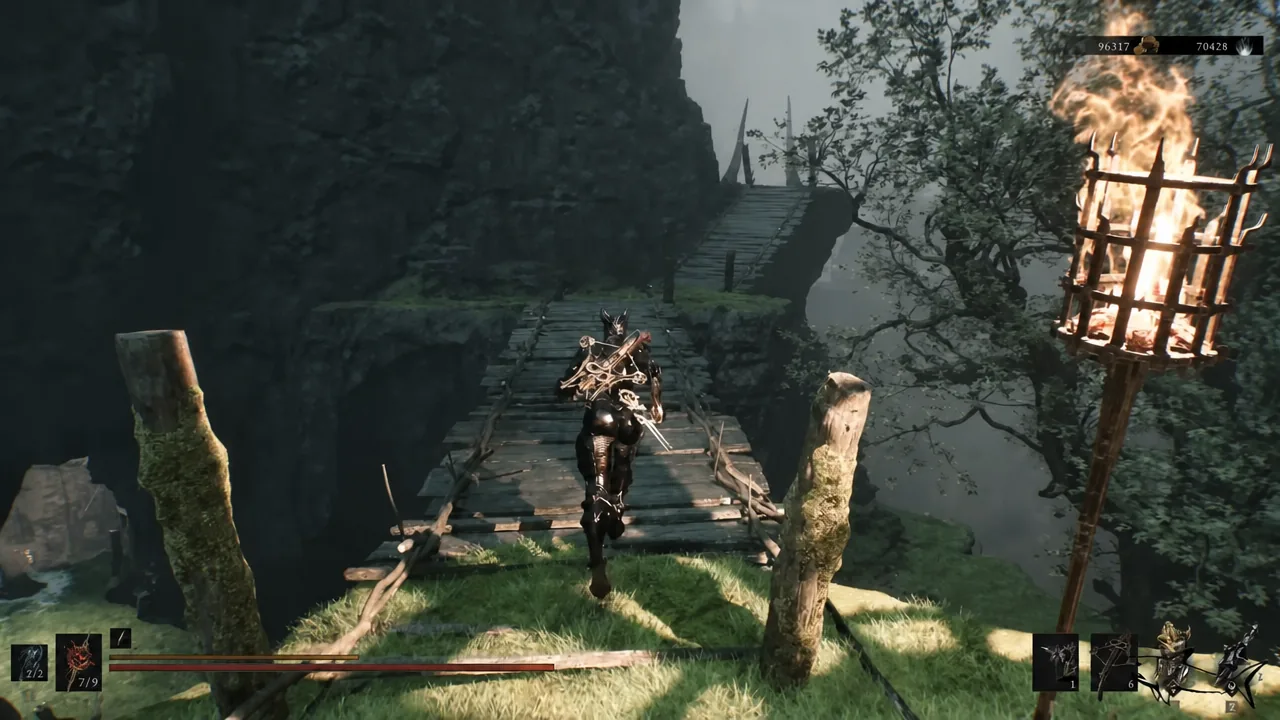
The path is mostly a straight westward run with two traversal portals and a long stretch of enemies you can ignore. Nothing on the way is required loot, so sprinting past knights and rock-throwers is the fastest approach.
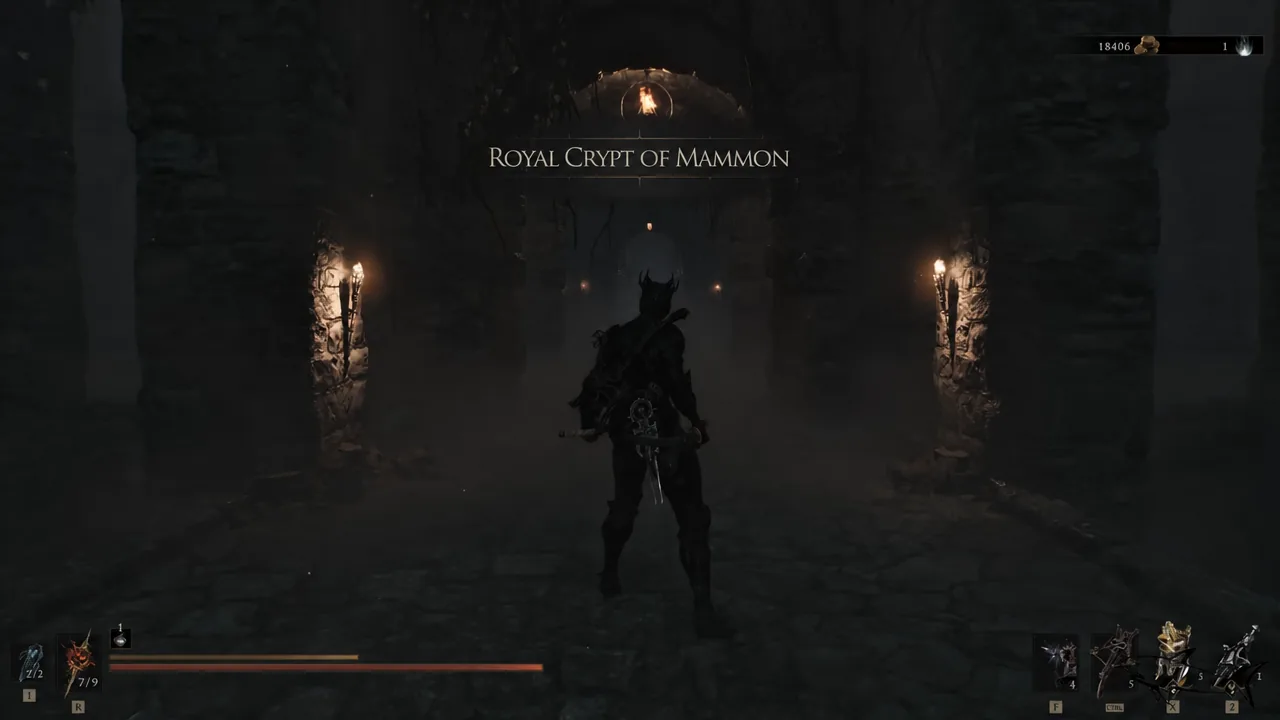
Beating Vellen, High Lord of Mammon
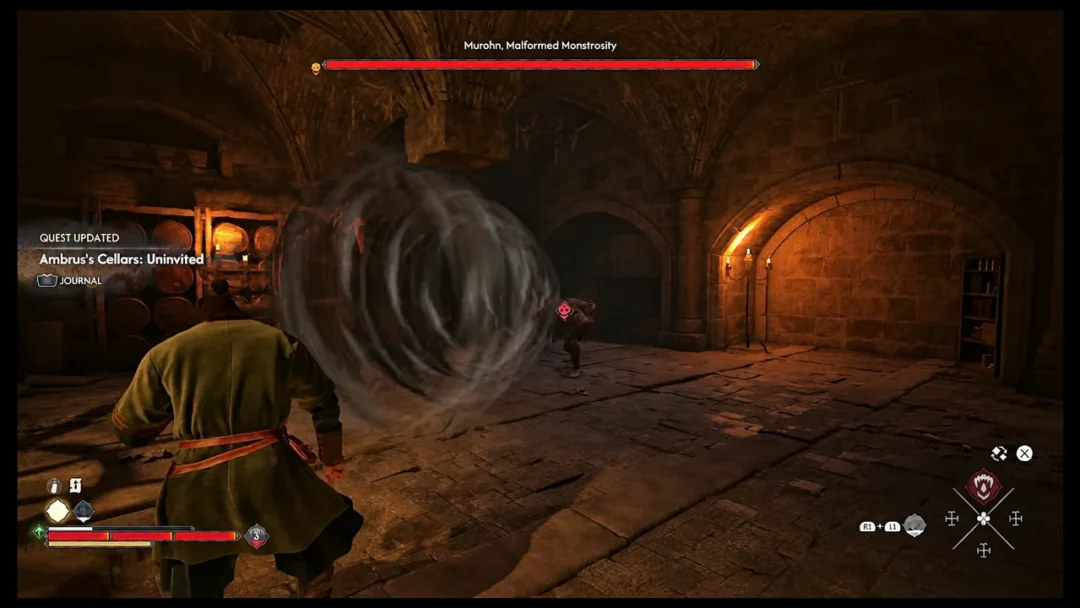
The corridor opens into the boss arena and Vellen, High Lord of Mammon, blocks the way to the rear chamber. He is Lazlo’s uncle, and the fight is short by the standards of the region. Because most players arrive here late, a fully upgraded heavy weapon will end it in a handful of combos.
Two things make it easier. A tarstone effect covers most of the damage gap if you are underleveled, and the ordinary enemies wandering the crypt can be pulled into the arena so they attack him instead of you. Neither is required.
Once Vellen falls, the chamber behind him opens.
Claiming Lazlo in the rear chamber
Walk straight down the central corridor past the rows of stone sarcophagi. The side coffins and chests hold Coins of Mammon and other pickups, and a few carry inscriptions naming the family buried here, including Edric and Lady Libeth. None of that is needed for the unlock.
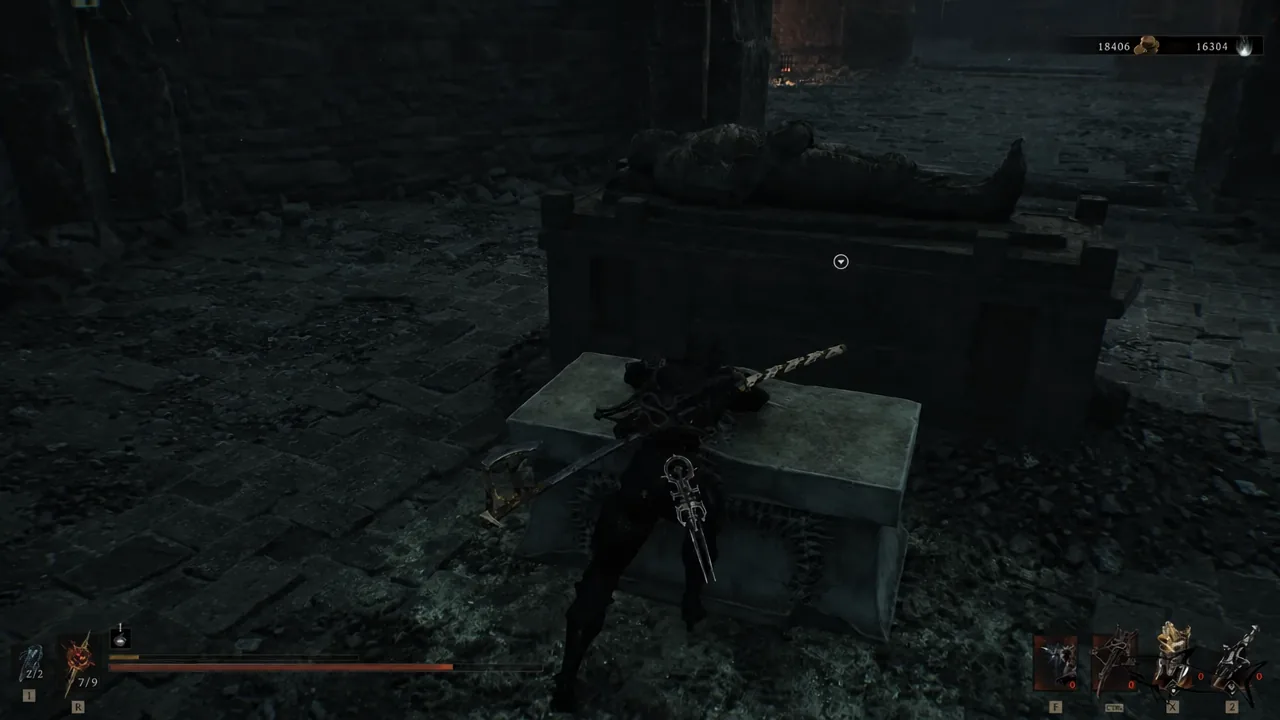
At the back of the room, the INHABIT UNKNOWN SHELL prompt appears on the final sarcophagus. Interacting with it starts “The Visit,” a Shell memory in which Lord Vellen sentences Lazlo to the Justiciars’ service and tells him his brother Egon is dead. Play the sequence through to the end.
How to confirm the unlock worked
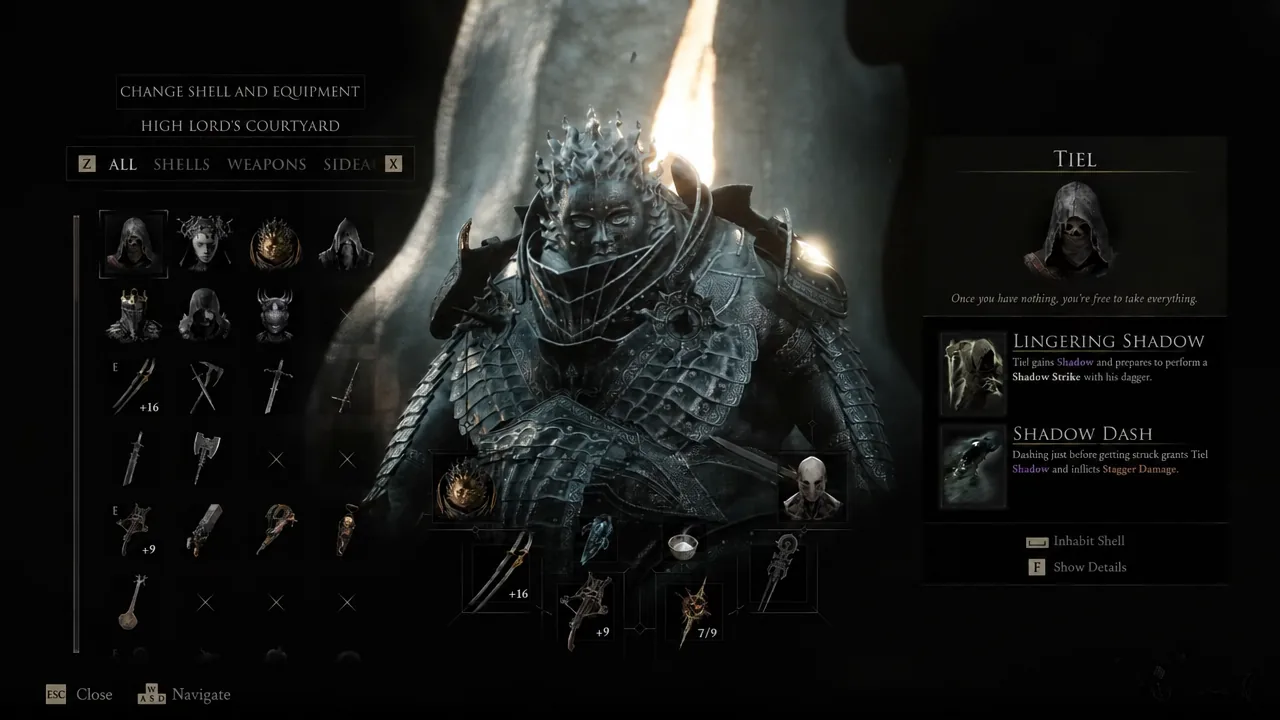
When the memory ends, the screen reads NEW SHELL DISCOVERED and you are asked SWITCH TO LAZLO? Accepting equips him immediately. Either way, the Shell is now permanent and appears in the All Shells list on the Change Shell and Equipment screen, complete with Retribution, Fortified Plate, and his own skill tree.
If you never saw that prompt, the memory sequence was not completed. Leaving the crypt or dying mid-memory leaves the Shell unclaimed, and you have to return to the same sarcophagus and interact with it again. Killing Vellen on its own does not register the unlock.
Note: Lazlo starts at his base bond level. Levelling his perk tiers is a separate step handled with Glimpse back at Marrow Keep, so his damage reduction and Retribution upgrades will not be available the moment you switch to him.
Extra Glimpses in the crypt during the night cycle
The Royal Crypt of Mammon is worth a second visit after dark. Returning during the night cycle lets you collect two additional Glimpse items from the sarcophagi in the rear chamber, which feed directly into Lazlo’s bond levels.
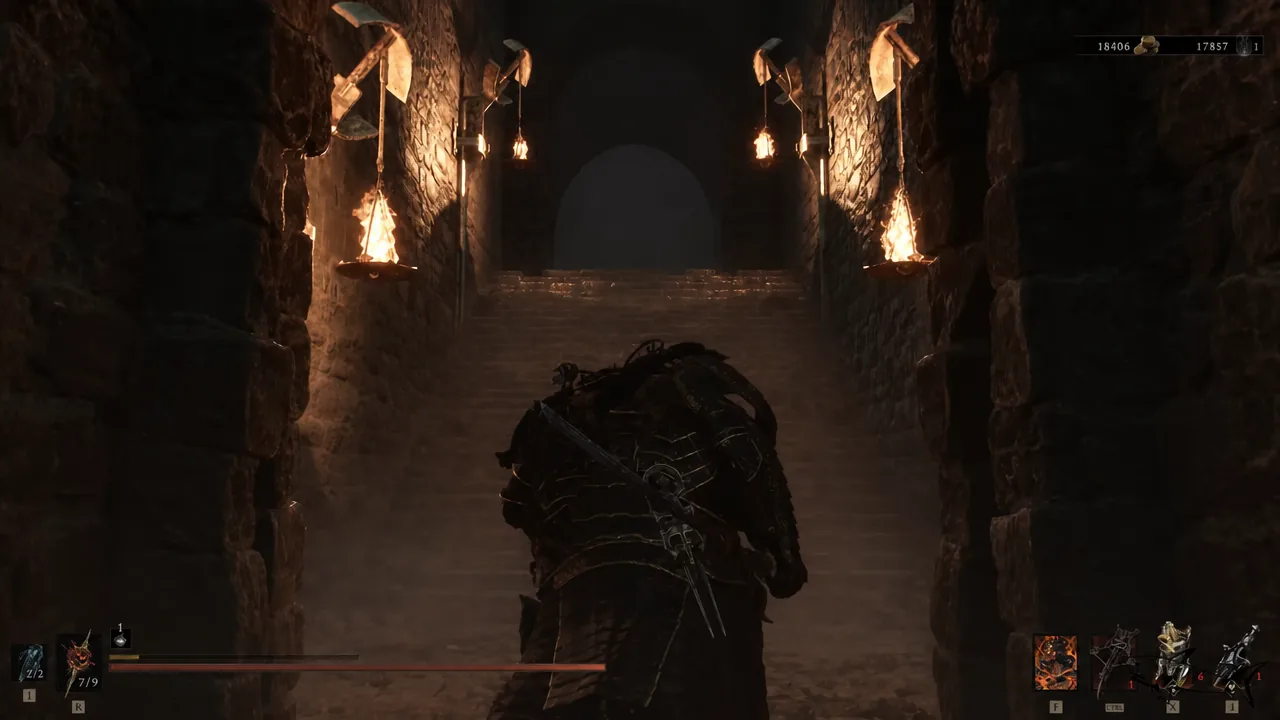
One snag comes with it. At night the exit can be sealed by black branches, trapping you in the crypt. Quitting to the main menu and reloading your save clears the barrier and lets you walk out normally.
With the Shell in hand, the rest of Lazlo comes down to heat management. Build the meter with Retribution, keep your armor up for the flat mitigation, and pick your moment to Overheat when a crowd is close enough to catch the Burn.