Tiny Dancer is a short side quest tucked inside a shop in the middle of Svartrau City, and it closes out the sanzhana questline that starts with Good Home. It hinges on two keys, one caged creature, and a loose floorboard that only shows up in Focus Mode. The whole thing costs 2 Time Segments and has no fail state, so there is no clock pressure once you start it.
Quick answer: Read the Storekeep’s Letter at the back of the shop’s ground floor, take the Merchant’s Key from the lute on the center table, unlock the door beside the entrance, then grab the Cage key from the upstairs table to free Sanzhana. Head into the adjoining room and use Focus Mode on the loose floorboards to loot the silver and end the quest.
Tiny Dancer quest requirements, location, and rewards
The quest only appears after you have finished Good Home, and it sits at the end of the sanzhana chain. If the marker is not on your map yet, work through Come Hither, Burrow Sorrows, and Pearly and Precious first.
| Detail | Value |
|---|---|
| Starting location | Shop in the center of Svartrau City |
| Quest giver | Sanzhana |
| Requirement | Complete Good Home (Sanzhani questline) |
| Questline order | Good Home → Come Hither → Burrow Sorrows → Pearly and Precious → Tiny Dancer |
| Objectives | Investigate the suspicious sound → Find the key to the cage → Find the hidden treasure using Focus Mode |
| Time required | 2 Time Segments |
| Fail state | None |
| Reward | 100 XP, floorboard stash, chest loot, trophy The Tsarina’s Favourite Human |
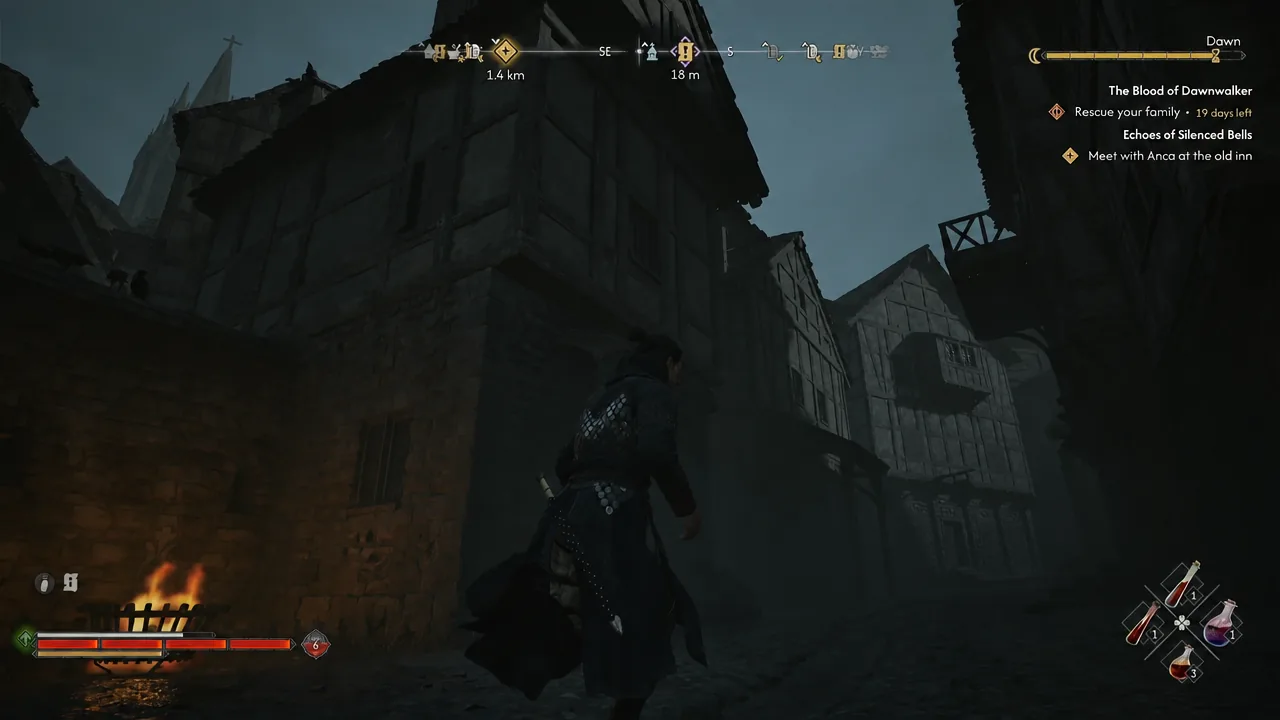
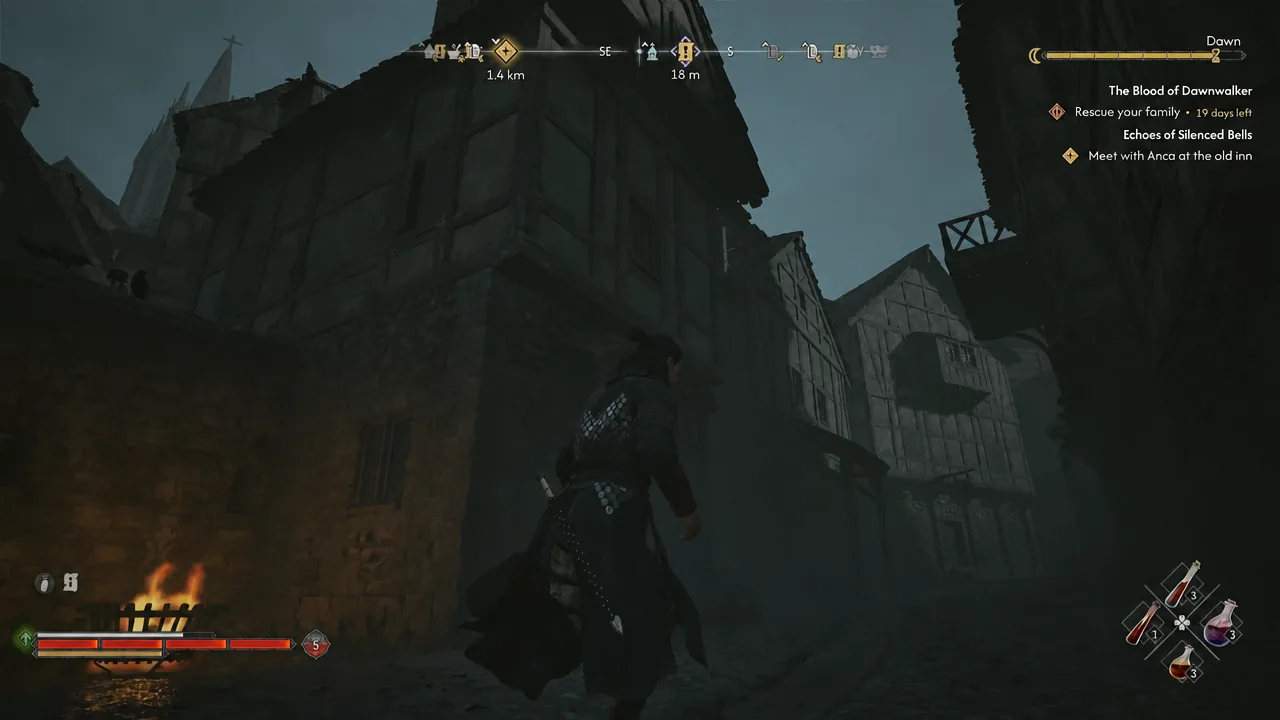
Travel to the marked building in the city center. The quest description points you at a strange noise coming from one of Svartrau’s shops, and approaching the house is enough to put the objective in your journal.
Getting to the upper floor: Merchant’s Key or the back balcony
There are two ways in, and the balcony route skips the entire key hunt. Both end in the same room, so pick whichever suits the time of day you are playing.
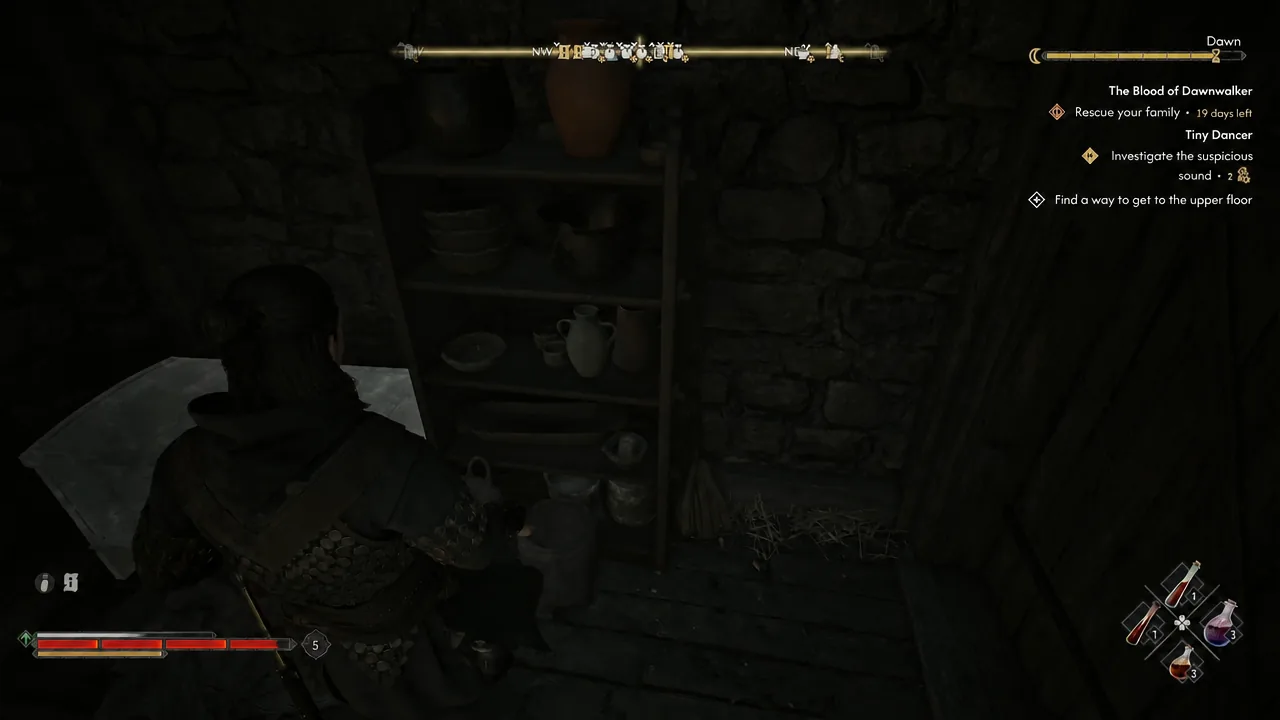
Route 1: Find the Merchant’s Key inside the shop
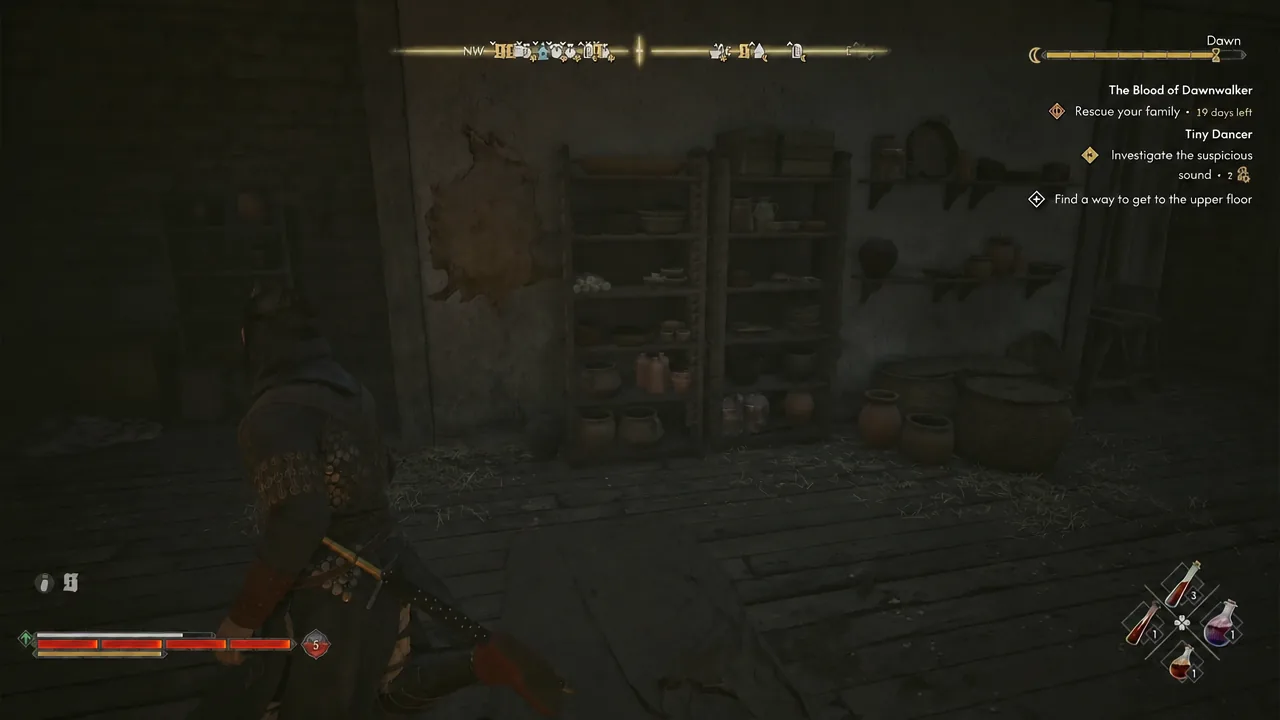
Route 2: Clawride up to the rear balcony
Find the Cage key and free Sanzhana
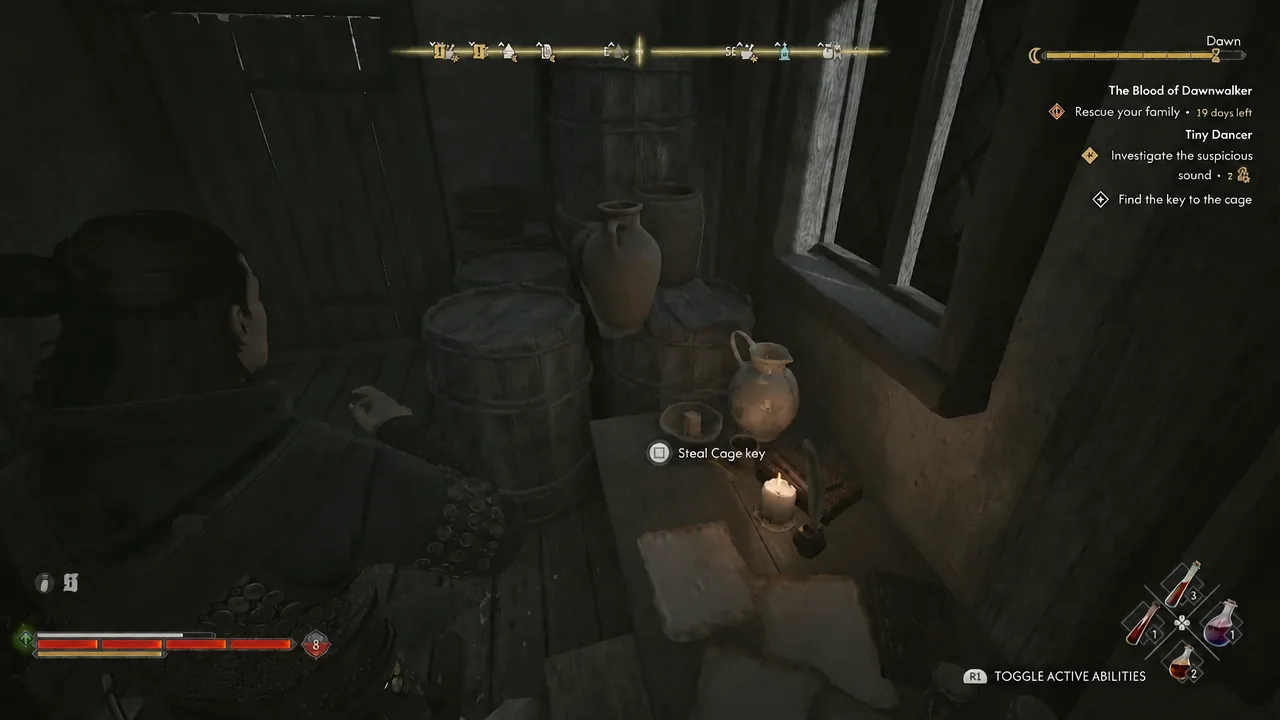
Freeing her unlocks the trophy The Tsarina’s Favourite Human. If it does not pop right away, it will register after the scene ends and time advances. Some runs cut to morning at this point, which is where the 2 Time Segments go.
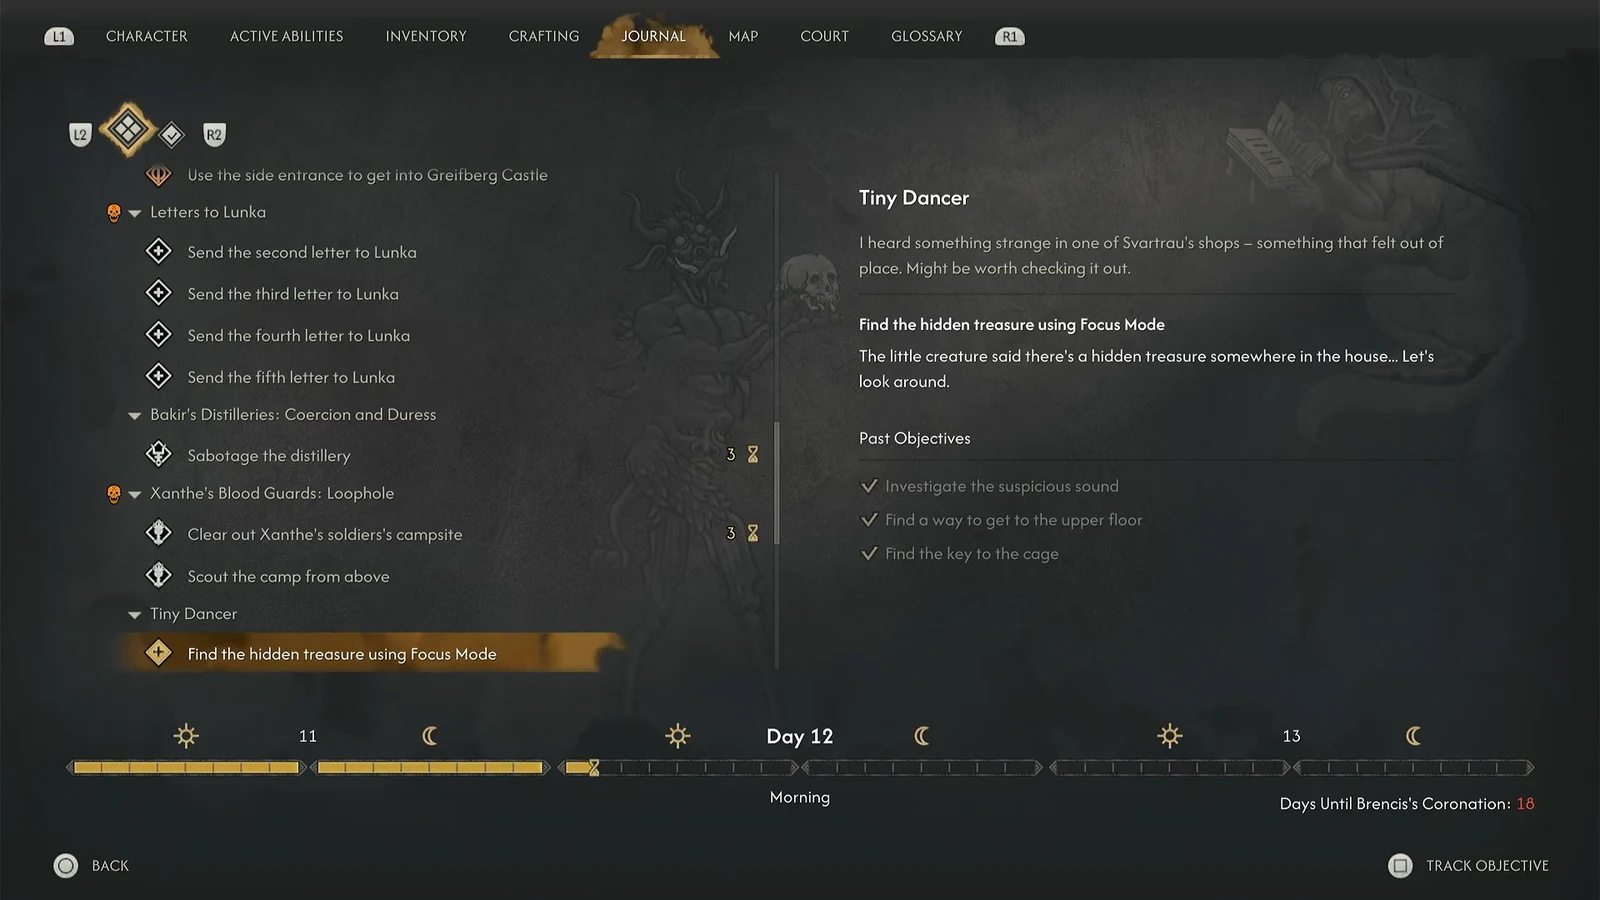
Find the hidden treasure using Focus Mode
Note: the loose board only highlights while Focus Mode is active. If you are sweeping the room normally and seeing nothing, that is why.
Tiny Dancer loot and quest rewards
Exact drops from the chest and the floorboard stash are not identical in every playthrough, so treat the entries below as what to expect rather than a fixed list. The Silver Brooch is the one constant, since it is the treasure Sanzhana points you to.
| Source | Contents |
|---|---|
| Floorboard stash | Silver Brooch, Denarius, plus consumables such as Potent Fortitude Paste, Minor Vitality Balm, or a Keen Eye Potion |
| Upstairs chest | A chest armor piece, reported as the legendary Coat of Darkened Scales or the Blodedancer’s Tunic, sometimes alongside the Recipe for Supernatural’s Bane Brew |
| Ground floor | Denarius, chest loot, and sundries including an Expensive Doll, Linseed Oil, Boar Meat, and a Mirror |
| Merchant’s body | Coin and miscellaneous items, if you fight him |
| Quest completion | 100 XP |
How to confirm Tiny Dancer is complete
The confirmation is immediate. Looting the floorboard stash prints “Quest Ended: Tiny Dancer” on screen and moves the entry into your completed list in the journal, with all three objectives ticked off. The trophy notification for The Tsarina’s Favourite Human comes earlier, at the point Sanzhana is out of the cage.
If the quest is stuck, there are only a few likely reasons. The lute will not hand over the Merchant’s Key until the Storekeep’s Letter has been read. The Cage key prompt does not appear until you have interacted with the cage once. And the floorboard will not register at all unless Focus Mode is held while you are standing in the correct upstairs room, not the one where the cage was.
With the stash collected, the sanzhana chain that began outside the city is done. Sanzhana herself remains reachable as a vendor from the earlier Pearly and Precious step, which is worth remembering if you are still saving toward the Silk Threads for the Arbiter Armour set.